Page 117 of 411
�Û�Ý
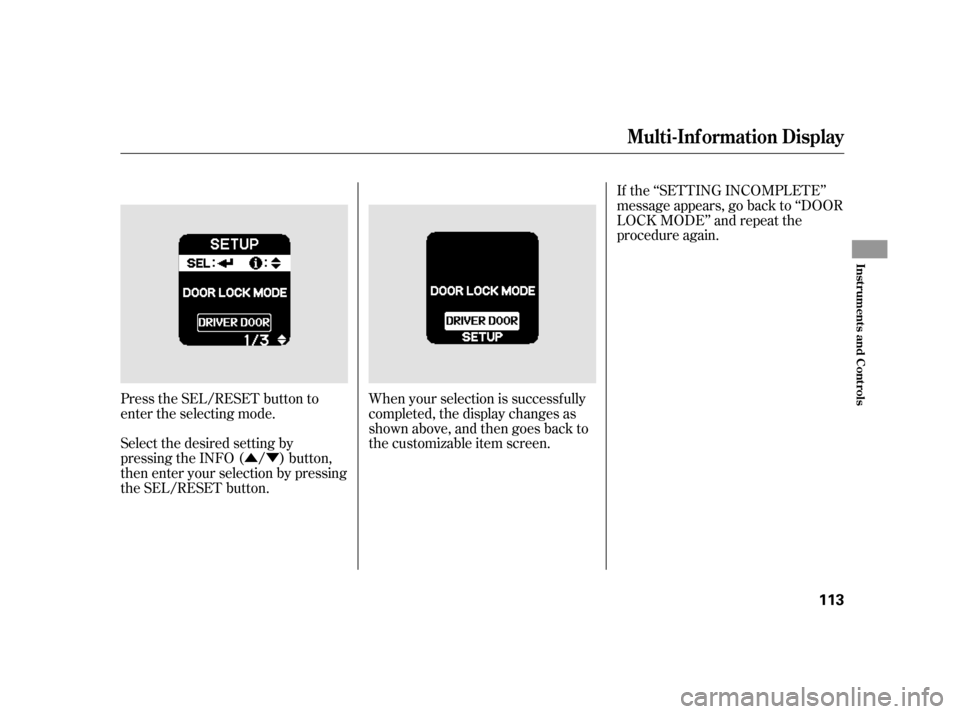
Press the SEL/RESET button to
enter the selecting mode.
Select the desired setting by
pressing the INFO ( / ) button,
then enter your selection by pressing
the SEL/RESET button. When your selection is successf ully
completed, the display changes as
shown above, and then goes back to
the customizable item screen.If the ‘‘SETTING INCOMPLETE’’
message appears, go back to ‘‘DOOR
LOCK MODE’’ and repeat the
procedure again.
Multi-Inf ormation Display
Inst rument s and Cont rols
113
Page 118 of 411
�Û�Ý
�Û�Ý Press the SEL/RESET button to
enter the selecting mode.
Select ON or OFF by pressing the
INFO ( / ) button, then enter
your selection by pressing the SEL/
RESET button.
You can choose this item to
customize f rom ‘‘DOOR SETUP’’ by
pressing the INFO ( / ) button
repeatedly.
When you push the LOCK button on
the remote transmitter, some
exterior lights f lash, and a beeper
sounds when you push the LOCK
button again within 5 seconds to
verify that the doors and the hatch
arelockedandthesecuritysystem
has set (see page ). You can
customize the exterior lights not to
f lash and the beeper not to sound.
221
Keyless Lock Acknowledgment
Multi-Inf ormation Display
114
Page 119 of 411
�Û�Ý
Security Relock Timer
You can change this relock time
f rom 30 seconds to 60 or 90 seconds.
When your selection is successf ully
completed, the display changes as
shown above, and then goes back to
the customizable item screen.
If the ‘‘SETTING INCOMPLETE’’
message appears, go back to
‘‘KEYLESS LOCK
ACKNOWLEDGMENT’’ and repeat
the procedure again. You can choose this item to
customize f rom ‘‘DOOR SETUP’’ by
pressing the INFO ( / ) button
repeatedly.
If you unlock the doors with the
remote transmitter, but do not open
any of the doors within 30 seconds,
the doors and the hatch,
automatically relock, and the
security system sets.
CONT INUED
Multi-Inf ormation Display
Inst rument s and Cont rols
115
Page 120 of 411
�Û�ÝIf the ‘‘SETTING INCOMPLETE’’
message appears, go back to
‘‘SECURITY RELOCK TIMER’’ and
repeat the procedure again.
When your selection is successf ully
completed, the display changes as
shown above, and then goes back to
the customizable item screen.
Press the SEL/RESET button to
enter the selecting mode.
Select the desired setting by
pressing the INFO ( / ) button,
then enter your selection by pressing
the SEL/RESET button.
Multi-Inf ormation Display
116
Page 121 of 411
�Û�Ý�Û�Ý
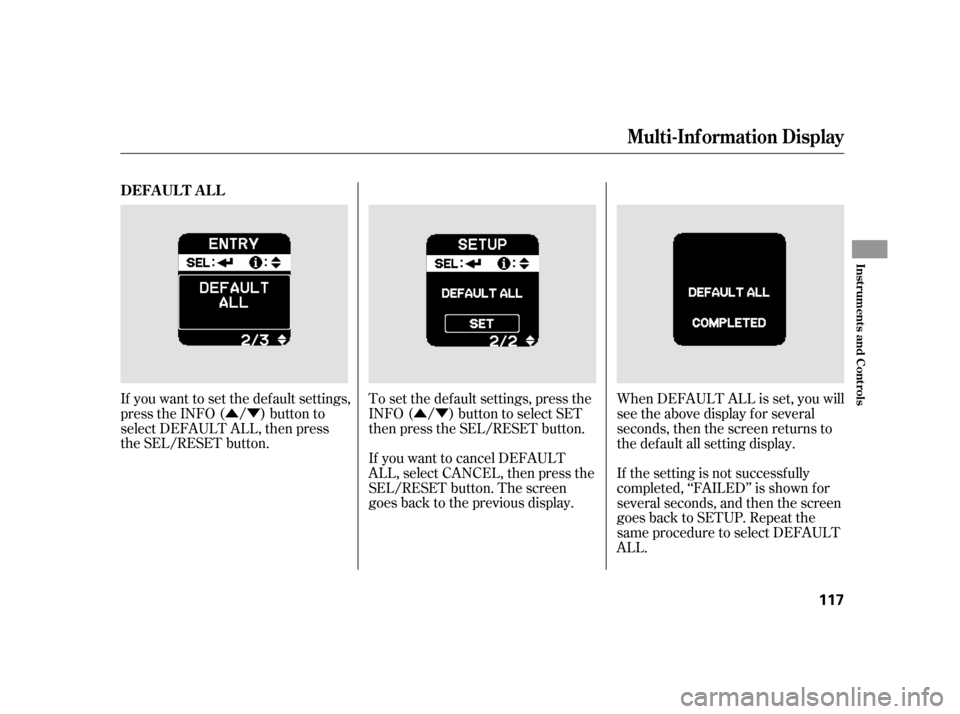
If you want to set the def ault settings,
press the INFO ( / ) button to
select DEFAULT ALL, then press
the SEL/RESET button.
If you want to cancel DEFAULT
ALL, select CANCEL, then press the
SEL/RESET button. The screen
goes back to the previous display. To set the def ault settings, press the
INFO ( / ) button to select SET
then press the SEL/RESET button.When DEFAULT ALL is set, you will
see the above display for several
seconds, then the screen returns to
the default all setting display.
If the setting is not successfully
completed, ‘‘FAILED’’ is shown f or
several seconds, and then the screen
goes back to SETUP. Repeat the
same procedure to select DEFAULT
ALL.
DEFA UL T A L L
Multi-Inf ormation Display
Inst rument s and Cont rols
117
Page 127 of 411
With the headlight switch of f or in
the position, the high beam
headlights and the high beam
indicator come on with reduced
brightness when you turn the
ignition switch to the ON (II)
position and release the parking
brake. They remain on until you turn
the ignition switch of f , even if you
set the parking brake.
The headlights revert to normal
operation when you turn them on
with the switch.If you see a ‘‘CHECK DRL
SYSTEM’’ message on the multi-
inf ormation display, there is a
problem with the daytime running
light system. Take your vehicle to a
dealer to have it checked.
Daytime Running L ights
Headlights
Inst rument s and Cont rols
123
Page 128 of 411

To reduce glare at night, the
instrument panel illumination dims
when you turn the light switch to theor position. Turning the
knob to the right until you hear a
tone will cancel the reduced
brightness.
The instrument panel will illuminate
with reduced brightness when you
unlock and open the driver’s door.
The brightness will increase slightly
when you insert the key in the
ignitionswitch,thengotonormal
brightness when you turn the
ignition switch to the ON (II)
position.
The knob on the instrument panel
controls the brightness of the
instrument panel lights. Turn the
knob to adjust the brightness with
the ignition switch in the ON (II)
position and the parking lights on. When you turn the knob, the multi-
inf ormation display changes to
vertical bars that show you the
current level.
You will hear a tone when you reach
the maximum or minimum
brightness. The brightness level
goes out about 5 seconds af ter you
stop adjusting.
Instrument Panel Brightness
124
INSTRUMENT PANEL BRIGHTNESS
CONTROL KNOB
BRIGHTNESS LEVEL
Page 131 of 411
Press the ECON button to activate
the ECON mode. ECON ON will be
displayed on the multi-inf ormation
display and the ECON mode
indicator will illuminate in the
instrument panel. Press the ECON
button again to turn it off. ECON
OFF will appear on the multi-
inf ormation display.
The ECON button turns the ECON
mode on and of f . The ECON mode
helps you improve your f uel
economy by modif ying some vehicle
functions. When the ECON mode is
on: In addition, when the ECON mode is
on, you may get more Eco Assist
points (see page ).The climate control system will
have greater temperature
f luctuations Engine perf ormance will be
dif f erent Whenyouturnoff andthenrestart
the engine, the ECON mode setting
remains the same as previously set.
264
ECON Button
Inst rument s and Cont rols
127
MULTI-INFORMATION DISPLAY ECON MODE INDICATOR
ECON BUTTON


position and re")
