Page 211 of 338

This section explains the importance
of keeping your vehicle well
maintained and why you should
f ollow basic maintenance saf ety
precautions.
This section also includes
Maintenance Schedules f or normal
driving and severe driving conditions,
a Maintenance Record, and instruc-
tions f or simple maintenance tasks
you may want to take care of
yourself .
If you have the skills and tools to per-
f orm more complex maintenance
tasks on your Honda, you may want
to purchase the Service Manual. See
page f or inf ormation on how to
obtain a copy, or see your Honda
dealer.......................
Maintenance Saf ety .208
.
Important Safety Precautions . 209
.................
Maintenance Schedule . 210
...
Required Maintenance Record . 217
.......
Owner Maintenance Checks . 219
..............................
Fluid Locations .220
......................................
Engine Oil .221
..................................
Adding Oil .221
....................
Recommended Oil .221
..............................
Synthetic Oil .222
....................................
Additives .222
.....
Changing the Oil and Filter . 223
.............................
Cooling System .225
............
Adding Engine Coolant . 225
.......
Replacing Engine Coolant . 227
....................
Windshield Washers .230
.......................
Transmission Fluid .231
..........
Automatic Transmission . 231
5-speed Manual .........................
Transmission .232
.................
Rear Dif f erential Fluid . 233
................
Brake and Clutch Fluid . 234
............................
Brake System .234
...........................
Clutch System .235
..............................
Power Steering .235
.....................
Air Cleaner Element .236 ....................................
Hood Latch .237
....................................
Spark Plugs .238
..............................
Replacement .238
............................
Specif ications .239
...........................................
Battery .240
.................................
Wiper Blades .242
..............
Air Conditioning System . 245
..................
Dust and Pollen Filter . 246
.......................................
Drive Belt .248
...............................................
Tires .249
......................................
Inf lation .249
Recommended Tire Pressures f or Normal ...........................
Driving .250
..................................
Inspection .251
..............................
Maintenance .251
.............................
Tire Rotation .252
...
Replacing Tires and Wheels . 253
......................
Wheels and Tires .254
..........................
Winter Driving .254
.............................
Snow Tires .254
............................
Tire Chains .255
.............................................
Lights .256
.....................
Headlight Aiming .258
........................
Replacing Bulbs .258
....................
Storing Your Vehicle .266
323
Maintenance
Maint enance207
Page 218 of 338
 or 6 monthsCheck oil and coo")
�µ
�Î
�Ì
�Ì�Ì�Î
Maint enance214
Service at the indicated distance or time whichever comes first. miles x 1,000
km x 1,000
months
Replace every 5,000 miles (8,000 km) or 6 monthsCheck oil and coolant at each fuel stop
10
16
50
8070
112 110
176
At 120,000 miles (192,000 km) or 10 years,
then every 60,000 miles (96,000 km) or 5 years Every 3 years (independent of mileage)
At 60,000 miles (96,000 km) or 3 years, then every 30,000 miles
(48,000 km) or 2 years
20
32
30
4840
64 80
128 100
160
See information on maintenance and emissions warranty, last column, page . See dust and pollen filter on page for replacement information under special driving conditions. Inspect every 110,000 miles (176,000 km), otherwise adjust only if noisy
Every 110,000 miles (176,000 km)
Every 15,000 miles (24,000 km) in dusty conditions,
otherwise use normal schedule
Service the following items at the recommended intervals.
60
96 90
144
Check engine oil and coolant
Replace engine oil
Rotate tires (Check tire inflation and condition at least once per month)
Replace engine oil filter
Inspect front and rear brakes
Lubricate all hinges, locks, and latches
Visually inspect the following items: Tie rod ends, steering gear, box, and boots
Suspension components
Driveshaft boots
Check parking brake adjustment
Visually inspect the following items: Brake hoses and lines (including ABS)
All fluid levels and condition of fluidsExhaust system, Fuel lines, and connections
Lights and controls, Vehicle underbody
Inspect and adjust drive belt
Replace dust and pollen filter
Replace transmission fluid
Replace rear differential fluid (4WD)
Inspect idle speed
Replace air cleaner element
Replace spark plugs
Inspect valve clearance
Replace engine coolant
Replace brake fluid Every 160,000 miles (256,000 km) or 8 years120
192
24 4872
12 3660
M/T
A/T
:
: 246
211
Maintenance Schedule for Severe Conditions
Page 219 of 338

�µ�µ
�Ø
�Ø
�Ø
�Ø
�Ø
�Ø
�Ø
�Ø
�Ø
�Ø
�Ø
�Ø
�Ø
�Ø
�Ø
�Ø
�Ø
�Ø
�Ø
�Ø
�Ø
�Ø
�Ø
�Ì
�Ì
�Î
CONT INUED
Maint enance215
U.S. Owners
Canadian Owners A, B, C, D, E
A
B
C
D
E
Refer to page to determine which schedule to use.
Use the Maintenance Schedule for Severe Conditions.
Service at the indicated distance or time, whichever comes first. Do the items in
as required for each distance/time.
Replace engine oil.
Replace engine oil filter.
Inspect front and rear brakes.
Rotate tires (follow pattern on page 252).
Lubricate all hinges, locks, and latches with
multipurpose grease.
Inspect tie rod ends, steering gear box, and boots.
Inspect suspension components.
Inspect driveshaft boots.
Check parking brake adjustment.
Inspect brake hoses and lines (including ABS).
Check all fluid levels, condition of fluids, and check
for leaks. Inspect exhaust system.
Inspect fuel lines and connections.
Check all lights.
Inspect the underbody.
Inspect and adjust drive belt.
Replace dust and pollen filter .
Replace air cleaner element every 15,000 mi/
24,000 km (independent of time) under dusty
conditions, otherwise use Normal Conditions
schedule.
Do item in A.
Do items in A, B.
Do items in A, E.
DoitemsinA,B,C.
Do item in A.
Do item in E.
DoitemsinA,B,D.
Do item in A.
DoitemsinA,B,C.
Do items in A, E.
Replace brake fluid (independent of mileage).
Do items in A, B.
Do item in A.
Do item in E. Replace transmission fluid (M/T).
Replace transmission fluid (A/T).
Replace rear differential fluid (4WD).
DoitemsinA,B,C,D.
Do item in A.
Do items in A, B.
Do items in A, E.
DoitemsinA,B,C.
Do item in A.
Do item in E. Replace transmission fluid (A/T).
DoitemsinA,B,D.
5,000 mi/8,000 km
10,000 mi/16,000 km/1 yr
15,000 mi/24,000 km
20,000 mi/32,000 km/1 yr
25,000 mi/40,000 km
30,000 mi/48,000 km
30,000 mi/48,000 km/2 yrs
35,000 mi/56,000 km
40,000 mi/64,000 km/2 yrs
45,000 mi/72,000 km
3yrs
50,000 mi/80,000 km/3 yrs
55,000 mi/88,000 km
60,000 mi/96,000 km
60,000 mi/96,000 km/3 yrs
65,000 mi/104,000 km
70,000 mi/112,000 km/4 yrs
75,000 mi/120,000 km
80,000 mi/128,000 km/4 yrs
85,000 mi/136,000 km
90,000 mi/144,000 km
90,000 mi/144,000 km/5 yrs 212Maintenance Schedule for Severe Conditions (listed by distance/time)
Page 223 of 338
�µ�µ�µ �µ
�µ
�µ �µ
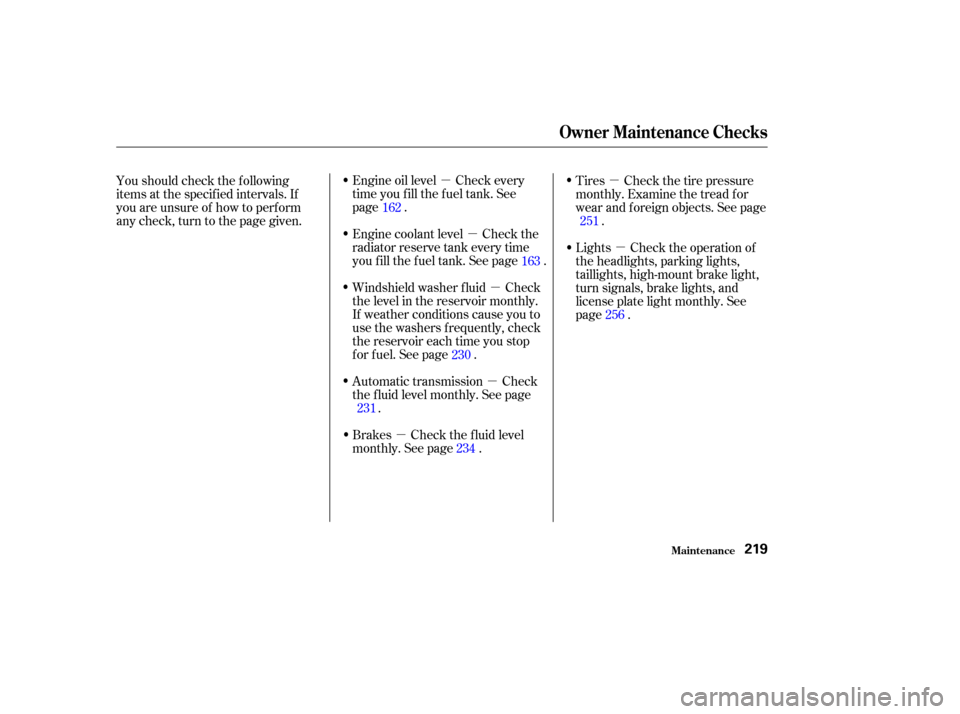
Engine oil level Check every
time you fill the fuel tank. See
page .
Engine coolant level Check the
radiator reserve tank every time
you f ill the f uel tank. See page .
Windshield washer f luid Check
the level in the reservoir monthly.
If weather conditions cause you to
use the washers f requently, check
the reservoir each time you stop
f or f uel. See page .
Youshouldcheckthefollowing
items at the specif ied intervals. If
you are unsure of how to perf orm
any check, turn to the page given.
Tires Check the tire pressure
monthly. Examine the tread f or
wear and foreign objects. See page
.
Automatic transmission Check
the f luid level monthly. See page .
Brakes Check the f luid level
monthly. See page . Lights Check the operation of
the headlights, parking lights,
taillights, high-mount brake light,
turn signals, brake lights, and
license plate light monthly. See
page .
162
163
231 234 256
230 251
Owner Maintenance Checks
Maint enance219
Page 260 of 338
Check the operation of your vehicle’s
exterior lights at least once a month.
A burned out bulb can create an
unsaf e condition by reducing your
vehicle’s visibility and the ability to
signal your intentions to other
drivers.
Lights
Maint enance256
FRONT TURN SIGNAL/PARKING LIGHTHEADLIGHT SIDE MARKER LIGHT
Page 261 of 338
Check the f ollowing:
If you f ind any bulbs are burned out,
replace them as soon as possible.
Refer to the chart on page to
determine what type of replacement
bulb is needed.Headlights (low and high beam)
Parking lights
Taillights
Brake lights
High-mount brake light
Turn signals
Back-up lights
Hazard light f unction
License plate lights
Side marker lights
Daytime running lights
(Canadian models)
307
Lights
Maint enance257
BRAKE/TAILLIGHTSTURN SIGNAL LIGHT
LICENSE PLATE LIGHTS
BACK-UP LIGHT HIGH-MOUNT BRAKE LIGHT
Page 262 of 338
Theheadlightswereproperlyaimed
when your vehicle was new. If you
regularly carry heavy items in the
cargo area or pull a trailer,
readjustment may be required.
Adjustment of the headlights should
be perf ormed by a Honda technician
or other qualif ied mechanic.Your vehicle has halogen headlight
bulbs, one on each side. When
replacing a bulb, handle it by its steel
base and protect the glass from
contactwithyourskinorhard
objects. If you touch the glass, clean
it with denatured alcohol and a clean
cloth.
Open the hood.
If you need to change the
headlight bulb on the driver’s side,
remove the f ront end of the air
intake duct by pulling it out.
1.
Lights
Maint enance
Headlight A iming
Replacing a Headlight Bulb
258
Halogen headlight bulbs get very hot
when lit. Oil, perspiration, or a scratch
on the glass can cause the bulb to
overheat and shatter.
Page 263 of 338

Remove the electrical connector
f rom the bulb by pulling the
connector straight back.
Remove the rubber weather seal
by pulling on the tab.
Unclip the end of the hold-down
wire f rom its slot. Pivot it out of
the way and remove the bulb.Insert the new bulb into the hole,
making sure the tabs are in their
slots. Pivot the hold-down wire
back in place, and clip the end into
the slot.
Install the rubber seal over the
back of the headlight assembly.
Make sure it is right side up; it is
marked ‘‘TOP.’’
Push the electrical connector onto
the new bulb. Make sure it is
connected securely.
Turn on the headlights to test the
new bulb.
(Driver’s side)
Install the f ront end of the air
intake duct.
Open the hood. The f ront
parking/turn signal light is next to
the headlight bulb. On the driver’s
side, remove the f ront end of the
air intake duct by pulling it out.
Remove the socket from the
headlight assembly by turning it
one-quarter turn counterclockwise.
1.
2.
3.
4. 5.
6.
7.
8.
2.
CONT INUED
Lights
Maint enance
Replacing a Front Parking/Turn
Signal Light Bulb
259