Page 190 of 429
Your Honda’s audio system provides
clear reception on both AM and FM
bands, while the preset icons in the
Navigation System display allow you
to easily select your f avorite stations.
The in-dash CD changer holds up to
six discs. You operate the CD
changer with the same controls used
f or the radio. See page f or CD
changer operation.
The anti-thef t f eature will disable the
system if it is disconnected f rom the
car’s battery. To get the system
working again, you must enter a
code number (see page ).196
212
A M/FM/CD Changer
Audio System
With Navigation System
Audio System
Comf ort and Convenience Feat ures187
AM/FM BUTTON
SEEK BAR SCAN
BUTTON PWR/VOL
KNOB
AUTO
SELECT ICON SCAN ICONUPPER
DISPLAY
AUDIO
DISPLAY
BUTTONPRESET
ICONS
TUNE/MODE
KNOB
Page 191 of 429

�µ
�µ
�µ
The ignition switch must be in
ACCESSORY (I) or ON (II) to
operate the audio system. Turn the
system on by pressing the PWR/
VOL knob, the AM/FM button, or
the AUDIO DISPLAY button. Adjust
the volume by turning the PWR/
VOL knob.
The band and f requency that the
radio was last tuned to is displayed.
To change bands, press the AM/FM
button. On the FM band, ST will be
seen in the upper display if the
stationisbroadcastinginstereo.
Stereo reproduction on AM is not
available. You can use any of f ive methods to
f ind radio stations on the selected
band: TUNE, SEEK, SCAN, AUTO
SELECT, and the preset icons.
The SCAN function
samples all the stations with strong
signals on the selected band. To
activate it, push and release the
SCAN button on the driver’s side of
the audio display or touch the SCAN
icon at the bottom of the display.
You will see SCAN in the display.
The system will scan up the band for
a station with a strong signal. When
it f inds one, it will stop and play that
station f or approximately f ive
seconds. If you do nothing, the
system will then scan f or the next
strong station and play that for five
seconds. When it plays a station that
you want to continue listening to,
press the SCAN button or touch the
SCAN icon again.
Use the TUNE knob to
tune the radio to a desired f requency.
Turn the knob to the right to tune to
a higher f requency, or to the lef t to
tune to a lower f requency.
The SEEK f unction
searches the band for a station with
a strong signal. To activate it, press
the SEEK bar ( or ) until
you hear a beep, then release it.
Depending on which side of the
SEEK bar you press, the system
scans upward or downward f rom the
current f requency. It stops when it
finds a station with a strong signal.
Operating the Radio
SCA N
TUNE
SEEK
Audio System
Comf ort and Convenience Feat ures188
Page 192 of 429

�µ�µ �µ
CONT INUED
You can store the
f requencies of your f avorite radio
stations in the six preset icons. Each
icon will store one f requency on the
AM band, and two f requencies on
the FM band.
To store a f requency: Push the AUDIO DISPLAY button
to view the audio display. You will
see the six preset icons.
Select the desired band, AM or
FM. FM1 and FM2 let you store
two f requencies with each preset
icon.
UsetheTUNE,SEEK,orSCAN
function to tune the radio to a
desired station.
Pick the preset icon (1 6) you
want for that station. Touch the
icon, and hold it until you hear a
beep. Repeat steps 2 to 4 to store a total
of six stations on AM and twelve
on FM.
Once a station’s f requency is stored,
simply touch the proper preset icon
to tune to it.
The preset f requencies will be lost if
your car’s battery goes dead, is
disconnected, or the radio f use is
removed. If you are
traveling far from home and can no
longer receive the stations you
preset, you can use the Auto Select
feature to find stations in the local
area.
To activate Auto Select, touch the
Auto Select icon on the display. The
A.SEL indicator will f lash in the
upper display, and the system will go
into scan mode f or several seconds.
It automatically scans both bands,
looking f or stations with strong
signals. It stores the f requencies of
six AM stations and twelve FM
stations in the preset icons. You can
then use the preset icons to select
those stations.
1.
2.
3.
4. 5.
Audio System
Comf ort and Convenience Feat ures
Preset
A UT O SEL ECT
189
Page 196 of 429
If you want to adjust the sound while
the radio/CD is playing, push the
AUDIO DISPLAY button, then touch
the SOUND icon in the display.
To return to the previous display,
push the AUDIO DISPLAY button
again.The upper display shows the time
when the ignition switch is in
ACCESSORY (I) or ON (II). The
Navigation System receives signals
f rom the Global Positioning System
(GPS), and the displayed time is
updated automatically by the GPS.
Ref er to the Navigation System
Owner’s Manual to set up the time. Digital Clock
Audio System
Comf ort and Convenience Feat ures193
Page 197 of 429
Your Honda’s radio can receive the
complete AM and FM bands.
Those bands cover these f requen-
cies:
AM band:
530 to 1,710 kilohertz
FM band:
87.7 to 107.9 megahertz
Radio stations on the AM band are
assigned f requencies at least ten
kilohertz apart (530, 540, 550).
Stations on the FM band are
assigned f requencies at least 0.2
megahertz apart (87.9, 88.1, 88.3).
Stations must use these exact
f requencies. It is f airly common f or
stations to round-of f the f requency in
their advertising, so your radio could
display a f requency of 100.9 even
though the announcer may identif y
the station as ‘‘FM101.’’How well your Honda’s radio
receives stations is dependent on
many f actors, such as the distance
from the station’s transmitter,
nearby large objects, and atmos-
pheric conditions.
A radio station’s signal gets weaker
as you get f arther away f rom its
transmitter. If you are listening to an
AM station, you will notice the sound
volume becoming weaker, and the
stationdriftinginandout.If youare
listening to an FM station, you will
see the stereo indicator f lickering of f
and on as the signal weakens.
Eventually, the stereo indicator will
go of f and the sound will f ade
completely as you get out of range of
the station’s signal.
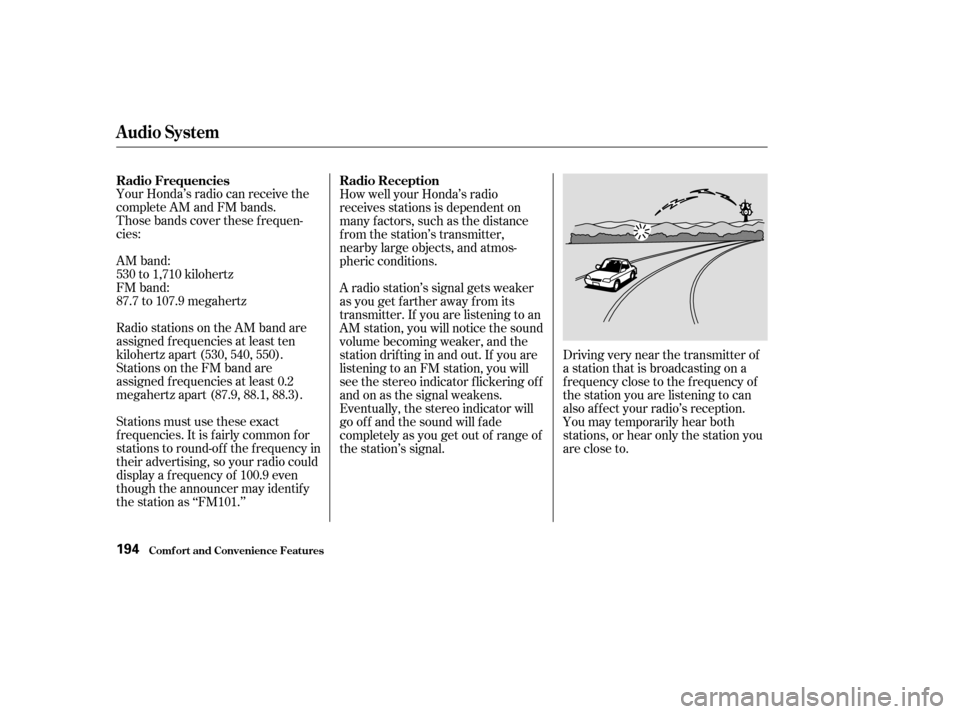
Driving very near the transmitter of
a station that is broadcasting on a
f requency close to the f requency of
the station you are listening to can
also af f ect your radio’s reception.
You may temporarily hear both
stations,orhearonlythestationyou
are close to.
Radio Frequencies
Radio Reception
Audio System
Comf ort and Convenience Feat ures194
Page 198 of 429
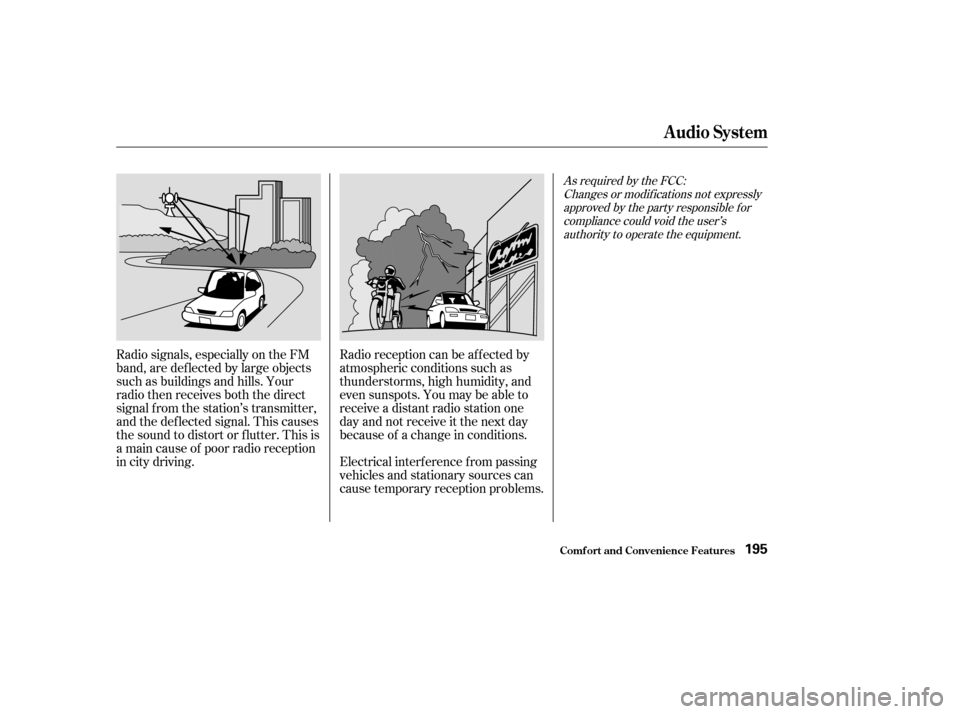
Radio signals, especially on the FM
band, are def lected by large objects
such as buildings and hills. Your
radio then receives both the direct
signal f rom the station’s transmitter,
and the def lected signal. This causes
the sound to distort or flutter. This is
a main cause of poor radio reception
in city driving.Radio reception can be af f ected by
atmospheric conditions such as
thunderstorms, high humidity, and
even sunspots. You may be able to
receive a distant radio station one
day and not receive it the next day
because of a change in conditions.
Electrical interf erence f rom passing
vehicles and stationary sources can
cause temporary reception problems.
As required by the FCC:
Changes or modif ications not expresslyapproved by the party responsible f orcompliance could void the user’sauthority to operate the equipment.
Audio System
Comf ort and Convenience Feat ures195
Page 199 of 429
Your Honda’s audio system has an
in-dash CD changer that holds up to
six discs, providing several hours of
continuous entertainment. You
operate this CD changer with the
same controls used f or the radio.
To load CDs or operate the CD
changer, the ignition switch must be
in ACCESSORY (I) or ON (II).
Load and play only standard round
discs. Odd-shaped CDs may jam in
the drive or cause other problems.
Avoid using CDs that have adhesive-
type labels. The edges can curl up
and cause the CD to jam in the drive.
You cannot load and play 3-inch
(8-cm)discsinthissystem. Operating the CD Changer
Audio System
Comf ort and Convenience Feat ures196
PWR/VOL
KNOBCD SLOT
UPPER DISPLAY
CD/AUX
BUTTON
LOAD BUTTON AUDIO
DISPLAY
BUTTON
DISC BAR
CD LOAD
INDICATOR
EJECT
BUTTON
Page 206 of 429
For inf ormation on how to handle
and protect compact discs, see page.
If you press the eject button while
listening to the radio, or with the
audio system turned of f , the disc
that was last selected is ejected.
Af ter that disc is ejected, pressing
the eject button again will eject the
next disc in numerical order. By
doing this six times, you can remove
all the CDs f rom the changer.
In any mode, if you press the eject
button and hold it until you hear a
beep, the system will eject all of the
discs in the changer.
You can also eject discs when the
ignition switch is of f by pressing the
eject button. The disc that was last
selected is ejected f irst. You can
eject all six discs, one at a time. 205
Protecting Compact Discs
Audio System
Comf ort and Convenience Feat ures203