2003 GMC SIERRA DENALI door lock
[x] Cancel search: door lockPage 94 of 428
Theft-Deterrent Systems
Vehicle theft is big business, especially in some cities.
Although your vehicle has a number of theft-deterrent
features, we know that nothing we put on it can make
it
impossible to steal. However, there are ways you
can help.
Content Theft-Deterrent
Your vehicle is equipped with a content theft-deterrent
alarm system.
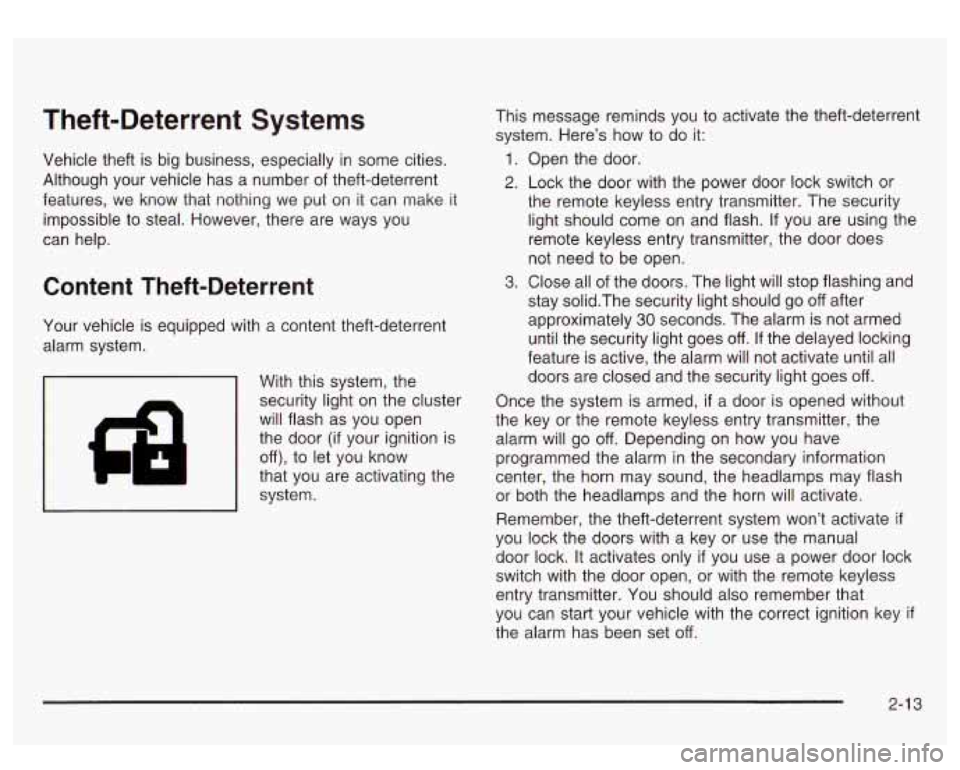
With this system, the
security light on the cluster
will flash
as you open
the door
(if your ignition is
off), to let you know
that you are activating the
system. This
message reminds you to activate the theft-deterrent
system. Here’s how to do it:
1. Open the door.
2. Lock the door with the power door lock switch or
the remote keyless entry transmitter. The security light should come on and flash.
If you are using the
remote keyless entry transmitter, the door does
not need to be open.
3. Close all of the doors. The light will stop flashing and
stay solid.The security light should go
off after
approximately
30 seconds. The alarm is not armed
until the security light goes
off. If the delayed locking
feature is active, the alarm will not activate until all
doors are closed and the security light goes
off.
Once the system is armed, if a door is opened without
the key or the remote keyless entry transmitter, the
alarm will go
off. Depending on how you have
programmed the alarm in the secondary information
center, the horn may sound, the headlamps may flash
or both the headlamps and the horn will activate.
Remember, the theft-deterrent system won’t activate
if
you lock the doors with a key or use the manual
door lock. It activates only
if you use a power door lock
switch with the door open, or with the remote keyless
entry transmitter. You should also remember that
you can start your vehicle with the correct ignition key
if
the alarm has been set off.
Page 95 of 428
Here’s how to avoid setting off the alarm by accident:
If you don’t want to activate the theft-deterrent
system, the vehicle should be locked with the door
key after the doors are closed.
Always unlock a door with a key, or use the remote
keyless entry transmitter. Unlocking a door any
other way will set
off the alarm if the system
has been armed.
If you set off the alarm by accident, unlock any door
with the key. You can also turn
off the alarm by pressing
UNLOCK on the remote keyless entry transmitter or
by placing the key in the ignition and turning it to
START.
Testing the Alarm
The alarm can be tested by following these steps:
1. From inside the vehicle, lower the driver’s window
and open the driver’s door.
2. Activate the system by locking the doors with the
power door lock switch while the door is open, or
with the remote keyless entry transmitter.
3. Get out of the vehicle, close the door and wait for
the security message
to go out.
4. Then reach in through the window, unlock the door
with the manual door lock and open the door. This
should set
off the alarm. If the
alarm does not sound and the headlamps do not
flash, you may have the feature turned
off. See DIC
Operation and Displays on page 3-43 for more
information.
Passlock@
Your vehicle is equipped with the
Passlock@ theft-deterrent system.
Passlock@ is a passive theft-deterrent system.
Passlock@ enables fuel
if the ignition lock cylinder is
turned with a valid key.
If a correct key is not used or the
ignition lock cylinder is tampered with, fuel is disabled.
If the engine stalls and the security light flashes,
wait until the light stops flashing before trying to restart
the engine. Remember
to release the key from
START as soon as the engine starts.
If the engine is running and the security light comes on,
you will be able
to restart the engine if you turn the
engine
off. However, your Passlock@ system is
not working properly and must be serviced by your
dealer. Your vehicle is not protected by Passlock@ at this
time. You may also want to check the fuse (see
Fuses and Circuit Breakers on page 5-95.) See your
dealer for service.
In an emergency, call the GM Roadside Assistance
Center. See
Roadside Assistance Program on page 7-5
under Customer Assistance Information.
2-1 4
Page 114 of 428
Onstar@ System
I I
Onstar@ uses global positioning system (GPS) satellite
technology, wireless communications, and state of
the art call centers to provide you with a wide range of
safety, security, information and convenience services.
An Onstar@ subscription plan is included in the price
of your vehicle. You can easily upgrade or extend your
Onstar@ services to meet your personal needs.
A complete Onstar@ user’s guide and the terms and
conditions of the Onstar@ Subscription Service
Agreement are included in your Onstar@-equipped
vehicle’s glove box literature. For more information, visit
www.onstar.com, contact Onstar@ at
1 -888-4-ONSTAR
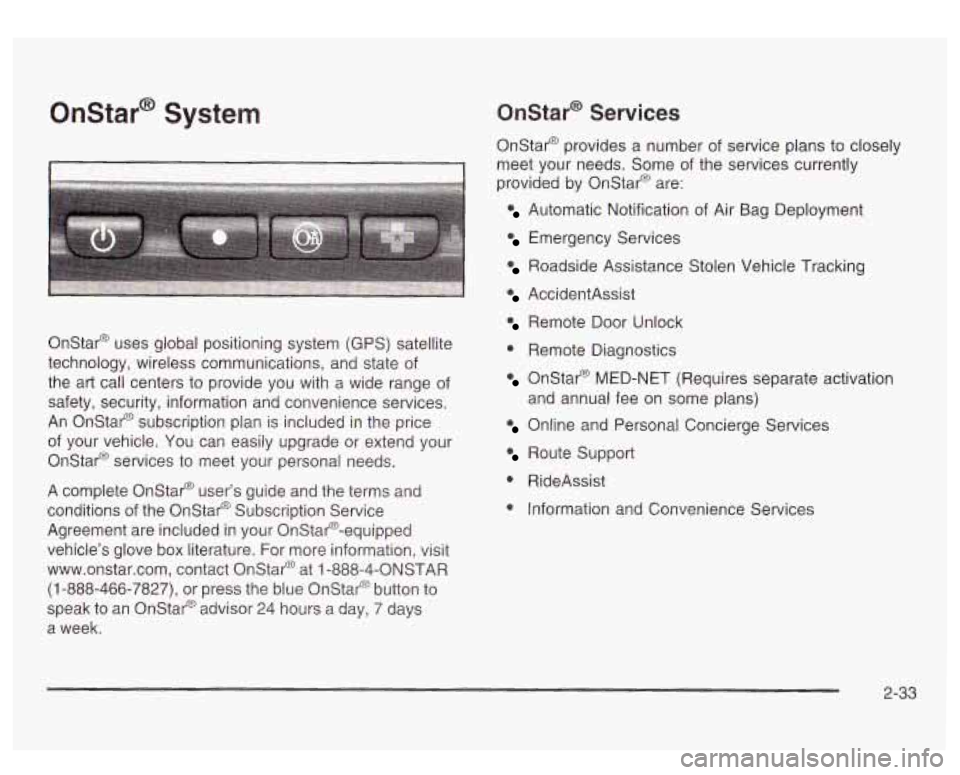
(1-888-466-7827), or press the blue Onstar@ button to
speak to an Onstat@ advisor 24 hours a day, 7 days
a week.
Onstar@ Services
Onstar@ provides a number of service plans to closely
meet your needs. Some of the services currently
provided by OnStar@ are:
Automatic Notification of Air Bag Deployment
Emergency Services
Roadside Assistance Stolen Vehicle Tracking
AccidentAssist
Remote Door Unlock
0 Remote Diagnostics
Onstar@ MED-NET (Requires separate activation
Online and Personal Concierge Services
and
annual fee on some plans)
Route Support
0 RideAssist
0 Information and Convenience Services
2-33
Page 116 of 428
HomeLink@ Transmitter
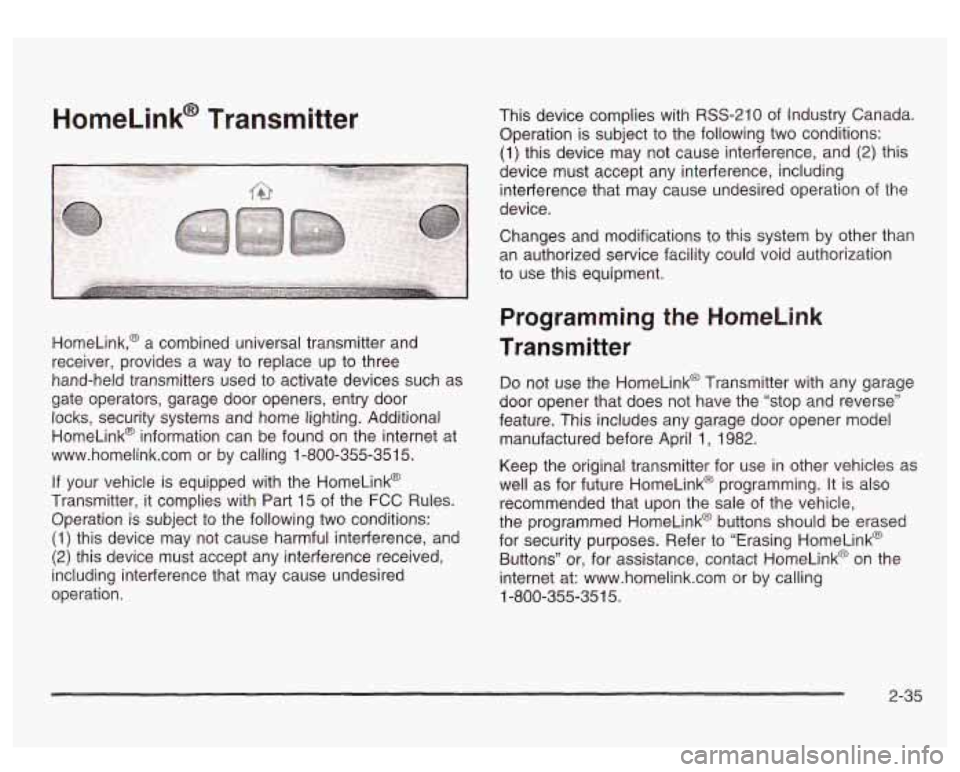
HomeLink,@ a combined universal transmitter and
receiver, provides a way to replace up to three
hand-held transmitters used to activate devices such as
gate operators, garage door openers, entry door locks, security systems and home lighting. Additional
HomeLink@ information can be found on the internet at
www.homelink.com or by calling 1-800-355-351
5.
If your vehicle is equipped with the HomeLink@
Transmitter, it complies with Part
15 of the FCC Rules.
Operation is subject to the following two conditions:
(1) this device may not cause harmful interference, and
(2) this device must accept any interference received,
including interference that may cause undesired
operation. This device complies
with RSS-210 of Industry Canada.
Operation
is subject to the following two conditions:
(1) this device may not cause interference, and (2) this
device must accept any interference, including
interference that may cause undesired operation of the
device.
Changes and modifications to this system by other than
an authorized service facility could void authorization
to use this equipment.
Programming the HomeLink
Transmitter
Do not use the HomeLink@ Transmitter with any garage
door opener that does not have the “stop and reverse”
feature. This includes any garage door opener model
manufactured before April
1, 1982.
Keep the original transmitter for use in other vehicles as
well as for future HomeLink@ programming. It is also
recommended that upon the sale of the vehicle,
the programmed HomeLink@ buttons should be erased
for security purposes. Refer to “Erasing HomeLink@
Buttons” or, for assistance, contact HomeLinkO on the
internet at: www.homelink.com or by calling
1-800-355-351
5.
2-35
Page 120 of 428
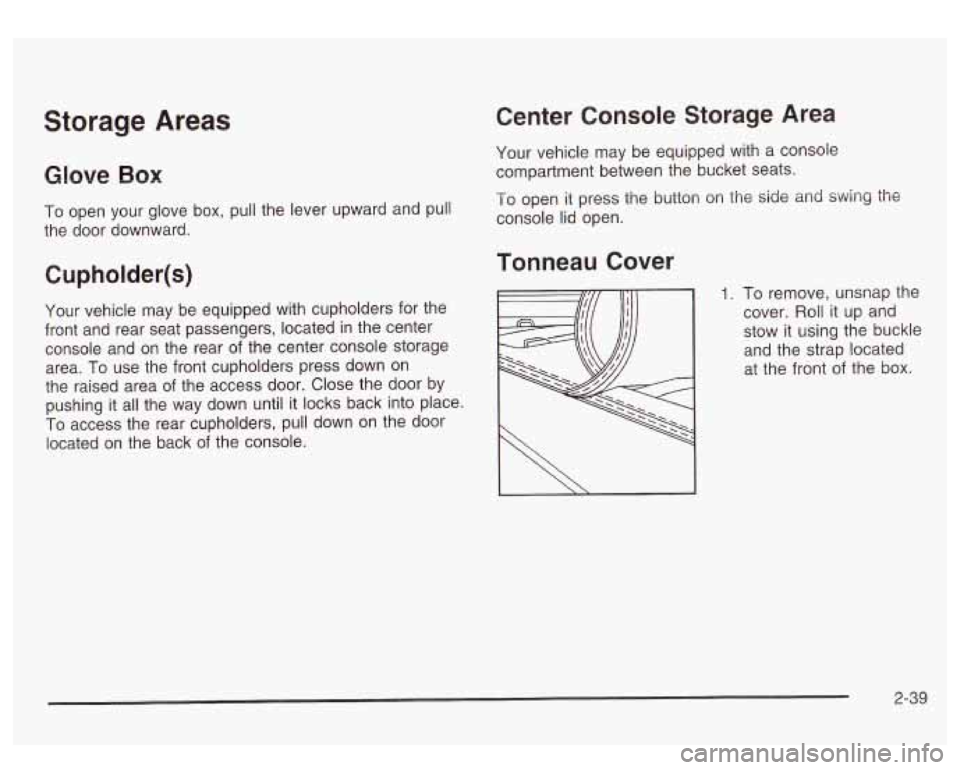
Storage Areas
Glow Box
To open your glove box, pull the lever upward and pull
the door downward.
Cupholder(s)
Your vehicle may be equipped with cupholders for the
front and rear seat passengers, located in the center
console and on the rear of the center console storage
area.
To use the front cupholders press down on
the raised area
of the access door. Close the door by
pushing it all the way down until it locks back into place.
To access the rear cupholders, pull down on the door
located on the back of the console.
Center Console Storage Area
Your vehicle may be equipped with a console
compartment between the bucket seats.
To open it press the button on the side and swing the
console lid open.
Tonneau Cover
1. To remove, unsnap the
cover. Roll it up and
stow it using the buckle
and the strap located
at the front
of the box.
I \ I
2-39
Page 123 of 428

Vehicle Personalization
Memory Seat
If your vehicle has this
feature, then the controls for the memory function
are located on the
driver’s door.
I
~
These buttons are used to program and recall memory
settings for the driver’s seat, both the driver’s and
passenger’s outside mirror, and the radio station
presets. The settings for these features can be
personalized for both driver
1 and driver 2. Driver 1 or
driver
2 corresponds to the memory buttons labeled
land
2 on the driver’s door. To store
your memory seat, mirrors and radio presets,
do the following:
1. Adjust the driver’s seat (including the seatback
recliner, lumbar, and side wing area), both of the
outside mirrors, and the radio station presets to your
preference.
2. Press and hold the 1 or 2 (for driver lor 2) button
of the memory control for three seconds.
A double
chime will sound to let you know that the position
has been stored.
To repeat the procedure for a second driver, follow the
preceding steps, but press the other numbered
memory control button.
Each time button
1 or 2 is pressed and released while
the vehicle is in PARK (P), a single chime will sound and
the memory position will be recalled.
If you use the unlock button on the remote keyless entry
transmitter to enter your vehicle, the preset driver’s
seat, mirror positions and the radio station presets will
be recalled
if programmed to do so through the
Driver Information Center (DIC). The numbers on the
back of the transmitters,
1 or 2, correspond to the
numbers on the memory controls.
2-42
Page 137 of 428

Automatic Headlamp System
When it is dark enough outside, your automatic
headlamp system will turn on your headlamps at the
normal brightness along with other lamps such as
the taillamps, sidemarker, parking lamps and the
instrument panel lights. The radio lights will also be dim.
Your vehicle is equipped with a headlamp off delay,
which will keep the headlamps on for a short time after
the ignition is turned
off. For more information see
DIC Operation and Displays on page 3-43.
Your vehicle has a light sensor located on the top of the
instrument panel in the defroster grille. Be sure it is
not covered, or the system will be on whenever
the ignition is on.
The system may also turn on your headlamps when
driving through a parking garage, heavy overcast
weather or a tunnel. This is normal.
There is a delay in the transition between the daytime
and nighttime operation of the Daytime Running
Lamps (DRL) and the automatic headlamp systems
so
that driving under bridges or bright overhead street
lights does not affect the system. The DRL and
automatic headlamp system will only be affected when
the light sensor sees a change in lighting lasting
longer than the delay. one
minute for the automatic headlamp system to
change to DRL
if it is bright enough outside. During that
delay, your instrument panel cluster may not be as
bright as usual. Make sure your instrument panel
brightness control is in the full bright position. See
“Instrument Panel Brightness Control’’ under
Interior
Lamps on page
3-15.
To idle your vehicle with the automatic headlamp
system off, turn the control to the
off position.
You may be able to turn off your automatic headlamp
system. See Daytime Running Lamps (DRL) later in this
section for more information.
Your headlamps will also stay on after you exit the
vehicle. You can program this feature using the Driver
lnforrnation Center. See
Driver lnforrnation Center @IC)
on page
3-43
As with any vehicle, you should turn on the regular
headlamps
if you need them.
Lamps On Reminder
A reminder chime will sound when your headlamps or
parking lamps are manually turned on and your
ignition is off, in LOCK, ACCESSORY, or your door is
open. To disable the chime, turn the light
off, then
back on.
If you start your vehicle in a dark garage, the automatic
headlamp system will come on immediately. Once
you leave the garage, it will take approximately
3-1 2
Page 138 of 428

Daytime Running Lamps
Daytime Running Lamps (DRL) can make it easier for
others to see the front of your vehicle during the
day. DRL can be helpful
in many different driving
conditions, but they can be especially helpful in the short
periods after dawn and before sunset. Fully functional
daytime running lamps are required on all vehicles
first sold in Canada.
The DRL system will come on when the following
conditions are met:
The ignition is on,
0 the exterior lamp control is in AUTO
0 the automatic transmission is not in PARK (P), and
0 the light sensor determines it is daytime.
When the
DRL are on, only your DRL lamps will be on.
The taillamps, sidemarker and other lamps won’t be
on. The instrument panel won’t be lit up either. When
it begins to
get dark, the automatic headlamp
system will switch from DRL to the headlamps or the last
chosen headlamp setting that was used.
W-hen you turn the exterior iamp controi
to off, the
headlamps will go off, and your DRL lamps will
illuminate, provided it is not dark outside.
Shifting the transmission into PARK
(P) will allow you to
idle the vehicle with the DRL off. The DRL will stay
off until you release the parking brake or shift the
transmission out of PARK (P).
Puddle Lamps
Your vehicle is equipped with puddle lamps to help you
see the area near the base
of the front doors when it
is dark out. The puddle lamps will illuminate when a door
is opened or when you press the UNLOCK button on
the keyless entry transmitter.
3-1 3