Page 30 of 200

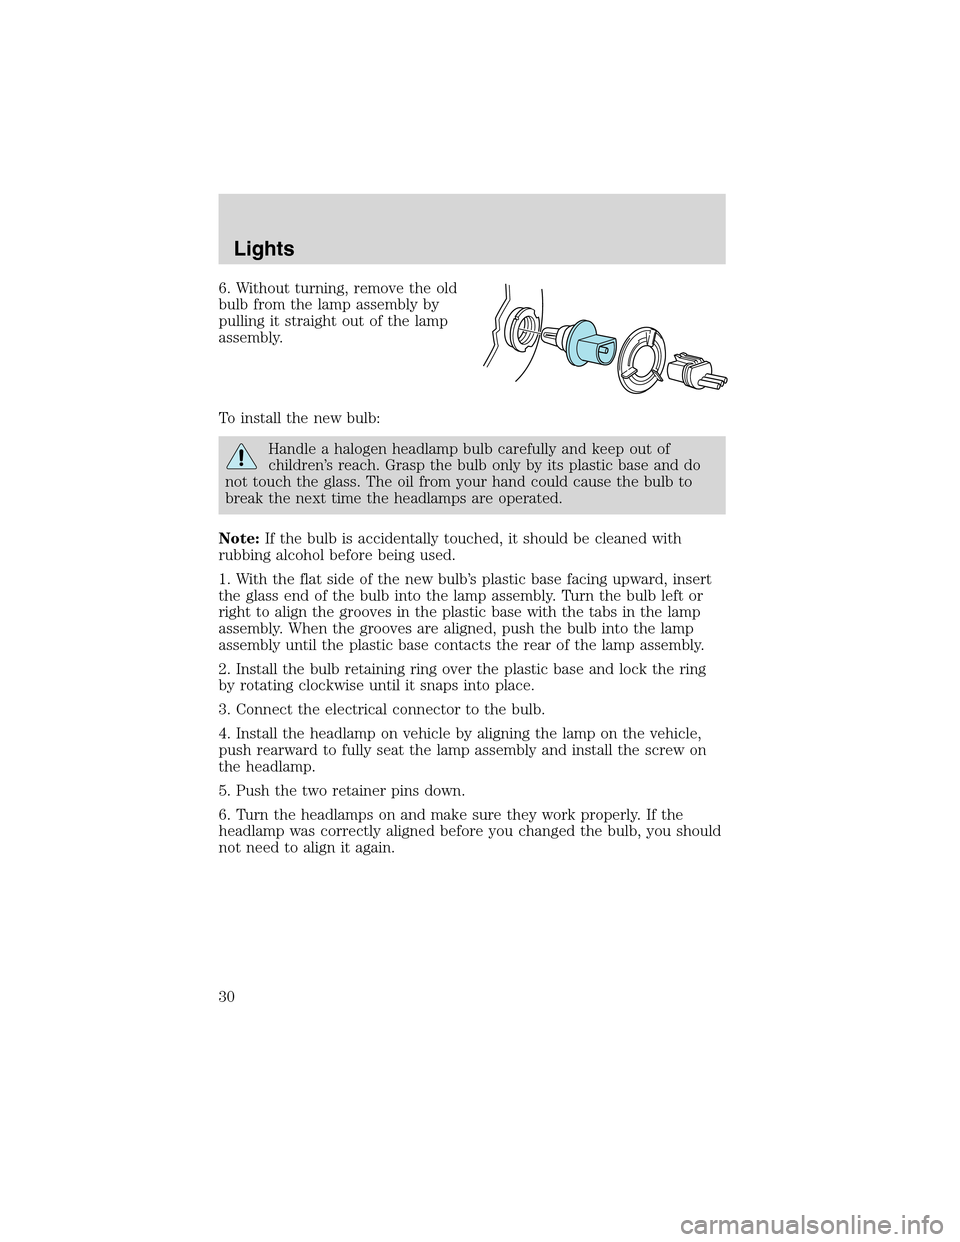
6. Without turning, remove the old
bulb from the lamp assembly by
pulling it straight out of the lamp
assembly.
To install the new bulb:
Handle a halogen headlamp bulb carefully and keep out of
children’s reach. Grasp the bulb only by its plastic base and do
not touch the glass. The oil from your hand could cause the bulb to
break the next time the headlamps are operated.
Note:If the bulb is accidentally touched, it should be cleaned with
rubbing alcohol before being used.
1. With the flat side of the new bulb’s plastic base facing upward, insert
the glass end of the bulb into the lamp assembly. Turn the bulb left or
right to align the grooves in the plastic base with the tabs in the lamp
assembly. When the grooves are aligned, push the bulb into the lamp
assembly until the plastic base contacts the rear of the lamp assembly.
2. Install the bulb retaining ring over the plastic base and lock the ring
by rotating clockwise until it snaps into place.
3. Connect the electrical connector to the bulb.
4. Install the headlamp on vehicle by aligning the lamp on the vehicle,
push rearward to fully seat the lamp assembly and install the screw on
the headlamp.
5. Push the two retainer pins down.
6. Turn the headlamps on and make sure they work properly. If the
headlamp was correctly aligned before you changed the bulb, you should
not need to align it again.
Lights
30
Page 31 of 200
Replacing front parking lamp/turn signal bulbs
1. Make sure headlamp switch is in
OFF position, then open the hood.
2. Pry up the two retainer pins to
release the headlamp assembly from
the vehicle.
3. Remove the screw from the back
of the headlamp and pull headlamp
forward.
4. Rotate bulb socket
counterclockwise and remove from
lamp assembly.
5. Carefully pull bulb straight out of
socket and push in the new bulb.
6. Install bulb socket in lamp
assembly by turning clockwise.
7. Install the headlamp on vehicle by
aligning the lamp on the vehicle,
push rearward to fully seat the lamp
assembly and install the screw on the headlamp.
8. Push the two retainer pins down.
9. Turn the lamps on and make sure the new bulb works properly.
Lights
31
Page 32 of 200
Replacing front/rear side marker bulbs
1. Make sure the headlamp switch is
in the OFF position and then
remove the screw and carefully pull
the lamp assembly out from the
bumper.
2. Rotate bulb socket
counterclockwise and remove from
lamp assembly.
3. Carefully pull bulb straight out of
socket and push in the new bulb.
4. To complete installation, follow the removal procedure in reverse
order.
Replacing supplemental parking lamp bulbs (if equipped)
1. Make sure the headlamp switch is
in the OFF position and then
remove the screw and carefully pull
the lamp assembly out from the
bumper.
2. Rotate the bulb socket
counterclockwise and remove from
lamp assembly.
3. Pull the bulb straight out of the
socket and push in the new bulb.
4. To complete installation, follow the removal procedure in reverse
order.
Lights
32
Page 33 of 200
Replacing tail/brake/turn/backup lamp bulbs
The tail/brake//turn/backup bulbs are located in the tail lamp assembly,
one just below the other. Follow the same steps to replace either bulb:
Prior to pulling the carpet away, in
step 1, the trunk trim scuff plate
must be removed. This can be
accomplished by pulling gently on
the component until the 6 push pins
along the rear of the trunk release.
The part can be placed aside and
the carpet pulled away. To replace
the piece, re-align the pins and push
into place.
1. Make sure the headlamp switch is
in the OFF position and then open
the trunk and carefully pull the
carpet away to expose the nut and
washer assemblies.
2. Remove the two nut and washer
assemblies from the lamp assembly.
3. Pull the lamp assembly towards
the rear of the vehicle disengaging
the ball stud locator from the ball
stud socket in the body. Carefully remove the lamp assembly from the
vehicle.
Lights
33
Page 34 of 200
4. Rotate the bulb socket
counterclockwise and remove from
lamp assembly.
5. Pull the bulb straight out of the
socket and push in the new bulb.
6. To complete installation, follow
the removal procedure in reverse
order.
Replacing license plate lamp bulbs
1. Make sure the headlamp switch is
in the OFF position and then
remove two screws and the license
plate lamp assembly from the
vehicle.
2. Rotate bulb socket
counterclockwise and remove from
lamp assembly.
3. Carefully pull the bulb from the
socket and push in the new bulb.
4. Install the lamp assembly on liftgate with two screws.
Replacing high-mount brake lamp assembly
For bulb replacement, see a dealer or qualified technician.
Lights
34
Page 103 of 200

Extended idling at high engine speeds can produce very high
temperatures in the engine and exhaust system, creating the risk
of fire or other damage.
Do not park, idle, or drive your vehicle in dry grass or other dry
ground cover. The emission system heats up the engine
compartment and exhaust system, which can start a fire.
Do not start your vehicle in a closed garage or in other enclosed
areas. Exhaust fumes can be toxic. Always open the garage door
before you start the engine. SeeGuarding against exhaust fumesin
this chapter for more instructions.
If you smell exhaust fumes inside your vehicle, have your dealer
inspect your vehicle immediately. Do not drive if you smell
exhaust fumes.
Important safety precautions
When the engine starts, the idle RPM runs faster to warm the engine. If
the engine idle speed does not slow down automatically, have the vehicle
checked.
Before starting the vehicle:
1. Make sure all occupants buckle their safety belts. For more
information on safety belts and their proper usage, refer to theSeating
and safety restraintschapter.
2. Make sure the headlamps and electrical accessories are off.
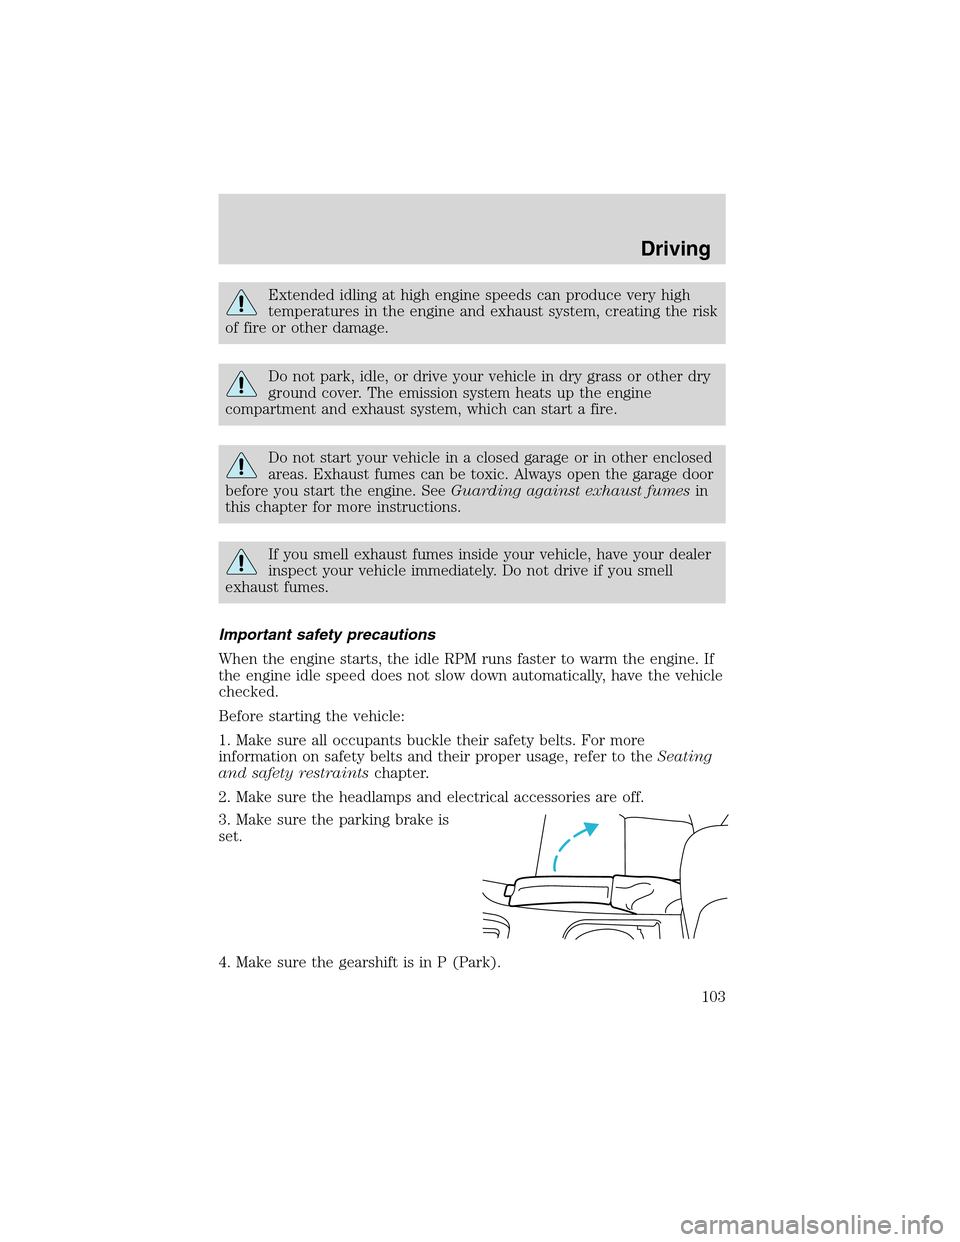
3. Make sure the parking brake is
set.
4. Make sure the gearshift is in P (Park).
Driving
103
Page 120 of 200
The fuses are coded as follows.
Fuse/Relay
LocationFuse Amp
RatingPassenger Compartment Fuse
Panel Description
1 5A Starter relay coil
2 5A Radio start signal
3 5A ABS module
4 5A Cluster, PCM relay coil, Inertia
switch, Transmission park switch
5 5A Traction control switch, Speed
control brake switch
6 10A OBD II
7 5A PCM, RKE, Theft indicator
8 5A Right-hand turn/park/side marker
9 15A Right-hand headlamp
SEE
OWNER'S MANUAL
RELAY 1
REPLACEMENT
FUSES
FUSE 8FUSE 9FUSE 10FUSE 11FUSE 12FUSE 13FUSE 14FUSE 15FUSE 16FUSE 17FUSE 18FUSE 19FUSE 20FUSE 21
FUSE 1FUSE 2FUSE 3FUSE 4FUSE 5FUSE 6FUSE 7
FUSE 22FUSE 23FUSE 24FUSE 25FUSE 26FUSE 27FUSE 28FUSE 29FUSE 30FUSE 31FUSE 32FUSE 33FUSE 34FUSE 35
Roadside Emergencies
120
Page 121 of 200
Fuse/Relay
LocationFuse Amp
RatingPassenger Compartment Fuse
Panel Description
10 5A Left-hand turn/park/side marker
11 15A Left-hand headlamp
12 10A Passenger air bag on/off switch
13 5A Cluster
14 10A Air bag module
15 5A Not used (spare)
16 5A Not used (spare)
17 5A Cluster
18 20A Radio
19 20A Tilt/Tele motors
20 10A FEM, DATC, Cluster
21 10A Not used (spare)
22 10A Not used (spare)
23 10A Not used (spare)
24 5A Passive anti-theft transceiver
25 10A Not used (spare)
26 3A Windshield wiper relay
27 10A Radio
28 10A Not used (spare)
29 5A DATC
30 5A FEM
31 10A Map, Courtesy and Glove box
lamps
32 20A Cigar lighter
33 10A Dimmer control lamps
34 5A Outside mirrors
35 5A Stoplamp switch
Relay 1 — Not used
Roadside Emergencies
121