2003 FORD SUPER DUTY air filter
[x] Cancel search: air filterPage 6 of 64
Air filter restriction gauge
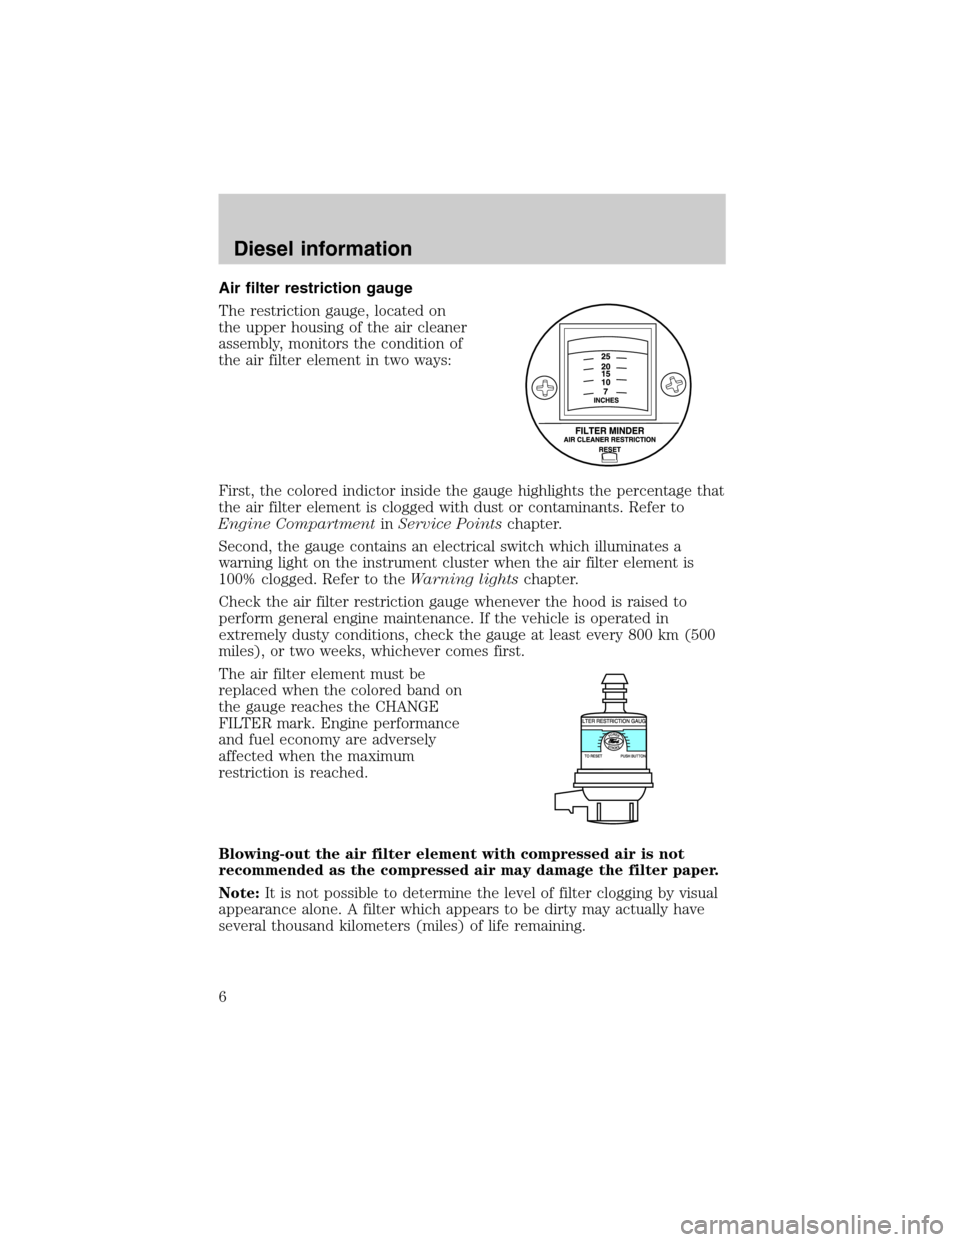
The restriction gauge, located on
the upper housing of the air cleaner
assembly, monitors the condition of
the air filter element in two ways:
First, the colored indictor inside the gauge highlights the percentage that
the air filter element is clogged with dust or contaminants. Refer to
Engine CompartmentinService Pointschapter.
Second, the gauge contains an electrical switch which illuminates a
warning light on the instrument cluster when the air filter element is
100% clogged. Refer to theWarning lightschapter.
Check the air filter restriction gauge whenever the hood is raised to
perform general engine maintenance. If the vehicle is operated in
extremely dusty conditions, check the gauge at least every 800 km (500
miles), or two weeks, whichever comes first.
The air filter element must be
replaced when the colored band on
the gauge reaches the CHANGE
FILTER mark. Engine performance
and fuel economy are adversely
affected when the maximum
restriction is reached.
Blowing-out the air filter element with compressed air is not
recommended as the compressed air may damage the filter paper.
Note:It is not possible to determine the level of filter clogging by visual
appearance alone. A filter which appears to be dirty may actually have
several thousand kilometers (miles) of life remaining.
Diesel information
6
Page 7 of 64
Always use the underhood air filter restriction gauge or engine
air filter warning light on the instrument cluster to determine
when the air filter element needs to be changed.
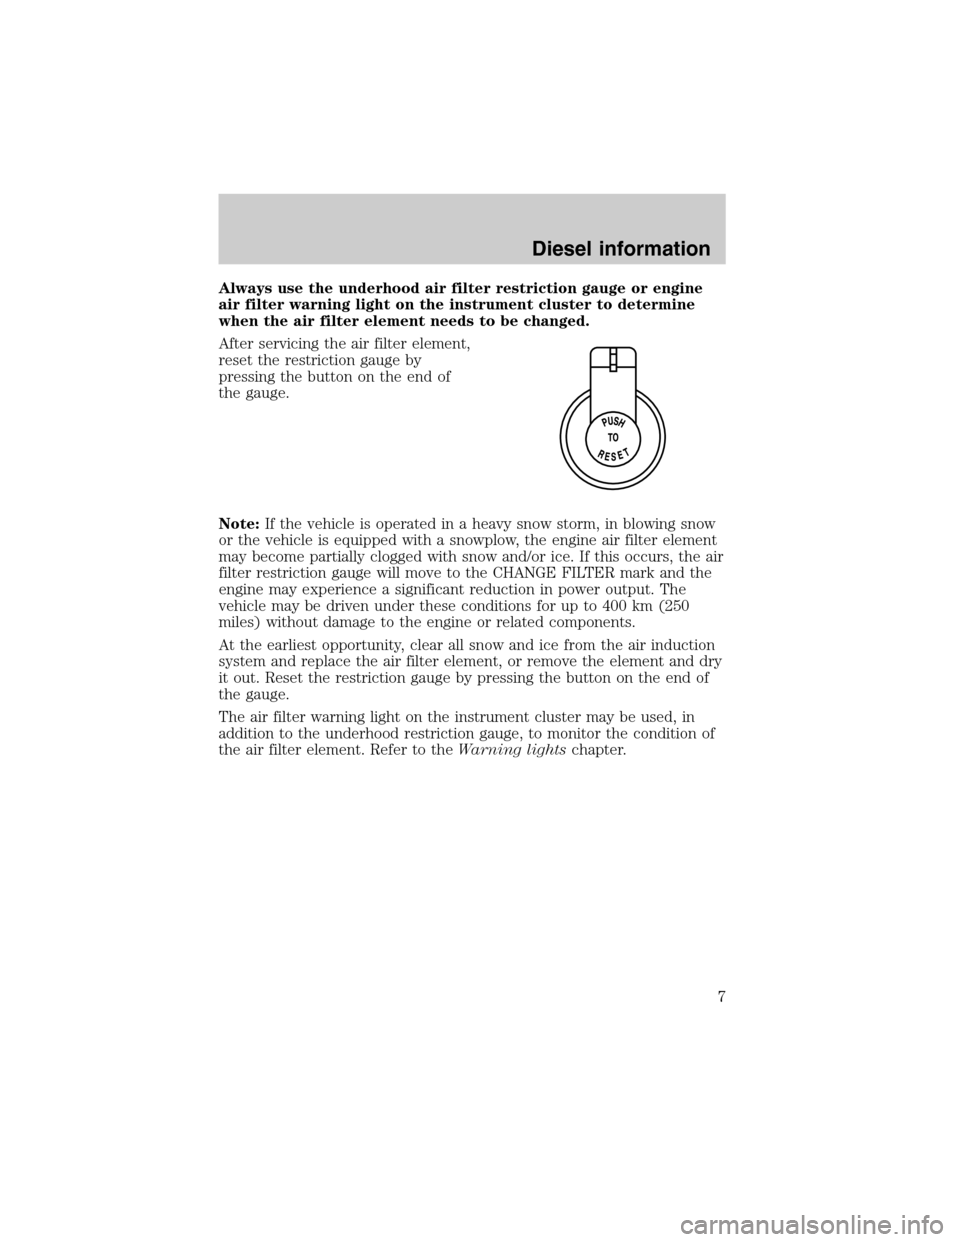
After servicing the air filter element,
reset the restriction gauge by
pressing the button on the end of
the gauge.
Note:If the vehicle is operated in a heavy snow storm, in blowing snow
or the vehicle is equipped with a snowplow, the engine air filter element
may become partially clogged with snow and/or ice. If this occurs, the air
filter restriction gauge will move to the CHANGE FILTER mark and the
engine may experience a significant reduction in power output. The
vehicle may be driven under these conditions for up to 400 km (250
miles) without damage to the engine or related components.
At the earliest opportunity, clear all snow and ice from the air induction
system and replace the air filter element, or remove the element and dry
it out. Reset the restriction gauge by pressing the button on the end of
the gauge.
The air filter warning light on the instrument cluster may be used, in
addition to the underhood restriction gauge, to monitor the condition of
the air filter element. Refer to theWarning lightschapter.
Diesel information
7
Page 9 of 64
Do not drain the HFCM while the engine is running. Fuel may
ignite if the separator is drained while the engine is running or
the vehicle is moving.
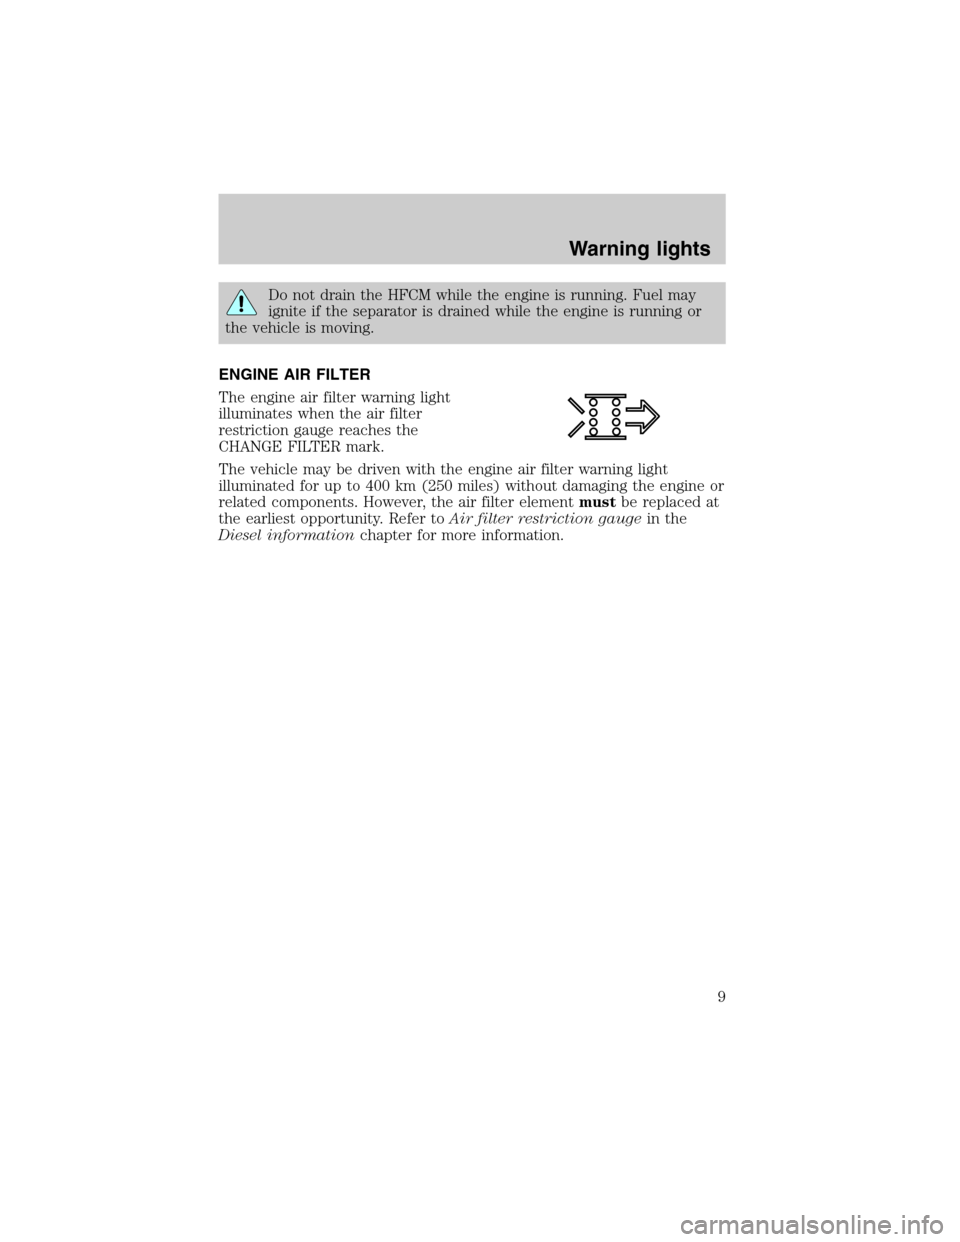
ENGINE AIR FILTER
The engine air filter warning light
illuminates when the air filter
restriction gauge reaches the
CHANGE FILTER mark.
The vehicle may be driven with the engine air filter warning light
illuminated for up to 400 km (250 miles) without damaging the engine or
related components. However, the air filter elementmustbe replaced at
the earliest opportunity. Refer toAir filter restriction gaugein the
Diesel informationchapter for more information.
Warning lights
9
Page 11 of 64
5. After the engine starts, allow it to idle for about 15 seconds. (Do not
increase engine speed until the oil pressure gauge indicates normal
pressure.)
STOPPING THE ENGINE
Turn the ignition to OFF. To prolong engine life (after extended high
speed or maximum GVW operation), it is recommended that a hot engine
be allowed to operate at low idle for about 7–10 minutes which would
allow sufficient time for the turbocharged engine to cool down.
COLD WEATHER OPERATION
Changing to a lighter grade engine oil also makes starting easier under
these conditions. Refer toEngine oil specificationsin theGeneral
maintenance informationchapter.
At temperatures below–7°C (20°F), Number 2–D Diesel fuel may
thicken enough to clog the fuel filter. Your vehicle is equipped with an
HFCM which acts as a fuel filter/heater/water separator to keep the wax
melted which will help prevent fuel filter clogging. However, if the engine
starts but stalls after a short time and will not restart, the fuel filter(s)
may be clogged. For best results in cold weather, use Number 1–D Diesel
fuel or“winterized”Number 2–D Diesel fuel which has an additive to
minimize wax formation.
Your vehicle is also equipped with a bypass relief valve, located on the
fuel control module, which provides fuel flow to the engine if the fuel
pickup should become plugged by ice or wax. To allow this bypass valve
to function and avoid engine fuel starvation, it is recommended that,
during cold weather operation 0°C (32°F) or below, the fuel level in your
tank should not be allowed to drop below 1/4 full. This will help prevent
air from entering the fuel system and stalling the engine.
In cold weather below 0°C (32°F) your Diesel engine will slowly increase
to a higher idle speed if left idling in P (Park). As the engine warms-up,
the engine sound level will decrease due to the activation of
PCM-controlled sound reduction features.
Operation in snow
Vehicle operation in heavy snowfall or in dry loose snow that may swirl
around the front of the vehicle may feed excessive amounts of snow into
the air intake system. This could plug the air cleaner with snow and
cause the engine to stall.
Refer toAir filter restriction gaugein theDiesel informationchapter
and Engine air filter in theWarning lightschapter for more information.
Starting
11
Page 24 of 64
FUEL REQUIREMENTS
The engine is designed to use low sulfur number 1–Dor2–D Diesel fuel
only. At temperatures below -7°C (20°F), number 1–D or winter blend
number 2–D fuel is recommended. (SeeCold weather operationin the
Startingchapter.)
Do not use fuel intended for agricultural use (agricultural fuel is
dyed red), home heating oil or any Diesel fuel not intended for
highway use. Damage to the fuel injection system, engine and
exhaust catalyst can occur if an improper fuel is used.
Do not add gasoline, gasohol or alcohol to Diesel fuel. This
practice creates a serious fire hazard and engine performance
problems.
It should not be necessary to add any aftermarket additives to your fuel
tank if you use a properly formulated Diesel fuel that meets the ASTM D
975 industry specification. Aftermarket additives can damage the injector
system or engine.
Do not blend used engine oil with Diesel fuel under any
circumstances.Blending used oil with the fuel will significantly increase
your vehicle’s exhaust emissions and reduce engine life due to increased
internal wear.
Do not crank the engine for more than 30 seconds at a time as
damage to the starter motor may result.
If the engine fails to start in 30 seconds, turn the key to the OFF
position and wait 30 seconds before trying again.
If air is allowed to enter the fuel system (during fuel filter change or if
you run out of fuel) the engine will purge the trapped air as it runs. The
engine may run rough and produce white smoke while air is in the
system. This is normal and should correct itself in a short time.
An engine that suddenly becomes noisy or operates poorly after a fuel fill
could be using substandard fuel (i.e., high water content, low cetane
rating or gasoline in the fuel). Diesel fuel should be purchased from a
reputable station which sells a large amount of Diesel fuel.
Care should be taken whenever Diesel fuel is stored. Use only clean,
approved containers which will prevent the entry of dirt or water.
General maintenance information
24
Page 25 of 64
Diesel fuel must not be stored in a galvanized container. The fuel will
dissolve the zinc in a galvanized container. The zinc will then remain in
solution until it is run through the engine where it will be deposited in
the fuel injectors causing expensive-to-repair damage.
Diesel fuel dispensing nozzle fill rate
Truck stops have pumps and nozzles designed for larger, heavy-duty
trucks. When refueling at truck stops: if the nozzle shuts off repeatedly
when refueling, wait 5–10 seconds; then use a slower rate of flow (don’t
depress the nozzle trigger as far).
This truck is equipped with a fuel fill pipe which is able to accept fuel up
to 20 gallons per minute from an 1 1/8 inch fuel dispensing nozzle.
Pumping fuel at greater flow rates may result in premature nozzle
shut-off or spitback.
HORIZONTAL FUEL CONDITIONING MODULE (HFCM) (FUEL
FILTER/WATER SEPARATOR)
The vehicle is equipped with a Horizontal Fuel Conditioning Module
(HFCM) located on the frame-rail under the driver-side floorboard near
the transmission.
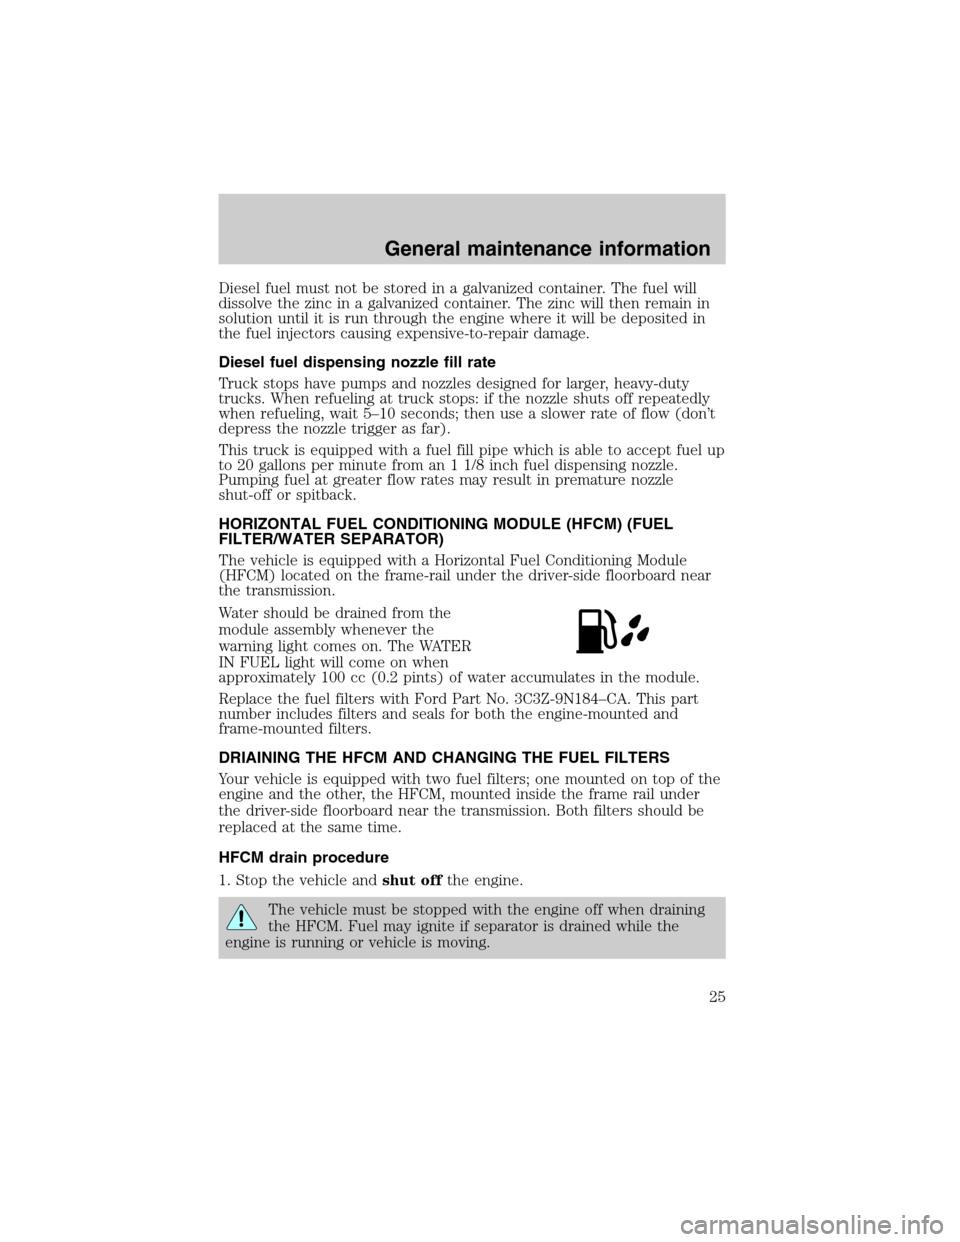
Water should be drained from the
module assembly whenever the
warning light comes on. The WATER
IN FUEL light will come on when
approximately 100 cc (0.2 pints) of water accumulates in the module.
Replace the fuel filters with Ford Part No. 3C3Z-9N184–CA. This part
number includes filters and seals for both the engine-mounted and
frame-mounted filters.
DRIAINING THE HFCM AND CHANGING THE FUEL FILTERS
Your vehicle is equipped with two fuel filters; one mounted on top of the
engine and the other, the HFCM, mounted inside the frame rail under
the driver-side floorboard near the transmission. Both filters should be
replaced at the same time.
HFCM drain procedure
1. Stop the vehicle andshut offthe engine.
The vehicle must be stopped with the engine off when draining
the HFCM. Fuel may ignite if separator is drained while the
engine is running or vehicle is moving.
General maintenance information
25
Page 26 of 64
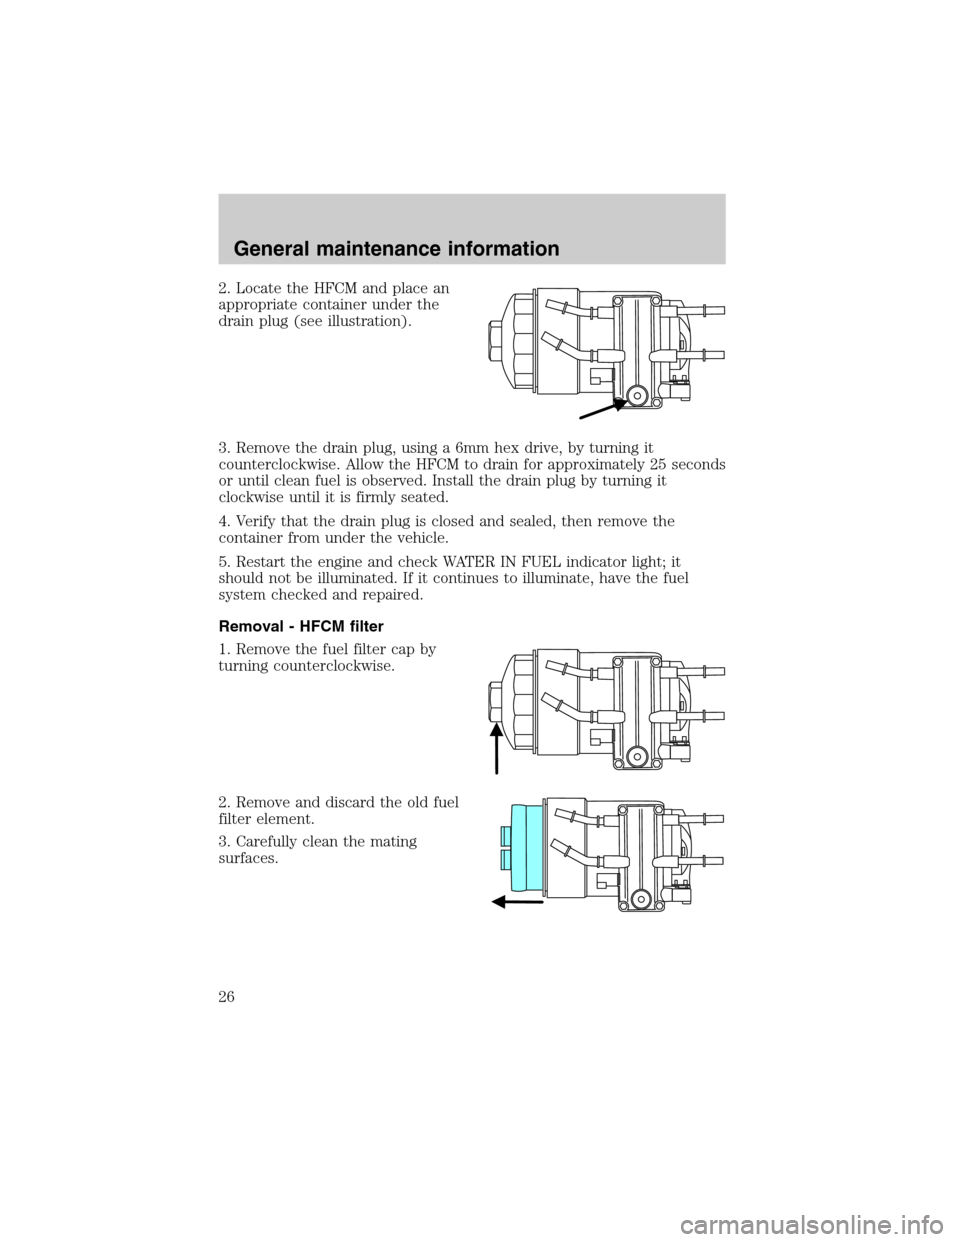
2. Locate the HFCM and place an
appropriate container under the
drain plug (see illustration).
3. Remove the drain plug, using a 6mm hex drive, by turning it
counterclockwise. Allow the HFCM to drain for approximately 25 seconds
or until clean fuel is observed. Install the drain plug by turning it
clockwise until it is firmly seated.
4. Verify that the drain plug is closed and sealed, then remove the
container from under the vehicle.
5. Restart the engine and check WATER IN FUEL indicator light; it
should not be illuminated. If it continues to illuminate, have the fuel
system checked and repaired.
Removal - HFCM filter
1. Remove the fuel filter cap by
turning counterclockwise.
2. Remove and discard the old fuel
filter element.
3. Carefully clean the mating
surfaces.
General maintenance information
26
Page 27 of 64
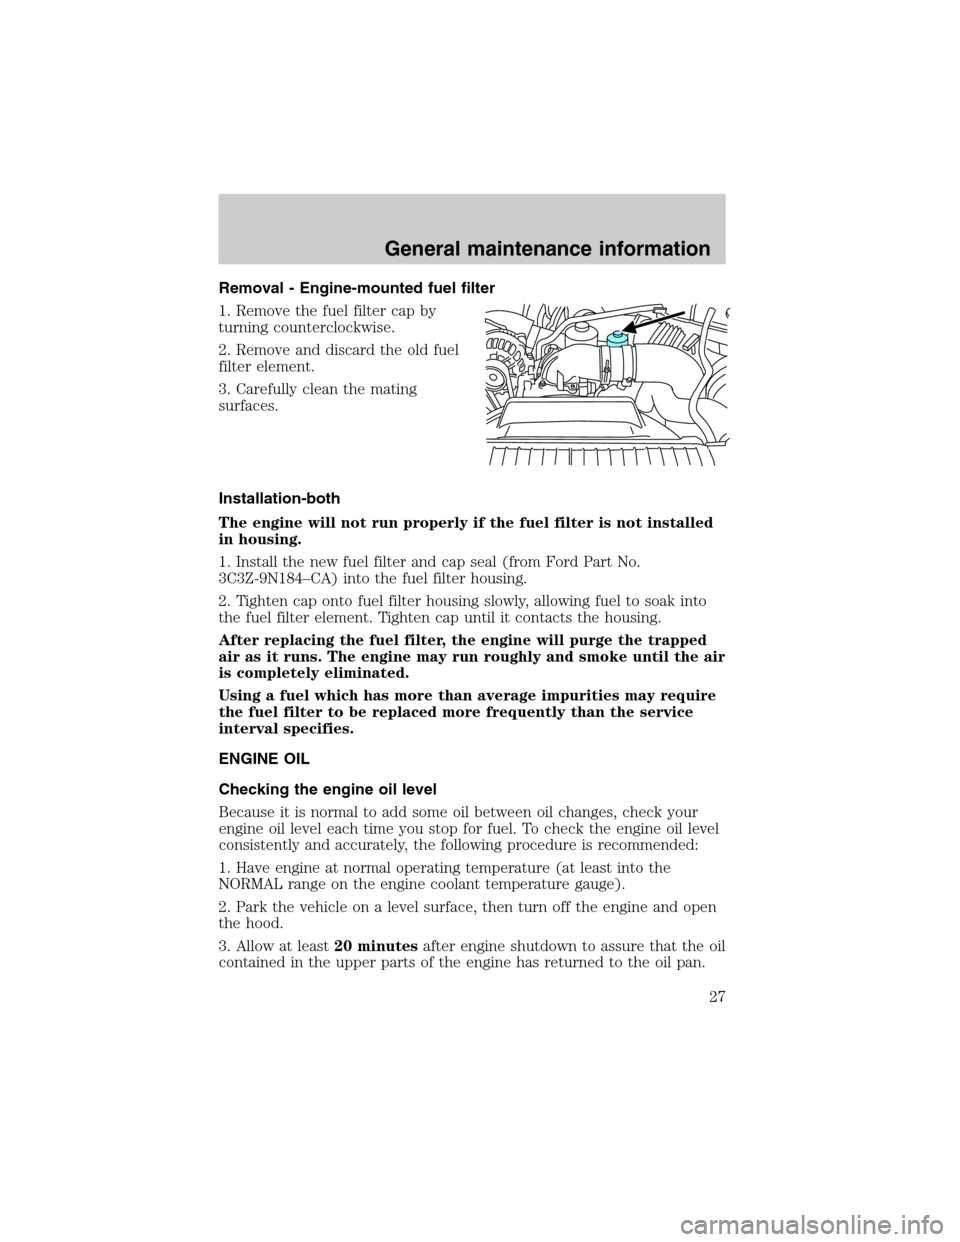
Removal - Engine-mounted fuel filter
1. Remove the fuel filter cap by
turning counterclockwise.
2. Remove and discard the old fuel
filter element.
3. Carefully clean the mating
surfaces.
Installation-both
The engine will not run properly if the fuel filter is not installed
in housing.
1. Install the new fuel filter and cap seal (from Ford Part No.
3C3Z-9N184–CA) into the fuel filter housing.
2. Tighten cap onto fuel filter housing slowly, allowing fuel to soak into
the fuel filter element. Tighten cap until it contacts the housing.
After replacing the fuel filter, the engine will purge the trapped
air as it runs. The engine may run roughly and smoke until the air
is completely eliminated.
Using a fuel which has more than average impurities may require
the fuel filter to be replaced more frequently than the service
interval specifies.
ENGINE OIL
Checking the engine oil level
Because it is normal to add some oil between oil changes, check your
engine oil level each time you stop for fuel. To check the engine oil level
consistently and accurately, the following procedure is recommended:
1. Have engine at normal operating temperature (at least into the
NORMAL range on the engine coolant temperature gauge).
2. Park the vehicle on a level surface, then turn off the engine and open
the hood.
3. Allow at least20 minutesafter engine shutdown to assure that the oil
contained in the upper parts of the engine has returned to the oil pan.
General maintenance information
27