Page 14 of 256

illuminated and parking brake is off. Refer toBrakes
in theDrivingchapter for more information.
Brake system warning
To confirm the brake
system warning light is
functional, it will
momentarily illuminate
when the ignition is turned to the ON position
(alternatively for some vehicles when the ignition is
moved from the ON position to START position, the
light will momentarily illuminate prior to reaching
the START position). It also illuminates if the
parking brake is engaged. If the brake system
warning light does not illuminate as described, seek
service immediately. Illumination after the parking
brake is released indicates low brake fluid level or a
brake system malfunction and the brake system
should be serviced immediately by a qualified
technician. Refer toBrakesin theDrivingchapter
for more information.
Safety belt warning chime
Sounds to remind you to fasten your safety belts.
BeltMinder�chime
Sounds intermittently to remind you to fasten your
safety belts.
Supplemental restraint system (SRS) warning
chime
Sounds when a malfunction in the supplemental
restraint system (front or side airbags) has been
detected. Have the supplemental restraint system
inspected immediately.
Key-in-ignition warning chime
Sounds when the key is left in the ignition and the
driver’s door is opened.
P!
BRAKE
Instrument Cluster
14
Page 16 of 256
Never remove the coolant reservoir cap
while the engine is running or hot. Steam
and scalding liquid from a hot cooling system can
burn you badly.
This gauge indicates the temperature of the engine
coolant, not the coolant level. If the coolant is not at
its proper level the gauge indication will not be
accurate.
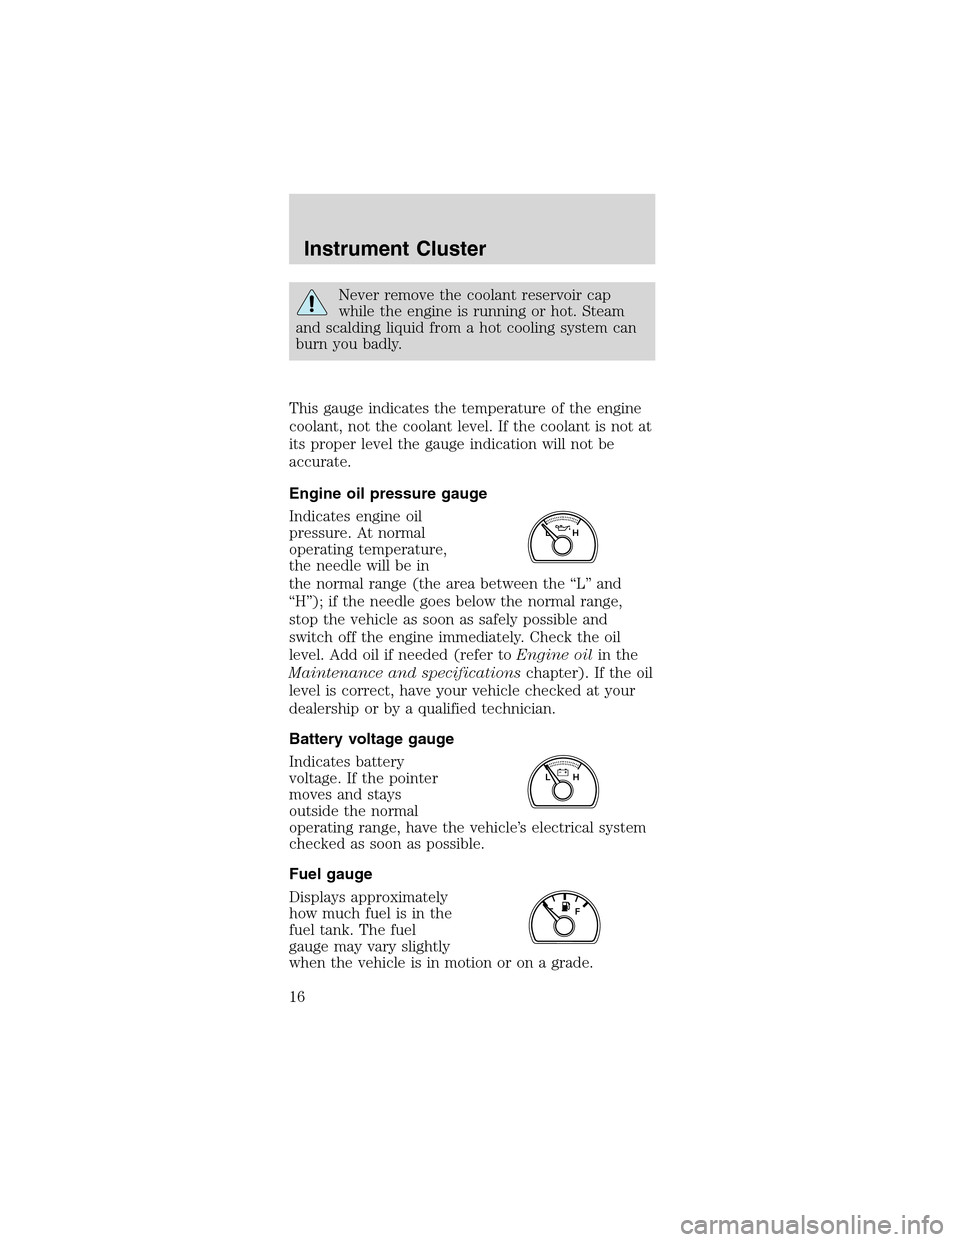
Engine oil pressure gauge
Indicates engine oil
pressure. At normal
operating temperature,
the needle will be in
the normal range (the area between the“L”and
“H”); if the needle goes below the normal range,
stop the vehicle as soon as safely possible and
switch off the engine immediately. Check the oil
level. Add oil if needed (refer toEngine oilin the
Maintenance and specificationschapter). If the oil
level is correct, have your vehicle checked at your
dealership or by a qualified technician.
Battery voltage gauge
Indicates battery
voltage. If the pointer
moves and stays
outside the normal
operating range, have the vehicle’s electrical system
checked as soon as possible.
Fuel gauge
Displays approximately
how much fuel is in the
fuel tank. The fuel
gauge may vary slightly
when the vehicle is in motion or on a grade.
LH
LH
F
Instrument Cluster
16
Page 44 of 256
listening comfort and protection, it is not
recommended to listen to theMACH 1000�audio
system at high volume levels for extended periods of
time.
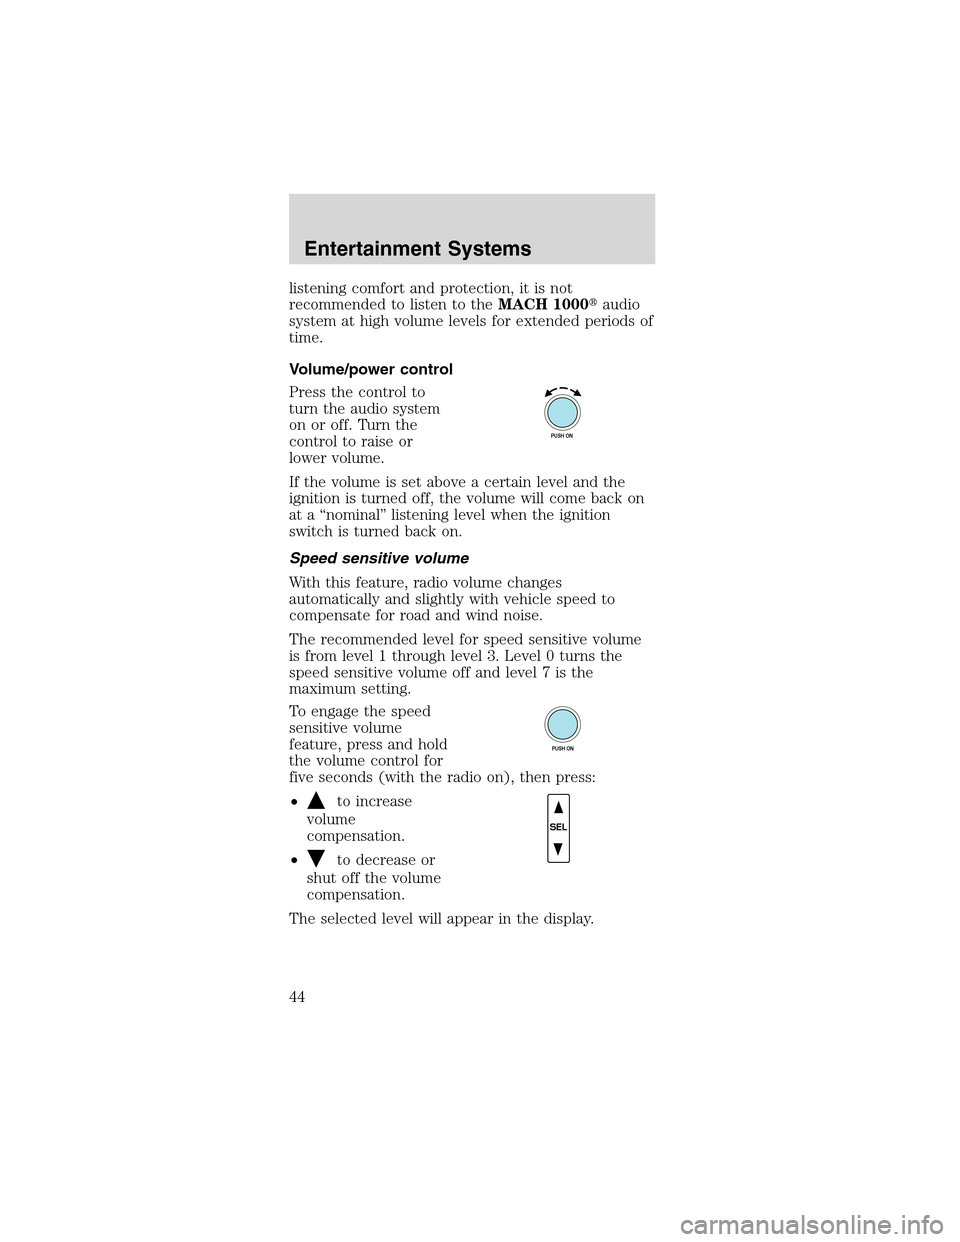
Volume/power control
Press the control to
turn the audio system
on or off. Turn the
control to raise or
lower volume.
If the volume is set above a certain level and the
ignition is turned off, the volume will come back on
at a“nominal”listening level when the ignition
switch is turned back on.
Speed sensitive volume
With this feature, radio volume changes
automatically and slightly with vehicle speed to
compensate for road and wind noise.
The recommended level for speed sensitive volume
is from level 1 through level 3. Level 0 turns the
speed sensitive volume off and level 7 is the
maximum setting.
To engage the speed
sensitive volume
feature, press and hold
the volume control for
five seconds (with the radio on), then press:
•
to increase
volume
compensation.
•
to decrease or
shut off the volume
compensation.
The selected level will appear in the display.
PUSH ON
PUSH ON
SEL
Entertainment Systems
44
Page 50 of 256
If your vehicle is equipped with a CD changer,
pressing the CD control again will allow you to
toggle between accessing the multi disc system and
the CD changer. The display will read CD or CDDJ.
Display description
Six circles are always lit in the digital display. These
signify the six CD slots in the audio system. When a
disc is loaded into a particular slot (1–6), the
number inside that specific circle lights. If the circle
is empty, there is no CD in that particular slot.
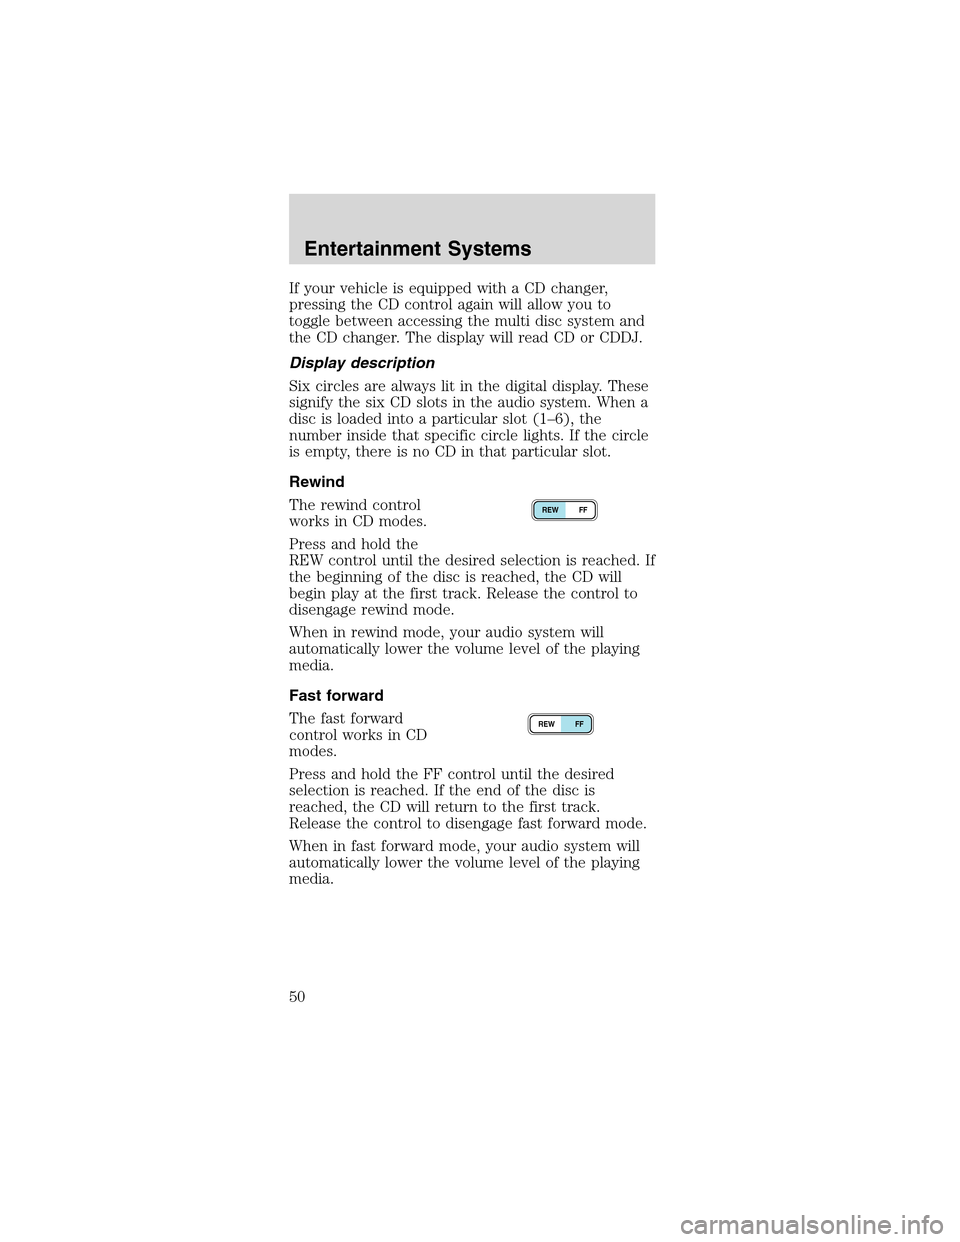
Rewind
The rewind control
works in CD modes.
Press and hold the
REW control until the desired selection is reached. If
the beginning of the disc is reached, the CD will
begin play at the first track. Release the control to
disengage rewind mode.
When in rewind mode, your audio system will
automatically lower the volume level of the playing
media.
Fast forward
The fast forward
control works in CD
modes.
Press and hold the FF control until the desired
selection is reached. If the end of the disc is
reached, the CD will return to the first track.
Release the control to disengage fast forward mode.
When in fast forward mode, your audio system will
automatically lower the volume level of the playing
media.
REW FF
REW FF
Entertainment Systems
50
Page 60 of 256
CD, MP3 AND CD PLAYER CARE
•Handle discs by their edges only. Never touch the
playing surface.
•Do not expose discs to direct sunlight or heat
sources for extended periods of time.
•Do not insert more than one disc into the slot of
the CD player (if equipped).
•Always store discs out of direct sunlight.
Excessive heat may damage or warp discs.
•Use care when handling and playing CD-R and
CD-RW discs, which are more susceptible to
damage from heat, light and stress than are
regular CDs.
•Always insert and remove a disc by holding the
disc flat, with the playing surface facing down, in
order to prevent damage to the disc or the player.
•Never insert any object other than a compact disc
into the player, as doing so may damage the
player and may cause injury to you.
•Do not disassemble the player. The laser used in
disc playback is extremely harmful to the eyes.
CLEANING CASSETTE PLAYER (IF EQUIPPED)
Clean the tape player head with a cassette cleaning
cartridge after 10 to 12 hours of play in order to
maintain the best sound and operation.
Entertainment Systems
60
Page 61 of 256
CASSETTE AND CASSETTE PLAYER CARE
•Use only cassettes that are 90 minutes long or
less.
•Do not expose tapes to direct sunlight, high
humidity, extreme heat or extreme cold. Allow
tapes that may have been exposed to extreme
temperatures to reach a moderate temperature
before playing.
•Tighten very loose tapes by inserting a finger or
pencil into the hole and turning the hub.
•Remove loose labels before inserting tapes.
•Do not leave tapes in the cassette player for a
long time when not being played.
RADIO FREQUENCY INFORMATION
The Federal Communications Commission (FCC)
and the Canadian Radio and Telecommunications
Commission(CRTC) establish the frequencies AM
and FM stations may use for their broadcasts.
Allowable frequencies are:
AM 530, 540–1600, 1610 kHz
FM 87.7, 87.9–107.7, 107.9 MHz
Not all frequencies are used in a given area.
Entertainment Systems
61
Page 62 of 256

RADIO RECEPTION FACTORS
Three factors can affect radio reception:
•Distance/strength.The further an FM signal
travels, the weaker it is. The listenable range of
the average FM station is approximately 40 km
(24 miles). This range can be affected by“signal
modulation.”Signal modulation is a process radio
stations use to increase their strength/volume
relative to other stations.
•Terrain.Hills, mountains and tall buildings
between your vehicle’s antenna and the radio
station signal can cause FM reception problems.
Static can be caused on AM stations by power
lines, electric fences, traffic lights and
thunderstorms. Moving away from an interfering
structure (out of its“shadow”) returns your
reception to normal.
•Station overload.Weak signals are sometimes
captured by stronger signals when you pass a
broadcast tower. A stronger signal may
temporarily overtake a weaker signal and play
while the weak station frequency is displayed.
The audio system automatically switches to single
channel reception if it will improve the reception of
a station normally received in stereo.
AUDIO SYSTEM WARRANTIES AND SERVICE
Refer to theWarranty Guidefor audio system
warranty information.
If service is necessary, see your dealer or a qualified
technician.
Entertainment Systems
62
Page 64 of 256
•(Panel)–Distributes outside air through the
instrument panel registers. The air can not be
cooled below the outside temperature.
•O (Off)–Outside air is shut out and the fan will
not operate. This mode may reduce undesirable
odors from entering the vehicle but may increase
the possibility of interior window fogging.
•
(Floor)–Distributes outside air through the
floor ducts. The air cannot be cooled below the
outside temperature.
•
(Floor and defrost)–Distributes outside air
through the windshield defroster ducts and the
floor duct and the side window demisters. The
A/C compressor will operate automatically if the
outside temperature is above approximately 6°C
(43°F) . The air distributed through the floor
ducts will be slightly warmer than the air sent to
the windshield defrost ducts and the side window
demisters.
•
(Defrost)–Distributes outside air through
the windshield defroster ducts and the side
window demisters. The A/C compressor will
operate automatically if the outside temperature
is above approximately 6°C (43°F). This mode will
clear ice and fog from the windshield.
Since the air conditioner removes moisture
from the air, it is considered normal operation
if water drips on the ground under the air
conditioner drain.
Climate Controls
64