Page 194 of 256

SERVICE RECOMMENDATIONS
To help you service your vehicle:
•We highlight do-it-yourself items in the engine
compartment for easy location.
•We provide a scheduled maintenance guide which
makes tracking routine service easy.
If your vehicle requires professional service, your
dealership can provide the necessary parts and
service. Check yourWarranty Guide/Owner
Information Guideto find out which parts and
services are covered.
Use only recommended fuels, lubricants, fluids and
service parts conforming to specifications. Motorcraft
parts are designed and built to provide the best
performance in your vehicle.
PRECAUTIONS WHEN SERVICING YOUR
VEHICLE
Be especially careful when inspecting or servicing
your vehicle.
•Do not work on a hot engine.
•When the engine is running, keep loose clothing,
jewelry or long hair away from moving parts.
•Do not work on a vehicle with the engine running
in an enclosed space, unless you are sure you
have enough ventilation.
•Keep all lit cigarettes, open flames and other lit
material away from the battery and all fuel related
parts.
If you disconnect the battery, the engine must
“relearn”its idle conditions before your vehicle will
drive properly, as explained in theBatterysection in
this chapter.
Working with the engine off
•Automatic transmission:
1. Set the parking brake and ensure the gearshift is
securely latched in P (Park).
Maintenance and Specifications
194
Page 197 of 256
IDENTIFYING COMPONENTS IN THE ENGINE
COMPARTMENT
3.8L OHV V6 engine
1. Engine oil filler cap
2. Engine oil dipstick
3. Brake fluid reservoir
4. Power distribution box
5. Windshield washer fluid reservoir
6. Battery
7. Power steering fluid reservoir
8. Engine coolant reservoir
9. Air filter assembly
10. Automatic transmission fluid dipstick
(if equipped)
6
1023
4
5
789
1
Maintenance and Specifications
197
Page 198 of 256
4.6L SOHC V8 engine
1. Engine oil dipstick
2. Brake fluid reservoir
3. Power distribution box
4. Windshield washer fluid reservoir
5. Battery
6. Engine coolant reservoir
7. Power steering fluid reservoir
8. Engine oil filler cap
9. Air filter assembly
10. Automatic transmission fluid dipstick
(if equipped)
Maintenance and Specifications
198
Page 199 of 256

WINDSHIELD WASHER FLUID
Check the washer fluid
whenever you stop for
fuel. The reservoir is
highlighted with a
symbol.
Add fluid to fill the
reservoir if the level is
low. In very cold
weather, do not fill the
reservoir completely.
Only use a washer fluid that meets Ford
specification ESR-M17P5–A . Refer toLubricant
specificationsin this chapter.
State or local regulations on volatile organic
compounds may restrict the use of methanol, a
common windshield washer antifreeze additive.
Washer fluids containing non-methanol antifreeze
agents should be used only if they provide cold
weather protection without damaging the vehicle’s
paint finish, wiper blades or washer system.
Note:Do not put washer fluid in the engine coolant
reservoir. Washer fluid placed in the cooling system
may harm engine and cooling system components.
ENGINE OIL
Checking the engine oil
Refer to the scheduled maintenance guide for the
appropriate intervals for checking the engine oil.
1. Make sure the vehicle is on level ground.
2. Turn the engine off and wait 5 to 10 minutes for
the oil to drain into the oil pan.
3. Set the parking brake and ensure the gearshift is
securely latched in P (Park) (automatic
transmissions) or 1 (First) (manual transmissions).
4. Open the hood. Protect yourself from engine heat.
Maintenance and Specifications
199
Page 226 of 256

2. While the engine idles, turn the steering wheel
left and right several times.
3. Turn the engine off.
4. Check the fluid level on the dipstick. It should be
within the FULL HOT range. Do not add fluid if the
level is within this range.
5. If the fluid is low, add fluid in small amounts,
continuously checking the level until it reaches the
correct operating range. Be sure to put the cap back
on the reservoir.
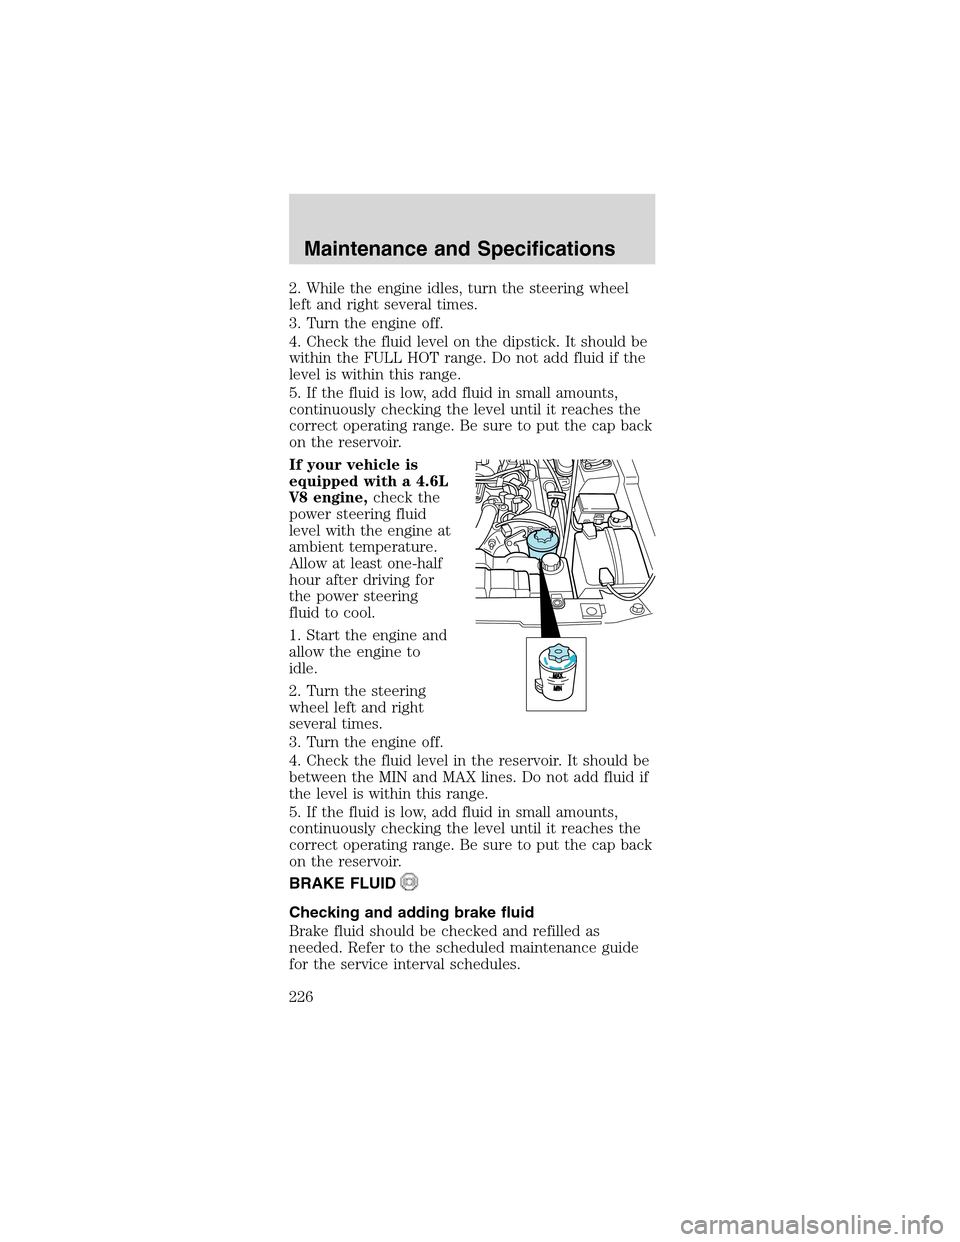
If your vehicle is
equipped with a 4.6L
V8 engine,check the
power steering fluid
level with the engine at
ambient temperature.
Allow at least one-half
hour after driving for
the power steering
fluid to cool.
1. Start the engine and
allow the engine to
idle.
2. Turn the steering
wheel left and right
several times.
3. Turn the engine off.
4. Check the fluid level in the reservoir. It should be
between the MIN and MAX lines. Do not add fluid if
the level is within this range.
5. If the fluid is low, add fluid in small amounts,
continuously checking the level until it reaches the
correct operating range. Be sure to put the cap back
on the reservoir.
BRAKE FLUID
Checking and adding brake fluid
Brake fluid should be checked and refilled as
needed. Refer to the scheduled maintenance guide
for the service interval schedules.
MAXMIN
Maintenance and Specifications
226
Page 227 of 256
•3.8L OHV V6 engine
•4.6L SOHC V8
engine
1. Clean the reservoir cap before removal to prevent
dirt or water from entering the reservoir.
2. Visually inspect the
fluid level.
3. If necessary, add
brake fluid from a clean
un-opened container
until the level reaches MAX. Do not fill above this
line.
4. Use only a DOT 3 brake fluid certified to meet
Ford specification ESA-M6C25–A. Refer to
Lubricant specificationsin this chapter.
Brake fluid is toxic. If brake fluid contacts
the eyes, flush eyes with running water for
15 minutes. Seek medical attention if irritation
persists. If taken internally, drink water and induce
vomiting. Seek medical attention immediately.
M
A
X
Maintenance and Specifications
227
Page 228 of 256

If you use a brake fluid that is not DOT 3,
you will cause permanent damage to your
brakes.
Do not let the reservoir for the master
cylinder run dry. This may cause the brakes
to fail.
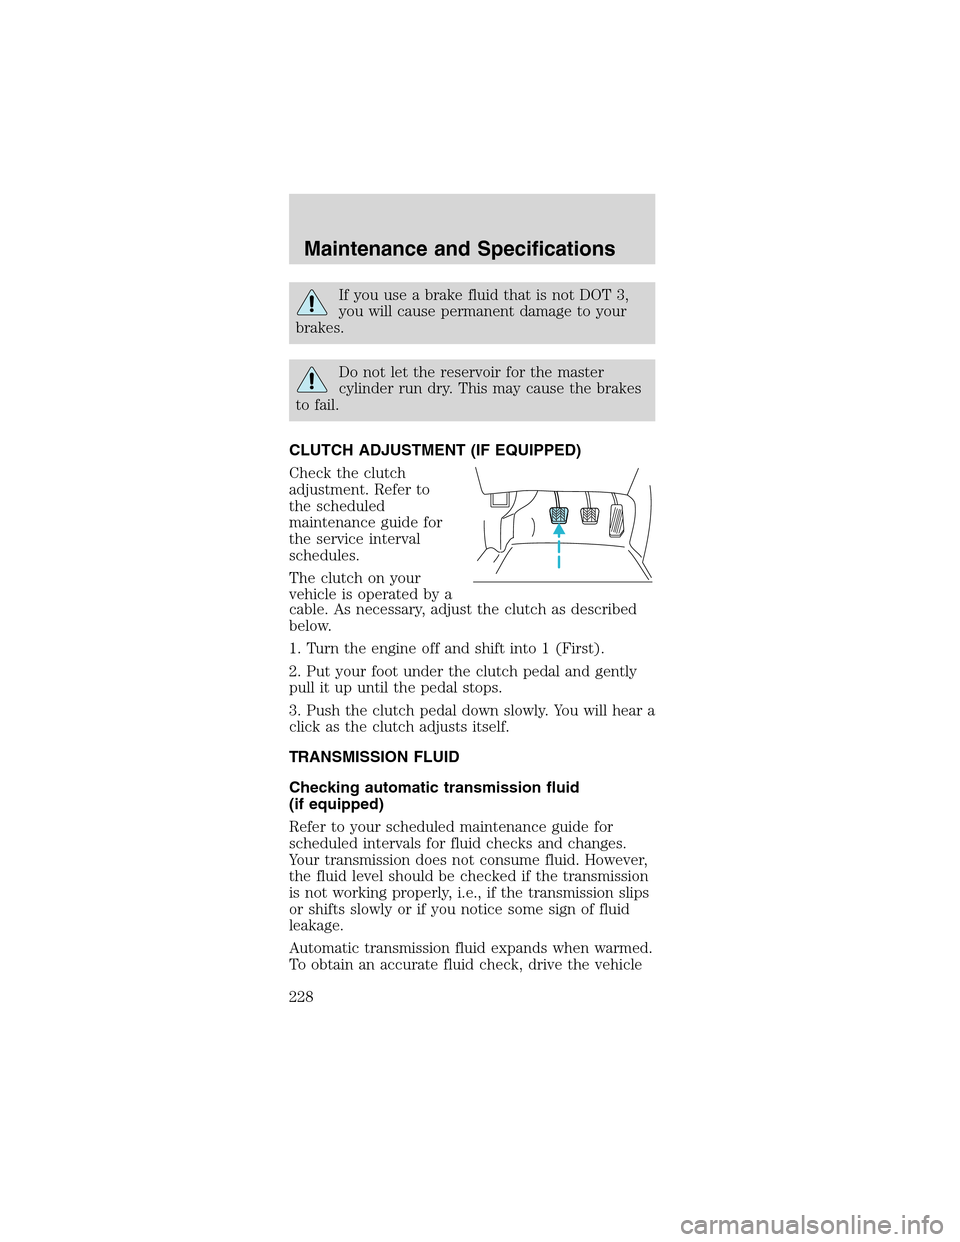
CLUTCH ADJUSTMENT (IF EQUIPPED)
Check the clutch
adjustment. Refer to
the scheduled
maintenance guide for
the service interval
schedules.
The clutch on your
vehicle is operated by a
cable. As necessary, adjust the clutch as described
below.
1. Turn the engine off and shift into 1 (First).
2. Put your foot under the clutch pedal and gently
pull it up until the pedal stops.
3. Push the clutch pedal down slowly. You will hear a
click as the clutch adjusts itself.
TRANSMISSION FLUID
Checking automatic transmission fluid
(if equipped)
Refer to your scheduled maintenance guide for
scheduled intervals for fluid checks and changes.
Your transmission does not consume fluid. However,
the fluid level should be checked if the transmission
is not working properly, i.e., if the transmission slips
or shifts slowly or if you notice some sign of fluid
leakage.
Automatic transmission fluid expands when warmed.
To obtain an accurate fluid check, drive the vehicle
Maintenance and Specifications
228
Page 229 of 256
![FORD MUSTANG 2003 4.G Owners Manual until it is at normal operating temperature
(approximately 30 km [20 miles]). If your vehicle has
been operated for an extended period at high
speeds, in city traffic during hot weather or pulling a
t FORD MUSTANG 2003 4.G Owners Manual until it is at normal operating temperature
(approximately 30 km [20 miles]). If your vehicle has
been operated for an extended period at high
speeds, in city traffic during hot weather or pulling a
t](/manual-img/11/5211/w960_5211-228.png)
until it is at normal operating temperature
(approximately 30 km [20 miles]). If your vehicle has
been operated for an extended period at high
speeds, in city traffic during hot weather or pulling a
trailer, the vehicle should be turned off for about 30
minutes to allow fluid to cool before checking.
1. Drive the vehicle 30 km (20 miles) or until it
reaches normal operating temperature.
2. Park the vehicle on a level surface and engage the
parking brake.
3. With the parking brake engaged and your foot on
the brake pedal, start the engine and move the
gearshift lever through all of the gear ranges. Allow
sufficient time for each gear to engage.
4. Latch the gearshift lever in P (Park) and leave the
engine running.
5. Remove the dipstick, wiping it clean with a clean,
dry lint free rag. If necessary, refer toIdentifying
components in the engine compartmentin this
chapter for the location of the dipstick.
6. Install the dipstick making sure it is fully seated in
the filler tube.
7. Remove the dipstick and inspect the fluid level.
The fluid should be in the designated area for
normal operating temperature or ambient
temperature.
Low fluid level
Do not drive the
vehicle if the fluid level
is at the bottom of the
dipstick and the ambient temperature is above 10°C
(50°F).
Correct fluid level
The transmission fluid should be checked at normal
operating temperature 66°C-77°C (150°F-170°F) on
a level surface. The normal operating temperature
can be reached after approximately 30 km (20
miles) of driving.
Maintenance and Specifications
229