Page 1 of 280
Introduction 4
Instrument Cluster 12
Warning and control lights 12
Gauges 15
Entertainment Systems 19
AM/FM stereo 19
AM/FM stereo cassette 21
AM/FM stereo cassette with CD 23
AM/FM stereo with CD 27
CD changer 31
Climate Controls 35
Heater only 35
Manual heating and air conditioning 36
Lights 38
Headlamps 38
Turn signal control 41
Bulb replacement 42
Driver Controls 48
Windshield wiper/washer control 48
Steering wheel adjustment 49
Moon roof 51
Power windows 52
Mirrors 53
Speed control 56
Message center 59
2003 F250/350/450/550(f23)
Owners Guide (post-2002-fmt)
USA English(fus)
Table of Contents
Table of Contents
1
Page 10 of 280
These are some of the symbols you may see on your vehicle.
Vehicle Symbol Glossary
Safety Alert
See Owner’s Guide
Fasten Safety BeltAir Bag-Front
Air Bag-SideChild Seat
Child Seat Installation
WarningChild Seat Lower
Anchor
Child Seat Tether
AnchorBrake System
Anti-Lock Brake SystemBrake Fluid -
Non-Petroleum Based
Traction ControlAdvanceTrac�
Master Lighting SwitchHazard Warning Flasher
Fog Lamps-FrontFuse Compartment
Fuel Pump ResetWindshield Wash/Wipe
Windshield
Defrost/DemistRear Window
Defrost/Demist
2003 F250/350/450/550(f23)
Owners Guide (post-2002-fmt)
USA English(fus)
Introduction
10
Page 11 of 280
Vehicle Symbol Glossary
Power Windows
Front/Rear
Power Window Lockout
Child Safety Door
Lock/UnlockInterior Luggage
Compartment Release
Symbol
Panic AlarmEngine Oil
Engine CoolantEngine Coolant
Temperature
Do Not Open When HotBattery
Avoid Smoking, Flames,
or SparksBattery Acid
Explosive GasFan Warning
Power Steering FluidMaintain Correct Fluid
LevelMAX
MIN
Emission SystemEngine Air Filter
Passenger Compartment
Air FilterJack
Check fuel capLow tire warning
2003 F250/350/450/550(f23)
Owners Guide (post-2002-fmt)
USA English(fus)
Introduction
11
Page 32 of 280

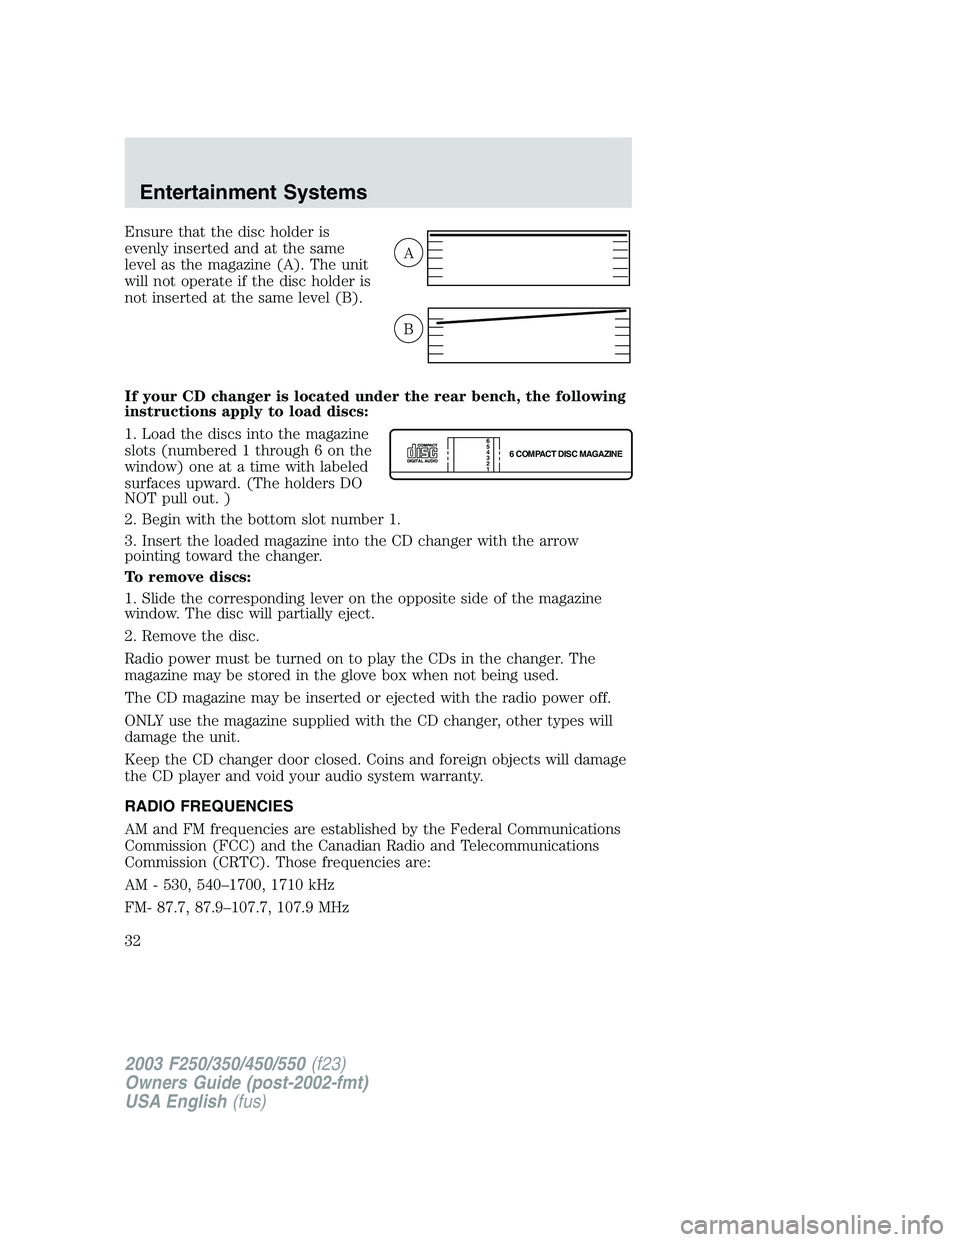
Ensure that the disc holder is
evenly inserted and at the same
level as the magazine (A). The unit
will not operate if the disc holder is
not inserted at the same level (B).
If your CD changer is located under the rear bench, the following
instructions apply to load discs:
1. Load the discs into the magazine
slots (numbered 1 through 6 on the
window) one at a time with labeled
surfaces upward. (The holders DO
NOT pull out. )
2. Begin with the bottom slot number 1.
3. Insert the loaded magazine into the CD changer with the arrow
pointing toward the changer.
To remove discs:
1. Slide the corresponding lever on the opposite side of the magazine
window. The disc will partially eject.
2. Remove the disc.
Radio power must be turned on to play the CDs in the changer. The
magazine may be stored in the glove box when not being used.
The CD magazine may be inserted or ejected with the radio power off.
ONLY use the magazine supplied with the CD changer, other types will
damage the unit.
Keep the CD changer door closed. Coins and foreign objects will damage
the CD player and void your audio system warranty.
RADIO FREQUENCIES
AM and FM frequencies are established by the Federal Communications
Commission (FCC) and the Canadian Radio and Telecommunications
Commission (CRTC). Those frequencies are:
AM - 530, 540–1700, 1710 kHz
FM- 87.7, 87.9–107.7, 107.9 MHz
A
B
6 COMPACT DISC MAGAZINE1 2 3 4 5
6
2003 F250/350/450/550(f23)
Owners Guide (post-2002-fmt)
USA English(fus)
Entertainment Systems
32
Page 36 of 280

To aid in side window defogging/demisting in cold weather:
1. Select
2. Set the temperature control to full heat
3. Set the fan speed to the highest setting.
4. Direct the outer instrument panel vents towards the side windows
To increase airflow to the outer instrument panel vents, close the vents
located in the middle of the instrument panel.
Do not place objects on top of the instrument panel as these
objects may become projectiles in a collision or sudden stop.
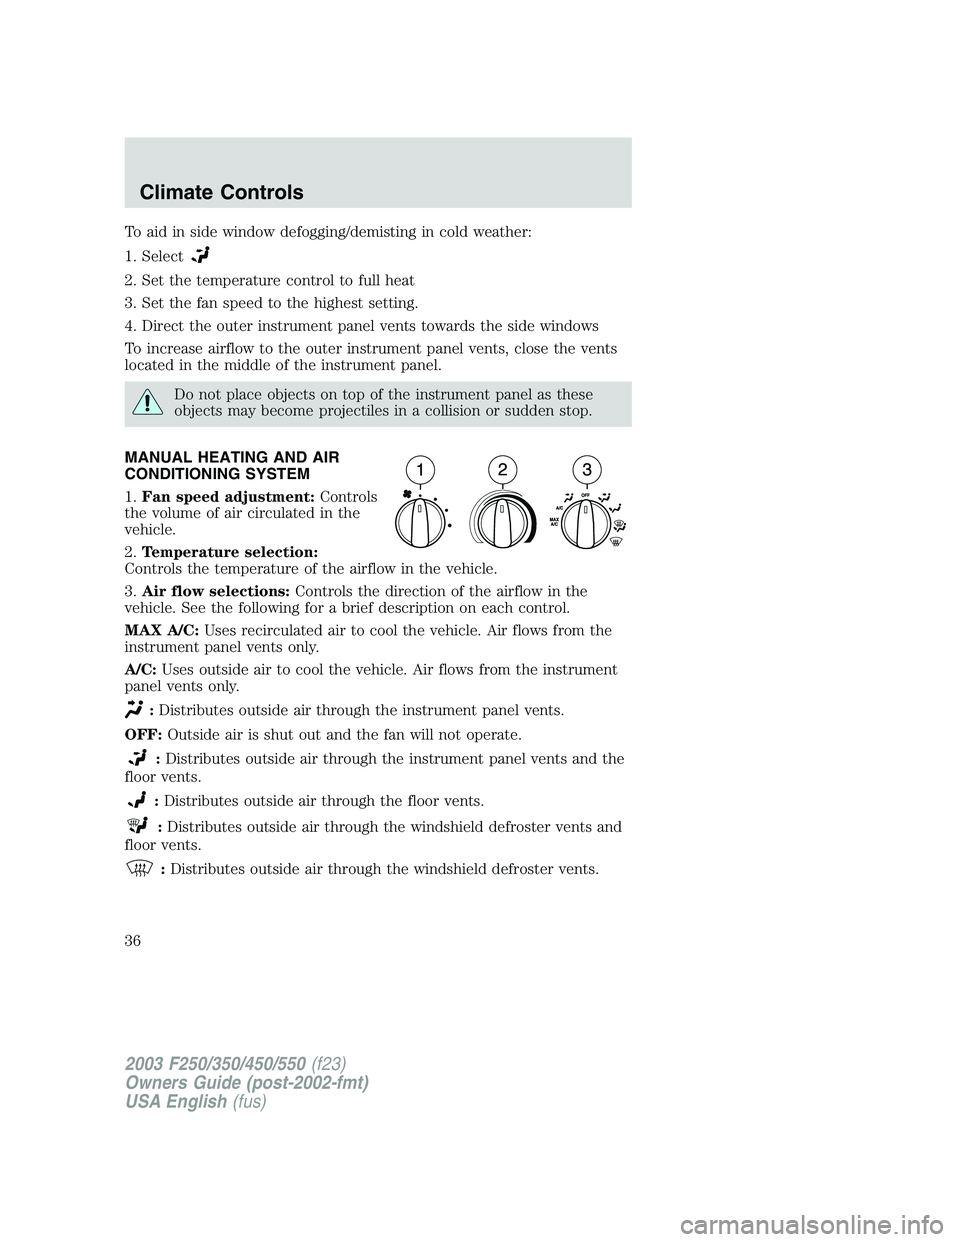
MANUAL HEATING AND AIR
CONDITIONING SYSTEM
1.Fan speed adjustment:Controls
the volume of air circulated in the
vehicle.
2.Temperature selection:
Controls the temperature of the airflow in the vehicle.
3.Air flow selections:Controls the direction of the airflow in the
vehicle. See the following for a brief description on each control.
MAX A/C:Uses recirculated air to cool the vehicle. Air flows from the
instrument panel vents only.
A/C:Uses outside air to cool the vehicle. Air flows from the instrument
panel vents only.
:Distributes outside air through the instrument panel vents.
OFF:Outside air is shut out and the fan will not operate.
:Distributes outside air through the instrument panel vents and the
floor vents.
:Distributes outside air through the floor vents.
:Distributes outside air through the windshield defroster vents and
floor vents.
:Distributes outside air through the windshield defroster vents.
2003 F250/350/450/550(f23)
Owners Guide (post-2002-fmt)
USA English(fus)
Climate Controls
36
Page 37 of 280

Operating tips
•To reduce fog build up on the windshield during humid weather, place
the air flow selector in the
position.
•To reduce humidity build up inside the vehicle: do not drive with the
air flow selector in the OFF or MAX A/C position.
•Under normal weather conditions, do not leave the air flow selector in
MAX A/C or OFF when the vehicle is parked. This allows the vehicle
to“breathe”using the outside air inlet vents.
•Do not put objects under the front seats that will interfere with the
airflow to the back seats.
•Remove any snow, ice or leaves from the air intake area at the base of
the windshield.
To aid in side window defogging/demisting in cold weather:
1. Select
2. Select A/C
3. Modulate the temperature control to maintain comfort.
4. Set the fan speed to the highest setting.
5. Direct the outer instrument panel vents towards the side windows
To increase airflow to the outer instrument panel vents, close the vents
located in the middle of the instrument panel.
Do not place objects on top of the instrument panel as these
objects may become projectiles in a collision or sudden stop.
2003 F250/350/450/550(f23)
Owners Guide (post-2002-fmt)
USA English(fus)
Climate Controls
37
Page 52 of 280

Totiltthe moon roof:
•To tilt into the vent position (when the glass panel is closed), press
and hold the front portion of the moon roof control. To close from the
vent position, press and hold the rear portion of the control until the
glass panel stops moving.
Sliding shade:
•The moon roof has a built-in sliding shade that can be manually
opened or closed when the glass panel is shut.
•To close the shade, pull it toward the front of the vehicle.
When closing the moon roof, you should verify that it is free of
obstructions and ensure that children and/or pets are not in the
proximity of the moon roof opening.
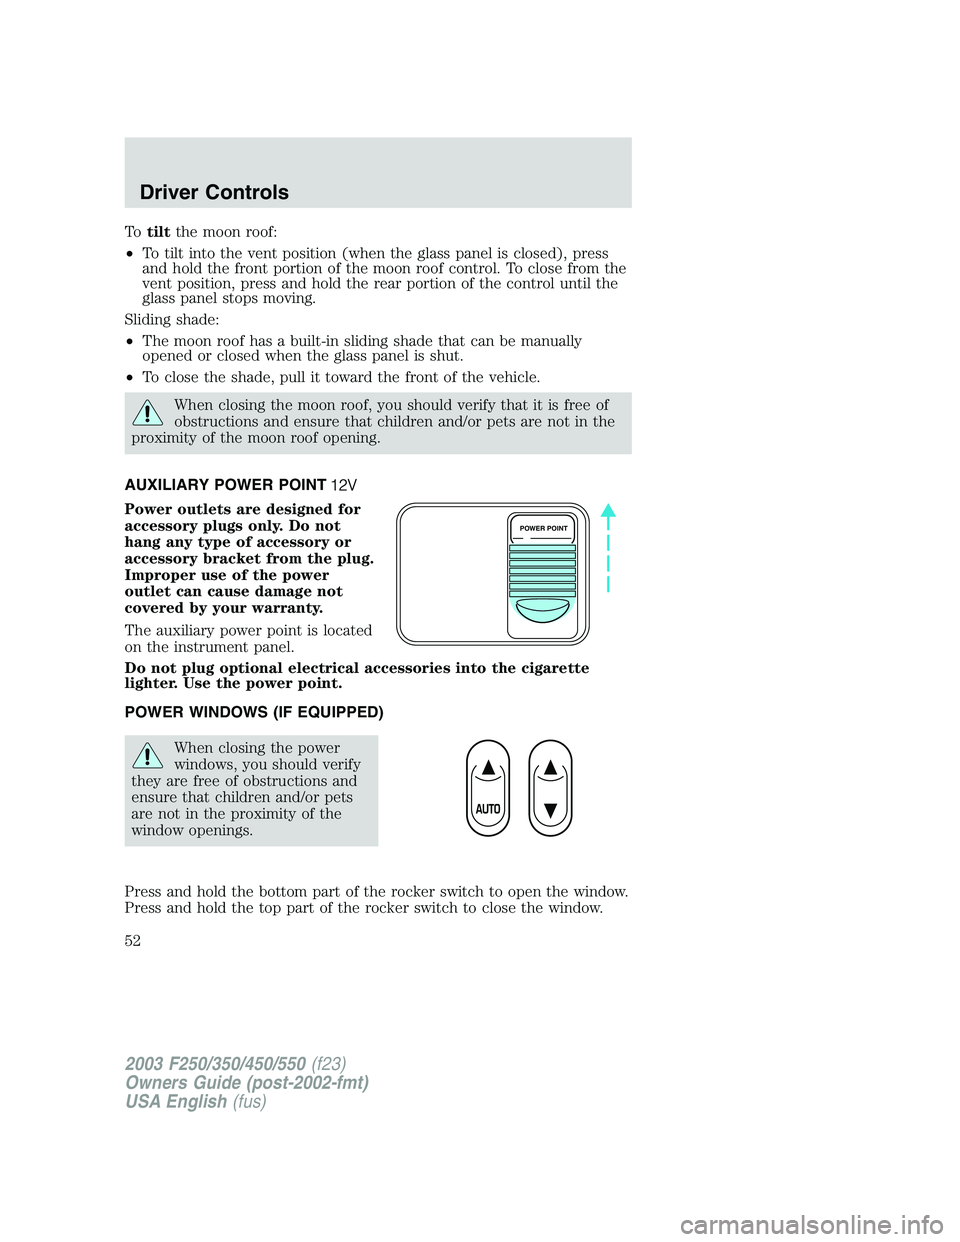
AUXILIARY POWER POINT
Power outlets are designed for
accessory plugs only. Do not
hang any type of accessory or
accessory bracket from the plug.
Improper use of the power
outlet can cause damage not
covered by your warranty.
The auxiliary power point is located
on the instrument panel.
Do not plug optional electrical accessories into the cigarette
lighter. Use the power point.
POWER WINDOWS (IF EQUIPPED)
When closing the power
windows, you should verify
they are free of obstructions and
ensure that children and/or pets
are not in the proximity of the
window openings.
Press and hold the bottom part of the rocker switch to open the window.
Press and hold the top part of the rocker switch to close the window.
POWER POINT
2003 F250/350/450/550(f23)
Owners Guide (post-2002-fmt)
USA English(fus)
Driver Controls
52
Page 53 of 280
One touch down
Allows the driver’s window to open
fully without holding the control
down. Press completely down on
AUTO and release quickly. Press
again to stop.
Window lock (if equipped)
The window lock feature allows only
the driver to operate the power
windows.
To lock out all the window controls
except for the driver’s press the left
side of the control. Press the right
side to restore the window controls.
Accessory delay (if equipped)
With accessory delay, the window switches may be used for up to ten
minutes after the ignition switch is turned to the OFF position or until
any door is opened.
POWER SIDE VIEW MIRRORS (IF EQUIPPED)
To adjust your mirrors:
1. SelectLto adjust the left mirror
orRto adjust the right mirror.
2. Move the control in the direction
you wish to tilt the mirror.
3. Return to the center position to
disable the adjust function.
2003 F250/350/450/550(f23)
Owners Guide (post-2002-fmt)
USA English(fus)
Driver Controls
53