Page 2 of 280
Locks and Security 78
Keys 78
Locks 78
Anti-theft system 81
Seating and Safety Restraints 90
Seating 90
Safety restraints 98
Air bags 111
Child restraints 119
Driving 135
Starting 135
Brakes 140
Transmission operation 143
Trailer towing 163
Roadside Emergencies 174
Getting roadside assistance 174
Hazard flasher switch 175
Fuel pump shut-off switch 175
Fuses and relays 176
Changing tires 184
Jump starting 191
Wrecker towing 197
Customer Assistance 198
Reporting safety defects (U.S. only) 207
Table of Contents
2
Page 15 of 280
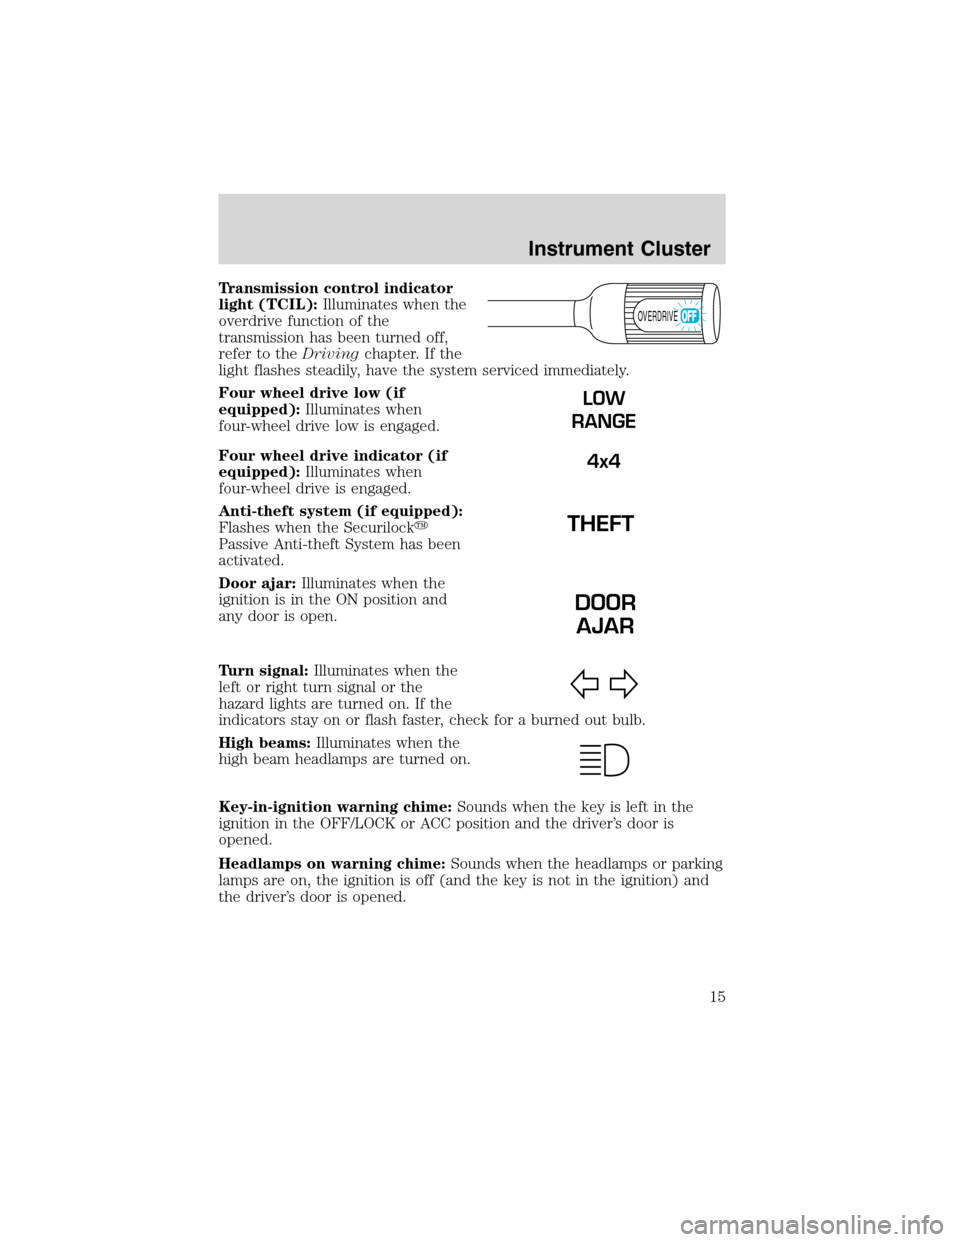
Transmission control indicator
light (TCIL):Illuminates when the
overdrive function of the
transmission has been turned off,
refer to theDrivingchapter. If the
light flashes steadily, have the system serviced immediately.
Four wheel drive low (if
equipped):Illuminates when
four-wheel drive low is engaged.
Four wheel drive indicator (if
equipped):Illuminates when
four-wheel drive is engaged.
Anti-theft system (if equipped):
Flashes when the Securilock�
Passive Anti-theft System has been
activated.
Door ajar:Illuminates when the
ignition is in the ON position and
any door is open.
Turn signal:Illuminates when the
left or right turn signal or the
hazard lights are turned on. If the
indicators stay on or flash faster, check for a burned out bulb.
High beams:Illuminates when the
high beam headlamps are turned on.
Key-in-ignition warning chime:Sounds when the key is left in the
ignition in the OFF/LOCK or ACC position and the driver’s door is
opened.
Headlamps on warning chime:Sounds when the headlamps or parking
lamps are on, the ignition is off (and the key is not in the ignition) and
the driver’s door is opened.
OVERDRIVE
LOW
RANGE
4x4
DOOR
AJAR
Instrument Cluster
15
Page 56 of 280
Storage compartment (if equipped)
Press the OPEN control to open the
storage compartment. The door will
open slightly and can be moved to
full open.
The storage compartment may be
used to secure sunglasses or a
similar object.
Installing a garage door opener (if equipped)
The storage compartment can be converted to accommodate a variety of
aftermarket garage door openers:
1. Place Velcro hook onto side of
aftermarket transmitter opposite of
actuator control.
2. Place the transmitter into storage
compartment, control down.
3. Place the provided height
adaptors onto the back of the
GARAGE control as needed.
4. Press the GARAGE control to
activate the transmitter.
Driver Controls
56
Page 60 of 280
•Power point
•Tissue holder
•Cassette/CD organizer slots
Use only soft cups in the cupholder. Hard objects can injure you
in a collision.
CELL PHONE USE
The use of Mobile Communications Equipment has become increasingly
important in the conduct of business and personal affairs. However,
safety cannot be compromised when using such equipment. It can
enhance personal safety and security when appropriately used,
particularly in emergency situations. Safety must be paramount when
using mobile communications equipment to avoid negating these
benefits.
Mobile Communication Equipment includes, but is not limited to cellular
phones, pagers, portable email devices, in vehicle communications
systems, telematics devices and portable two-way radios.
A driver’s first responsibility is the safe operation of the vehicle.
The most important thing you can do to prevent a crash is to
avoid distractions and pay attention to the road. Wait until it is safe to
operate Mobile Communications Equipment.
POWER WINDOWS (IF EQUIPPED)
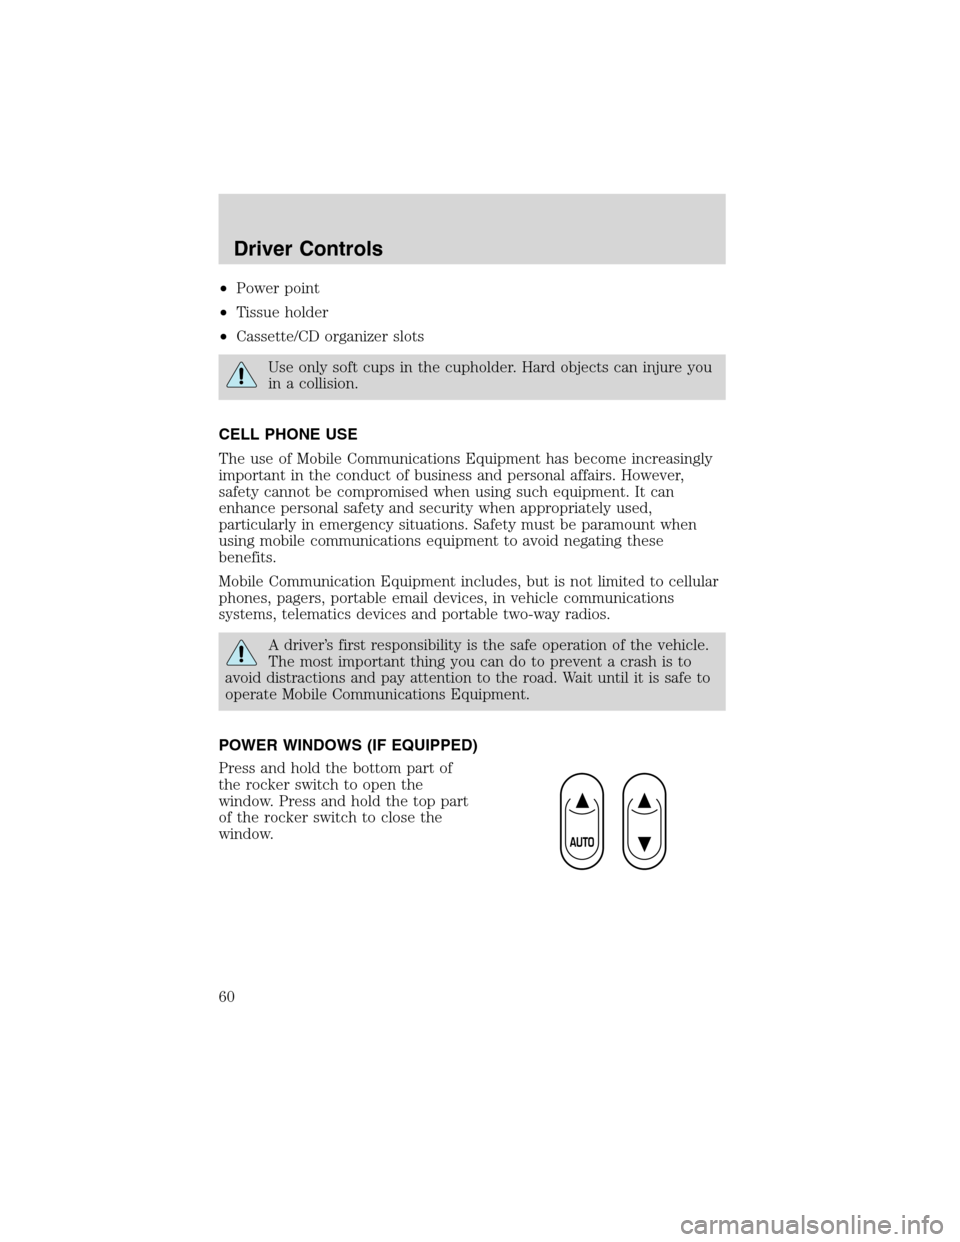
Press and hold the bottom part of
the rocker switch to open the
window. Press and hold the top part
of the rocker switch to close the
window.
Driver Controls
60
Page 67 of 280
Do not let children play with the moon roof. They may seriously
hurt themselves.
HOMELINK�UNIVERSAL TRANSCEIVER WITH TRAVELNOTE�
(IF EQUIPPED)
The HomeLink�Universal Transceiver, located on the driver’s visor,
provides a convenient way to replace up to three hand-held transmitters
with a single built-in device. This feature will learn the radio frequency
codes of most current transmitters to operate garage doors, entry gate
operators, security systems, entry door locks, and home or office lighting.
When programming your HomeLink�Universal Transceiver to a
garage door or gate, be sure that people and objects are out of
the way to prevent potential harm or damage.
Do not use the HomeLink�Universal Transceiver with any garage door
opener that lacks safety stop and reverse features as required by U.S.
federal safety standards (this includes any garage door opener model
manufactured before April 1, 1982). A garage door which cannot detect
an object, signaling the door to stop and reverse, does not meet current
U.S. federal safety standards. For more information, contact HomeLink�
at:www.homelink.comor1–800–355–3515.
Retain the original transmitter for use in other vehicles as well as for
future programming procedures (i.e. new HomeLink�equipped vehicle
purchase). It is also suggested that upon the sale of the vehicle, the
programmed Homelink�Universal Transceiver buttons be erased for
security purposes, refer toProgrammingin this section.
Programming
Do not program the HomeLink�Universal Transceiver with the
vehicle parked in the garage.
Note:Your vehicle may require the ignition switch to be turned to the
ACC position for programming and/or operation of the HomeLink�.Itis
also recommended that a new battery be placed in the hand-held
transmitter of the device being programmed to HomeLink�for quicker
training and accurate transmission of the radio-frequency signal.
Driver Controls
67
Page 69 of 280
8. Return to the vehicle and firmly press, hold for two seconds and
release the HomeLink�button. Repeat the press/hold/release sequence
again, and, depending on the brand of the garage door opener (or other
rolling code equipped device), repeat this sequence a third time to
complete the programming.
HomeLink�should now activate your rolling code equipped device. To
program additional HomeLink�buttons begin with step 2 in the
“Programming”section. For questions or comments, please contact
HomeLink atwww.homelink.comor1–800–355–3515.
Operating the HomeLink�Universal Transceiver
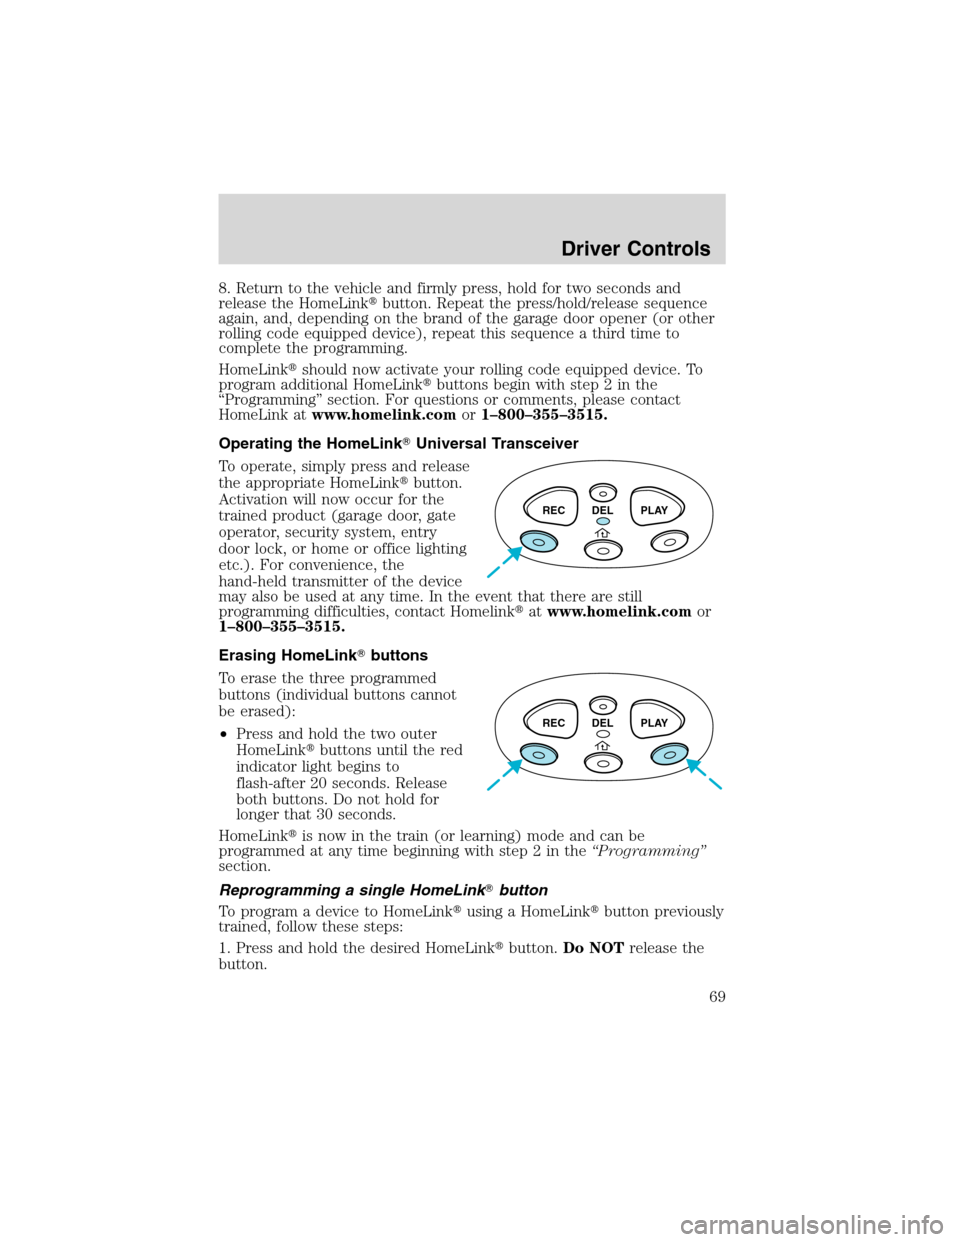
To operate, simply press and release
the appropriate HomeLink�button.
Activation will now occur for the
trained product (garage door, gate
operator, security system, entry
door lock, or home or office lighting
etc.). For convenience, the
hand-held transmitter of the device
may also be used at any time. In the event that there are still
programming difficulties, contact Homelink�atwww.homelink.comor
1–800–355–3515.
Erasing HomeLink�buttons
To erase the three programmed
buttons (individual buttons cannot
be erased):
•Press and hold the two outer
HomeLink�buttons until the red
indicator light begins to
flash-after 20 seconds. Release
both buttons. Do not hold for
longer that 30 seconds.
HomeLink�is now in the train (or learning) mode and can be
programmed at any time beginning with step 2 in the“Programming”
section.
Reprogramming a single HomeLink�button
To program a device to HomeLink�using a HomeLink�button previously
trained, follow these steps:
1. Press and hold the desired HomeLink�button.Do NOTrelease the
button.
REC DEL PLAY
REC DEL PLAY
Driver Controls
69
Page 71 of 280
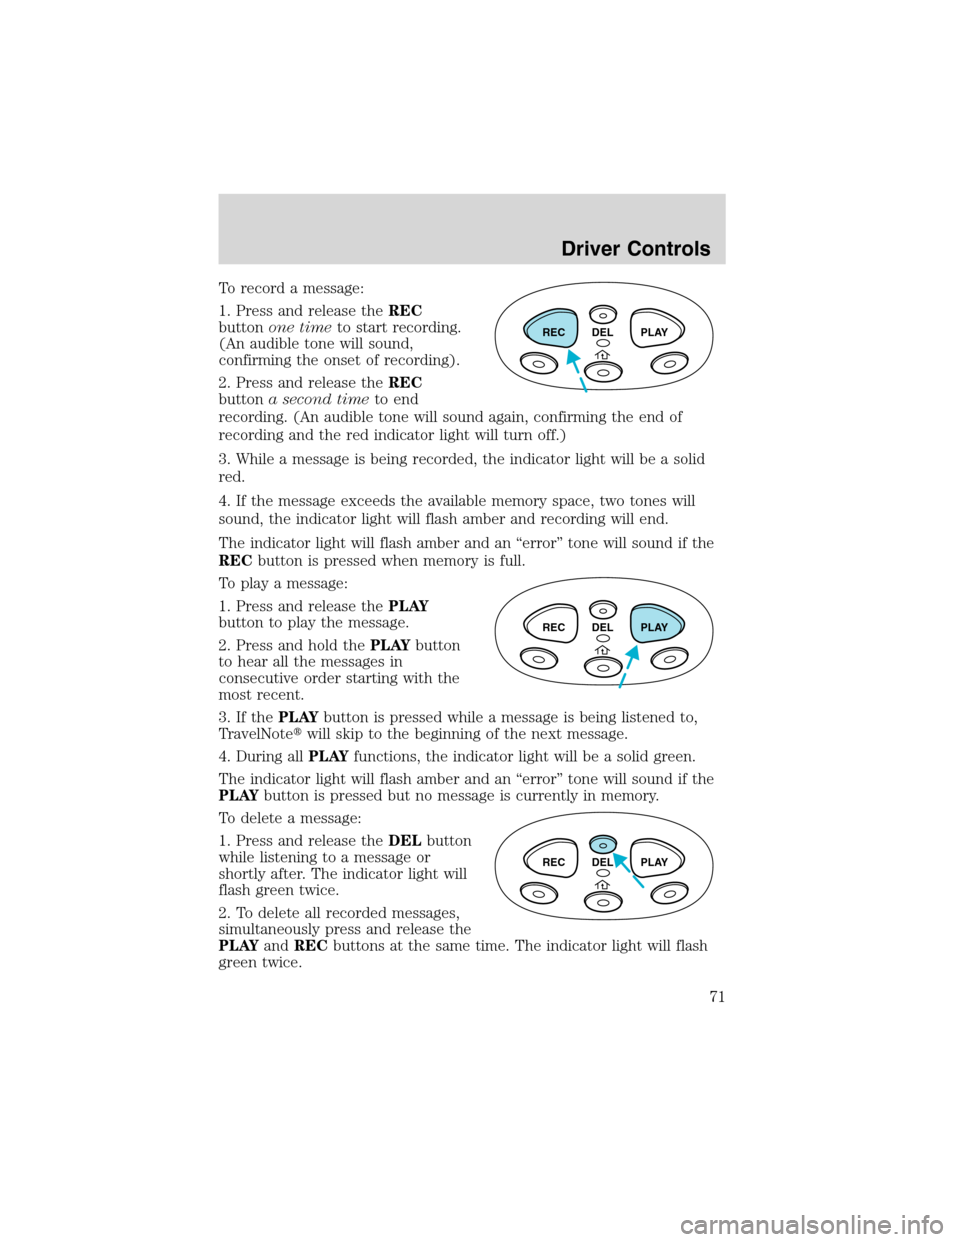
To record a message:
1. Press and release theREC
buttonone timeto start recording.
(An audible tone will sound,
confirming the onset of recording).
2. Press and release theREC
buttona second timeto end
recording. (An audible tone will sound again, confirming the end of
recording and the red indicator light will turn off.)
3. While a message is being recorded, the indicator light will be a solid
red.
4. If the message exceeds the available memory space, two tones will
sound, the indicator light will flash amber and recording will end.
The indicator light will flash amber and an“error”tone will sound if the
RECbutton is pressed when memory is full.
To play a message:
1. Press and release thePLAY
button to play the message.
2. Press and hold thePLAYbutton
to hear all the messages in
consecutive order starting with the
most recent.
3. If thePLAYbutton is pressed while a message is being listened to,
TravelNote�will skip to the beginning of the next message.
4. During allPLAYfunctions, the indicator light will be a solid green.
The indicator light will flash amber and an“error”tone will sound if the
PLAYbutton is pressed but no message is currently in memory.
To delete a message:
1. Press and release theDELbutton
while listening to a message or
shortly after. The indicator light will
flash green twice.
2. To delete all recorded messages,
simultaneously press and release the
PLAYandRECbuttons at the same time. The indicator light will flash
green twice.
REC DEL PLAY
REC DEL PLAY
REC DEL PLAY
Driver Controls
71
Page 73 of 280
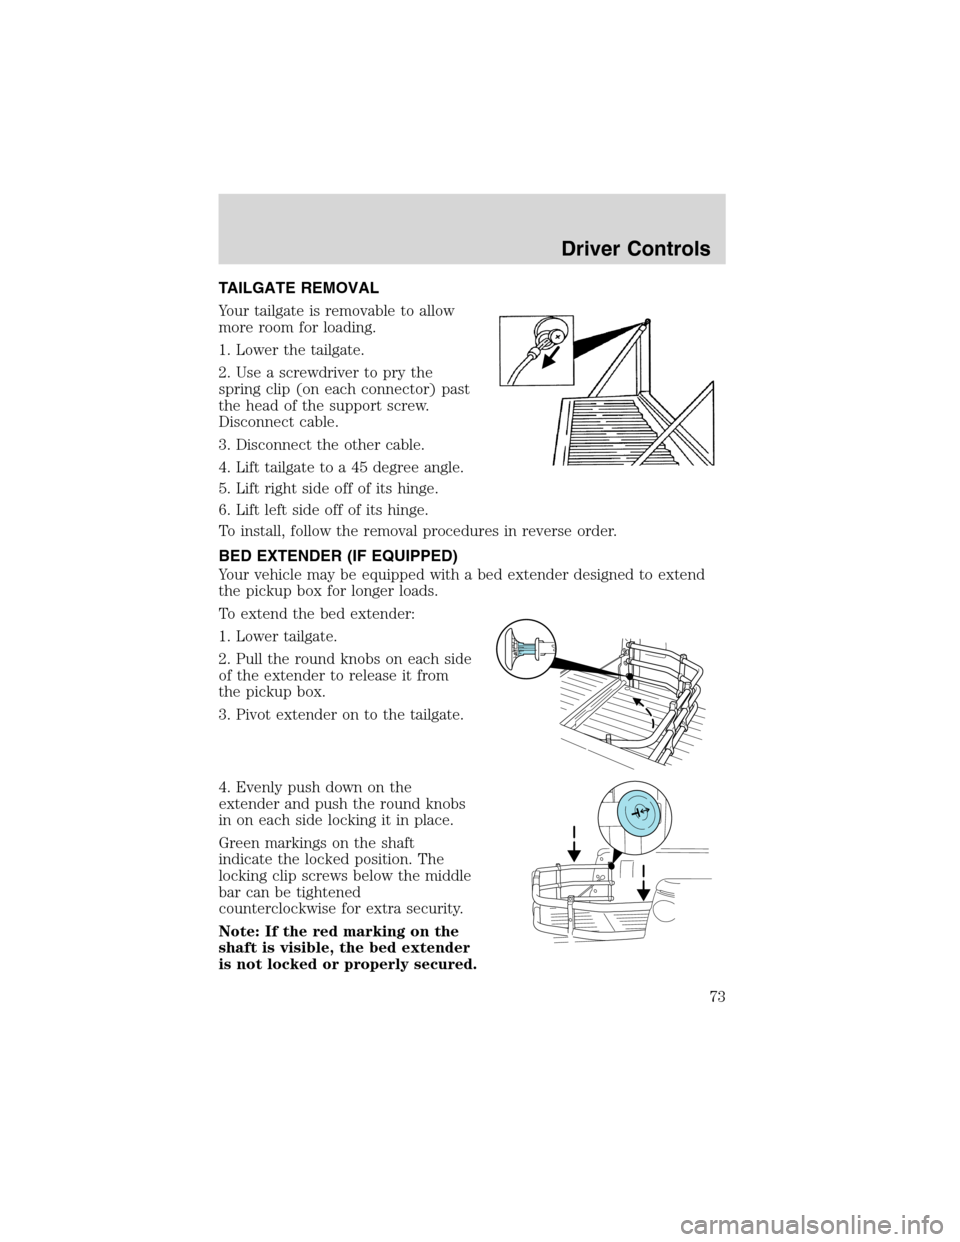
TAILGATE REMOVAL
Your tailgate is removable to allow
more room for loading.
1. Lower the tailgate.
2. Use a screwdriver to pry the
spring clip (on each connector) past
the head of the support screw.
Disconnect cable.
3. Disconnect the other cable.
4. Lift tailgate to a 45 degree angle.
5. Lift right side off of its hinge.
6. Lift left side off of its hinge.
To install, follow the removal procedures in reverse order.
BED EXTENDER (IF EQUIPPED)
Your vehicle may be equipped with a bed extender designed to extend
the pickup box for longer loads.
To extend the bed extender:
1. Lower tailgate.
2. Pull the round knobs on each side
of the extender to release it from
the pickup box.
3. Pivot extender on to the tailgate.
4. Evenly push down on the
extender and push the round knobs
in on each side locking it in place.
Green markings on the shaft
indicate the locked position. The
locking clip screws below the middle
bar can be tightened
counterclockwise for extra security.
Note: If the red marking on the
shaft is visible, the bed extender
is not locked or properly secured.
Driver Controls
73