Page 100 of 320

Window lock
The window lock feature allows only
the driver to operate the power
windows.
To lock out all the window controls
except for the driver’s press the left
side of the control. Press the right
side to restore the window controls.
Accessory delay
With accessory delay, the window switches and audio system may be
used for up to ten minutes after the ignition switch is turned to the OFF
position or until any door is opened.
MIRRORS
Automatic dimming rear view mirrors (if equipped)
Your vehicle may be equipped with an inside rear view mirror with an
auto-dimming function. The electronic day/night mirror will change from
the normal state to the non-glare state when bright lights (glare) reach
the inside rear view mirror. When the inside rear view mirror detects
bright light from in front of or behind the vehicle, the inside rear view
mirror will automatically adjust (darken) to minimize glare.
Do not block the sensor on the backside of the inside rear view mirror
since this may impair proper system performance.
Press the control to turn the mirror
OFF or AUTO.
The mirror will automatically return
to the normal state whenever the
vehicle is placed in R
(Reverse)(when the mirror is on) to ensure a bright clear view when
backing up.
OFF AUTO
Driver Controls
100
Page 101 of 320
Power side view mirrors
The ignition can be in any position to adjust the power side view mirrors.
To adjust your mirrors:
1. Select
to adjust the left
mirror or
to adjust the right
mirror.
2. Move the control in the direction
you wish to tilt the mirror.
3. Return to the center position to
disable adjust function.
Heated outside mirrors
R
Both mirrors are heated
automatically to remove ice, mist
and fog when the rear window
defrost is activated.
Do not remove ice from the
mirrors with a scraper or
attempt to readjust the mirror
glass if it is frozen in place.
These actions could cause
damage to the glass and mirrors.
Reverse tilt down mirrors (if equipped)
The side mirrors tilt down when the
vehicle is put in R (Reverse). Refer
to theMessage Centerin the
Driver Controlschapter to turn this
feature ON or OFF.
Driver Controls
101
Page 113 of 320

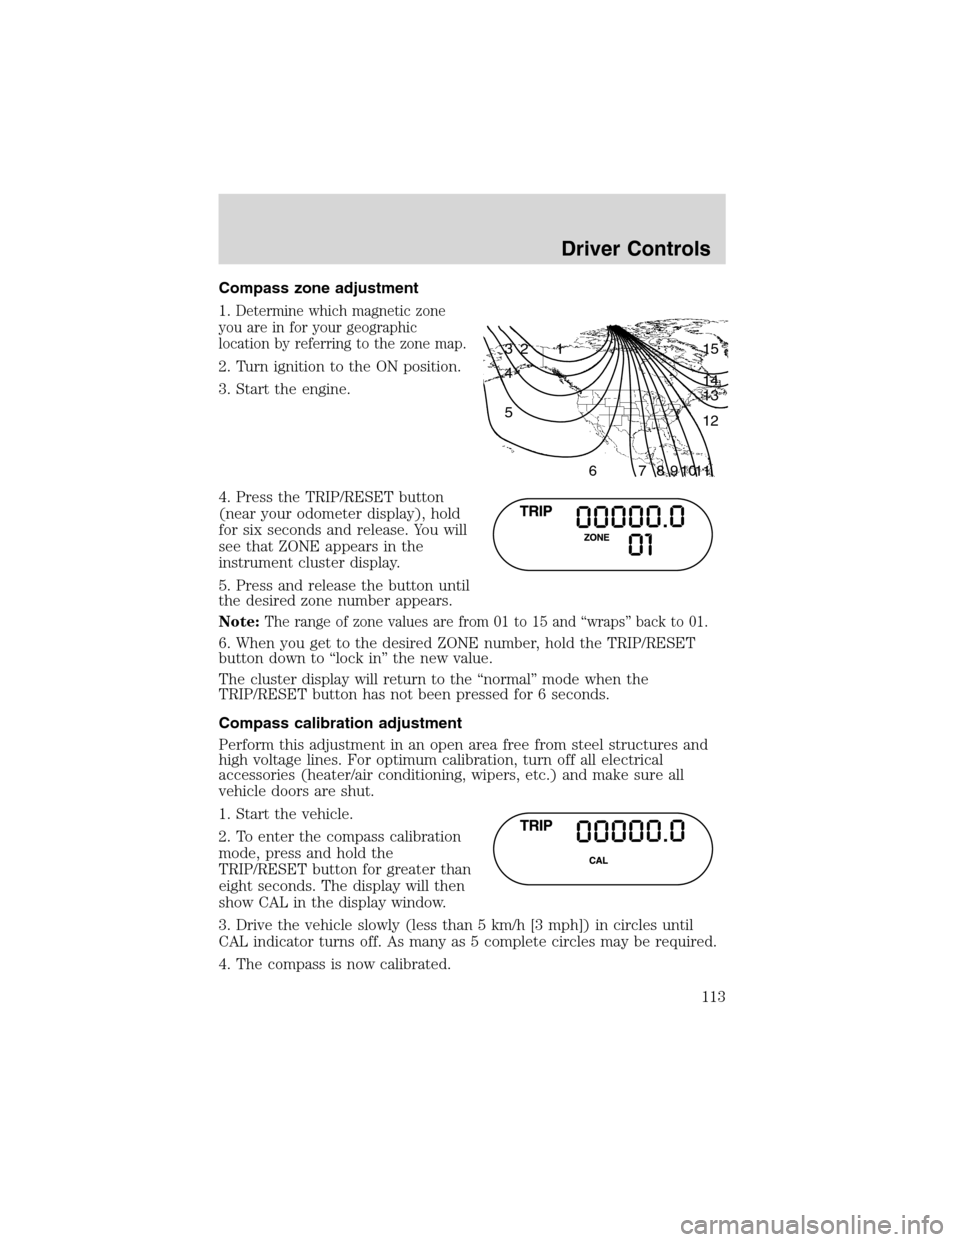
Compass zone adjustment
1.
Determine which magnetic zone
you are in for your geographic
location by referring to the zone map.
2. Turn ignition to the ON position.
3. Start the engine.
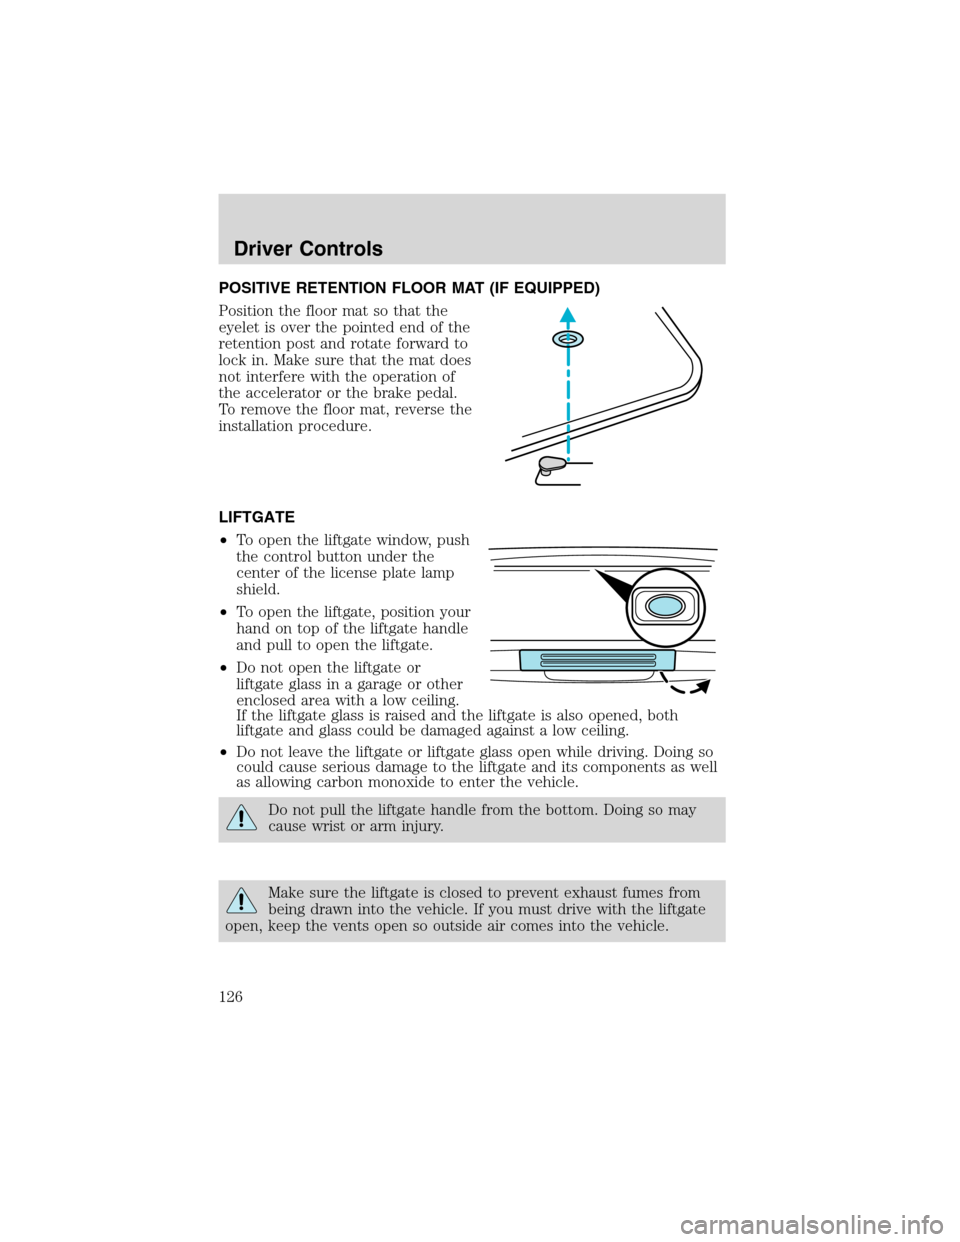
4. Press the TRIP/RESET button
(near your odometer display), hold
for six seconds and release. You will
see that ZONE appears in the
instrument cluster display.
5. Press and release the button until
the desired zone number appears.
Note:
The range of zone values are from 01 to 15 and“wraps”back to 01.
6. When you get to the desired ZONE number, hold the TRIP/RESET
button down to“lock in”the new value.
The cluster display will return to the“normal”mode when the
TRIP/RESET button has not been pressed for 6 seconds.
Compass calibration adjustment
Perform this adjustment in an open area free from steel structures and
high voltage lines. For optimum calibration, turn off all electrical
accessories (heater/air conditioning, wipers, etc.) and make sure all
vehicle doors are shut.
1. Start the vehicle.
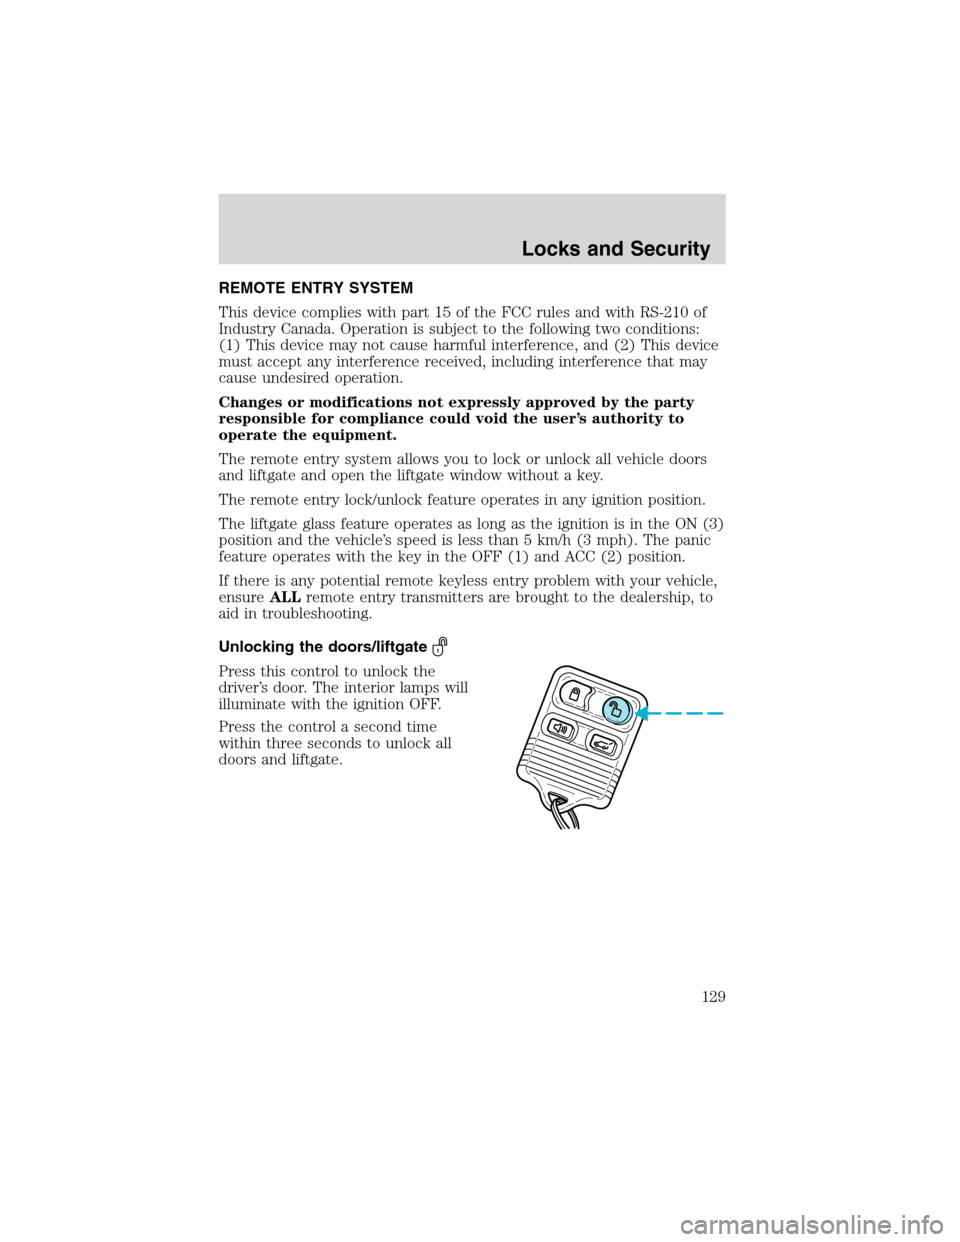
2. To enter the compass calibration
mode, press and hold the
TRIP/RESET button for greater than
eight seconds. The display will then
show CAL in the display window.
3. Drive the vehicle slowly (less than 5 km/h [3 mph]) in circles until
CAL indicator turns off. As many as 5 complete circles may be required.
4. The compass is now calibrated.
1 2 3
4
5
6 7 8 9 101112 13 14 15
Driver Controls
113
Page 126 of 320

POSITIVE RETENTION FLOOR MAT (IF EQUIPPED)
Position the floor mat so that the
eyelet is over the pointed end of the
retention post and rotate forward to
lock in. Make sure that the mat does
not interfere with the operation of
the accelerator or the brake pedal.
To remove the floor mat, reverse the
installation procedure.
LIFTGATE
•To open the liftgate window, push
the control button under the
center of the license plate lamp
shield.
•To open the liftgate, position your
hand on top of the liftgate handle
and pull to open the liftgate.
•Do not open the liftgate or
liftgate glass in a garage or other
enclosed area with a low ceiling.
If the liftgate glass is raised and the liftgate is also opened, both
liftgate and glass could be damaged against a low ceiling.
•Do not leave the liftgate or liftgate glass open while driving. Doing so
could cause serious damage to the liftgate and its components as well
as allowing carbon monoxide to enter the vehicle.
Do not pull the liftgate handle from the bottom. Doing so may
cause wrist or arm injury.
Make sure the liftgate is closed to prevent exhaust fumes from
being drawn into the vehicle. If you must drive with the liftgate
open, keep the vents open so outside air comes into the vehicle.
Driver Controls
126
Page 129 of 320

REMOTE ENTRY SYSTEM
This device complies with part 15 of the FCC rules and with RS-210 of
Industry Canada. Operation is subject to the following two conditions:
(1) This device may not cause harmful interference, and (2) This device
must accept any interference received, including interference that may
cause undesired operation.
Changes or modifications not expressly approved by the party
responsible for compliance could void the user’s authority to
operate the equipment.
The remote entry system allows you to lock or unlock all vehicle doors
and liftgate and open the liftgate window without a key.
The remote entry lock/unlock feature operates in any ignition position.
The liftgate glass feature operates as long as the ignition is in the ON (3)
position and the vehicle’s speed is less than 5 km/h (3 mph). The panic
feature operates with the key in the OFF (1) and ACC (2) position.
If there is any potential remote keyless entry problem with your vehicle,
ensureALLremote entry transmitters are brought to the dealership, to
aid in troubleshooting.
Unlocking the doors/liftgate
Press this control to unlock the
driver’s door. The interior lamps will
illuminate with the ignition OFF.
Press the control a second time
within three seconds to unlock all
doors and liftgate.
Locks and Security
129
Page 130 of 320
Locking the doors/liftgate
Press this control to lock all doors
and liftgate. The park/turn signal
lamps will flash once.
To confirm all doors are closed and
locked, press the control a second
time within three seconds; the
park/turn signal lamps will flash
once and the horn will chirp.
If any of the doors or liftgate are
ajar, the horn will make two quick
chirps, reminding you to properly close all doors.
Opening the liftgate window
Press the control to unlatch the
liftgate window.
Sounding a panic alarm
Press this control to activate the
alarm.
The personal panic alarm will cycle
the horn and parking lamps on/off.
To deactivate the alarm, press the
control again or turn the ignition to
ON.
Locks and Security
130
Page 137 of 320

Unlocking the doors with the keyless entry system
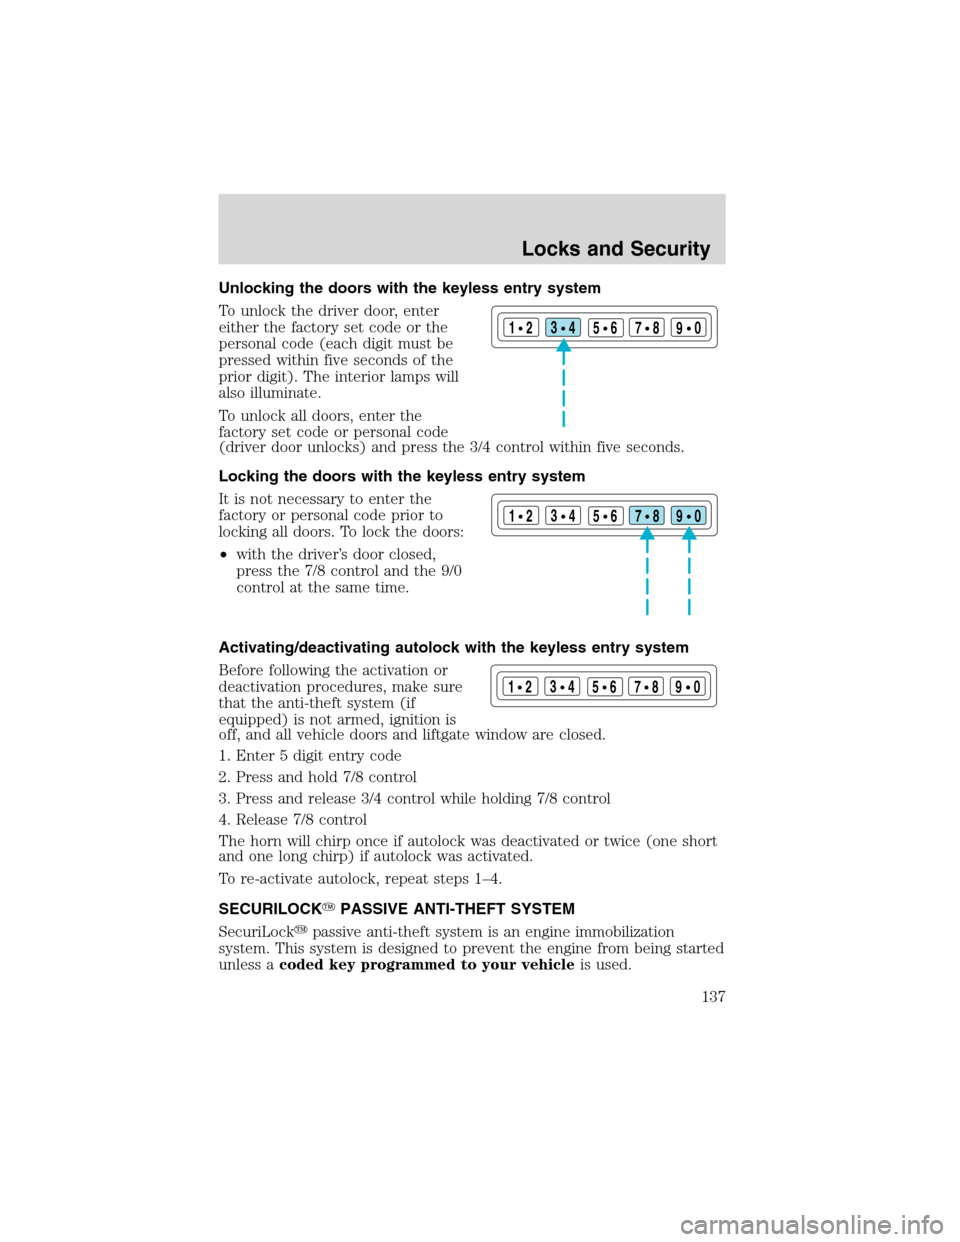
To unlock the driver door, enter
either the factory set code or the
personal code (each digit must be
pressed within five seconds of the
prior digit). The interior lamps will
also illuminate.
To unlock all doors, enter the
factory set code or personal code
(driver door unlocks) and press the 3/4 control within five seconds.
Locking the doors with the keyless entry system
It is not necessary to enter the
factory or personal code prior to
locking all doors. To lock the doors:
•with the driver’s door closed,
press the 7/8 control and the 9/0
control at the same time.
Activating/deactivating autolock with the keyless entry system
Before following the activation or
deactivation procedures, make sure
that the anti-theft system (if
equipped) is not armed, ignition is
off, and all vehicle doors and liftgate window are closed.
1. Enter 5 digit entry code
2. Press and hold 7/8 control
3. Press and release 3/4 control while holding 7/8 control
4. Release 7/8 control
The horn will chirp once if autolock was deactivated or twice (one short
and one long chirp) if autolock was activated.
To re-activate autolock, repeat steps 1–4.
SECURILOCK�PASSIVE ANTI-THEFT SYSTEM
SecuriLock�passive anti-theft system is an engine immobilization
system. This system is designed to prevent the engine from being started
unless acoded key programmed to your vehicleis used.
123
45678
90
123
45678
90
123
45678
90
Locks and Security
137
Page 174 of 320

How does the Safety Canopy�system work?
The design and development of the
Safety Canopy�system included
recommended testing procedures
that were developed by a group of
automotive safety experts known as
the Side Air Bag Technical Working
Group. These recommended testing
procedures help reduce the risk of
injuries related to the deployment of
side airbags (including the Safety
Canopy�).
The Safety Canopy�system
consists of the following:
•An inflatable nylon curtain with a
gas generator concealed behind
the headliner and above the doors
(one on each side of vehicle).
•A headliner designed to flex open
above the side doors to allow Safety Canopy�deployment.
•The same warning light, electronic control and diagnostic unit as used
for the front airbags.
•Two crash sensors mounted in the front doors (one on each side).
•Two crash sensors located at the c-pillar behind the rear doors (one
on each side).
•Rollover sensor in the restraints control module (RCM).
The Safety Canopy�system, in combination with seat belts, can help
reduce the risk of severe injuries in the event of a significant side impact
collision or rollover event.
Children 12 years old and under should always be properly restrained in
the second or third row seats. The Safety Canopy�will not interfere
with children restrained using a properly installed child or booster seat
because it is designed to inflate downward from the headliner above the
doors along the side window opening.
The Safety Canopy�system is designed to activate when the vehicle
sustains lateral deceleration sufficient to cause the side crash sensor to
close an electrical circuit that initiates Safety Canopy�inflation or when
a certain likelihood of a rollover event is detected by the rollover sensor.
Seating and Safety Restraints
174