Page 46 of 184
Setting speed control
The controls for using your speed
control are located on the steering
wheel for your convenience.
1. Press the ON control and release
it.
2. Accelerate to the desired speed.
3. Press the SET ACC control and
release it.
4. Take your foot off the accelerator
pedal.
Note:
•Vehicle speed may vary momentarily when driving up and down a
steep hill.
•If the vehicle speed increases above the set speed on a downhill, you
may want to apply the brakes to reduce the speed.
•If the vehicle speed decreases more than 16 km/h (10 mph) below
your set speed on an uphill, your speed control will disengage.
ON
OFF
RSM
CST
SET
ACC
Driver Controls
46
Page 48 of 184
•Depress the brake pedal until the
desired vehicle speed is reached,
press the SET ACC control.
Turning off speed control
There are two ways to turn off the speed control:
•Depress the brake pedal or the clutch pedal (if equipped). This will
not erase your vehicles previously set speed.
•Press the speed control OFF
control.
Note:When you turn off the speed
control or the ignition, your speed
control set speed memory is erased.
MOON ROOF (IF EQUIPPED)
•Press and hold OPEN to raise the
moon roof to the vent position.
•Press OPEN again to fully open
the moon roof.
•Press the opposite end of the
toggle control to close the moon
roof fromeither position.
Sliding shade
The moon roof has a sliding shade that you can open or close when the
moon roof is closed.
RSM
CST
SET
ACC
ON
OFF
OPEN
Driver Controls
48
Page 50 of 184
POSITIVE RETENTION FLOOR MAT
Position the driver floor mat so that
the eyelet is over the pointed end of
the retention post and rotate
forward to lock in. Make sure that
the mat does not interfere with the
operation of the accelerator or the
brake pedal. To remove the floor
mat, reverse the installation
procedure.
Driver Controls
50
Page 62 of 184

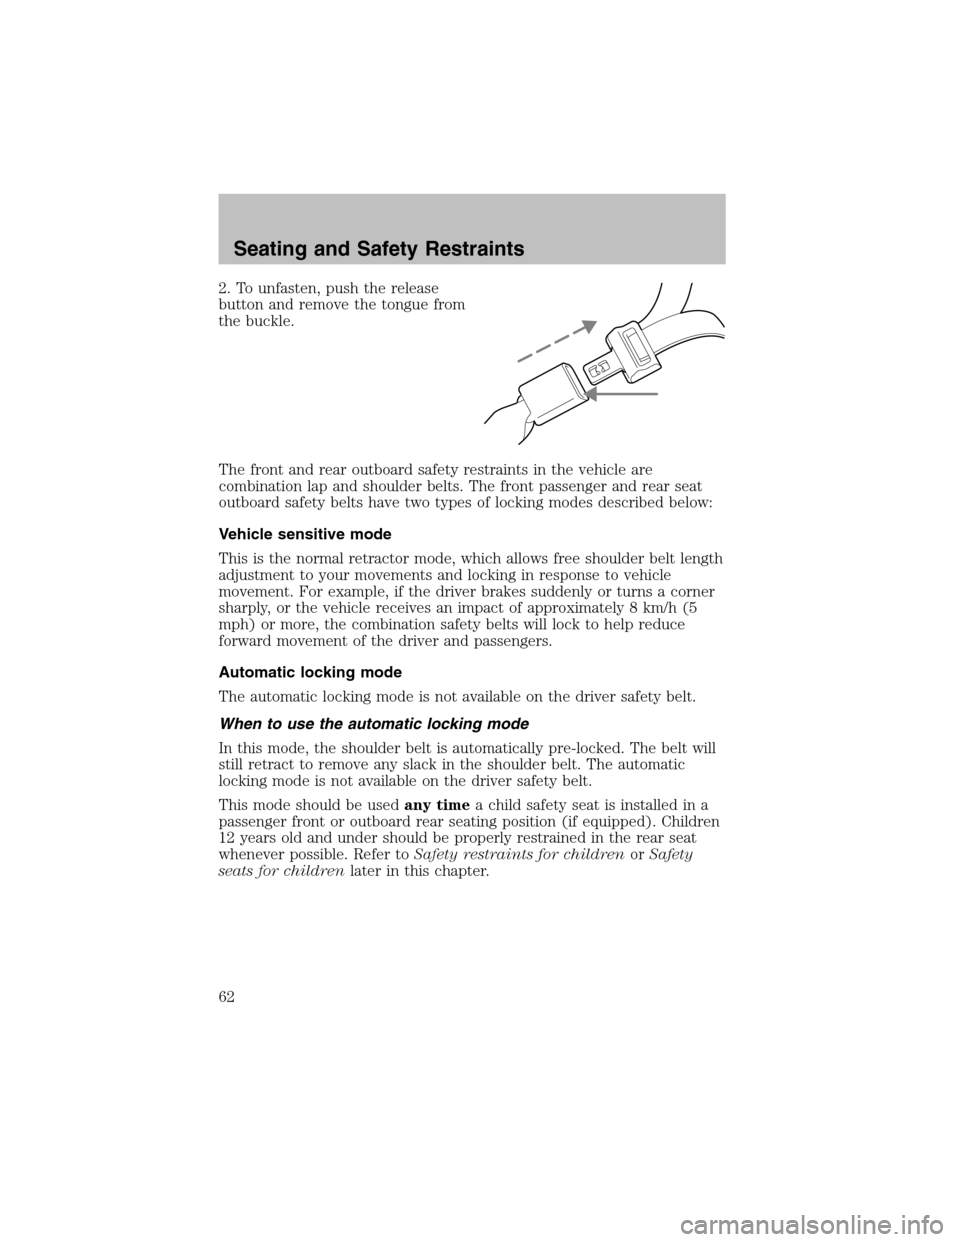
2. To unfasten, push the release
button and remove the tongue from
the buckle.
The front and rear outboard safety restraints in the vehicle are
combination lap and shoulder belts. The front passenger and rear seat
outboard safety belts have two types of locking modes described below:
Vehicle sensitive mode
This is the normal retractor mode, which allows free shoulder belt length
adjustment to your movements and locking in response to vehicle
movement. For example, if the driver brakes suddenly or turns a corner
sharply, or the vehicle receives an impact of approximately 8 km/h (5
mph) or more, the combination safety belts will lock to help reduce
forward movement of the driver and passengers.
Automatic locking mode
The automatic locking mode is not available on the driver safety belt.
When to use the automatic locking mode
In this mode, the shoulder belt is automatically pre-locked. The belt will
still retract to remove any slack in the shoulder belt. The automatic
locking mode is not available on the driver safety belt.
This mode should be usedany timea child safety seat is installed in a
passenger front or outboard rear seating position (if equipped). Children
12 years old and under should be properly restrained in the rear seat
whenever possible. Refer toSafety restraints for childrenorSafety
seats for childrenlater in this chapter.
Seating and Safety Restraints
62
Page 67 of 184

Do not sit on top of a buckled safety belt to avoid the Belt
Minder chime. Sitting on the safety belt will increase the risk of
injury in an accident. To disable (one-time) or deactivate the Belt
Minder feature please follow the directions stated below.
One time disable
Any time the safety belt is buckled and then unbuckled during an
ignition ON cycle, BeltMinder will be disabled for that ignition cycle only.
Deactivating/activating the BeltMinder feature
Read steps1-9thoroughly before proceeding with the
deactivation/activation programming procedure.
The BeltMinder feature can be deactivated/activated by performing the
following procedure:
Before following the procedure, make sure that:
•The parking brake is set.
•The gearshift is in P (Park) (automatic transmission) or the neutral
position (manual transmission).
•The ignition switch is in the OFF position.
•All vehicle doors are closed.
•The driver’s safety belt is unbuckled.
•The parklamps/headlamps are in OFF position (If vehicle is equipped
with Autolamps, this will not affect the procedure).
To reduce the risk of injury, do not deactivate/activate the Belt
Minder feature while driving the vehicle.
BeltMinder activation and deactivation procedure
1. Turn the ignition switch to the RUN (or ON) position. (DO NOT
START THE ENGINE.)
2. Wait until the safety belt warning light turns off. (Approximately 1–2
minutes.)
•Steps 3–5 must be completed within 60 seconds or the procedure will
have to be repeated.
3. Buckle then unbuckle the safety belt three times, ending with the
safety belt unbuckled. This can be done before or during BeltMinder
warning activation.
4. Turn on the parklamps/headlamps, turn off the parklamps/headlamps.
Seating and Safety Restraints
67
Page 85 of 184
If you smell exhaust fumes inside your vehicle, have your dealer
inspect your vehicle immediately. Do not drive if you smell
exhaust fumes.
Make sure the corresponding lights illuminate or illuminate briefly. If a
light fails to illuminate, have the vehicle serviced.
•If the driver’s safety belt is fastened, the
light may not illuminate.
Important safety precautions
When the engine starts, the idle RPM runs faster to warmthe engine. If
the engine idle speed does not slow down automatically, have the vehicle
checked.
Before starting the vehicle:
1. Make sure all occupants buckle their safety belts. For more
information on safety belts and their proper usage, refer to theSeating
and safety restraintschapter.
2. Make sure the headlamps and electrical accessories are off.
If starting a vehicle with an automatic transaxle:
•Make sure the parking brake is
set.
Driving
85
Page 86 of 184
•Make sure the gearshift is in P
(Park).
If starting a vehicle with a manual
transaxle:
1. Make sure the parking brake is
set.
2. Push the clutch pedal to the floor.
P
RNDDL
Driving
86
Page 87 of 184

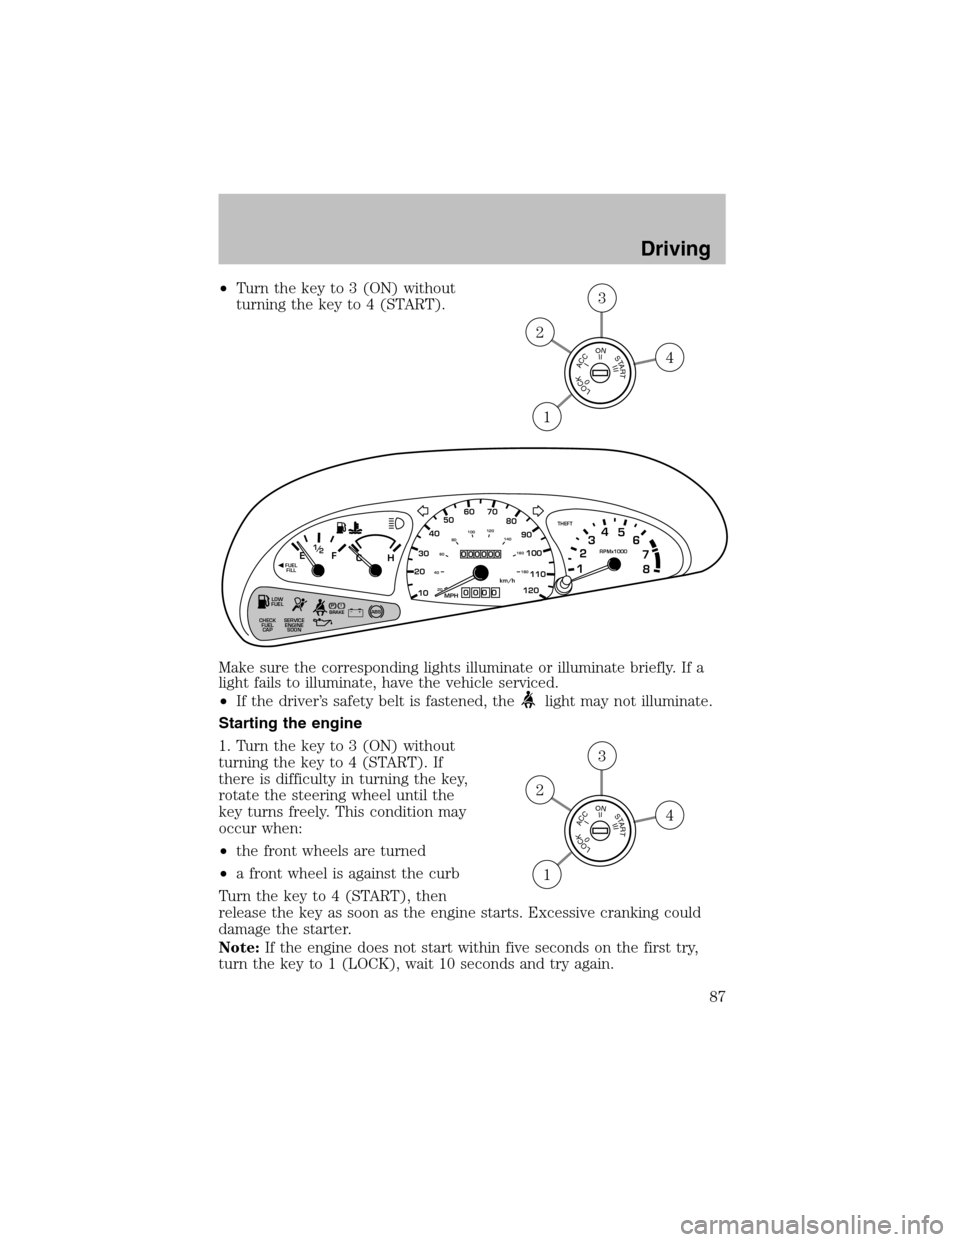
•Turn the key to 3 (ON) without
turning the key to 4 (START).
Make sure the corresponding lights illuminate or illuminate briefly. If a
light fails to illuminate, have the vehicle serviced.
•If the driver’s safety belt is fastened, the
light may not illuminate.
Starting the engine
1. Turn the key to 3 (ON) without
turning the key to 4 (START). If
there is difficulty in turning the key,
rotate the steering wheel until the
key turns freely. This condition may
occur when:
•the front wheels are turned
•a front wheel is against the curb
Turn the key to 4 (START), then
release the key as soon as the engine starts. Excessive cranking could
damage the starter.
Note:If the engine does not start within five seconds on the first try,
turn the key to 1 (LOCK), wait 10 seconds and try again.
LOCKACCONSTART0IIIIII4
3
2
1
!
THEFT
LOW
FUEL
SERVICE
ENGINE
SOON CHECK
FUEL
CAP
PBRAKEABS+ –MPH
205060 70FUEL
FILLEF
CH1
2 /RPMx1000
1234
5
6
7
8
304080
90
100
110
120
10
20 406080100120
140
160
180km/h
0
000000
00 0
LOCKACCONSTART0IIIIII4
3
2
1
Driving
87