Page 14 of 240
Odometer:Registers the total
kilometers (miles) of the vehicle.
Trip odometer:Registers the
kilometers (miles) of individual
journeys. To reset, tap on the trip
reset button to toggle the display
between the trip and the odometer.
Holding the reset button for one or two seconds will reset the trip
odometer to zero.
Tachometer:Indicates the engine
speed in revolutions per minute.
Driving with your tachometer
pointer continuously at the top of
the scale may damage the engine.
Fuel gauge:Indicates
approximately how much fuel is left
in the fuel tank (when the ignition
is in the ON position).
Instrument Cluster
14
Page 114 of 240
STARTING
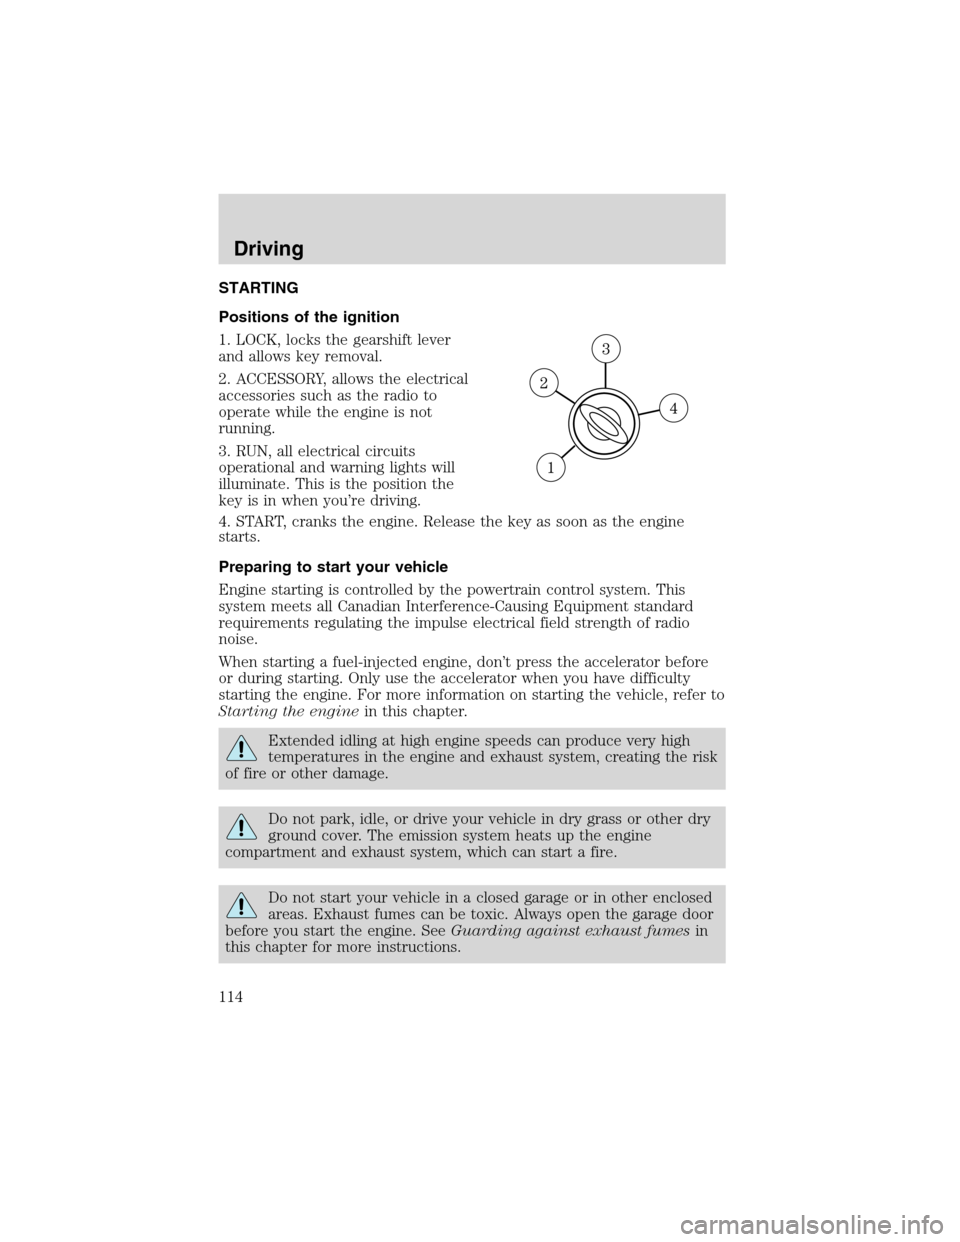
Positions of the ignition
1. LOCK, locks the gearshift lever
and allows key removal.
2. ACCESSORY, allows the electrical
accessories such as the radio to
operate while the engine is not
running.
3. RUN, all electrical circuits
operational and warning lights will
illuminate. This is the position the
key is in when you’re driving.
4. START, cranks the engine. Release the key as soon as the engine
starts.
Preparing to start your vehicle
Engine starting is controlled by the powertrain control system. This
system meets all Canadian Interference-Causing Equipment standard
requirements regulating the impulse electrical field strength of radio
noise.
When starting a fuel-injected engine, don’t press the accelerator before
or during starting. Only use the accelerator when you have difficulty
starting the engine. For more information on starting the vehicle, refer to
Starting the enginein this chapter.
Extended idling at high engine speeds can produce very high
temperatures in the engine and exhaust system, creating the risk
of fire or other damage.
Do not park, idle, or drive your vehicle in dry grass or other dry
ground cover. The emission system heats up the engine
compartment and exhaust system, which can start a fire.
Do not start your vehicle in a closed garage or in other enclosed
areas. Exhaust fumes can be toxic. Always open the garage door
before you start the engine. SeeGuarding against exhaust fumesin
this chapter for more instructions.
Driving
114
Page 122 of 240
Driving with an automatic overdrive transaxle
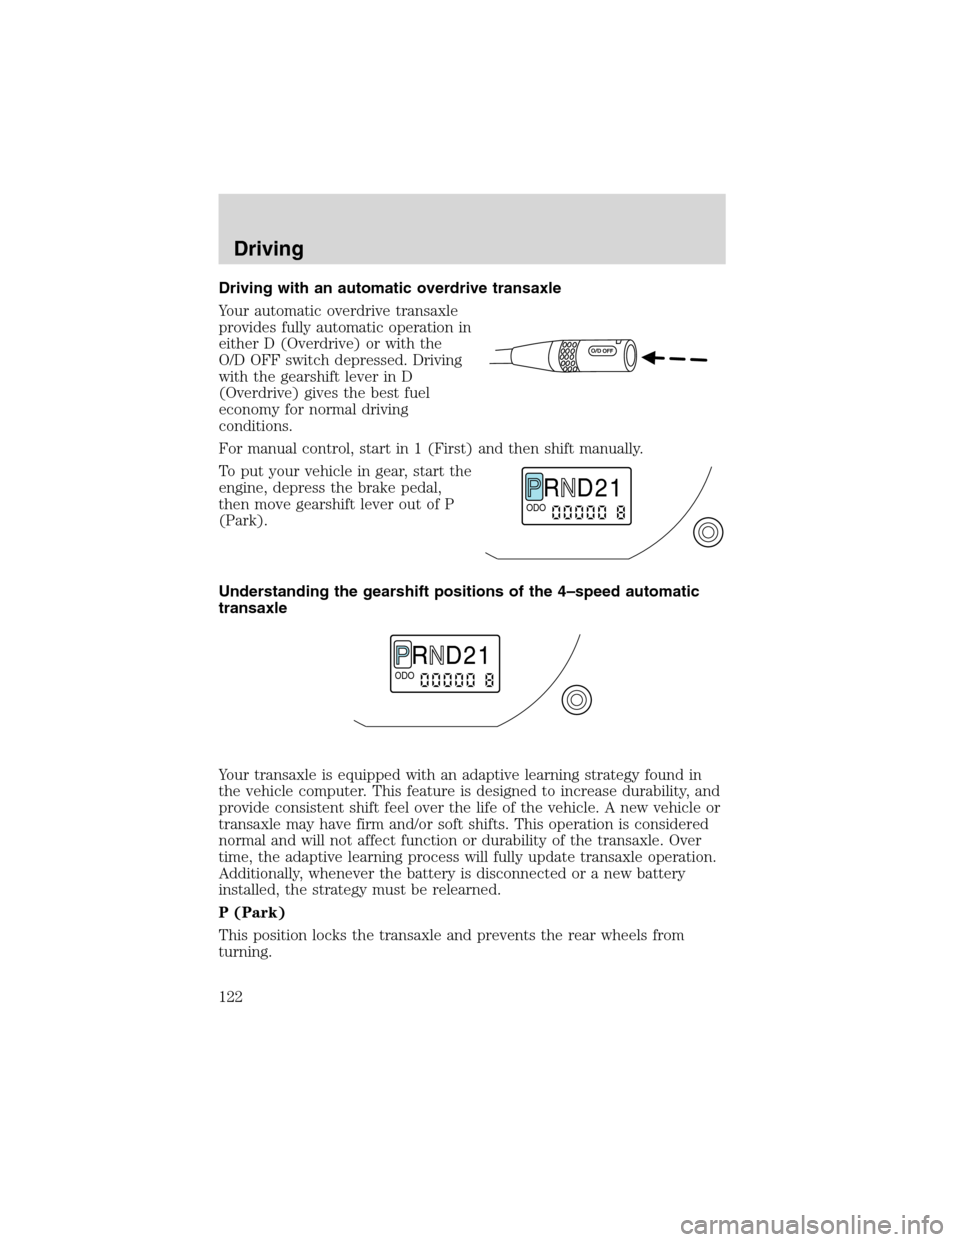
Your automatic overdrive transaxle
provides fully automatic operation in
either D (Overdrive) or with the
O/D OFF switch depressed. Driving
with the gearshift lever in D
(Overdrive) gives the best fuel
economy for normal driving
conditions.
For manual control, start in 1 (First) and then shift manually.
To put your vehicle in gear, start the
engine, depress the brake pedal,
then move gearshift lever out of P
(Park).
Understanding the gearshift positions of the 4–speed automatic
transaxle
Your transaxle is equipped with an adaptive learning strategy found in
the vehicle computer. This feature is designed to increase durability, and
provide consistent shift feel over the life of the vehicle. A new vehicle or
transaxle may have firm and/or soft shifts. This operation is considered
normal and will not affect function or durability of the transaxle. Over
time, the adaptive learning process will fully update transaxle operation.
Additionally, whenever the battery is disconnected or a new battery
installed, the strategy must be relearned.
P (Park)
This position locks the transaxle and prevents the rear wheels from
turning.
R D 2 1ODO
R D 2 1ODO
Driving
122
Page 123 of 240
To put your vehicle in gear:
•Start the engine
•Depress the brake pedal
•Move the gearshift lever into the desired gear
To put your vehicle in P (Park):
•Come to a complete stop
•Move the gearshift lever and securely latch it in P (Park)
Always set the parking brake fully and make sure the gearshift is
latched in P (Park). Turn the ignition to the LOCK position and
remove the key whenever you leave your vehicle.
R (Reverse)
With the gearshift lever in R (Reverse), the vehicle will move backward.
Always come to a complete stop before shifting into and out of R
(Reverse).
N (Neutral)
With the gearshift lever in N (Neutral), the vehicle can be started and is
free to roll. Hold the brake pedal down while in this position.
D (Overdrive)
The normal driving position for the
best fuel economy. Transaxle
operates in gears one through four.
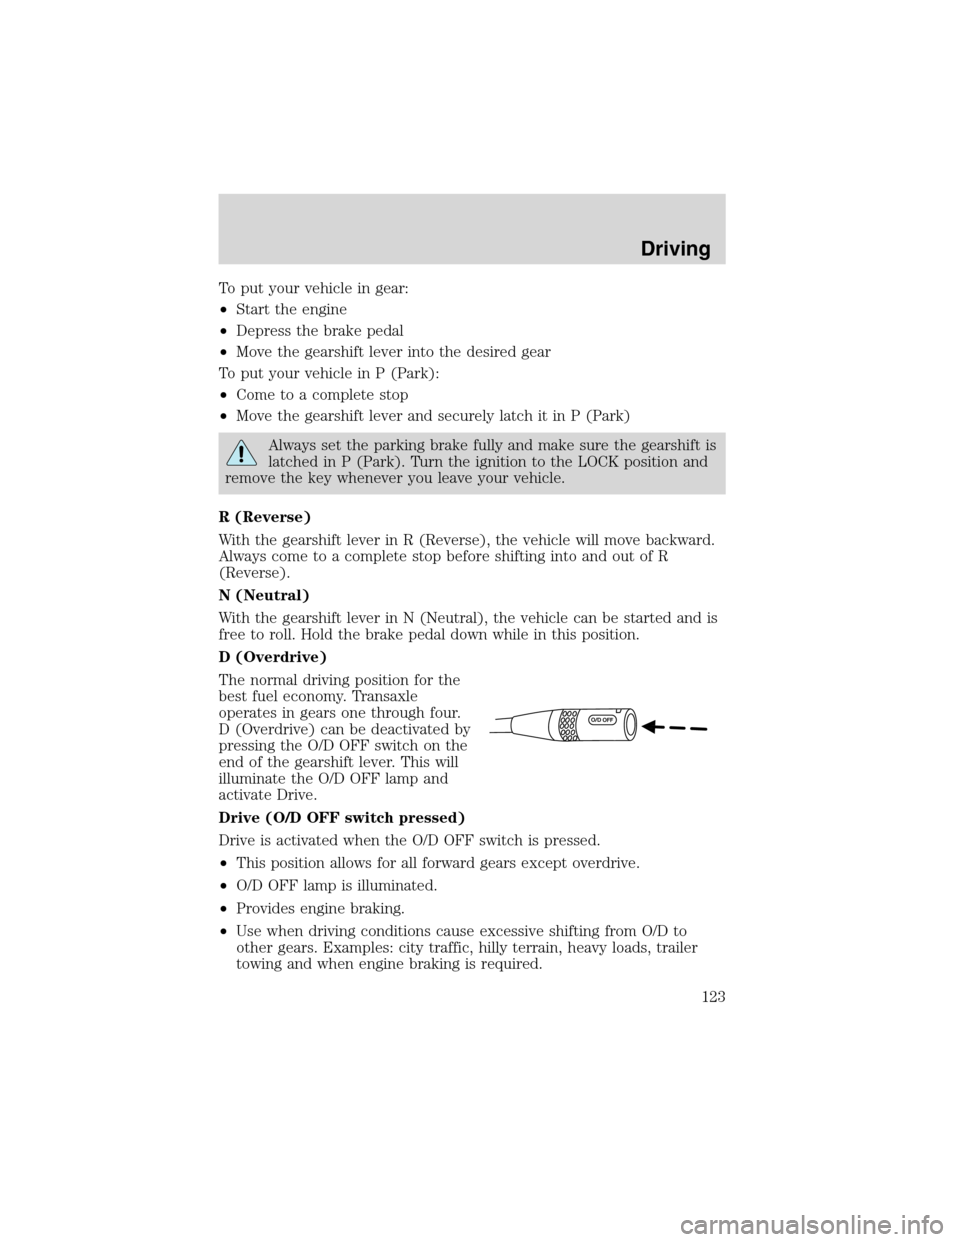
D (Overdrive) can be deactivated by
pressing the O/D OFF switch on the
end of the gearshift lever. This will
illuminate the O/D OFF lamp and
activate Drive.
Drive (O/D OFF switch pressed)
Drive is activated when the O/D OFF switch is pressed.
•This position allows for all forward gears except overdrive.
•O/D OFF lamp is illuminated.
•Provides engine braking.
•Use when driving conditions cause excessive shifting from O/D to
other gears. Examples: city traffic, hilly terrain, heavy loads, trailer
towing and when engine braking is required.
Driving
123
Page 126 of 240
Do not drive with your foot resting on the clutch pedal and do
not use the clutch pedal to hold your vehicle at a standstill while
waiting on a hill. These actions will seriously reduce clutch life.
RECOMMENDED SHIFT SPEEDS
Upshift according to the following charts for best fuel economy:
Upshifts when accelerating (recommended for best fuel
economy)
1-2 22 km/h (14 mph)
2-3 40 km/h (25 mph)
3-4 55 km/h (34 mph)
4-5 70 km/h (44 mph)
Upshifts when cruising (recommended for best fuel economy)
1-2 19 km/h (12 mph)
2-3 31 km/h (19 mph)
3-4 46 km/h (29 mph)
4-5 61 km/h (38 mph)
REVERSE
Make sure that your vehicle is at a complete stop before you shift
into R (Reverse). Failure to do so may damage the transaxle.
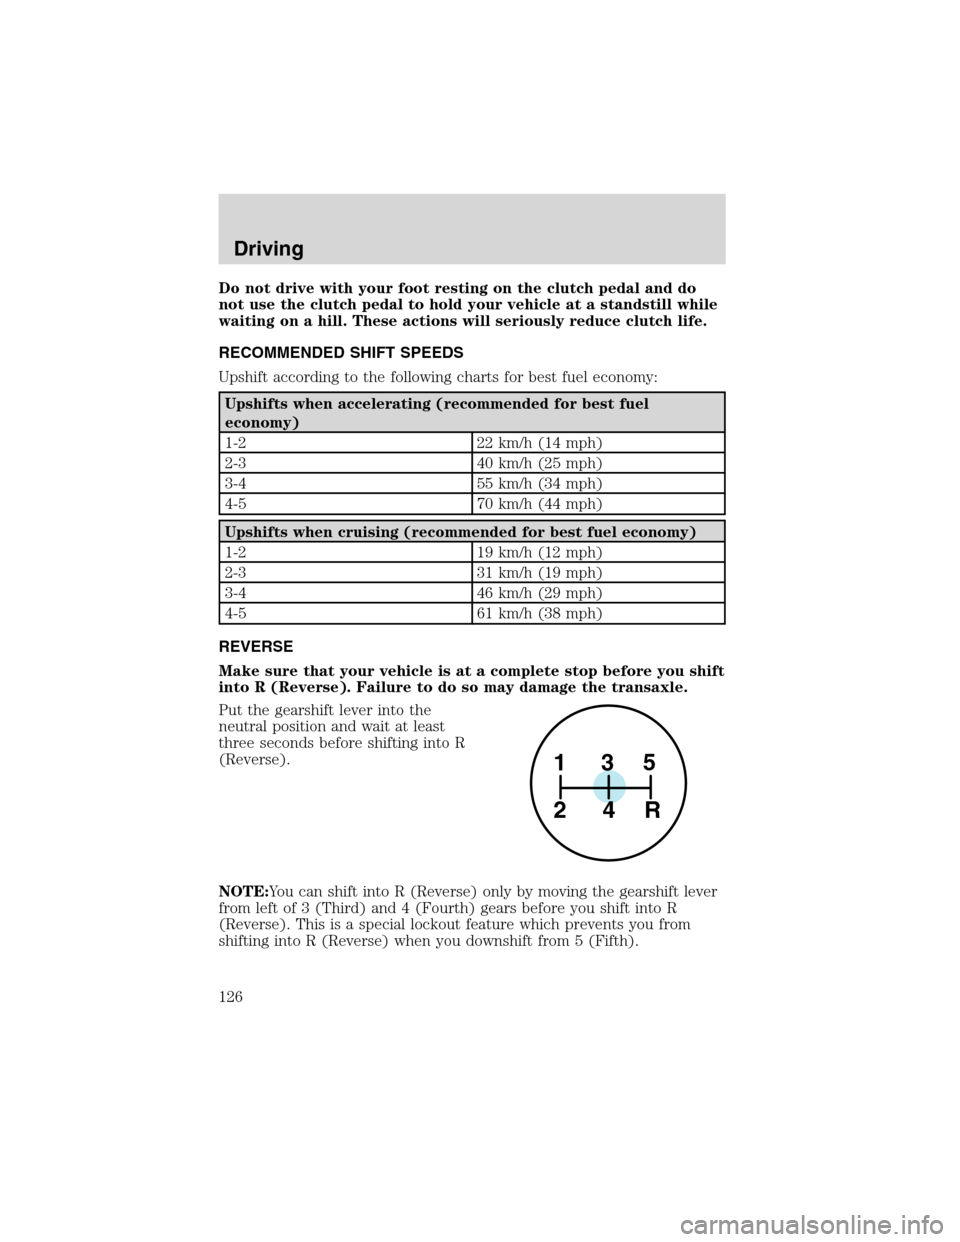
Put the gearshift lever into the
neutral position and wait at least
three seconds before shifting into R
(Reverse).
NOTE:You can shift into R (Reverse) only by moving the gearshift lever
from left of 3 (Third) and 4 (Fourth) gears before you shift into R
(Reverse). This is a special lockout feature which prevents you from
shifting into R (Reverse) when you downshift from 5 (Fifth).
1
24R35
Driving
126
Page 146 of 240
USING ROADSIDE ASSISTANCE
Complete the roadside assistance identification card and place it in your
wallet for quick reference. In the United States, this card is found in the
Owner Guide portfolio in the glove compartment in Ford vehicles and is
mailed to you if you own a Mercury or Lincoln. In Canada, the card is
found in the Owner Information Guide in the glove compartment.
U.S. Ford or Mercury vehicle customers who require roadside assistance,
call 1–800–241–3673; Lincoln vehicle customers call 1–800–521–4140.
Canadian customers who require roadside assistance, call
1–800–665–2006.
If you need to arrange roadside assistance for yourself, Ford Motor
Company will reimburse a reasonable amount. To obtain reimbursement
information, U.S. Ford or Mercury vehicles customers call
1-800-241-3673; Lincoln vehicle customers call 1–800–521–4140.
Canadian customers who need to obtain reimbursement information, call
1–800–665–2006.
ROADSIDE COVERAGE BEYOND BASIC WARRANTY
In the United States, you may purchase additional roadside assistance
coverage beyond this period through the Ford Auto Club by contacting
your Ford or Lincoln Mercury dealer.
Similarly in Canada, for uninterrupted Roadside Assistance coverage, you
may purchase extended coverage prior to your Basic Warranty’s Roadside
Assistance expiring. For more information and enrollment, contact
1–877–294–2582 or visit our website at www.ford.ca.
HAZARD FLASHER CONTROL
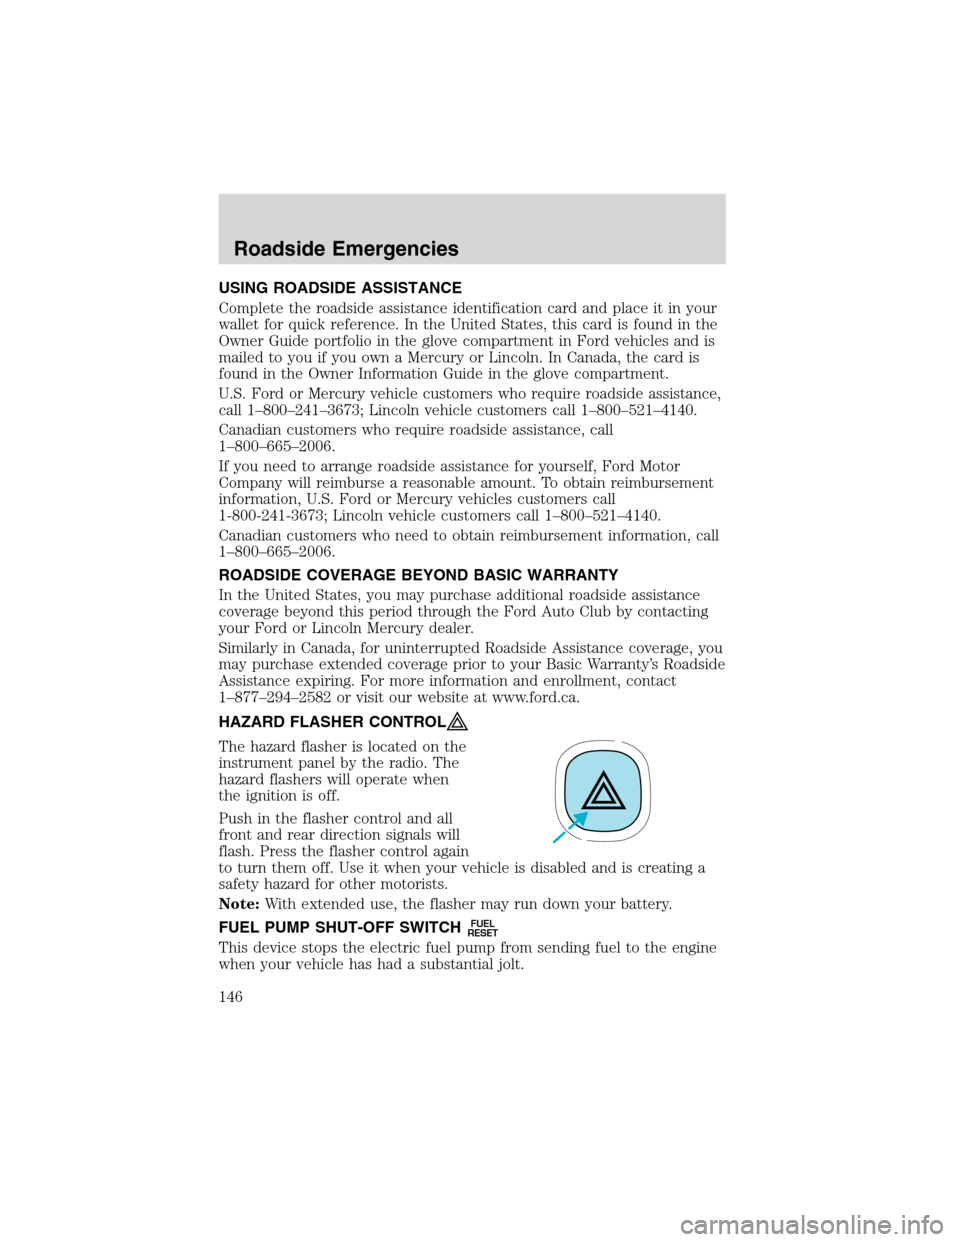
The hazard flasher is located on the
instrument panel by the radio. The
hazard flashers will operate when
the ignition is off.
Push in the flasher control and all
front and rear direction signals will
flash. Press the flasher control again
to turn them off. Use it when your vehicle is disabled and is creating a
safety hazard for other motorists.
Note:With extended use, the flasher may run down your battery.
FUEL PUMP SHUT-OFF SWITCH
FUEL
RESET
This device stops the electric fuel pump from sending fuel to the engine
when your vehicle has had a substantial jolt.
Roadside Emergencies
146
Page 147 of 240
After an accident, if the engine cranks but does not start, this switch
may have been activated.
This switch is located in the front
passenger’s footwell, by the kick
panel access cover.
To reset the switch:
1. Turn the ignition OFF.
2. Check the fuel system for leaks.
3. If no leaks are apparent, reset the
switch by pushing in on the reset
button.
4. Turn the ignition ON.
5. Wait a few seconds and return
the key to OFF.
6. Make another check of leaks.
FUSES AND RELAYS
Fuses
If electrical components in the
vehicle are not working, a fuse may
have blown. Blown fuses are
identified by a broken wire within
the fuse. Check the appropriate
fuses before replacing any electrical
components.
Note:Always replace a fuse with one that has the specified amperage
rating. Using a fuse with a higher amperage rating can cause severe wire
damage and could start a fire.
15
Roadside Emergencies
147
Page 152 of 240
The high-current fuses are coded as follows.
Fuse/Relay
LocationFuse Amp
RatingPower Distribution Box
Description
Horn 15A Horn
H/L LH 15A* Headlamp (high/low left, High
beams)
H/L RH 15A* Headlamp (high/low right, High
beams)
EEC 5A* EEC (KPWR)
HEGO 15A* HEGO 1,2, CMS 1,2, VMV
FUEL 20A* Fuel pump, EEC (FPM)
DIODE——
DIODE——
H/L RELAY
MICRO—Headlamp (high/low, right/left
relay)
HTD SEATS 30A Heated seats (if equipped)
Roadside Emergencies
152