Page 232 of 432

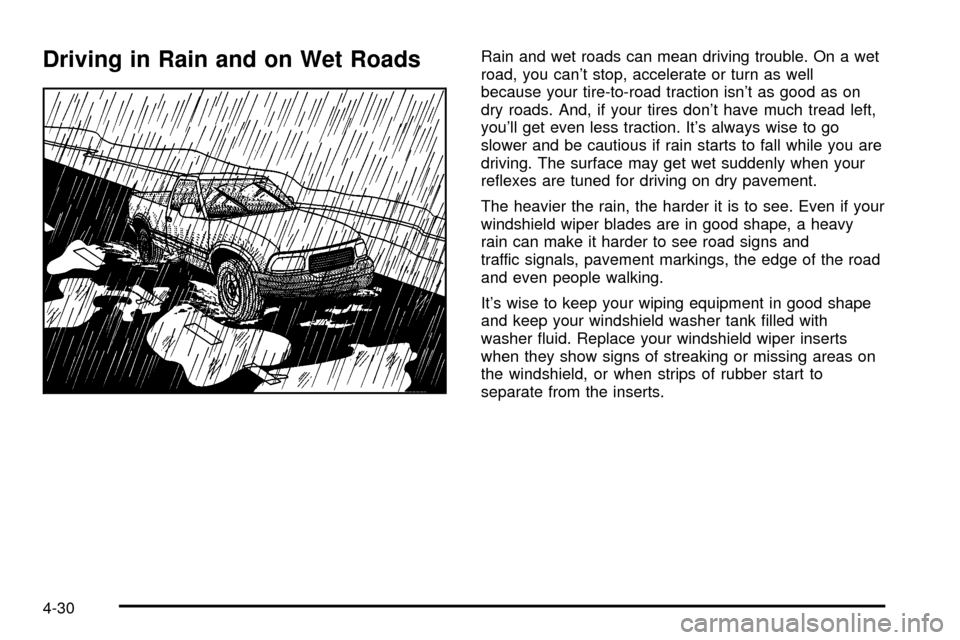
Driving in Rain and on Wet RoadsRain and wet roads can mean driving trouble. On a wet
road, you can't stop, accelerate or turn as well
because your tire-to-road traction isn't as good as on
dry roads. And, if your tires don't have much tread left,
you'll get even less traction. It's always wise to go
slower and be cautious if rain starts to fall while you are
driving. The surface may get wet suddenly when your
re¯exes are tuned for driving on dry pavement.
The heavier the rain, the harder it is to see. Even if your
windshield wiper blades are in good shape, a heavy
rain can make it harder to see road signs and
traffic signals, pavement markings, the edge of the road
and even people walking.
It's wise to keep your wiping equipment in good shape
and keep your windshield washer tank ®lled with
washer ¯uid. Replace your windshield wiper inserts
when they show signs of streaking or missing areas on
the windshield, or when strips of rubber start to
separate from the inserts.
4-30
Page 235 of 432
City Driving
One of the biggest problems with city streets is the
amount of traffic on them. You'll want to watch out for
what the other drivers are doing and pay attention
to traffic signals.Here are ways to increase your safety in city driving:
·Know the best way to get to where you are
going. Get a city map and plan your trip into
an unknown part of the city just as you would for a
cross-country trip.
·Try to use the freeways that rim and crisscross
most large cities. You'll save time and energy.
See
Freeway Driving on page 4-34.
·Treat a green light as a warning signal. A traffic
light is there because the corner is busy enough
to need it. When a light turns green, and just before
you start to move, check both ways for vehicles
that have not cleared the intersection or may
be running the red light.
4-33
Page 236 of 432

Freeway Driving
Mile for mile, freeways (also called thruways, parkways,
expressways, turnpikes or superhighways) are the
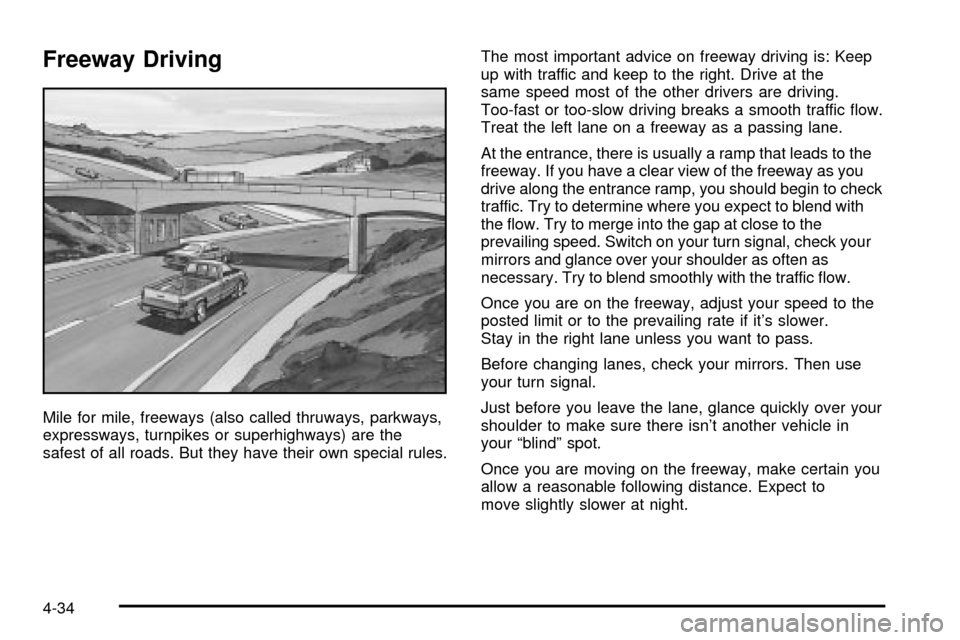
safest of all roads. But they have their own special rules.The most important advice on freeway driving is: Keep
up with traffic and keep to the right. Drive at the
same speed most of the other drivers are driving.
Too-fast or too-slow driving breaks a smooth traffic ¯ow.
Treat the left lane on a freeway as a passing lane.
At the entrance, there is usually a ramp that leads to the
freeway. If you have a clear view of the freeway as you
drive along the entrance ramp, you should begin to check
traffic. Try to determine where you expect to blend with
the ¯ow. Try to merge into the gap at close to the
prevailing speed. Switch on your turn signal, check your
mirrors and glance over your shoulder as often as
necessary. Try to blend smoothly with the traffic ¯ow.
Once you are on the freeway, adjust your speed to the
posted limit or to the prevailing rate if it's slower.
Stay in the right lane unless you want to pass.
Before changing lanes, check your mirrors. Then use
your turn signal.
Just before you leave the lane, glance quickly over your
shoulder to make sure there isn't another vehicle in
your ªblindº spot.
Once you are moving on the freeway, make certain you
allow a reasonable following distance. Expect to
move slightly slower at night.
4-34
Page 263 of 432

Following Distance
Stay at least twice as far behind the vehicle ahead as
you would when driving your vehicle without a trailer.
This can help you avoid situations that require
heavy braking and sudden turns.
Passing
You'll need more passing distance up ahead when
you're towing a trailer. And, because you're a good deal
longer, you'll need to go much farther beyond the
passed vehicle before you can return to your lane.
Backing Up
Hold the bottom of the steering wheel with one hand.
Then, to move the trailer to the left, just move that hand
to the left. To move the trailer to the right, move your
hand to the right. Always back up slowly and, if possible,
have someone guide you.
Making Turns
Notice:Making very sharp turns while trailering
could cause the trailer to come in contact with the
vehicle. Your vehicle could be damaged. Avoid
making very sharp turns while trailering.When you're turning with a trailer, make wider turns
than normal. Do this so your trailer won't strike
soft shoulders, curbs, road signs, trees or other objects.
Avoid jerky or sudden maneuvers. Signal well in
advance.
Turn Signals When Towing a Trailer
When you tow a trailer, your vehicle has to have extra
wiring and a heavy-duty turn signal ¯asher.
The arrows on your instrument panel will ¯ash whenever
you signal a turn or lane change. Properly hooked up,
the trailer lamps will also ¯ash, telling other drivers
you're about to turn, change lanes or stop.
When towing a trailer, the arrows on your instrument
panel will ¯ash for turns even if the bulbs on the trailer
are burned out. Thus, you may think drivers behind
you are seeing your signal when they are not. It's
important to check occasionally to be sure the trailer
bulbs are still working.
4-61
Page 267 of 432

Service............................................................5-3
Doing Your Own Service Work.........................5-3
Adding Equipment to the Outside of Your
Vehicle......................................................5-4
Fuel................................................................5-4
Gasoline Octane............................................5-4
Gasoline Speci®cations....................................5-5
California Fuel...............................................5-5
Additives.......................................................5-6
Fuels in Foreign Countries...............................5-6
Filling Your Tank............................................5-7
Filling a Portable Fuel Container.......................5-9
Checking Things Under
the Hood....................................................5-10
Hood Release..............................................5-10
Engine Compartment Overview.......................5-12
Engine Oil...................................................5-15
Engine Air Cleaner/Filter................................5-19
Automatic Transmission Fluid.........................5-22
Manual Transmission Fluid.............................5-25
Hydraulic Clutch...........................................5-26
Engine Coolant.............................................5-27Radiator Pressure Cap..................................5-29
Engine Overheating.......................................5-30
Cooling System............................................5-32
Engine Fan Noise.........................................5-39
Power Steering Fluid.....................................5-39
Windshield Washer Fluid................................5-40
Brakes........................................................5-41
Battery........................................................5-45
Jump Starting...............................................5-46
Rear Axle.......................................................5-51
Four-Wheel Drive............................................5-52
Front Axle......................................................5-53
Bulb Replacement..........................................5-54
Halogen Bulbs..............................................5-54
Headlamps..................................................5-54
One-Piece Front Turn Signal Lamps................5-56
Two-Piece Front Turn Signal Lamps................5-57
Center High-Mounted Stoplamp (CHMSL).........5-58
Taillamps.....................................................5-59
Replacement Bulbs.......................................5-59
Windshield Wiper Blade Replacement..............5-60
Section 5 Service and Appearance Care
5-1
Page 322 of 432
5. Turn the bulb assembly counterclockwise to remove
it from the headlamp assembly.
6. Put the new bulb into the bulb assembly and
reinstall it in the headlamp assembly by turning
it clockwise until it is tight.
7. Plug in the electrical connector.
8. Put the headlamp lens assembly back into the
vehicle.
9. Install the two retaining clips.
10. Close the hood.
One-Piece Front Turn Signal Lamps
1. Remove the headlamp assembly as shown in
ªOne-Piece Composite Headlamp Systemº
under
Headlamps on page 5-54.
2. Twist the bulb socket
counterclockwise to
remove it from the
headlamp assembly.
3. Pull the bulb straight out to remove it from the
socket.
4. Push the new bulb into the socket until it snaps into
place.
5. Put the bulb socket into the lamp assembly and
twist it clockwise until it is tight.
6. Put the headlamp assembly back into the vehicle.
7. Install the two retaining clips.
8. Close the hood.
5-56
Page 323 of 432
Two-Piece Front Turn Signal Lamps
1. Remove the headlamp assembly as shown in
ªTwo±Piece Composite Headlamp Systemº
under
Headlamps on page 5-54
2. Locate the locking tabs
on the assembly.
Squeeze the tabs
together and push that
end of the assembly
out while holding
the tabs. The assembly
will swing out.
3. Unplug the electrical connector.4. Turn the harness bulb socket counterclockwise to
remove it. Pull the bulb straight out to remove it
from the socket.
5. Push the new bulb into the socket until it snaps into
place.
6. Put the socket into the lamp assembly and turn it
clockwise until it is tight.
7. To reinstall the assembly, snap the outboard end of
the lamp assembly back into the vehicle. Then
swing the assembly in and snap it into place.
8. Install the two retaining clips.
9. Close the hood.
5-57
Page 325 of 432
Taillamps
1. Open the tailgate.
2. Remove the screws
from the lamp
assembly near the
tailgate latch.
3. Pull the assembly away from the pickup side panel.
4. Turn the socket counterclockwise to remove it.
Push the tab in while you turn the socket.
5. Pull the bulb out.
6. Push the new bulb into the socket.
7. Put the socket into the assembly and turn the
socket clockwise until it locks in place.
8. Reinstall the assembly. Install and tighten the
screws.
9. Close the tailgate.
Replacement Bulbs
Exterior Lamp Bulb Number
Halogen Headlamps
Composite Low-Beam
Composite High-Beam9006 HB4 or
9006 LL
9005 HB3
Tail and Stoplamps 3057
Rear Sidemarker Lamps 194
Front Sidemarker Lamps 194NA
Front Turn Signal Lamps 3457A
Center High±Mounted Stoplamp 211±2
*For replacement bulbs not listed here, please consult
your dealer.
5-59