2003 CHEVROLET MALIBU maintenance
[x] Cancel search: maintenancePage 210 of 326

As in the chart shown previously, SAE 5W-30 is the
only viscosity grade recommended for your vehicle.
You should look for and use only oils which have the
API Starburst symbol and which are also identi®ed
as SAE 5W-30. If you cannot ®nd such SAE 5W-30 oils,
you can use an SAE 10W-30 oil which has the API
Starburst symbol, if it's going to be 0ÉF (-18ÉC)
or above. Do not use other viscosity grade oils, such as
SAE 10W-40 or SAE 20W-50 under any conditions.
Notice:Use only engine oil with the American
Petroleum Institute Certi®ed For Gasoline Engines
starburst symbol. Failure to use the recommended
oil can result in engine damage not covered by
your warranty.
GM Goodwrench
žoil meets all the requirements for
your vehicle.
If you are in an area of extreme cold, where the
temperature falls below-20ÉF (-29ÉC), it is
recommended that you use either an SAE 5W-30
synthetic oil or an SAE 0W-30 oil. Both will provide
easier cold starting and better protection for your
engine at extremely low temperatures.
Engine Oil Additives
Don't add anything to your oil. The recommended oils
with the starburst symbol are all you will need for
good performance and engine protection.
When to Change Engine Oil
If any one of these is true for you, use the short trip/city
maintenance schedule:
·Most trips are less than 5 miles (8 km). This is
particularly important when outside temperatures
are below freezing.
·Most trips include extensive idling (such as frequent
driving in stop-and-go traffic).
·You frequently tow a trailer or use a carrier on top
of your vehicle.
·The vehicle is used for delivery service, police, taxi
or other commercial application.
Driving under these conditions causes engine oil to
break down sooner. If any one of these is true for your
vehicle, then you need to change your oil and ®lter
every 3,000 miles (5 000 km) or 3 months ± whichever
occurs ®rst.
If none of them is true, use the long trip/highway
maintenance schedule. Change oil and ®lter every
7,500 miles (12 500 km) or 12 months ± whichever
occurs ®rst. Driving a vehicle with a fully warmed engine
under highway conditions will cause engine oil to
break down slower.
5-16
Page 212 of 326

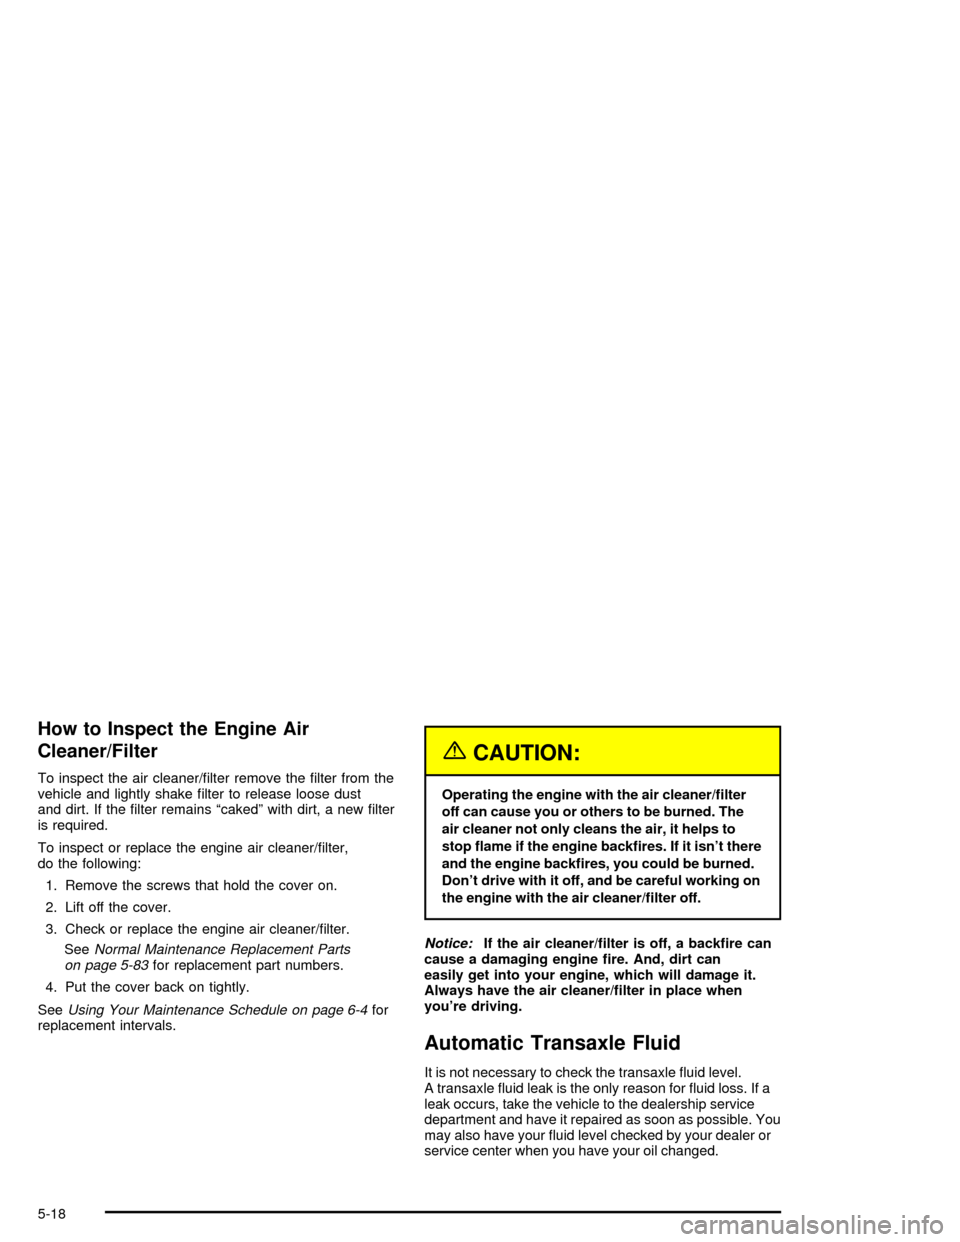
How to Inspect the Engine Air
Cleaner/Filter
To inspect the air cleaner/®lter remove the ®lter from the
vehicle and lightly shake ®lter to release loose dust
and dirt. If the ®lter remains ªcakedº with dirt, a new ®lter
is required.
To inspect or replace the engine air cleaner/®lter,
do the following:
1. Remove the screws that hold the cover on.
2. Lift off the cover.
3. Check or replace the engine air cleaner/®lter.
See
Normal Maintenance Replacement Parts
on page 5-83for replacement part numbers.
4. Put the cover back on tightly.
See
Using Your Maintenance Schedule on page 6-4for
replacement intervals.
{CAUTION:
Operating the engine with the air cleaner/®lter
off can cause you or others to be burned. The
air cleaner not only cleans the air, it helps to
stop ¯ame if the engine back®res. If it isn't there
and the engine back®res, you could be burned.
Don't drive with it off, and be careful working on
the engine with the air cleaner/®lter off.
Notice:If the air cleaner/®lter is off, a back®re can
cause a damaging engine ®re. And, dirt can
easily get into your engine, which will damage it.
Always have the air cleaner/®lter in place when
you're driving.
Automatic Transaxle Fluid
It is not necessary to check the transaxle ¯uid level.
A transaxle ¯uid leak is the only reason for ¯uid loss. If a
leak occurs, take the vehicle to the dealership service
department and have it repaired as soon as possible. You
may also have your ¯uid level checked by your dealer or
service center when you have your oil changed.
5-18
Page 230 of 326

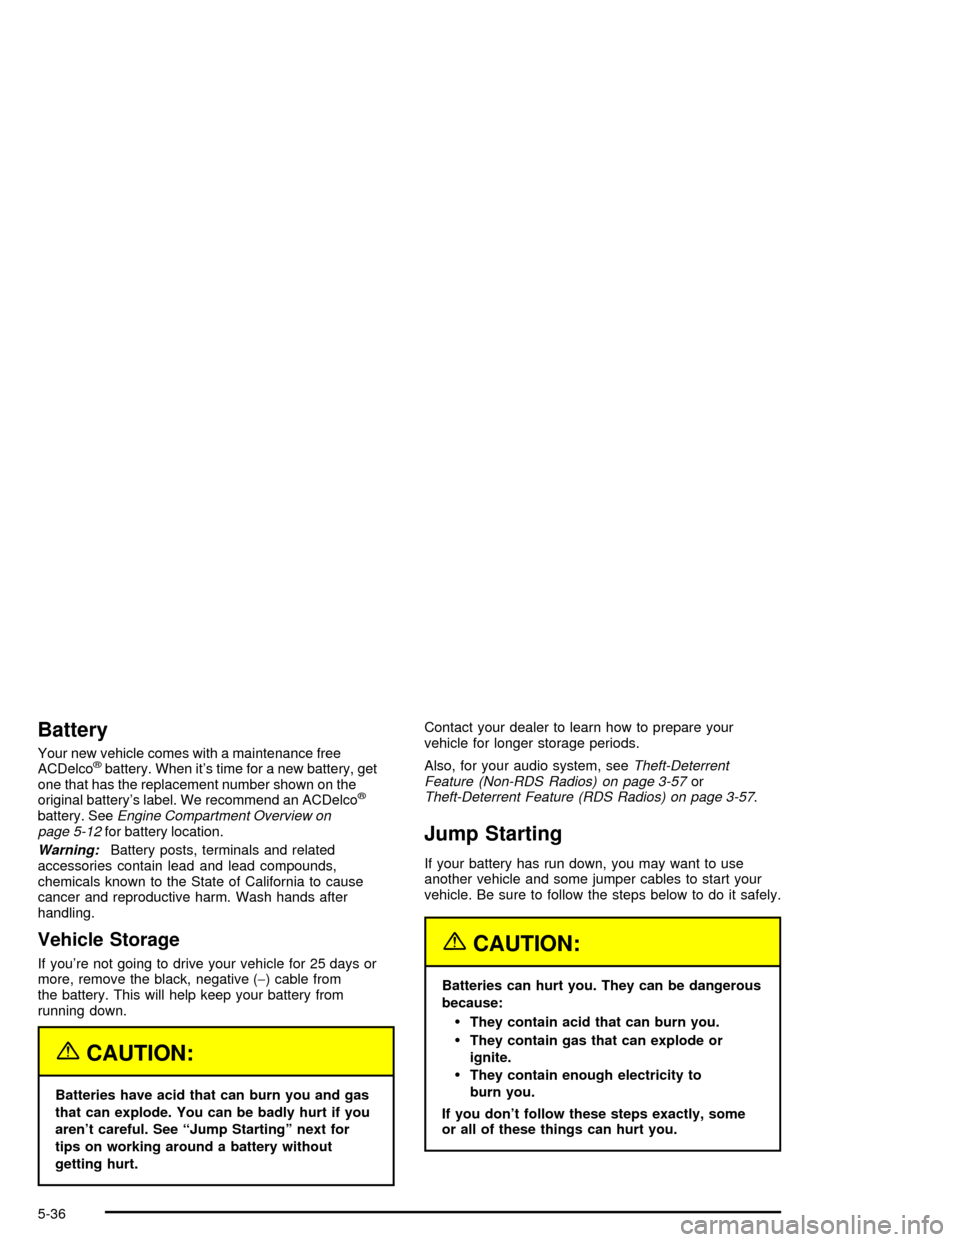
Battery
Your new vehicle comes with a maintenance free
ACDelcožbattery. When it's time for a new battery, get
one that has the replacement number shown on the
original battery's label. We recommend an ACDelco
ž
battery. SeeEngine Compartment Overview on
page 5-12for battery location.
Warning:Battery posts, terminals and related
accessories contain lead and lead compounds,
chemicals known to the State of California to cause
cancer and reproductive harm. Wash hands after
handling.
Vehicle Storage
If you're not going to drive your vehicle for 25 days or
more, remove the black, negative (-) cable from
the battery. This will help keep your battery from
running down.
{CAUTION:
Batteries have acid that can burn you and gas
that can explode. You can be badly hurt if you
aren't careful. See ªJump Startingº next for
tips on working around a battery without
getting hurt.Contact your dealer to learn how to prepare your
vehicle for longer storage periods.
Also, for your audio system, see
Theft-Deterrent
Feature (Non-RDS Radios) on page 3-57orTheft-Deterrent Feature (RDS Radios) on page 3-57.
Jump Starting
If your battery has run down, you may want to use
another vehicle and some jumper cables to start your
vehicle. Be sure to follow the steps below to do it safely.
{CAUTION:
Batteries can hurt you. They can be dangerous
because:
·They contain acid that can burn you.
·They contain gas that can explode or
ignite.
·They contain enough electricity to
burn you.
If you don't follow these steps exactly, some
or all of these things can hurt you.
5-36
Page 244 of 326

When to Check
Check your tires once a month or more.
Don't forget your compact spare tire. It should be at
60 psi (420 kPa).
How to Check
Use a good quality pocket-type gage to check tire
pressure. You can't tell if your tires are properly in¯ated
simply by looking at them. Radial tires may look
properly in¯ated even when they're underin¯ated.
Be sure to put the valve caps back on the valve stems.
They help prevent leaks by keeping out dirt and
moisture.
Tire Inspection and Rotation
Tires should be rotated every 6,000 to 8,000 miles
(10 000 to 13 000 km).
Any time you notice unusual wear, rotate your tires as
soon as possible and check wheel alignment. Also
check for damaged tires or wheels. See
When It Is Time
for New Tires on page 5-51andWheel Replacement
on page 5-54for more information.The purpose of regular rotation is to achieve more
uniform wear for all tires on the vehicle. The ®rst rotation
is the most important. See ªPart A: Scheduled
Maintenance Services,º in Section 6, for scheduled
rotation intervals.
When rotating your tires, always use the correct rotation
pattern shown here.
Don't include the compact spare tire in your tire rotation.
After the tires have been rotated, adjust the front and
rear in¯ation pressures as shown on the Tire-Loading
Information label. Make certain that all wheel nuts
are properly tightened. See ªWheel Nut Torqueº underCapacities and Speci®cations on page 5-82.
5-50
Page 250 of 326

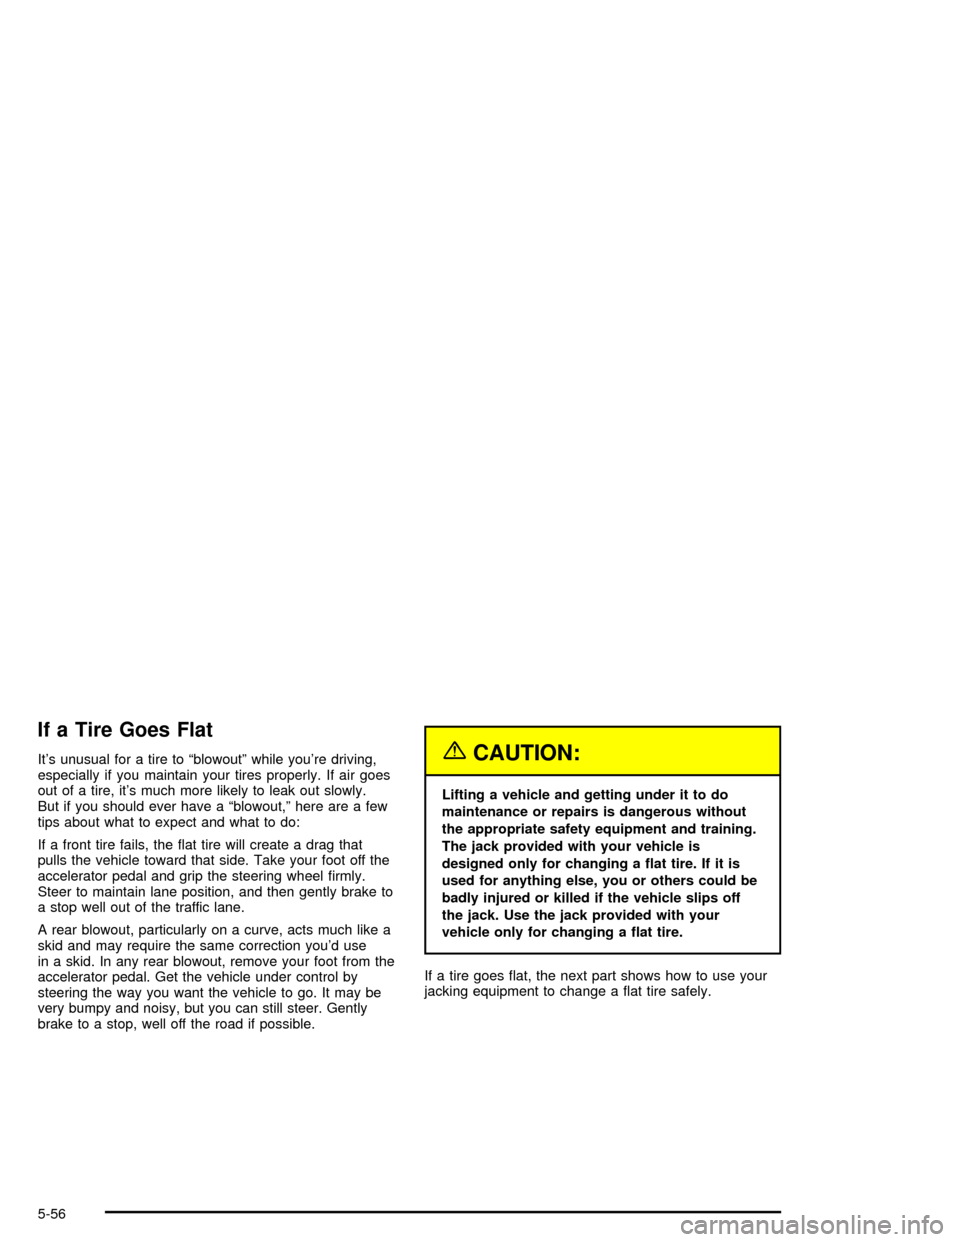
If a Tire Goes Flat
It's unusual for a tire to ªblowoutº while you're driving,
especially if you maintain your tires properly. If air goes
out of a tire, it's much more likely to leak out slowly.
But if you should ever have a ªblowout,º here are a few
tips about what to expect and what to do:
If a front tire fails, the ¯at tire will create a drag that
pulls the vehicle toward that side. Take your foot off the
accelerator pedal and grip the steering wheel ®rmly.
Steer to maintain lane position, and then gently brake to
a stop well out of the traffic lane.
A rear blowout, particularly on a curve, acts much like a
skid and may require the same correction you'd use
in a skid. In any rear blowout, remove your foot from the
accelerator pedal. Get the vehicle under control by
steering the way you want the vehicle to go. It may be
very bumpy and noisy, but you can still steer. Gently
brake to a stop, well off the road if possible.{CAUTION:
Lifting a vehicle and getting under it to do
maintenance or repairs is dangerous without
the appropriate safety equipment and training.
The jack provided with your vehicle is
designed only for changing a ¯at tire. If it is
used for anything else, you or others could be
badly injured or killed if the vehicle slips off
the jack. Use the jack provided with your
vehicle only for changing a ¯at tire.
If a tire goes ¯at, the next part shows how to use your
jacking equipment to change a ¯at tire safely.
5-56
Page 267 of 326

Finish Damage
Any stone chips, fractures or deep scratches in the
®nish should be repaired right away. Bare metal
will corrode quickly and may develop into major repair
expense.
Minor chips and scratches can be repaired with touch-up
materials avaliable from your dealer. Larger areas of
®nish damage can be corrected in your dealer's
body and paint shop.
Underbody Maintenance
Chemicals used for ice and snow removal and dust
control can collect on the underbody. If these are not
removed, corrosion and rust can develop on the
underbody parts such as fuel lines, frame, ¯oor pan and
exhaust system even though they have corrosion
protection.
At least every spring, ¯ush these materials from the
underbody with plain water. Clean any areas where mud
and debris can collect. Dirt packed in close areas of
the frame should be loosened before being ¯ushed.
Your dealer or an underbody car washing system can
do this for you.
Chemical Paint Spotting
Some weather and atmospheric conditions can create a
chemical fallout. Airborne pollutants can fall upon and
attack painted surfaces on your vehicle. This damage can
take two forms: blotchy, ring-shaped discolorations, and
small, irregular dark spots etched into the paint surface.
Although no defect in the paint job causes this, GM will
repair, at no charge to the owner, the surfaces of
new vehicles damaged by this fallout condition within
12 months or 12,000 miles (20 000 km) of purchase,
whichever occurs ®rst.
Vehicle Care/Appearance Materials
See your GM dealer for more information on purchasing
the following products.
Vehicle Care/Appearance Materials
Description Usage
Polishing Cloth
Wax-TreatedInterior and exterior
polishing cloth.
Tar and Road Oil
RemoverRemoves tar, road oil
and asphalt.
Chrome Cleaner and
PolishUse on chrome or
stainless steel.
5-73
Page 277 of 326

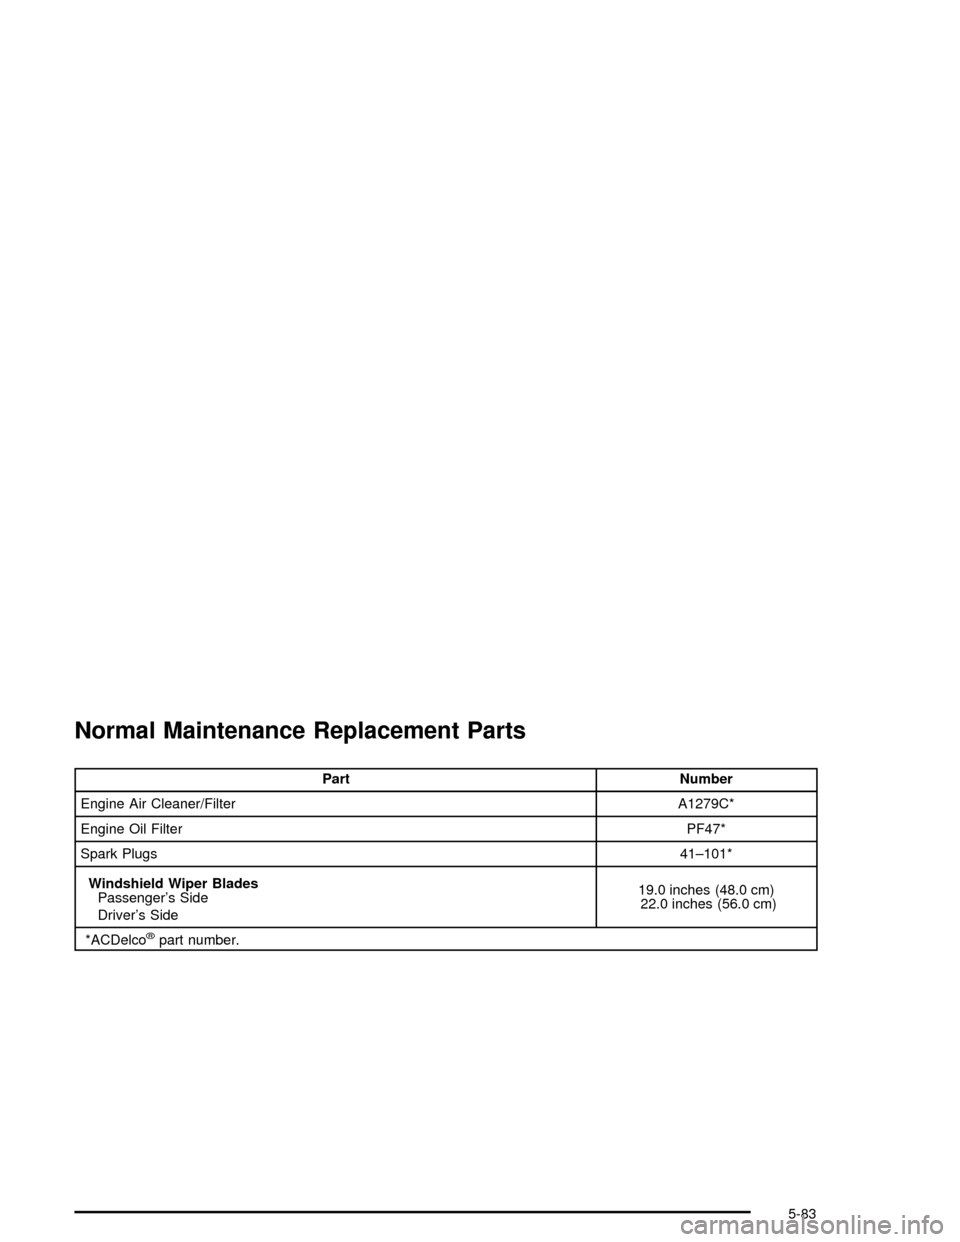
Normal Maintenance Replacement Parts
Part Number
Engine Air Cleaner/Filter A1279C*
Engine Oil FilterPF47*
Spark Plugs41±101*
Windshield Wiper Blades
Passenger's Side
Driver's Side19.0 inches (48.0 cm)
22.0 inches (56.0 cm)
*ACDelco
žpart number.
5-83
Page 279 of 326

Maintenance Schedule......................................6-2
Introduction...................................................6-2
Your Vehicle and the Environment....................6-2
Maintenance Requirements..............................6-2
How This Section is Organized.........................6-3
Part A: Scheduled Maintenance Services...........6-4
Using Your Maintenance Schedule....................6-4
Selecting the Right Schedule...........................6-4
Short Trip/City Scheduled Maintenance..............6-6
Long Trip/Highway Scheduled Maintenance......6-11
Part B: Owner Checks and Services................6-15
At Each Fuel Fill..........................................6-15
At Least Once a Month.................................6-15At Least Twice a Year...................................6-16
At Least Once a Year...................................6-16
Part C: Periodic MaintenanceInspections.........6-19
Steering, Suspension and Front Drive Axle
Boot and Seal Inspection............................6-19
Exhaust System Inspection............................6-19
Fuel System Inspection..................................6-19
Engine Cooling System Inspection...................6-20
Throttle System Inspection.............................6-20
Brake System Inspection................................6-20
Part D: Recommended Fluids and Lubricants. . . .6-21
Part E: Maintenance Record...........................6-22
Section 6 Maintenance Schedule
6-1