2003 CHEVROLET IMPALA change time
[x] Cancel search: change timePage 118 of 408

4. With your preference displayed, press the TUNE/
DISP button to select. A chime will be heard to
verify the new setting. The new selection will
be displayed with an asterisk (*) for one second.
If your vehicle has the optional content theft-deterrent
system, the ®rst time the remote UNLOCK command is
received three ¯ashes will be seen and three chirps
will be heard to indicate an alarm condition has occurred
since last arming. See
Theft-Deterrent Systems on
page 2-16.
The mode you selected is now set. You can either exit
the programming mode by following the instructions
later in this section or program the next feature available
on your vehicle.
ALARM (Content Theft Operation)
This feature allows the content theft-deterrent system to
be turned on or off.
Programmable Modes
Mode 1:ALRM OFF
Mode 2:ALRM ONYour vehicle was originally programmed to Mode 2. The
mode may have been changed since then. To
determine the current mode, or to change the mode, do
the following:
1. Scroll, using the SEEK/PSCAN up or down arrows,
until ALARM appears on the display.
2. Press the PREV or NEXT button to enter the
submenu. The current selection will have an
asterisk (*) next to it. If you do not wish to change
the current mode, you can either exit the
programming mode by following the directions later
in this section or program the next feature
available on your vehicle.
3. Scroll, using the PREV or NEXT buttons, through
the modes to change the current mode.
4. With your preference displayed, press the
TUNE/DISP button to select. A chime will be heard
to verify the new setting. The new selection will
be displayed with an asterisk (*) for one second.
The mode you selected is now set. You can either exit
the programming mode by following the instructions
later in this section or program the next feature available
on your vehicle.
2-50
Page 119 of 408

TRNKJAMB (Trunk Jamb)
This feature allows the content theft system trunk lock
sensor to be disabled or enabled.
Programmable Modes
Mode 1:TRNK OFF
Mode 2:TRNK ON
Your vehicle was originally programmed to Mode 2. The
mode may have been changed since then. To
determine the current mode, or to change the mode, do
the following:
1. Scroll, using the SEEK /PSCAN up or down arrows,
until TRNKJAMB appears on the display.
2. Press the PREV or NEXT button to enter the
submenu. The current selection will have an
asterisk (*) next to it. If you do not wish to change
the current mode, you can either exit the
programming mode by following the directions later
in this section or program the next feature
available on your vehicle.
3. Scroll, using the PREV or NEXT buttons, through
the modes to change the current mode.4. With your preference displayed, press the
TUNE/DISP button to select. A chime will be heard
to verify the new setting. The new selection will
be displayed with an asterisk (*) for one second.
The mode you selected is now set. You can either exit
the programming mode by following the instructions
later in this section or program the next feature available
on your vehicle.
CHIRP (Horn Chirp Timer)
This feature allows you to choose between short or long
horn chirp sounds when the remote keyless entry
transmitter is used.
Programmable Modes
Mode 1:SHORT
Mode 2:LONG
Your vehicle was originally programmed to Mode 1. The
mode may have been changed since then. To
determine the current mode, or to change the mode, do
the following:
1. Scroll, using the SEEK/PSCAN up or down arrows,
until CHIRP appears on the display.
2-51
Page 138 of 408

Delayed Headlamps
The delayed headlamps feature provides a period of
exterior lighting as you leave the area around your
vehicle. The feature is activated when the headlamps
are on due to the automatic headlamps control
feature described previously in this section, and when
the ignition is turned off. Your headlamps will then
remain on until the exterior lamps control is moved to
the parking lamps position or until either a 30 second or
60 second lighting period has ended.
If you turn off the ignition with the headlamps switch in
the parking lamps or headlamps position, the delayed
headlamps cycle will not occur.
To disable the delayed headlamps feature or change
the time of delay, see
Vehicle Customization Settings on
page 3-94.
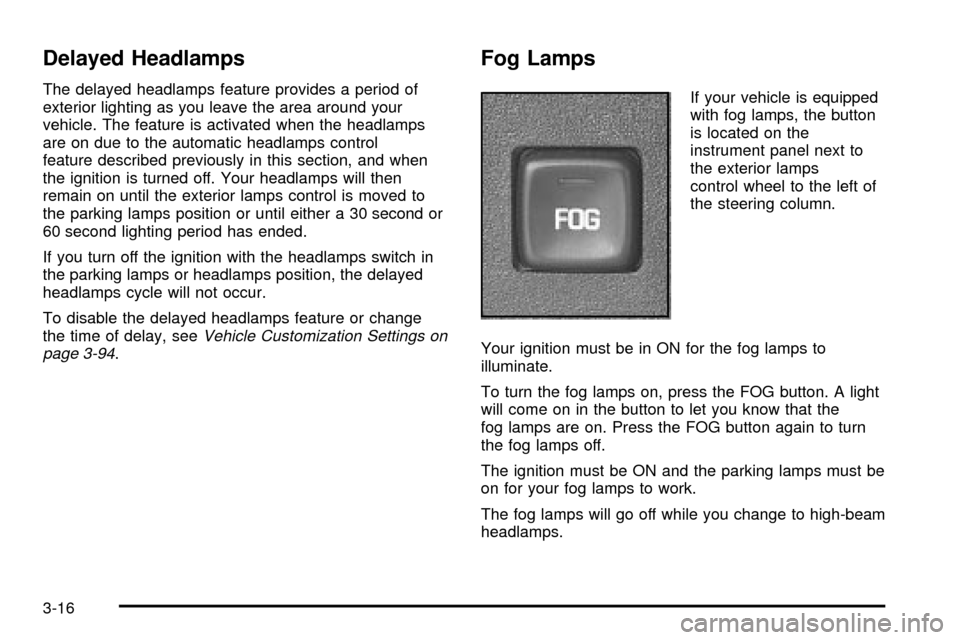
Fog Lamps
If your vehicle is equipped
with fog lamps, the button
is located on the
instrument panel next to
the exterior lamps
control wheel to the left of
the steering column.
Your ignition must be in ON for the fog lamps to
illuminate.
To turn the fog lamps on, press the FOG button. A light
will come on in the button to let you know that the
fog lamps are on. Press the FOG button again to turn
the fog lamps off.
The ignition must be ON and the parking lamps must be
on for your fog lamps to work.
The fog lamps will go off while you change to high-beam
headlamps.
3-16
Page 147 of 408

Rear Window Defogger
The rear window defogger uses a warming grid to
remove fog from the rear window.
turned on again, the defogger will run for the same
amount of time. The defogger can also be turned off by
pressing the button again or by turning off the engine.
Do not drive the vehicle until all the windows are clear.
If your vehicle has heated outside rearview mirrors,
the mirrors will heat to help clear fog or frost from the
surface of the mirror when the rear window defog button
is pressed.
Notice:Don't use anything sharp on the inside of
the rear window. If you do, you could cut or damage
the warming grid, and the repairs wouldn't be
covered by your warranty. Do not attach a temporary
vehicle license, tape, a decal or anything similar
to the defogger grid.
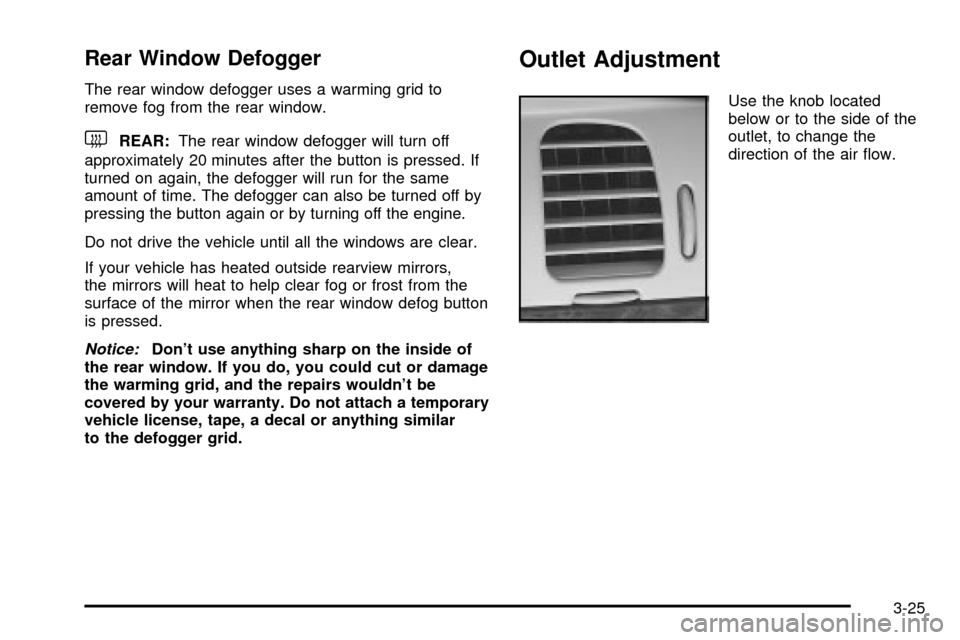
Outlet Adjustment
Use the knob located
below or to the side of the
outlet, to change the
direction of the air ¯ow.
3-25
Page 166 of 408

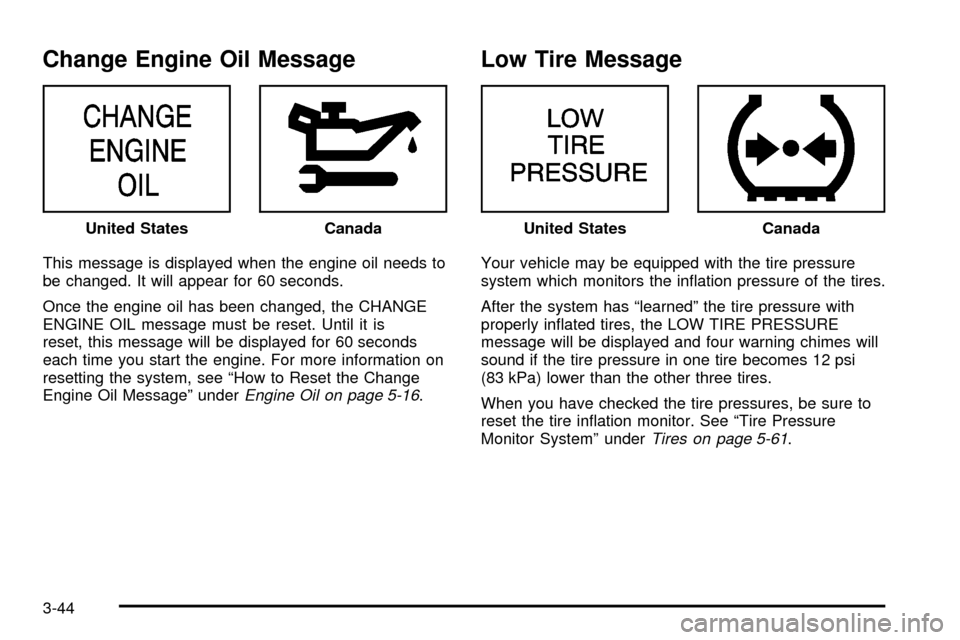
Change Engine Oil Message
This message is displayed when the engine oil needs to
be changed. It will appear for 60 seconds.
Once the engine oil has been changed, the CHANGE
ENGINE OIL message must be reset. Until it is
reset, this message will be displayed for 60 seconds
each time you start the engine. For more information on
resetting the system, see ªHow to Reset the Change
Engine Oil Messageº under
Engine Oil on page 5-16.
Low Tire Message
Your vehicle may be equipped with the tire pressure
system which monitors the in¯ation pressure of the tires.
After the system has ªlearnedº the tire pressure with
properly in¯ated tires, the LOW TIRE PRESSURE
message will be displayed and four warning chimes will
sound if the tire pressure in one tire becomes 12 psi
(83 kPa) lower than the other three tires.
When you have checked the tire pressures, be sure to
reset the tire in¯ation monitor. See ªTire Pressure
Monitor Systemº under
Tires on page 5-61. United States
CanadaUnited StatesCanada
3-44
Page 171 of 408

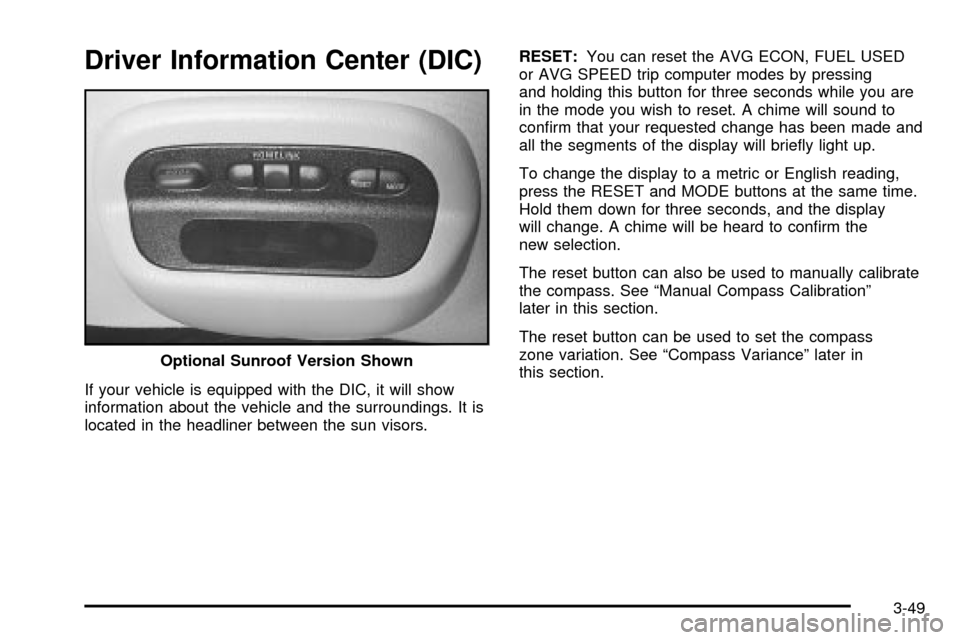
Driver Information Center (DIC)
If your vehicle is equipped with the DIC, it will show
information about the vehicle and the surroundings. It is
located in the headliner between the sun visors.RESET:You can reset the AVG ECON, FUEL USED
or AVG SPEED trip computer modes by pressing
and holding this button for three seconds while you are
in the mode you wish to reset. A chime will sound to
con®rm that your requested change has been made and
all the segments of the display will brie¯y light up.
To change the display to a metric or English reading,
press the RESET and MODE buttons at the same time.
Hold them down for three seconds, and the display
will change. A chime will be heard to con®rm the
new selection.
The reset button can also be used to manually calibrate
the compass. See ªManual Compass Calibrationº
later in this section.
The reset button can be used to set the compass
zone variation. See ªCompass Varianceº later in
this section. Optional Sunroof Version Shown
3-49
Page 196 of 408

6 RDM (Random):Press this pushbutton to hear the
tracks in random, rather than sequential, order. RDM ON
will appear on the display. RDM T and the track
number will appear on the display when each track
starts to play. Press RDM again to turn off random play.
RDM OFF will appear on the display.
qSEEKr:Press the left arrow to go to the start of
the current or of the previous track. Press the right
arrow to go to the start of the next track. If either of the
arrows is held or pressed more than once, the player
will continue moving backward or forward through
the CD.
DISPL (Display):Press this knob to see how long the
current track has been playing. ET and the elapsed
time will appear on the display. To change the default
on the display (track or elapsed time), press the
knob until you see the display you want, then hold the
knob for two seconds. The radio will produce one
beep and selected display will now be the default.BAND:Press this button to listen to the radio when a
CD is playing. The CD will stop but remain in the player.
CD AUX (Auxiliary):Press this button to play a CD
when listening to the radio.
ZEJT (Eject):Press this button to eject a CD. Eject
may be activated with either the ignition or radio off.
CDs may be loaded with the radio and ignition off if this
button is pressed ®rst.
3-74
Page 210 of 408

1 PREV (Previous):Press this pushbutton to go to the
previous track if the current track has been playing
for less than eight seconds. If pressed when the current
track has been playing for more than eight seconds,
it will go to the beginning of the current track. TRACK
and the track number will appear on the display. If
you hold this pushbutton or press it more than once, the
player will continue moving back through the disc.
2 NEXT:Press this pushbutton to go to the next track.
TRACK. The track number will appear on the display.
If you hold this pushbutton or press it more than once,
the player will continue moving forward through
the disc.
3 REV (Reverse):Press and hold this pushbutton to
reverse quickly within a track. Press and hold this
pushbutton for less than two seconds to reverse at six
times the normal playing speed. Press and hold it
for more than two seconds to reverse at 17 times the
normal playing speed. Release it to play the passage.
The display will show ET and the elapsed time.
4 FWD (Forward):Press and hold this pushbutton to
advance quickly within a track. Press and hold this
pushbutton for less than two seconds to advance at six
times the normal playing speed. Press and hold it for
more than two seconds to advance at 17 times the
normal playing speed. Release it to play the passage.
The display will show ET and the elapsed time.6 RDM (Random):Press this pushbutton to hear the
tracks in random, rather than sequential, order. RDM ON
will appear on the display. RDM T and the track
number will appear on the display when each track
starts to play. Press it again to turn off random play.
RDM OFF will appear on the display.
qSEEKr:The right arrow is the same as the
NEXT pushbutton, and the left arrow is the same as the
PREV pushbutton. If either of the SEEK arrows is
held or pressed more than once, the player will continue
moving backward or forward through the CD.
DISPL (Display):Press this knob to see how long the
current track has been playing. ET and the elapsed
time will appear on the display. To change the default
on the display (track or elapsed time), press the
knob until you see the display you want, then hold the
knob for two seconds. The radio will produce one
beep and selected display will now be the default.
BAND:Press this button to listen to the radio when
a disc is playing. The disc will stop but remain in
the player.
TAPE CD:Press this button to play a CD when
listening to the radio. Press TAPE CD to switch between
the tape and compact disc if both are loaded. The
inactive tape or CD will remain safely inside the radio
for future listening.
3-88