2003 CHEVROLET IMPALA checking oil
[x] Cancel search: checking oilPage 114 of 408

OIL LIFE (GM Oil Life System Reset)
This feature allows you to reset the GM Oil Life System
Monitor after an oil change, seeEngine Oil on
page 5-16. Be careful not to reset the OIL LIFE at any
time other than when the oil has been changed. To clear
the CHANGE ENGINE OIL light from the instrument
panel cluster and reset the oil life monitor:
1. Scroll, using the SEEK/PSCAN up or down arrows,
until OIL LIFE appears on the display.
2. Press the PREV or NEXT button to enter the
submenu. RESET will then be displayed.
3. Press the TUNE/DISP knob to reset. A chime will
be heard to verify the new setting and DONE will
be displayed for one second.
The CHANGE ENGINE OIL light is now reset. You can
either exit the programming mode by following the
instructions later in this section or program the next
feature available on your vehicle.
TIRE MON (Tire In¯ation Monitor
Reset)
This feature allows you to reset the tire pressure
monitor after checking all tire pressures, seeTires on
page 5-61. To clear the LOW TIRE PRESSURE
light from the instrument panel cluster and reset the low
tire pressure monitor do the following:
1. Scroll, using the SEEK/PSCAN up or down arrows,
until TIRE MON appears on the display.
2. Press the PREV or NEXT button to enter the
submenu. RESET will be displayed.
3. Press the TUNE/DISP knob to reset. A chime will
be heard to verify the new setting and DONE will
be displayed for one second.
The low tire pressure monitor is now reset. You can
either exit the programming mode by following the
instructions later in this section or program the next
feature available on your vehicle.
2-46
Page 257 of 408

Service............................................................5-3
Doing Your Own Service Work.........................5-4
Adding Equipment to the Outside of Your
Vehicle......................................................5-4
Fuel................................................................5-5
Gasoline Octane............................................5-5
Gasoline Speci®cations....................................5-5
California Fuel...............................................5-6
Additives.......................................................5-6
Fuels in Foreign Countries...............................5-6
Filling Your Tank............................................5-7
Filling a Portable Fuel Container.......................5-9
Checking Things Under the Hood....................5-10
Hood Release..............................................5-10
Engine Compartment Overview.......................5-12
Engine Oil...................................................5-16
Engine Air Cleaner/Filter................................5-22
Automatic Transaxle Fluid..............................5-24
Engine Coolant.............................................5-27
Radiator Pressure Cap..................................5-30
Engine Overheating.......................................5-30
Cooling System............................................5-33
Power Steering Fluid.....................................5-43
Windshield Washer Fluid................................5-44
Brakes........................................................5-45Battery........................................................5-48
Jump Starting...............................................5-49
Headlamp Aiming...........................................5-55
Bulb Replacement..........................................5-56
Halogen Bulbs..............................................5-56
Headlamps, Front Turn Signal, and Parking
Lamps.....................................................5-56
Taillamps, Turn Signal, Stoplamps and
Sidemarker Lamps.....................................5-58
Back-Up Lamps............................................5-59
Replacement Bulbs.......................................5-59
Windshield Wiper Blade Replacement..............5-60
Tires..............................................................5-61
In¯ation -- Tire Pressure................................5-62
Tire Pressure Monitor System.........................5-63
Tire Inspection and Rotation...........................5-65
When It Is Time for New Tires.......................5-66
Buying New Tires.........................................5-67
Uniform Tire Quality Grading..........................5-68
Wheel Alignment and Tire Balance..................5-69
Wheel Replacement......................................5-69
Tire Chains..................................................5-71
If a Tire Goes Flat........................................5-71
Changing a Flat Tire.....................................5-72
Compact Spare Tire......................................5-84
Section 5 Service and Appearance Care
5-1
Page 266 of 408

Checking Things Under the
Hood
{CAUTION:
An electric fan under the hood can start up
and injure you even when the engine is not
running. Keep hands, clothing and tools away
from any underhood electric fan.
{CAUTION:
Things that burn can get on hot engine parts
and start a ®re. These include liquids like fuel,
oil, coolant, brake ¯uid, windshield washer and
other ¯uids, and plastic or rubber. You or
others could be burned. Be careful not to drop
or spill things that will burn onto a hot engine.
Hood Release
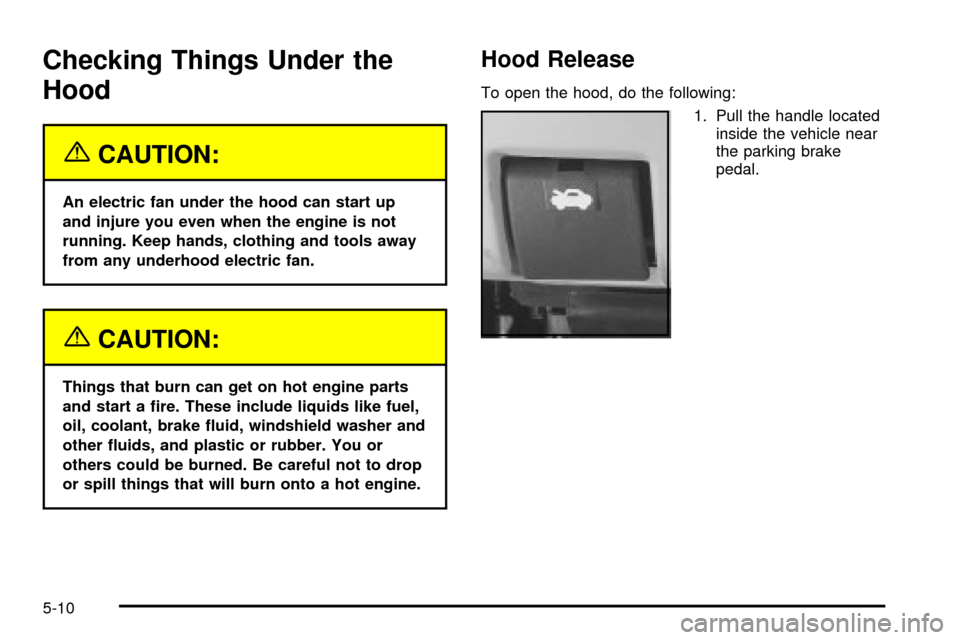
To open the hood, do the following:
1. Pull the handle located
inside the vehicle near
the parking brake
pedal.
5-10
Page 269 of 408

A. Windshield Washer Fluid Reservoir. SeeWindshield
Washer Fluid on page 5-44.
B. Battery. See
Battery on page 5-48.
C. Remote Positive (+) Terminal. See
Jump Starting on
page 5-49.
D. Upper Underhood Fuse Block. See ªUpperhood
Fuse Block (Upper)º under
Fuses and Circuit
Breakers on page 5-95.
E. Lower Underhood Fuse Block. See ªUnderhood
Fuse Block (Lower)º under
Fuses and Circuit
Breakers on page 5-95.
F. Radiator Pressure Cap. See
Radiator Pressure Cap
on page 5-30.
G. Engine Coolant Recovery Tank. See
Cooling System
on page 5-33.
H. Power Steering Fluid Reservoir. See
Power Steering
Fluid on page 5-43.I. Electric Cooling Fan. See
Cooling System on
page 5-33.
J. Engine Oil Fill Cap. See ªChecking Engine Oilº
under
Engine Oil on page 5-16.
K. Engine Oil Dipstick. See ªChecking Engine Oilº
under
Engine Oil on page 5-16.
L. Bleed Valves (underneath engine shield). See ªHow
to Add Coolant to the Radiatorº under
Cooling
System on page 5-33.
M. Transaxle Fluid Dipstick. See
Automatic Transaxle
Fluid on page 5-24.
N. Brake Master Cylinder Reservoir. See
Brakes on
page 5-45.
O. Engine Air Cleaner/Filter. See
Engine Air
Cleaner/Filter on page 5-22.
5-13
Page 271 of 408

A. Windshield Washer Fluid Reservoir. SeeWindshield
Washer Fluid on page 5-44.
B. Battery. See
Battery on page 5-48.
C. Remote Positive (+) Terminal. See
Jump Starting on
page 5-49.
D. Upper Underhood Fuse Block. See ªUpperhood
Fuse Block (Upper)º under
Fuses and Circuit
Breakers on page 5-95.
E. Lower Underhood Fuse Block. See ªUnderhood
Fuse Block (Lower)º under
Fuses and Circuit
Breakers on page 5-95.
F. Radiator Pressure Cap. See
Radiator Pressure Cap
on page 5-30.
G. Engine Coolant Recovery Tank. See
Cooling System
on page 5-33
H. Power Steering Fluid Reservoir (low in engine
compartment). SeePower Steering Fluid on
page 5-43.I. Electric Cooling Fan. See
Cooling System on
page 5-33.
J. Engine Oil Dipstick. See ªChecking Engine Oilº
under
Engine Oil on page 5-16.
K. Engine Oil Fill Cap. See ªChecking Engine Oilº
under
Engine Oil on page 5-16.
L. Bleed Valves (underneath engine shield). See ªHow
to Add Coolant to the Radiatorº under
Cooling
System on page 5-33.
M. Transaxle Fluid Dipstick. See
Automatic Transaxle
Fluid on page 5-24.
N. Brake Master Cylinder Reservoir. See
Brakes on
page 5-45.
O. Engine Air Cleaner/Filter. See
Engine Air
Cleaner/Filter on page 5-22.
5-15
Page 272 of 408

Engine Oil
Checking Engine Oil
It's a good idea to check your engine oil every time you
get fuel. In order to get an accurate reading, the oil
must be warm and the vehicle must be on level ground.
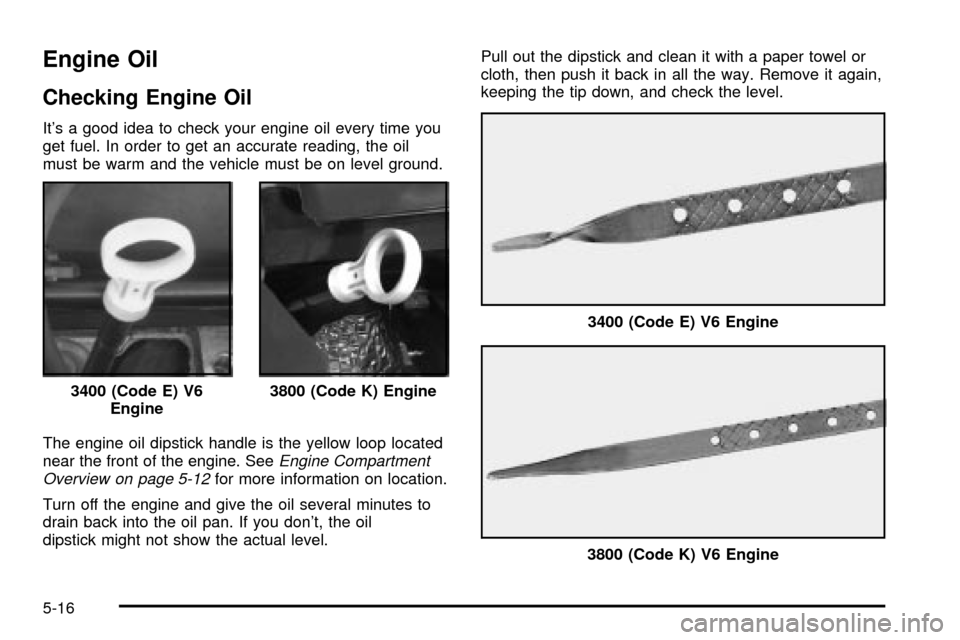
The engine oil dipstick handle is the yellow loop located
near the front of the engine. See
Engine Compartment
Overview on page 5-12for more information on location.
Turn off the engine and give the oil several minutes to
drain back into the oil pan. If you don't, the oil
dipstick might not show the actual level.Pull out the dipstick and clean it with a paper towel or
cloth, then push it back in all the way. Remove it again,
keeping the tip down, and check the level.
3400 (Code E) V6
Engine
3800 (Code K) Engine
3400 (Code E) V6 Engine
3800 (Code K) V6 Engine
5-16
Page 280 of 408

Automatic Transaxle Fluid
When to Check and Change
A good time to check your automatic transaxle ¯uid
level is when the engine oil is changed.
Change both the ¯uid and ®lter every 50,000 miles
(83 000 km) if the vehicle is mainly driven under one or
more of these conditions:
·In heavy city traffic where the outside temperature
regularly reaches 90ÉF (32ÉC) or higher.
·In hilly or mountainous terrain.
·When doing frequent trailer towing.
·Uses such as found in taxi, police or delivery
service.
If you do not use your vehicle under any of these
conditions, change the ¯uid and ®lter at 100,000 miles
(166 000 km).
See
Scheduled Maintenance on page 6-5.
How to Check
Because this operation can be a little difficult, you may
choose to have this done at the dealership service
department.
If you do it yourself, be sure to follow all the instructions
here, or you could get a false reading on the dipstick.
Notice:Too much or too little ¯uid can damage
your transaxle. Too much can mean that some of the
¯uid could come out and fall on hot engine or
exhaust system parts, starting a ®re. Too little ¯uid
could cause the transaxle to overheat. Be sure
to get an accurate reading if you check your
transaxle ¯uid.
Wait at least 30 minutes before checking the transaxle
¯uid level if you have been driving:
·When outside temperatures are above 90ÉF (32ÉC).
·At high speed for quite a while.
·In heavy traffic ± especially in hot weather.
·While pulling a trailer.
To get the right reading, the ¯uid should be at normal
operating temperature, which is 180ÉF to 200ÉF
(82ÉC to 93ÉC).
Get the vehicle warmed up by driving about 15 miles
(24 km) when outside temperatures are above 50ÉF
(10ÉC). If it's colder than 50ÉF (10ÉC), you may have to
drive longer.
5-24
Page 284 of 408

What to Use
Use a mixture of one-halfclean, drinkable waterand
one-half DEX-COOLžcoolant which won't damage
aluminum parts. If you use this coolant mixture,
you don't need to add anything else.
{CAUTION:
Adding only plain water to your cooling
system can be dangerous. Plain water, or
some other liquid such as alcohol, can boil
before the proper coolant mixture will. Your
vehicle's coolant warning system is set for the
proper coolant mixture. With plain water or the
wrong mixture, your engine could get too hot
but you wouldn't get the overheat warning.
Your engine could catch ®re and you or others
could be burned. Use a 50/50 mixture of clean,
drinkable water and DEX-COOL
žcoolant.
Notice:If you use an improper coolant mixture,
your engine could overheat and be badly damaged.
The repair cost wouldn't be covered by your
warranty. Too much water in the mixture can freeze
and crack the engine, radiator, heater core and
other parts.If you have to add coolant more than four times a year,
have your dealer check your cooling system.
Notice:If you use the proper coolant, you don't
have to add extra inhibitors or additives which claim
to improve the system. These can be harmful.
Checking Coolant
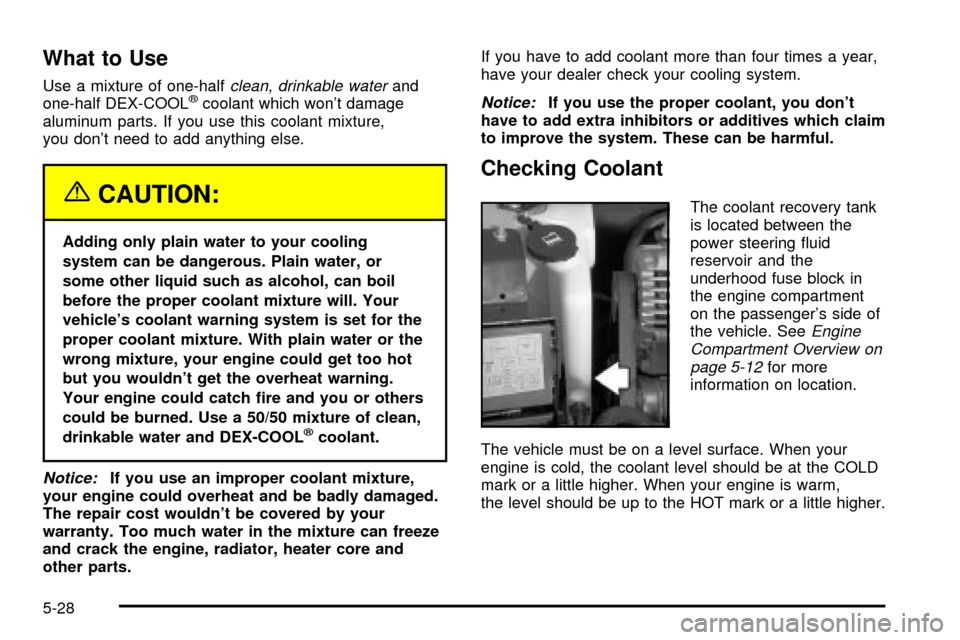
The coolant recovery tank
is located between the
power steering ¯uid
reservoir and the
underhood fuse block in
the engine compartment
on the passenger's side of
the vehicle. See
Engine
Compartment Overview on
page 5-12
for more
information on location.
The vehicle must be on a level surface. When your
engine is cold, the coolant level should be at the COLD
mark or a little higher. When your engine is warm,
the level should be up to the HOT mark or a little higher.
5-28