Page 1 of 386

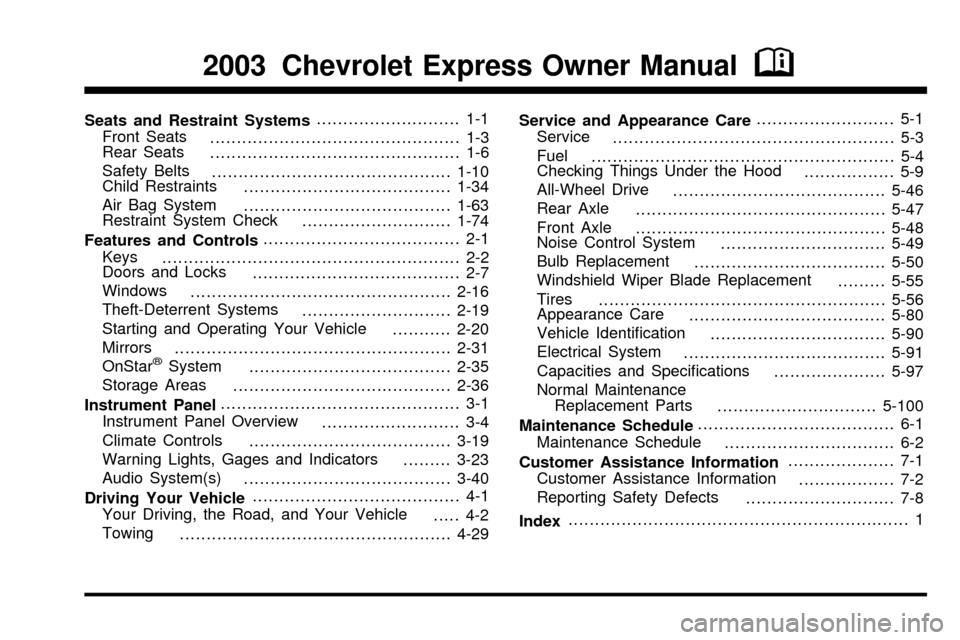
Seats and Restraint Systems........................... 1-1
Front Seats
............................................... 1-3
Rear Seats
............................................... 1-6
Safety Belts
.............................................1-10
Child Restraints
.......................................1-34
Air Bag System
.......................................1-63
Restraint System Check
............................1-74
Features and Controls..................................... 2-1
Keys
........................................................ 2-2
Doors and Locks
....................................... 2-7
Windows
.................................................2-16
Theft-Deterrent Systems
............................2-19
Starting and Operating Your Vehicle
...........2-20
Mirrors
....................................................2-31
OnStar
žSystem
......................................2-35
Storage Areas
.........................................2-36
Instrument Panel............................................. 3-1
Instrument Panel Overview
.......................... 3-4
Climate Controls
......................................3-19
Warning Lights, Gages and Indicators
.........3-23
Audio System(s)
.......................................3-40
Driving Your Vehicle....................................... 4-1
Your Driving, the Road, and Your Vehicle
..... 4-2
Towing
...................................................4-29Service and Appearance Care.......................... 5-1
Service
..................................................... 5-3
Fuel
......................................................... 5-4
Checking Things Under the Hood
................. 5-9
All-Wheel Drive
........................................5-46
Rear Axle
...............................................5-47
Front Axle
...............................................5-48
Noise Control System
...............................5-49
Bulb Replacement
....................................5-50
Windshield Wiper Blade Replacement
.........5-55
Tires
......................................................5-56
Appearance Care
.....................................5-80
Vehicle Identi®cation
.................................5-90
Electrical System
......................................5-91
Capacities and Speci®cations
.....................5-97
Normal Maintenance
Replacement Parts
..............................5-100
Maintenance Schedule..................................... 6-1
Maintenance Schedule
................................ 6-2
Customer Assistance Information.................... 7-1
Customer Assistance Information
.................. 7-2
Reporting Safety Defects
............................ 7-8
Index................................................................ 1
2003 Chevrolet Express Owner ManualM
Page 10 of 386
Power Seat
If your vehicle has a power seat on the driver's or
passenger's side, you can adjust it with these controls
located at the front center of the seat cushion.
To raise or lower the seat, move the center knob up or
down. To move the seat forward or rearward, move
the center knob toward the right or left.
To raise or lower the front of the seat cushion, move the
right lever up or down. To raise or lower the rear of
the seat cushion, move the left lever up or down.
Reclining Seatbacks
To adjust the seatback, lift the front of the lever, which
is located on the inboard side of the seat cushion.
Move the seatback with your body and release the lever
to lock the seatback where you want it. Lean forward
and pull up on the front of the lever and the seatback will
go to an upright position.
1-4
Page 13 of 386
·The passenger's side pin will have a white cap
with an ªRº marked on it and will look like this:
2. Pull the pin handle up which will loosen the pin
from the retaining clip.
3. Once the black or white pin is disengaged, pull the
pin completely out.
4. Repeat this procedure for the pin on the other
seat base.5. Pull the seat rearward about two inches (5 cm) and
then lift the seat from the ¯oor rails.
6. Remove the seat from the vehicle.
7. For the ®rst rear seat,
stow the safety belt
latch by attaching the
clip on the safety
belt latch to the trim
just inside the side
door. For the remaining
rear seats, stow the
safety belt latch
plate on the clip at the
window trim.
1-7
Page 41 of 386

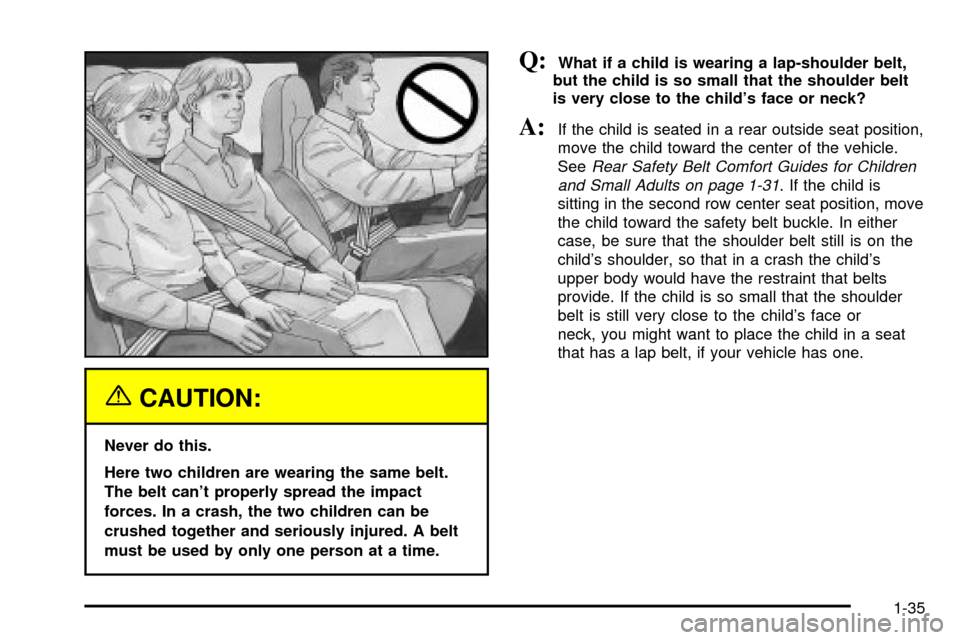
{CAUTION:
Never do this.
Here two children are wearing the same belt.
The belt can't properly spread the impact
forces. In a crash, the two children can be
crushed together and seriously injured. A belt
must be used by only one person at a time.
Q:What if a child is wearing a lap-shoulder belt,
but the child is so small that the shoulder belt
is very close to the child's face or neck?
A:If the child is seated in a rear outside seat position,
move the child toward the center of the vehicle.
See
Rear Safety Belt Comfort Guides for Children
and Small Adults on page 1-31
. If the child is
sitting in the second row center seat position, move
the child toward the safety belt buckle. In either
case, be sure that the shoulder belt still is on the
child's shoulder, so that in a crash the child's
upper body would have the restraint that belts
provide. If the child is so small that the shoulder
belt is still very close to the child's face or
neck, you might want to place the child in a seat
that has a lap belt, if your vehicle has one.
1-35
Page 48 of 386
Child Restraint Systems
An infant car bed (A), a special bed made for use in a
motor vehicle, is an infant restraint system designed
to restrain or position a child on a continuous ¯at
surface. Make sure that the infant's head rests toward
the center of the vehicle.A rear-facing infant seat (B) provides restraint with the
seating surface against the back of the infant. The
harness system holds the infant in place and, in a crash,
acts to keep the infant positioned in the restraint.
1-42
Page 74 of 386

Seat Position Sensors
Vehicles with dual stage air bags are also equipped with
special sensors which enable the sensing system to
monitor the position of both the driver and passenger
front seats. The seat position sensors provide
information which is used to determine if the air bags
should deploy at a reduced level or at full depoyment.
Air Bag Systems
In any particular crash, no one can say whether an air
bag should have in¯ated simply because of the damage
to a vehicle or because of what the repair costs were.
In¯ation is determined by the angle of the impact
and how quickly the vehicle slows down in front or
near-frontal impacts.
What Makes an Air Bag In¯ate?
In an impact of sufficient severity, the air bag sensing
system detects that the vehicle is in a crash. The
sensing system triggers a release of gas from the
in¯ator, which in¯ates the air bag. The in¯ator, air bag,
and related hardware are all part of the air bag
modules inside the steering wheel and in the instrument
panel in front of the right front passenger.
How Does an Air Bag Restrain?
In moderate to severe frontal or near-frontal collisions,
even belted occupants can contact the steering wheel or
the instrument panel. Air bags supplement the
protection provided by safety belts. Air bags distribute
the force of the impact more evenly over the occupant's
upper body, stopping the occupant more gradually.
But air bags would not help you in many types of
collisions, including rollovers, rear impacts and many
side impacts, primarily because an occupant's motion is
not toward those air bags. Air bags should never be
regarded as anything more than a supplement to safety
belts, and then only in moderate to severe frontal or
near-frontal collisions.
What Will You See After an Air Bag
In¯ates?
After an air bag in¯ates, it quickly de¯ates, so quickly
that some people may not even realize the air bag
in¯ated. Some components of the air bag module ± the
steering wheel hub for the driver's air bag, or the
instrument panel for the right front passenger's
bag ± will be hot for a short time. The parts of the bag
that come into contact with you may be warm, but
not too hot to touch. There will be some smoke and dust
coming from the vents in the de¯ated air bags.
1-68
Page 93 of 386
Sliding Side Door
To open the sliding side door from outside, pull the
handle toward the rear of the vehicle. Then, slide the
door open.To close the sliding side door from outside, use the
outside door handle to slide the door toward the front of
the vehicle.
When the door slides closed completely, it will be ¯ush
with the side of the body.
2-11
Page 94 of 386
To open the sliding door from inside, turn the handle
upward and toward the rear of the vehicle. Then, slide
the door toward the rear of the vehicle to open it.To close the sliding door from inside, grasp the inside
handle and slide the door toward the front of the vehicle
to a closed position.
Make sure the door is completely closed before
driving away.
2-12