2003 CHEVROLET EXPRESS CARGO VAN cooling
[x] Cancel search: coolingPage 137 of 386
Climate Controls
Climate Control System
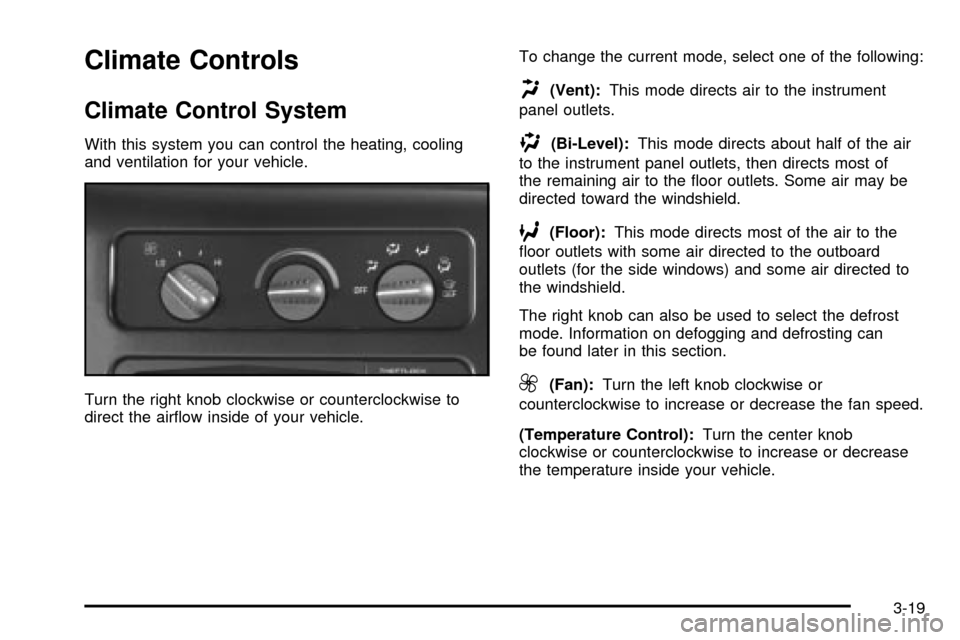
With this system you can control the heating, cooling
and ventilation for your vehicle.
Turn the right knob clockwise or counterclockwise to
direct the air¯ow inside of your vehicle.To change the current mode, select one of the following:
H(Vent):This mode directs air to the instrument
panel outlets.
)(Bi-Level):This mode directs about half of the air
to the instrument panel outlets, then directs most of
the remaining air to the ¯oor outlets. Some air may be
directed toward the windshield.
6(Floor):This mode directs most of the air to the
¯oor outlets with some air directed to the outboard
outlets (for the side windows) and some air directed to
the windshield.
The right knob can also be used to select the defrost
mode. Information on defogging and defrosting can
be found later in this section.
9(Fan):Turn the left knob clockwise or
counterclockwise to increase or decrease the fan speed.
(Temperature Control):Turn the center knob
clockwise or counterclockwise to increase or decrease
the temperature inside your vehicle.
3-19
Page 138 of 386
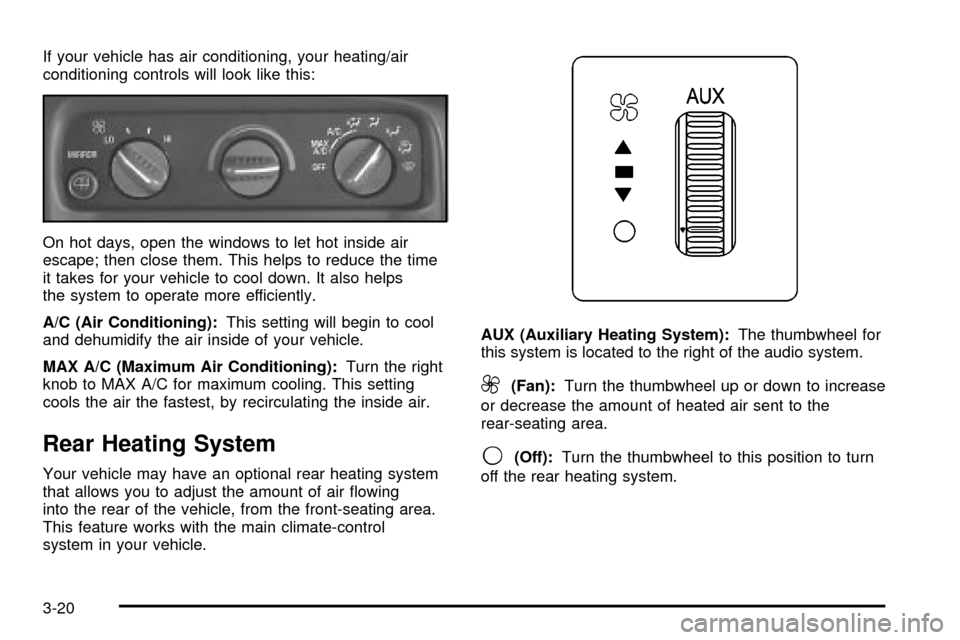
If your vehicle has air conditioning, your heating/air
conditioning controls will look like this:
On hot days, open the windows to let hot inside air
escape; then close them. This helps to reduce the time
it takes for your vehicle to cool down. It also helps
the system to operate more efficiently.
A/C (Air Conditioning):This setting will begin to cool
and dehumidify the air inside of your vehicle.
MAX A/C (Maximum Air Conditioning):Turn the right
knob to MAX A/C for maximum cooling. This setting
cools the air the fastest, by recirculating the inside air.
Rear Heating System
Your vehicle may have an optional rear heating system
that allows you to adjust the amount of air ¯owing
into the rear of the vehicle, from the front-seating area.
This feature works with the main climate-control
system in your vehicle.AUX (Auxiliary Heating System):The thumbwheel for
this system is located to the right of the audio system.
9(Fan):Turn the thumbwheel up or down to increase
or decrease the amount of heated air sent to the
rear-seating area.
9(Off):Turn the thumbwheel to this position to turn
off the rear heating system.
3-20
Page 151 of 386
Low Coolant Warning Light
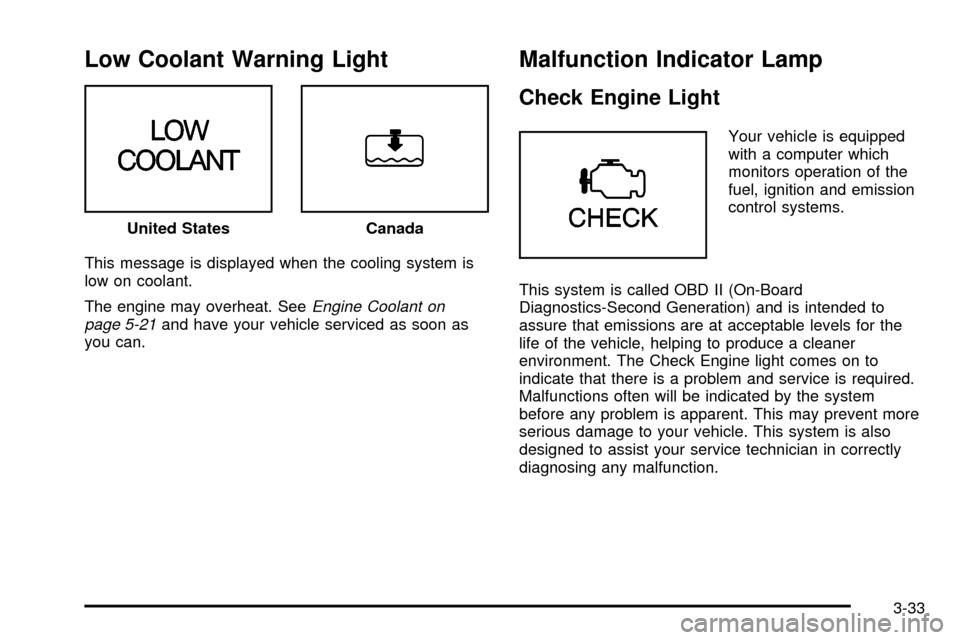
This message is displayed when the cooling system is
low on coolant.
The engine may overheat. See
Engine Coolant on
page 5-21and have your vehicle serviced as soon as
you can.
Malfunction Indicator Lamp
Check Engine Light
Your vehicle is equipped
with a computer which
monitors operation of the
fuel, ignition and emission
control systems.
This system is called OBD II (On-Board
Diagnostics-Second Generation) and is intended to
assure that emissions are at acceptable levels for the
life of the vehicle, helping to produce a cleaner
environment. The Check Engine light comes on to
indicate that there is a problem and service is required.
Malfunctions often will be indicated by the system
before any problem is apparent. This may prevent more
serious damage to your vehicle. This system is also
designed to assist your service technician in correctly
diagnosing any malfunction. United States
Canada
3-33
Page 216 of 386
Hill and Mountain Roads
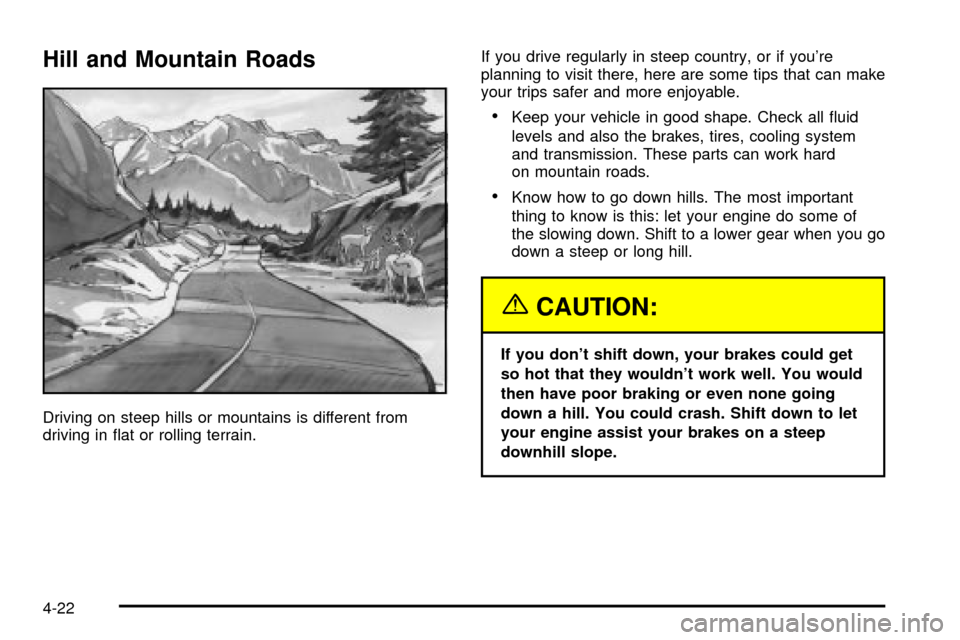
Driving on steep hills or mountains is different from
driving in ¯at or rolling terrain.If you drive regularly in steep country, or if you're
planning to visit there, here are some tips that can make
your trips safer and more enjoyable.
·Keep your vehicle in good shape. Check all ¯uid
levels and also the brakes, tires, cooling system
and transmission. These parts can work hard
on mountain roads.
·Know how to go down hills. The most important
thing to know is this: let your engine do some of
the slowing down. Shift to a lower gear when you go
down a steep or long hill.
{CAUTION:
If you don't shift down, your brakes could get
so hot that they wouldn't work well. You would
then have poor braking or even none going
down a hill. You could crash. Shift down to let
your engine assist your brakes on a steep
downhill slope.
4-22
Page 235 of 386
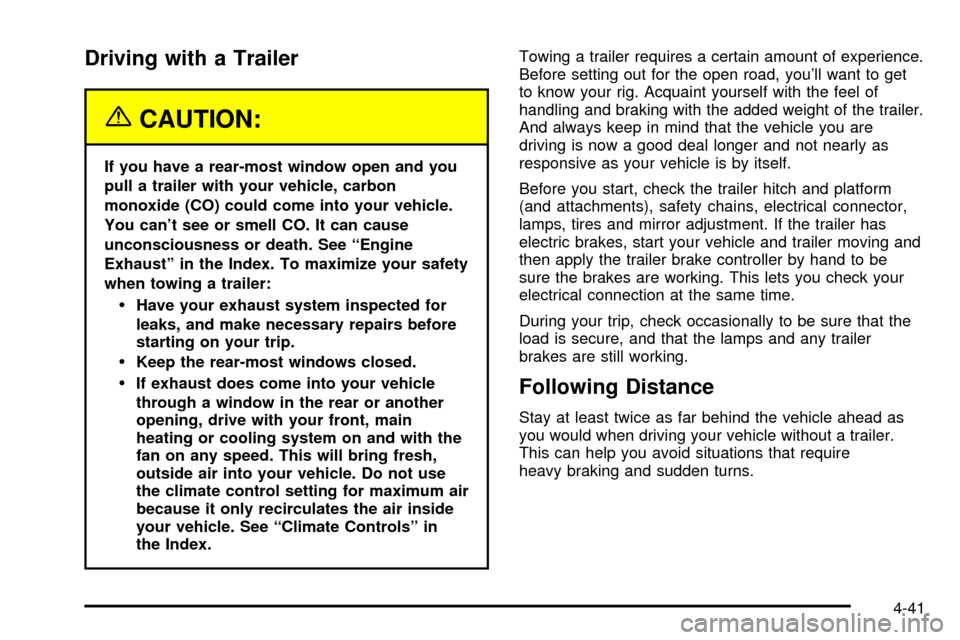
Driving with a Trailer
{CAUTION:
If you have a rear-most window open and you
pull a trailer with your vehicle, carbon
monoxide (CO) could come into your vehicle.
You can't see or smell CO. It can cause
unconsciousness or death. See ªEngine
Exhaustº in the Index. To maximize your safety
when towing a trailer:
·Have your exhaust system inspected for
leaks, and make necessary repairs before
starting on your trip.
·Keep the rear-most windows closed.
·If exhaust does come into your vehicle
through a window in the rear or another
opening, drive with your front, main
heating or cooling system on and with the
fan on any speed. This will bring fresh,
outside air into your vehicle. Do not use
the climate control setting for maximum air
because it only recirculates the air inside
your vehicle. See ªClimate Controlsº in
the Index.Towing a trailer requires a certain amount of experience.
Before setting out for the open road, you'll want to get
to know your rig. Acquaint yourself with the feel of
handling and braking with the added weight of the trailer.
And always keep in mind that the vehicle you are
driving is now a good deal longer and not nearly as
responsive as your vehicle is by itself.
Before you start, check the trailer hitch and platform
(and attachments), safety chains, electrical connector,
lamps, tires and mirror adjustment. If the trailer has
electric brakes, start your vehicle and trailer moving and
then apply the trailer brake controller by hand to be
sure the brakes are working. This lets you check your
electrical connection at the same time.
During your trip, check occasionally to be sure that the
load is secure, and that the lamps and any trailer
brakes are still working.Following Distance
Stay at least twice as far behind the vehicle ahead as
you would when driving your vehicle without a trailer.
This can help you avoid situations that require
heavy braking and sudden turns.
4-41
Page 237 of 386
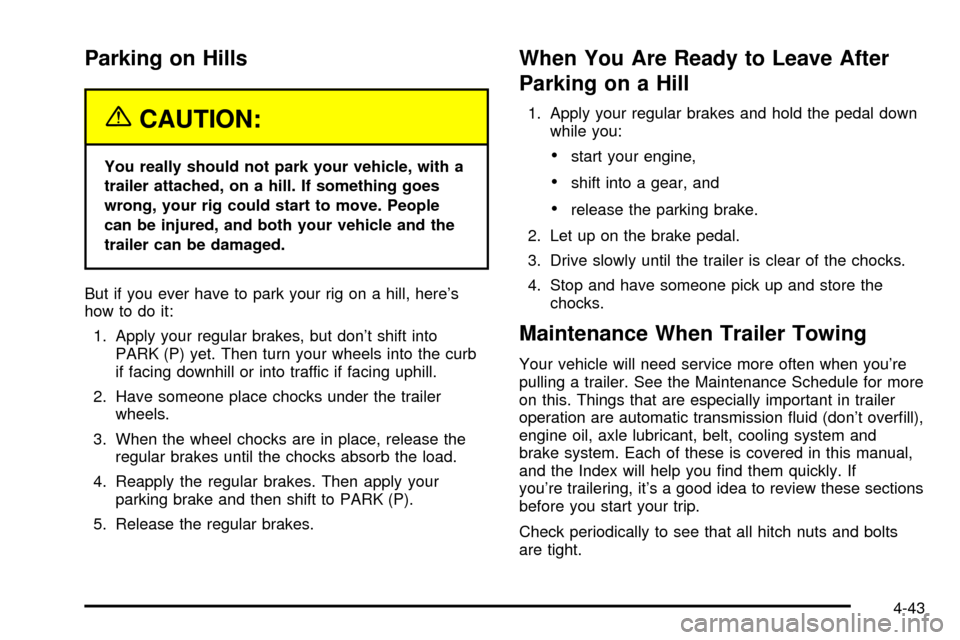
Parking on Hills
{CAUTION:
You really should not park your vehicle, with a
trailer attached, on a hill. If something goes
wrong, your rig could start to move. People
can be injured, and both your vehicle and the
trailer can be damaged.
But if you ever have to park your rig on a hill, here's
how to do it:
1. Apply your regular brakes, but don't shift into
PARK (P) yet. Then turn your wheels into the curb
if facing downhill or into traffic if facing uphill.
2. Have someone place chocks under the trailer
wheels.
3. When the wheel chocks are in place, release the
regular brakes until the chocks absorb the load.
4. Reapply the regular brakes. Then apply your
parking brake and then shift to PARK (P).
5. Release the regular brakes.
When You Are Ready to Leave After
Parking on a Hill
1. Apply your regular brakes and hold the pedal down
while you:
·start your engine,
·shift into a gear, and
·release the parking brake.
2. Let up on the brake pedal.
3. Drive slowly until the trailer is clear of the chocks.
4. Stop and have someone pick up and store the
chocks.
Maintenance When Trailer Towing
Your vehicle will need service more often when you're
pulling a trailer. See the Maintenance Schedule for more
on this. Things that are especially important in trailer
operation are automatic transmission ¯uid (don't over®ll),
engine oil, axle lubricant, belt, cooling system and
brake system. Each of these is covered in this manual,
and the Index will help you ®nd them quickly. If
you're trailering, it's a good idea to review these sections
before you start your trip.
Check periodically to see that all hitch nuts and bolts
are tight.
4-43
Page 239 of 386
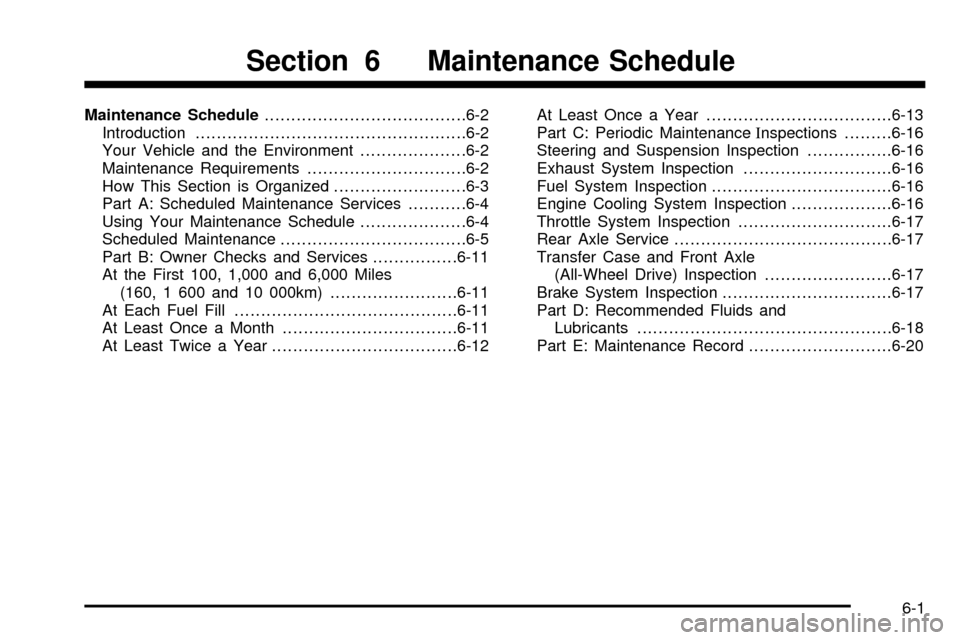
Maintenance Schedule......................................6-2
Introduction...................................................6-2
Your Vehicle and the Environment....................6-2
Maintenance Requirements..............................6-2
How This Section is Organized.........................6-3
Part A: Scheduled Maintenance Services...........6-4
Using Your Maintenance Schedule....................6-4
Scheduled Maintenance...................................6-5
Part B: Owner Checks and Services................6-11
At the First 100, 1,000 and 6,000 Miles
(160, 1 600 and 10 000km)........................6-11
At Each Fuel Fill..........................................6-11
At Least Once a Month.................................6-11
At Least Twice a Year...................................6-12At Least Once a Year...................................6-13
Part C: Periodic MaintenanceInspections.........6-16
Steering and Suspension Inspection................6-16
Exhaust System Inspection............................6-16
Fuel System Inspection..................................6-16
Engine Cooling System Inspection...................6-16
Throttle System Inspection.............................6-17
Rear Axle Service.........................................6-17
Transfer Case and Front Axle
(All-Wheel Drive) Inspection........................6-17
Brake System Inspection................................6-17
Part D: Recommended Fluids and
Lubricants................................................6-18
Part E: Maintenance Record...........................6-20
Section 6 Maintenance Schedule
6-1
Page 248 of 386

qRotate tires. SeeTire Inspection and Rotation on
page 5-58for proper rotation pattern and additional
information.(See footnote +.)
97,500 Miles (162 500 km)
qCheck rear/front axle ¯uid level and add ¯uid as
needed. Check constant velocity joints and axle seals
for leaking.
qRotate tires. See
Tire Inspection and Rotation on
page 5-58for proper rotation pattern and additional
information.(See footnote +.)
100,000 Miles (166 000 km)
qInspect spark plug wires.An Emission Control
Service.
qReplace spark plugs.An Emission Control Service.
qChange automatic transmission ¯uid and ®lter if
the vehicle's GVWR is over 8600 lbs or if the vehicle
is mainly driven under one or more of these
conditions:
þ In heavy city traffic where the outside
temperature regularly reaches 90ÉF (32ÉC) or
higher.þ In hilly or mountainous terrain.
þ When doing frequent trailer towing.
þ Uses such as found in taxi, police or delivery
service.
qIf you haven't used your vehicle under severe service
conditions listed previously and, therefore, haven't
changed your automatic transmission ¯uid, change
both the ¯uid and ®lter.
qInspect Positive Crankcase Ventilation (PCV) valve.
An Emission Control Service.
150,000 Miles (240 000 km)
qDrain, ¯ush and re®ll cooling system (or every
60 months since last service, whichever occurs ®rst).
See
Engine Coolant on page 5-21for what to use.
Inspect hoses. Clean radiator, condenser, pressure
cap and neck. Pressure test the cooling system
and pressure cap.
An Emission Control Service.
qInspect engine accessory drive belt.An Emission
Control Service.
6-10