2003 CHEVROLET CORVETTE turn signal
[x] Cancel search: turn signalPage 61 of 368

Changes or modi®cations to this system by other than
an authorized service facility could void authorization to
use this equipment.
If you ever notice a decrease in the remote keyless
entry transmitter range, try doing one of the following:
·Check the distance. You may be too far from
your vehicle. You may need to stand closer during
rainy or snowy weather.
·Check the location. Other vehicles or objects may
be blocking the signal. Take a few steps to the
left or right, hold the transmitter higher, and
try again.
·Check to determine if battery replacement is
necessary. See ªBattery Replacementº under
Remote Keyless Entry System Operation on
page 2-5.
·Check to make sure that an electronic device such
as a cellular phone or lap top computer is not
causing interference.
·If you're still having trouble, see your dealer or a
quali®ed technician for service.
Remote Keyless Entry System
Operation
Your vehicle has a Remote Keyless Entry (RKE) system
that allows you to lock and unlock your doors, unlock
your hatch/trunk lid, turn the panic alarm on and off and
disarm or arm your theft-deterrent system. The range
distance is as much as 100 feet (30 m) away.
Your vehicle comes
standard with two
transmitters, and up to
three can be matched to
your vehicle.
See ªMatching Transmitter(s) to Your Vehicleº later in
this section.
2-5
Page 113 of 368

Instrument Panel Overview...............................3-2
Hazard Warning Flashers................................3-4
Other Warning Devices...................................3-4
Horn.............................................................3-5
Tilt Wheel.....................................................3-5
Turn Signal/Multifunction Lever.........................3-6
Exterior Lamps.............................................3-12
Interior Lamps..............................................3-15
Head-Up Display (HUD).................................3-17
Accessory Power Outlets...............................3-20
Ashtrays and Cigarette Lighter........................3-21
Climate Controls............................................3-22
Dual Automatic Climate Control System...........3-22
Outlet Adjustment.........................................3-28
Warning Lights, Gages and Indicators.............3-29
Instrument Panel Cluster................................3-30
Speedometer and Odometer...........................3-31
Tachometer.................................................3-31
Safety Belt Reminder Light.............................3-31
Air Bag Readiness Light................................3-32
Air Bag Off Light..........................................3-33
Voltmeter Gage............................................3-34
Brake System Warning Light..........................3-35
Anti-Lock Brake System Warning Light.............3-36
Traction Control System (TCS) Warning Light . . .3-36Active Handling System Light.........................3-37
Engine Coolant Temperature Gage..................3-38
Malfunction Indicator Lamp.............................3-38
Engine Oil Pressure Gage.............................3-41
Security Light...............................................3-42
Check Gages Warning Light...........................3-42
Fuel Gage...................................................3-42
Driver Information Center (DIC).......................3-44
DIC Controls and Displays.............................3-45
DIC Warnings and Messages.........................3-53
Other Messages...........................................3-61
Audio System(s).............................................3-62
Setting the Time...........................................3-62
Radio with Cassette......................................3-63
Radio with CD..............................................3-67
Trunk-Mounted CD Changer...........................3-71
Theft-Deterrent Feature..................................3-75
Understanding Radio Reception......................3-77
Care of Your Cassette Tape Player.................3-78
Care of Your CDs.........................................3-79
Care of Your CD Player................................3-79
Fixed Mast Antenna (Z06)..............................3-79
Power Antenna Mast Care (Convertible)...........3-79
Integrated Windshield and Rear Window
Antennas (Coupe).....................................3-80
Section 3 Instrument Panel
3-1
Page 115 of 368

The main components of your instrument panel are the
following:
A. Instrument Panel Brightness Control
B. Head-Up Display Controls
C. Turn Signal/Multifunction Lever
D. Driver Information Center (DIC) (Located in the
Instrument Cluster)
E. Instrument Panel Cluster
F. Windshield Wiper/Washer Lever
G. Driver Information Center (DIC) Buttons
H. Hazard Warning Flasher Button
I. Center Air Outlets
J. Audio System
K. Climate Controls
L. Fog Lamp Button
M. Remote Hatch Release Button (Coupe) or Remote
Trunk Release Button (Convertible/Z06)N. Ignition Switch
O. Shift Lever (Automatic Shown)
P. Active Handling Button
Q. Accessory Power Outlet (Located in the Center
Console)
R. Selective Ride Control Switch
S. Air Bag Off Light
T. Instrument Panel Cupholder
U. Remote Fuel Door Release Button (Located in the
Center Console)
V. Ashtray and Cigarette Lighter
W. Parking Brake
X. Glove Box
Y. Instrument Panel Fuse Block (Located Behind the
Toe-Board)
Z. Air Bag Off Switch (Located in Glove Box)
3-3
Page 116 of 368

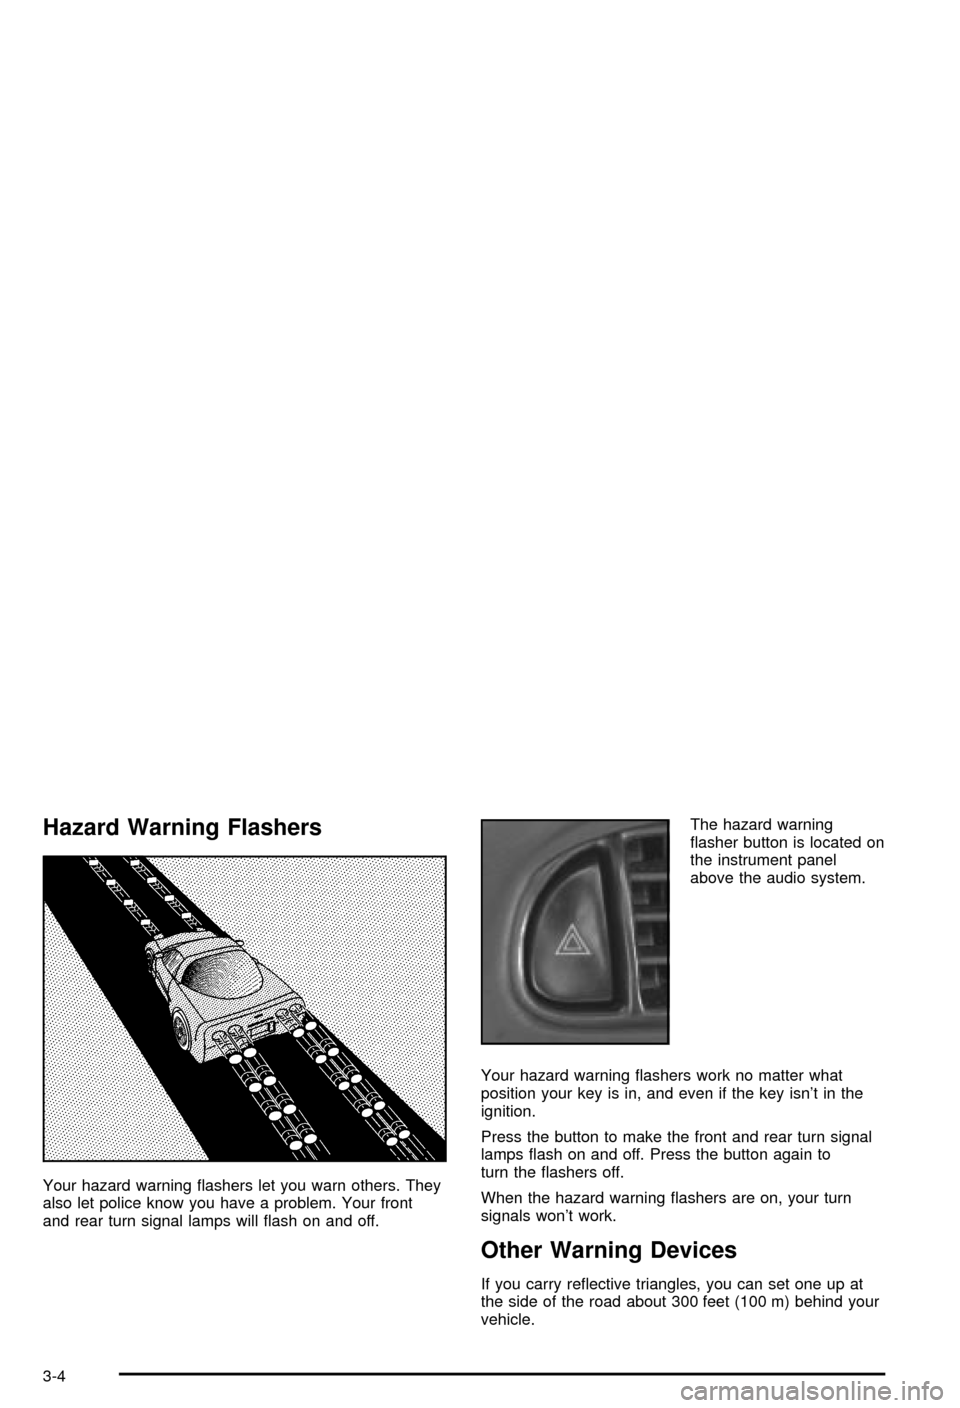
Hazard Warning Flashers
Your hazard warning ¯ashers let you warn others. They
also let police know you have a problem. Your front
and rear turn signal lamps will ¯ash on and off.The hazard warning
¯asher button is located on
the instrument panel
above the audio system.
Your hazard warning ¯ashers work no matter what
position your key is in, and even if the key isn't in the
ignition.
Press the button to make the front and rear turn signal
lamps ¯ash on and off. Press the button again to
turn the ¯ashers off.
When the hazard warning ¯ashers are on, your turn
signals won't work.
Other Warning Devices
If you carry re¯ective triangles, you can set one up at
the side of the road about 300 feet (100 m) behind your
vehicle.
3-4
Page 118 of 368

Turn Signal/Multifunction Lever
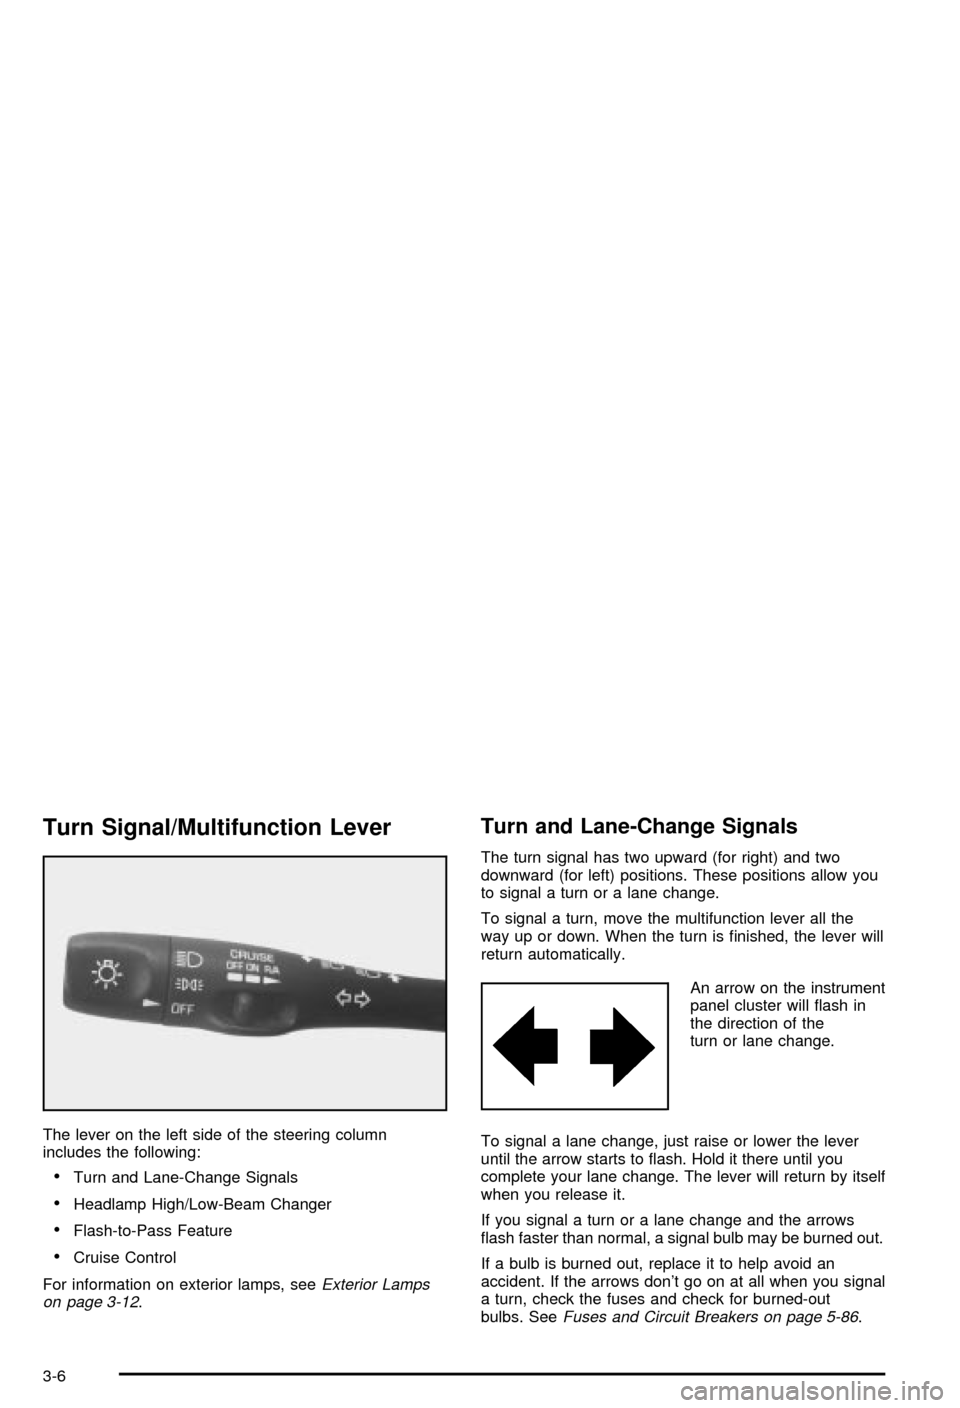
The lever on the left side of the steering column
includes the following:
·Turn and Lane-Change Signals
·Headlamp High/Low-Beam Changer
·Flash-to-Pass Feature
·Cruise Control
For information on exterior lamps, see
Exterior Lamps
on page 3-12.
Turn and Lane-Change Signals
The turn signal has two upward (for right) and two
downward (for left) positions. These positions allow you
to signal a turn or a lane change.
To signal a turn, move the multifunction lever all the
way up or down. When the turn is ®nished, the lever will
return automatically.
An arrow on the instrument
panel cluster will ¯ash in
the direction of the
turn or lane change.
To signal a lane change, just raise or lower the lever
until the arrow starts to ¯ash. Hold it there until you
complete your lane change. The lever will return by itself
when you release it.
If you signal a turn or a lane change and the arrows
¯ash faster than normal, a signal bulb may be burned out.
If a bulb is burned out, replace it to help avoid an
accident. If the arrows don't go on at all when you signal
a turn, check the fuses and check for burned-out
bulbs. See
Fuses and Circuit Breakers on page 5-86.
3-6
Page 119 of 368

Turn Signal on Chime
A chime will remind you if you leave the turn signal on
for more than 3/4 mile (1.2 km) of driving.
If you need to leave the turn signal on for more than
3/4 mile (1.2 km), turn off the signal and then turn it
back on.
Headlamp High/Low-Beam Changer
To change the headlamps from low beam to high or high
to low, push the turn signal lever all the way forward.
When the high beams are
on, this light on the
instrument panel cluster
also will be on. To change
the headlamps from
high to low, pull the lever
rearward.
Headlamps on Reminder
If you turn the ignition off and leave the headlamps or
parking lamps on and open a door, you will hear a chime
reminding you to turn off the lamps.
Flash-to-Pass
To use the ¯ash-to-pass feature, momentarily pull the
turn signal lever toward you. The high-beam indicator
will ¯ash to indicate to the other driver that you intend to
pass. If the low-beam headlamps are off and you
have the optional fog lamps on, the fog lamps will ¯ash.
Windshield Wipers
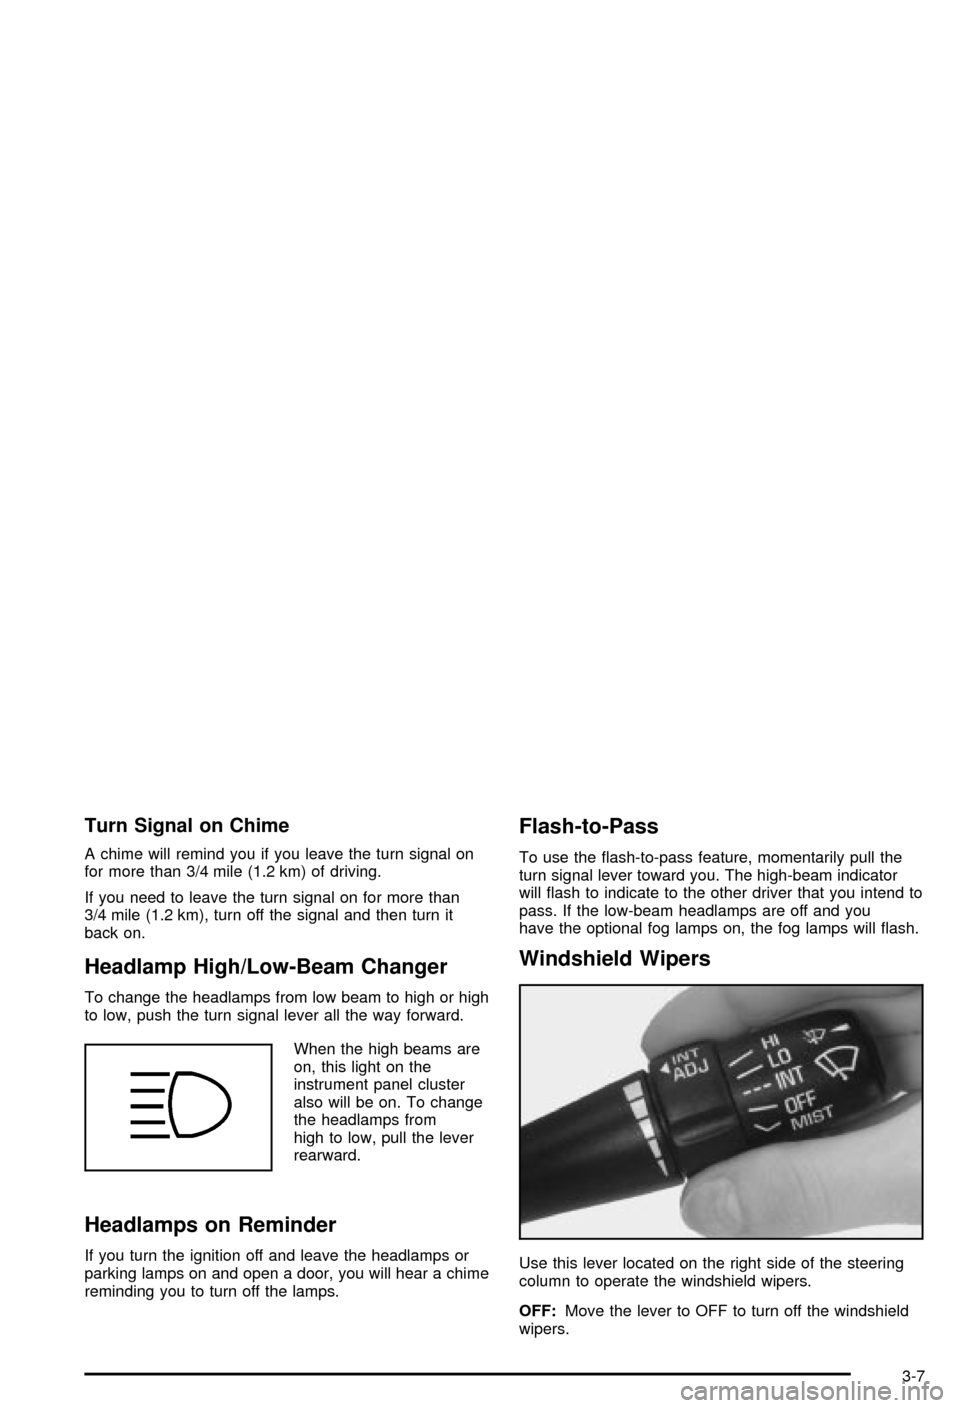
Use this lever located on the right side of the steering
column to operate the windshield wipers.
OFF:Move the lever to OFF to turn off the windshield
wipers.
3-7
Page 124 of 368

Exterior Lamps
The exterior lamp switch on the turn signal/multifunction
lever operates the headlamps.
The exterior lamp switch has three positions:
OFF:Turning the switch to this position turns off all
lamps, except the Daytime Running Lamps (DRL).
;(Parking Lamps):Turn the switch to this position
to turn on the parking lamps, together with the
following:
·Taillamps
·Parking Lamps
·Sidemarker Lamps
3(Headlamps):Turn the switch to this position to
turn on the headlamps, together with the previously
listed lamps.
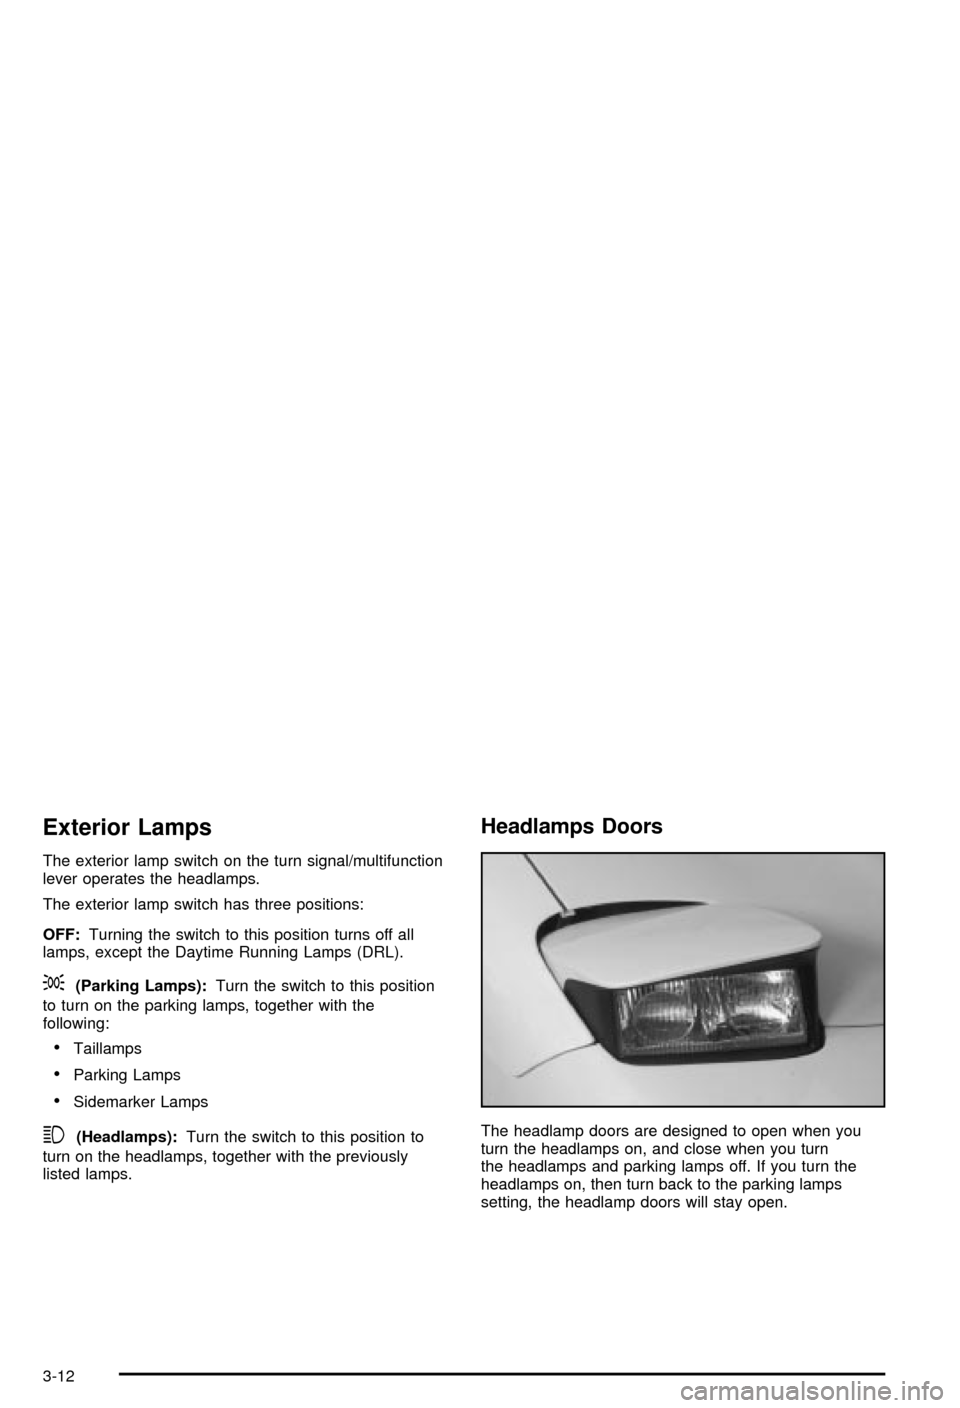
Headlamps Doors
The headlamp doors are designed to open when you
turn the headlamps on, and close when you turn
the headlamps and parking lamps off. If you turn the
headlamps on, then turn back to the parking lamps
setting, the headlamp doors will stay open.
3-12
Page 125 of 368

You can open the doors manually using the knob next
to the headlamp assembly. Turn the knob
counterclockwise until the doors are open. Turn the
knob clockwise to close the doors manually.
The headlamp doors should be open when driving in icy
or snowy conditions to prevent the doors from freezing
closed and when washing the vehicle to help clean
the headlamps.
Notice:In order to avoid possible contact of the
hood to the headlamp doors, either take care
in raising the hood with the headlamps up, or turn
off the headlamps prior to opening the hood.
Daytime Running Lamps
Daytime Running Lamps (DRL) can make it easier for
others to see the front of your vehicle during the
day. DRL can be helpful in many different driving
conditions, but they can be especially helpful in the short
periods after dawn and before sunset. Fully functional
daytime running lamps are required on all vehicles
®rst sold in Canada.The DRL system will make the front turn signal lamps
come on when the following conditions are met:
·The ignition is on,
·the exterior lamp switch is off and
·the parking brake is released.
When the DRL are on, only the front turn signal lamps
will be on. The headlamps, taillamps, sidemarker
and other lamps won't be on. Your instrument panel
won't be lit up either.
To idle the vehicle with the DRL off, set the parking
brake while the ignition is in OFF. Then start the vehicle.
The DRL, headlamps and parking lamps will stay off
until you release the parking brake.
As with any vehicle, you should turn on the regular
headlamp system when you need it.
3-13