Page 103 of 368

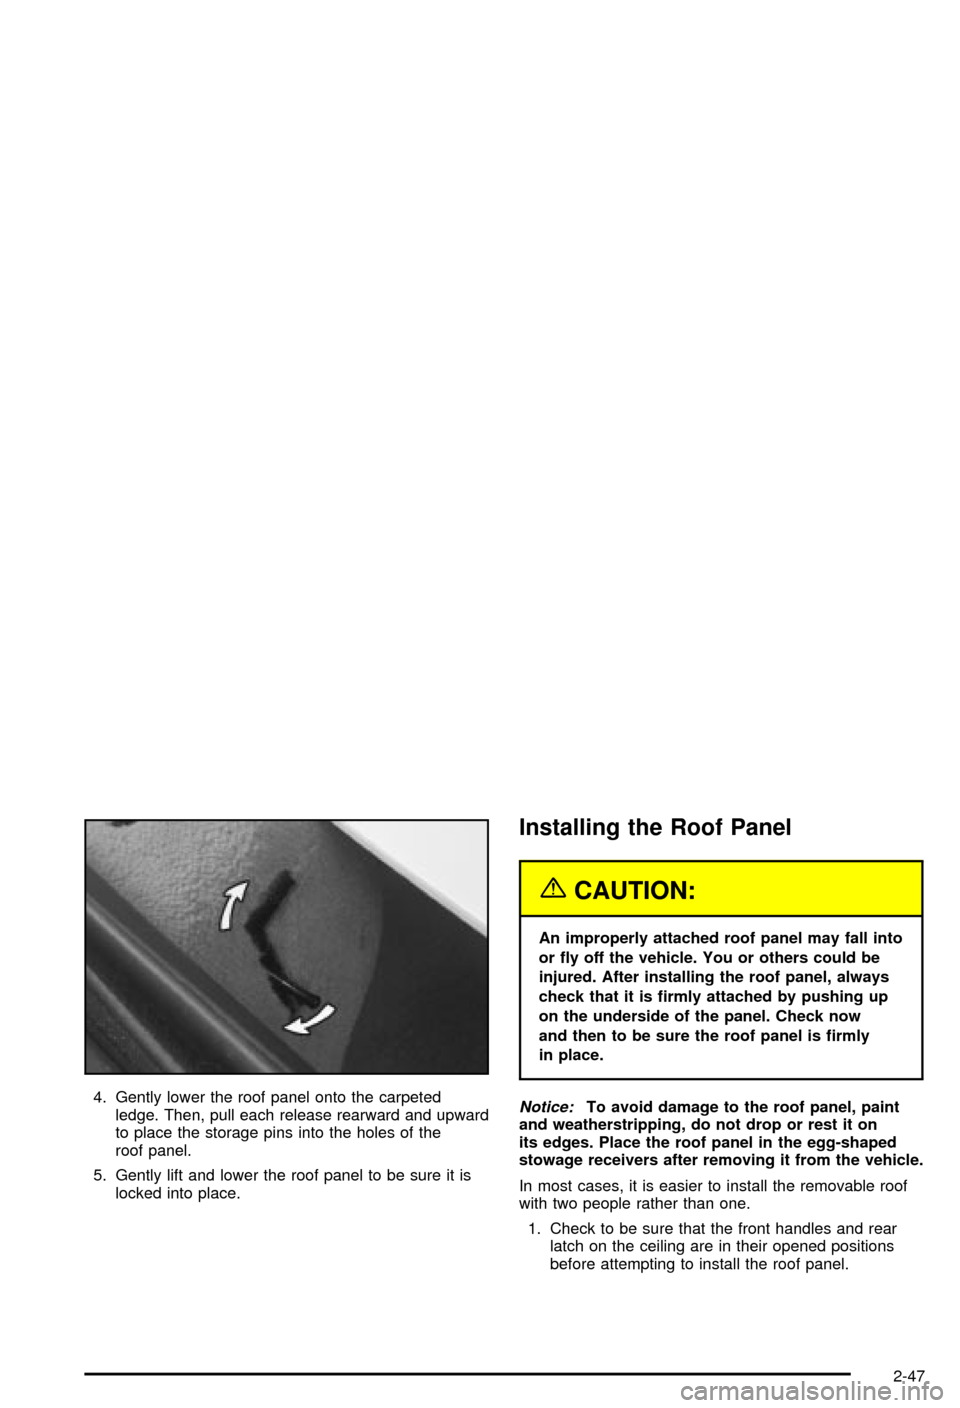
4. Gently lower the roof panel onto the carpeted
ledge. Then, pull each release rearward and upward
to place the storage pins into the holes of the
roof panel.
5. Gently lift and lower the roof panel to be sure it is
locked into place.
Installing the Roof Panel
{CAUTION:
An improperly attached roof panel may fall into
or ¯y off the vehicle. You or others could be
injured. After installing the roof panel, always
check that it is ®rmly attached by pushing up
on the underside of the panel. Check now
and then to be sure the roof panel is ®rmly
in place.
Notice:To avoid damage to the roof panel, paint
and weatherstripping, do not drop or rest it on
its edges. Place the roof panel in the egg-shaped
stowage receivers after removing it from the vehicle.
In most cases, it is easier to install the removable roof
with two people rather than one.
1. Check to be sure that the front handles and rear
latch on the ceiling are in their opened positions
before attempting to install the roof panel.
2-47
Page 104 of 368
2. If the roof panel is stored in the rear area, grasp it
with your right hand at the middle edge near the
seatbacks, and with your left hand at the middle of
the edge closest to you. Reverse the steps
described previously under
Storing the Roof Panel
on page 2-46.
3. Remove the roof panel from the storage
compartment.
4. Place the roof panel over the vehicle.5. Position the rear edge of the roof panel to the
weatherstrip on the back of the roof opening (A).
Then align the pins at the rear of the roof panel
weatherstrip with the receiving cup in the body
weatherstrip (B). Gently lower the front edge of the
roof panel to the front of the body opening (C).
6. Turn the front handles toward the side doors to the
closed position.
7. Hook the rear latch by pushing the lever up to the
locked position.
8. Grasp and tug the roof panel up and down and
side-to-side to make sure the roof panel is
securely installed.
2-48
Page 106 of 368
Lowering the Convertible Top
Notice:Don't leave the convertible out with the top
down for any long periods of time. The sun and
rain can damage the seat material and other things
inside the vehicle.
1. Set the parking brake ®rmly. Shift an automatic
transmission into PARK (P). Shift a manual
transmission into REVERSE (R).
2. Turn the ignition key to OFF. Lower both sun visors
and turn them toward the door glass.
Notice:Before lowering the convertible top into the
storage area, be sure there are no objects in the
way of the folded, stored top. The weight of a stored
top on items in the storage area may cause the
convertible top back glass to break.3. Unlock the front of the convertible top by lowering
the latch handles and turning them inward. Push
the latch handles back to the up position.
2-50
Page 112 of 368

Your memory settings are now programmed. Any
changes that are made to the audio system and climate
controls while driving will be automatically stored
when the ignition key is turned off.
When ®rst entering your vehicle, after pressing the
unlock button on your remote keyless entry transmitter
or a MEMORY button, a recall of your settings will
occur when the door is closed and the ignition key is in
the ignition switch. As the memory settings are
recalled, the light above the button will ¯ash until the
correct settings are achieved, then glow for ®ve seconds
when complete.A memory recall can be stopped by pressing any
memory seat, mirror or steering column position button.
Drivers 1, 2 and 3 correspond to the order in which
your remote keyless entry transmitters were
programmed. See
Remote Keyless Entry System on
page 2-4for more information.
Memory recall will not work if the vehicle is moving.
Memory recall will be temporarily interrupted during
engine crank.
If easy entry is on, you must press the MEMORY button
to reset the seat.
2-56
Page 113 of 368

Instrument Panel Overview...............................3-2
Hazard Warning Flashers................................3-4
Other Warning Devices...................................3-4
Horn.............................................................3-5
Tilt Wheel.....................................................3-5
Turn Signal/Multifunction Lever.........................3-6
Exterior Lamps.............................................3-12
Interior Lamps..............................................3-15
Head-Up Display (HUD).................................3-17
Accessory Power Outlets...............................3-20
Ashtrays and Cigarette Lighter........................3-21
Climate Controls............................................3-22
Dual Automatic Climate Control System...........3-22
Outlet Adjustment.........................................3-28
Warning Lights, Gages and Indicators.............3-29
Instrument Panel Cluster................................3-30
Speedometer and Odometer...........................3-31
Tachometer.................................................3-31
Safety Belt Reminder Light.............................3-31
Air Bag Readiness Light................................3-32
Air Bag Off Light..........................................3-33
Voltmeter Gage............................................3-34
Brake System Warning Light..........................3-35
Anti-Lock Brake System Warning Light.............3-36
Traction Control System (TCS) Warning Light . . .3-36Active Handling System Light.........................3-37
Engine Coolant Temperature Gage..................3-38
Malfunction Indicator Lamp.............................3-38
Engine Oil Pressure Gage.............................3-41
Security Light...............................................3-42
Check Gages Warning Light...........................3-42
Fuel Gage...................................................3-42
Driver Information Center (DIC).......................3-44
DIC Controls and Displays.............................3-45
DIC Warnings and Messages.........................3-53
Other Messages...........................................3-61
Audio System(s).............................................3-62
Setting the Time...........................................3-62
Radio with Cassette......................................3-63
Radio with CD..............................................3-67
Trunk-Mounted CD Changer...........................3-71
Theft-Deterrent Feature..................................3-75
Understanding Radio Reception......................3-77
Care of Your Cassette Tape Player.................3-78
Care of Your CDs.........................................3-79
Care of Your CD Player................................3-79
Fixed Mast Antenna (Z06)..............................3-79
Power Antenna Mast Care (Convertible)...........3-79
Integrated Windshield and Rear Window
Antennas (Coupe).....................................3-80
Section 3 Instrument Panel
3-1
Page 115 of 368

The main components of your instrument panel are the
following:
A. Instrument Panel Brightness Control
B. Head-Up Display Controls
C. Turn Signal/Multifunction Lever
D. Driver Information Center (DIC) (Located in the
Instrument Cluster)
E. Instrument Panel Cluster
F. Windshield Wiper/Washer Lever
G. Driver Information Center (DIC) Buttons
H. Hazard Warning Flasher Button
I. Center Air Outlets
J. Audio System
K. Climate Controls
L. Fog Lamp Button
M. Remote Hatch Release Button (Coupe) or Remote
Trunk Release Button (Convertible/Z06)N. Ignition Switch
O. Shift Lever (Automatic Shown)
P. Active Handling Button
Q. Accessory Power Outlet (Located in the Center
Console)
R. Selective Ride Control Switch
S. Air Bag Off Light
T. Instrument Panel Cupholder
U. Remote Fuel Door Release Button (Located in the
Center Console)
V. Ashtray and Cigarette Lighter
W. Parking Brake
X. Glove Box
Y. Instrument Panel Fuse Block (Located Behind the
Toe-Board)
Z. Air Bag Off Switch (Located in Glove Box)
3-3
Page 117 of 368

Horn
To sound the horn, press either horn symbol on the
steering wheel.
Tilt Wheel
A tilt wheel allows you to adjust the steering wheel
before you drive. You can raise it to the highest level to
give your legs more room when you exit and enter
the vehicle.
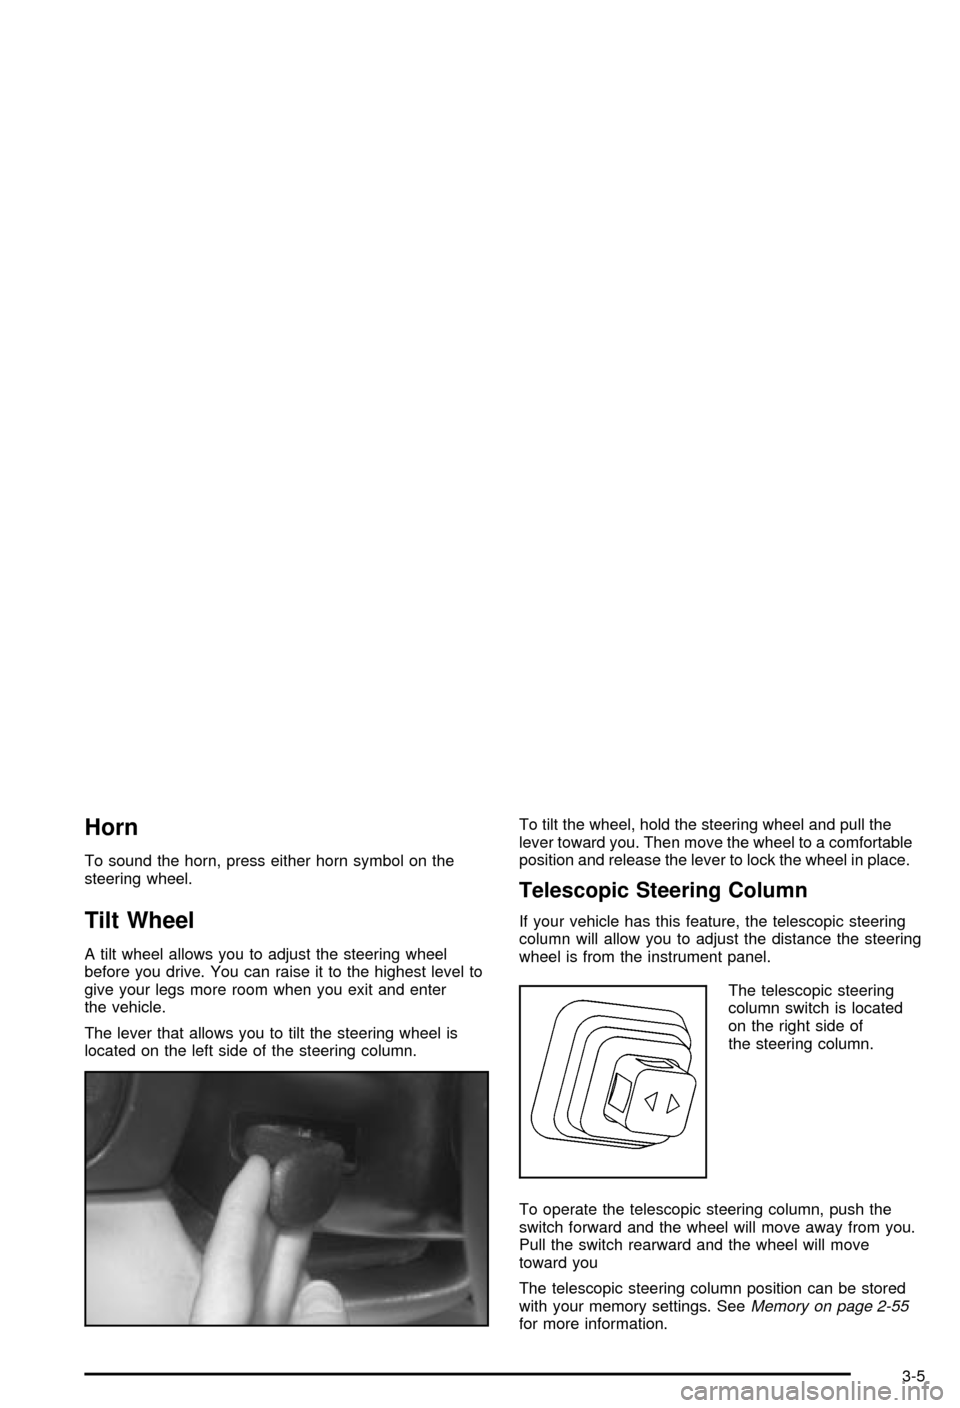
The lever that allows you to tilt the steering wheel is
located on the left side of the steering column.To tilt the wheel, hold the steering wheel and pull the
lever toward you. Then move the wheel to a comfortable
position and release the lever to lock the wheel in place.
Telescopic Steering Column
If your vehicle has this feature, the telescopic steering
column will allow you to adjust the distance the steering
wheel is from the instrument panel.
The telescopic steering
column switch is located
on the right side of
the steering column.
To operate the telescopic steering column, push the
switch forward and the wheel will move away from you.
Pull the switch rearward and the wheel will move
toward you
The telescopic steering column position can be stored
with your memory settings. See
Memory on page 2-55for more information.
3-5
Page 120 of 368

INT (Intermittent):Move the lever to INT to choose a
delayed wiping cycle. Turn the INT ADJ band down
for a longer delay or up for a shorter delay. The further
the INT ADJ band is turned upward, the shorter the
delay will be and the further the INT ADJ band is turned
downward, the longer the delay will be. The wiper
speed can only be adjusted when the lever is in the INT
position. Use this position for light rain or snow.
LO (Low Speed):Move the lever up to the ®rst setting
past INT, for steady wiping at low speed.
HI (High Speed):Move the lever up to the second
setting past INT, for steady wiping at high speed.
MIST:Move the lever all the way down to MIST for a
single wiping cycle. Hold it there until the windshield
wipers start; then let go. The windshield wipers will stop
after one wipe. If you want more wipes, hold the
band on MIST longer.
Heavy snow or ice can overload the wipers. If this
occurs, a circuit breaker will stop the wipers until the
motor cools. So, be sure to clear any ice and snow from
the windshield wiper blades before using them. If the
wiper blades are frozen to the windshield, carefully
loosen them or warm the windshield before turning the
wipers on. If your blades do become worn or
damaged, get new blades or blade inserts.Windshield Washer
The lever on the right side of the steering column also
controls the windshield washer. There is a button at
the end of the lever. To spray washer ¯uid on the
windshield, press the button and hold it. The washer will
spray until you release the button. The wipers will
continue to clear the window for about six seconds after
the button is released and then stop or return to your
preset speed.
{CAUTION:
In freezing weather, don't use your washer
until the windshield is warmed. Otherwise the
washer ¯uid can form ice on the windshield,
blocking your vision.
If the ¯uid in the windshield washer ¯uid reservoir is
low, the message LOW WASHER FLUID will appear on
the Driver Information Center (DIC) display. It will
take 60 seconds after the bottle is re®lled for this
message to turn off. For information on the correct
washer ¯uid mixture to use, see
Windshield Washer
Fluid on page 5-36andPart D: Recommended Fluids
and Lubricants on page 6-14.
3-8