Page 171 of 368

SERVICE ACTIVE HANDLING:If the SERVICE
ACTIVE HNDLG message is displayed, there is a
problem with your Active Handling System and your
vehicle needs service. The instrument cluster light
will also be on and a chime will sound. When this
message is displayed, the system is not working. Adjust
your driving accordingly.
ACTIVE HANDLING:Your vehicle is equipped with a
computer controlled system to assist the driver in
controlling the vehicle in difficult driving conditions. You
may feel or hear the system working and see the
ACTIVE HANDLING message displayed in the DIC.
This is normal when the system is operating. Also see
Braking on page 4-6.
LOW TIRE PRESSURE (Except Z06):You will hear
two chimes when this message is displayed. To
acknowledge the warning, press RESET. After you
press RESET, a message will appear every 10 minutes
until this condition changes. This message indicates
that the pressure in one of your tires is less than 25 psi
(172 kPa). Next to the LOW TIRE PRESSURE
message, you can see either LF (left front), LR (left
rear), RF (right front) or RR (right rear) to indicate to you
which tire is low on pressure. You can receive more
than one tire pressure message at a time. To read other
messages that may have been sent at the same time,
press RESET. If a tire pressure message appears on the
DIC, stop as soon as you can. Have the tire pressures
checked and set to those shown on your Tire LoadingInformation Label. See
Extended Mobility Tires (Except
Z06) on page 5-54andTire Pressure Monitor System
(Except Z06) on page 5-57.
{CAUTION:
When the LOW TIRE PRESSURE or FLAT TIRE
message is displayed on the Driver Information
Center, your vehicle's handling capabilities will
be reduced during severe maneuvers. If you
drive too fast, you could lose control of your
vehicle. You or others could be injured. Don't
drive over 55 mph (90 km/h) when the LOW
TIRE PRESSURE or FLAT TIRE message is
displayed. Drive cautiously and check your tire
pressures as soon as you can.
FLAT TIRE (Except Z06):You will hear two chimes
when this message is displayed followed by the
message MAX SPEED 55 MPH (90 km/h). If this
message appears, do not drive your vehicle above this
limit. The next message to appear is REDUCED
HANDLING. Adjust your driving accordingly. To
acknowledge these warnings, press RESET. After you
press RESET, a message will reappear every
10 minutes until this condition changes.
3-59
Page 199 of 368
Anti-lock Brake System (ABS)
Your vehicle has anti-lock brakes. ABS is an advanced
electronic braking system that will help prevent a
braking skid.
When you start your engine and begin to drive away,
your anti-lock brake system will check itself. You
may hear a momentary motor or clicking noise while
this test is going on, and you may even notice that your
brake pedal moves a little. This is normal.
If there's a problem with
the anti-lock brake system,
this warning light will
stay on. See
Anti-Lock
Brake System Warning
Light on page 3-36
.
Let's say the road is wet and you're driving safely.
Suddenly, an animal jumps out in front of you. You slam
on the brakes and continue braking. Here's what
happens with ABS:
A computer senses that wheels are slowing down. If
one of the wheels is about to stop rolling, the computer
will separately work the brakes at each wheel.
4-7
Page 201 of 368

Traction Control System (TCS)
Your vehicle has a traction control system called TCS
that limits wheel spin. This is especially useful in slippery
road conditions. The system operates only if it senses
that the rear wheels are spinning too much or are
beginning to lose traction. When this happens, the
system works the rear brakes and reduces engine power
(by closing the throttle and managing engine spark) to
limit wheel spin.
The TRACTION SYS ACTIVE message will come on
when the TCS system is limiting wheel spin. See
DIC Warnings and Messages on page 3-53. You may
feel or hear the system working, but this is normal.
If your vehicle is in cruise control when the TCS system
begins to limit wheel spin, the cruise control will
automatically disengage. When road conditions allow
you to safely use it again, you may re-engage the cruise
control. See
Turn Signal/Multifunction Lever on
page 3-6.The SERVICE TRACTION
SYSTEM message and
the TCS warning light will
come on to let you
know if there's a problem
with your TCS system.
See
DIC Warnings
and Messages on
page 3-53
.
When this light and the SERVICE TRACTION SYSTEM
message are on, the system will not limit wheel spin.
Adjust your driving accordingly.
The TCS system automatically comes on whenever you
start your vehicle. To limit wheel spin, especially in
slippery road conditions, you should always leave the
system on. But you can turn the TCS system off if
you ever need to.
4-9
Page 202 of 368

To turn the system off,
press the button located
on the console. You
can turn the system on or
off at any time by
pressing the ACTIVE
HANDLING button. The
DIC will display the
appropriate message when
you push the button.
Active Handling System
The Active Handling System is a computer controlled
system that helps the driver maintain directional control
of the vehicle in difficult driving conditions. This is
accomplished by selectively applying any one of the
vehicle's brakes.
When you ®rst start your vehicle and begin to drive away
(6 mph (10 km/h)), the message ACT HNDLG WARMING
UP may be displayed in the DIC, the instrument cluster
light will be on, and a chime will sound. This is normal.
You can acknowledge this message by pressing the
RESET button. The Active Handling System performance
is affected until the message, WARM UP COMPLETE, is
displayed in the DIC.The ACT HNDLG WARMING UP message may be
displayed in the DIC after exceeding 12 mph (20 km/h)
for 30 seconds. The Active Handling System is off
until the WARM UP COMPLETE message is displayed.
The ACTIVE HANDLING message will come on
when the system is operating. See
DIC Warnings and
Messages on page 3-53for more information. You
may also feel or hear the system working. This
is normal.
The SERVICE ACTIVE
HNDLG message will be
displayed, the instrument
cluster light will come
on, and a chime will sound
to let you know if there
is a problem with the
system. See
DIC Warnings
and Messages on
page 3-53
for more
information.
When this light and the SERVICE ACTIVE HNDLG
message are on, the system is not operational. Adjust
your driving accordingly.
4-10
Page 213 of 368

Hydroplaning
Hydroplaning is dangerous. So much water can build up
under your tires that they can actually ride on the
water. This can happen if the road is wet enough and
you're going fast enough. When your vehicle is
hydroplaning, it has little or no contact with the road.
Hydroplaning doesn't happen often. But it can if
your tires do not have much tread or if the pressure is
one or more is low. It can happen if a lot of water is
standing on the road. If you can see re¯ections
from trees, telephone poles, or other vehicles, and
raindrops ªdimpleº the water's surface, there could be
hydroplaning.
Hydroplaning usually happens at higher speeds. There
just isn't a hard and fast rule about hydroplaning.
The best advice is to slow down when it is raining.
Driving Through Deep Standing Water
Notice:If you drive too quickly through deep
puddles or standing water, water can come in
through your engine's air intake and badly damage
your engine. Never drive through water that is
slightly lower than the underbody of your vehicle. If
you can't avoid deep puddles or standing water,
drive through them very slowly.
Driving Through Flowing Water
{CAUTION:
Flowing or rushing water creates strong forces.
If you try to drive through ¯owing water, as you
might at a low water crossing, your vehicle can
be carried away. As little as six inches of
¯owing water can carry away a smaller vehicle.
If this happens, you and other vehicle
occupants could drown. Don't ignore police
warning signs, and otherwise be very cautious
about trying to drive through ¯owing water.
Some Other Rainy Weather Tips
·Besides slowing down, allow some extra following
distance. And be especially careful when you
pass another vehicle. Allow yourself more clear
room ahead, and be prepared to have your
view restricted by road spray.
·Have good tires with proper tread depth. SeeTires
on page 5-54
.
4-21
Page 214 of 368
City Driving
One of the biggest problems with city streets is the
amount of traffic on them. You'll want to watch out for
what the other drivers are doing and pay attention
to traffic signals.Here are ways to increase your safety in city driving:
·Know the best way to get to where you are
going. Get a city map and plan your trip into
an unknown part of the city just as you would for a
cross-country trip.
·Try to use the freeways that rim and crisscross
most large cities. You'll save time and energy.
See the next part, ªFreeway Driving.º
·Treat a green light as a warning signal. A traffic
light is there because the corner is busy enough
to need it. When a light turns green, and just before
you start to move, check both ways for vehicles
that have not cleared the intersection or may
be running the red light.
4-22
Page 220 of 368
Include an ice scraper, a small brush or broom, a
supply of windshield washer ¯uid, a rag, some winter
outer clothing, a small shovel, a ¯ashlight, a red
cloth and a couple of re¯ective warning triangles. And, if
you will be driving under severe conditions, include a
small bag of sand, a piece of old carpet or a couple of
burlap bags to help provide traction. Be sure you
properly secure these items in your vehicle.
Driving On Snow or Ice
Most of the time, those places where your tires meet
the road probably have good traction.
However, if there is snow or ice between your tires and
the road, you can have a very slippery situation.
You'll have a lot less traction or ªgripº and will need to
be very careful.
4-28
Page 251 of 368

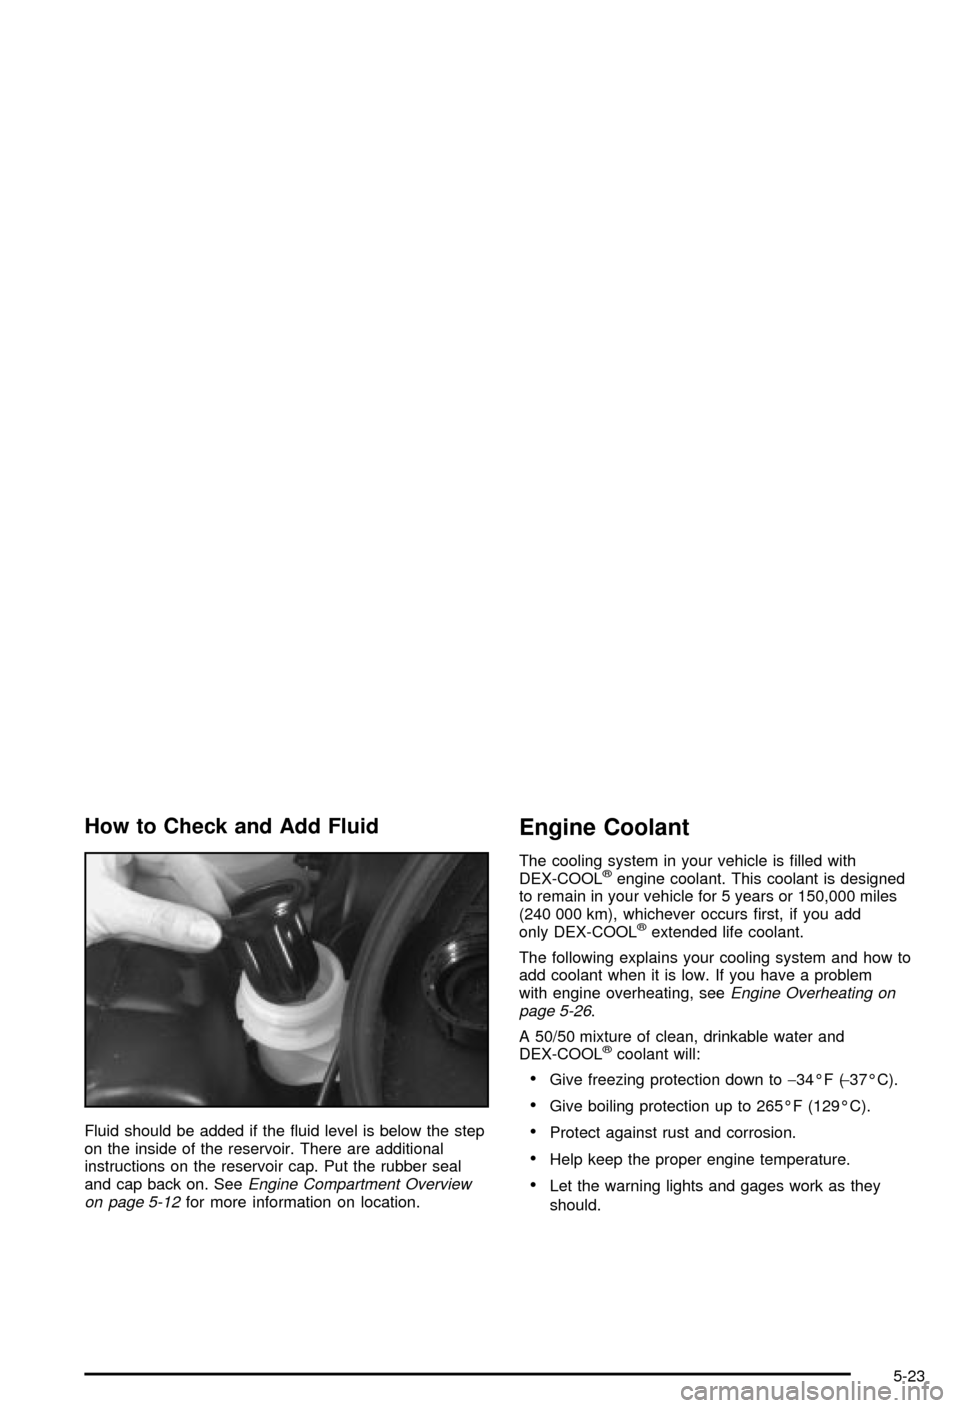
How to Check and Add Fluid
Fluid should be added if the ¯uid level is below the step
on the inside of the reservoir. There are additional
instructions on the reservoir cap. Put the rubber seal
and cap back on. See
Engine Compartment Overview
on page 5-12for more information on location.
Engine Coolant
The cooling system in your vehicle is ®lled with
DEX-COOLžengine coolant. This coolant is designed
to remain in your vehicle for 5 years or 150,000 miles
(240 000 km), whichever occurs ®rst, if you add
only DEX-COOL
žextended life coolant.
The following explains your cooling system and how to
add coolant when it is low. If you have a problem
with engine overheating, see
Engine Overheating on
page 5-26.
A 50/50 mixture of clean, drinkable water and
DEX-COOL
žcoolant will:
·Give freezing protection down to-34ÉF (-37ÉC).
·Give boiling protection up to 265ÉF (129ÉC).
·Protect against rust and corrosion.
·Help keep the proper engine temperature.
·Let the warning lights and gages work as they
should.
5-23