Page 38 of 368
This system, designed to make installation of child
restraints easier, does not use the vehicle's safety belts.
Instead, it uses vehicle anchors (A,B) and child
restraint attachments to secure the restraints. Some
restraints also use another vehicle anchor to secure a
top tether strap (C).
In order to use the LATCH system in your vehicle, you
need a child restraint designed for that system.
To assist you in locating the lower anchors for this child
restraint system, each seating position with the
LATCH system has a label on the seatback at each
lower anchor position.
1-32
Page 39 of 368

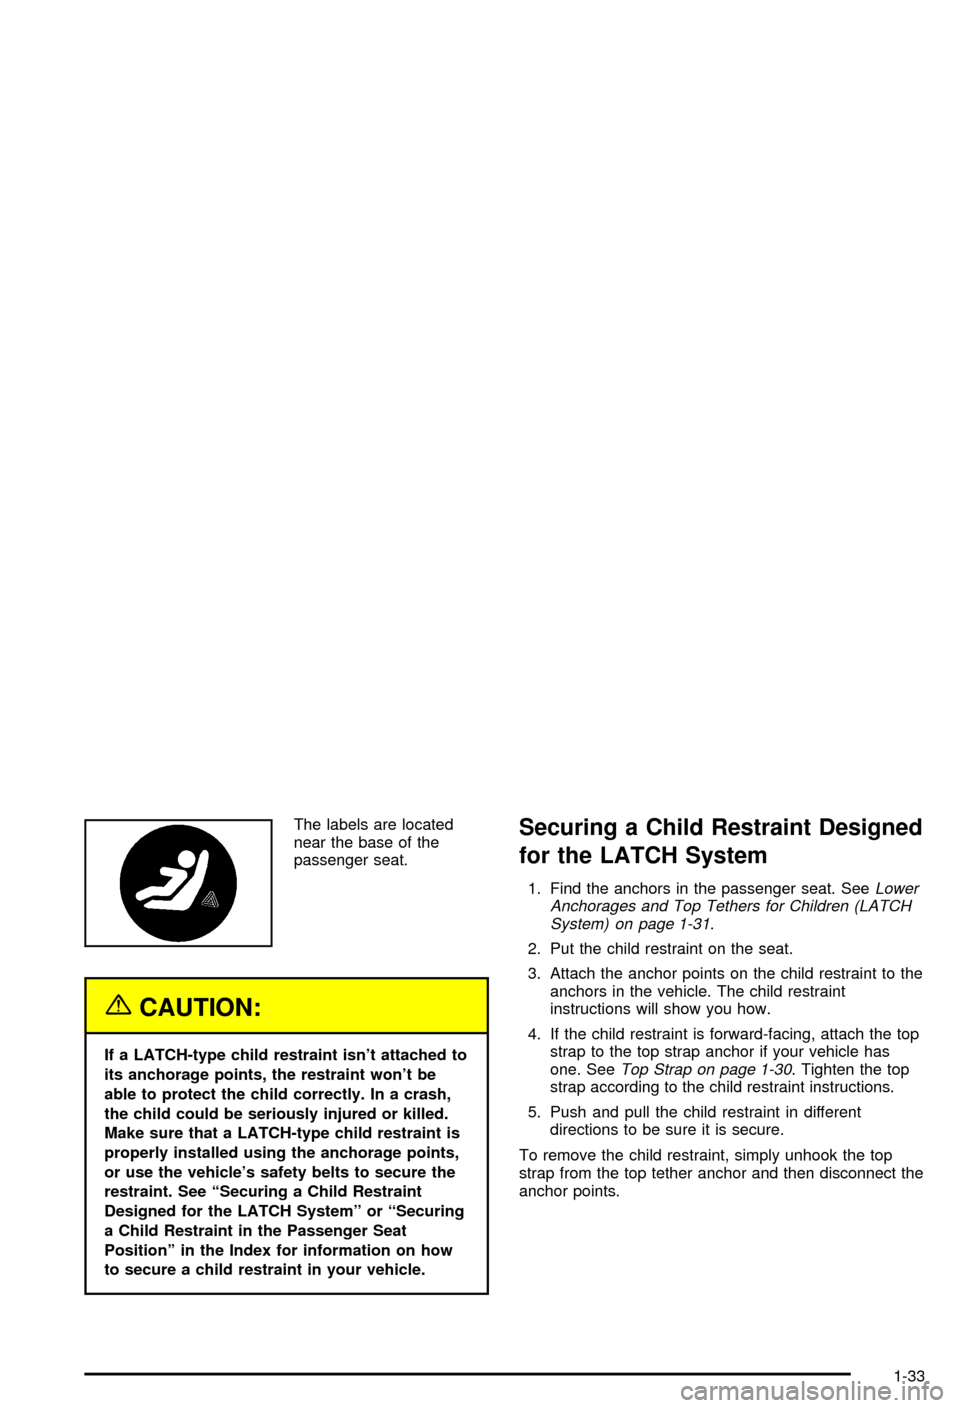
The labels are located
near the base of the
passenger seat.
{CAUTION:
If a LATCH-type child restraint isn't attached to
its anchorage points, the restraint won't be
able to protect the child correctly. In a crash,
the child could be seriously injured or killed.
Make sure that a LATCH-type child restraint is
properly installed using the anchorage points,
or use the vehicle's safety belts to secure the
restraint. See ªSecuring a Child Restraint
Designed for the LATCH Systemº or ªSecuring
a Child Restraint in the Passenger Seat
Positionº in the Index for information on how
to secure a child restraint in your vehicle.
Securing a Child Restraint Designed
for the LATCH System
1. Find the anchors in the passenger seat. SeeLower
Anchorages and Top Tethers for Children (LATCH
System) on page 1-31
.
2. Put the child restraint on the seat.
3. Attach the anchor points on the child restraint to the
anchors in the vehicle. The child restraint
instructions will show you how.
4. If the child restraint is forward-facing, attach the top
strap to the top strap anchor if your vehicle has
one. See
Top Strap on page 1-30. Tighten the top
strap according to the child restraint instructions.
5. Push and pull the child restraint in different
directions to be sure it is secure.
To remove the child restraint, simply unhook the top
strap from the top tether anchor and then disconnect the
anchor points.
1-33
Page 40 of 368
Securing a Child Restraint in the
Passenger Seat Position
Your vehicle has a passenger air bag. There's an air
bag off switch in the glove box you can use to turn
off the passenger's air bag when you want to secure a
rear-facing child restraint at the passenger's position.
See
Air Bag Off Switch on page 1-44for more on this,
including important safety information.
1-34
Page 41 of 368

Unless the passenger's air bag has been turned off,neverput a rear-facing child restraint in this vehicle.
Here's why:
{CAUTION:
A child in a rear-facing child restraint can be
seriously injured or killed if the passenger's air
bag in¯ates. This is because the back of the
rear-facing child restraint would be very close
to the in¯ating air bag. Do not use a
rear-facing child restraint in this vehicle unless
the passenger's air bag has been turned off.
If a forward-facing child restraint is suitable for
your child, always move the passenger seat as
far back as it will go.
{CAUTION:
If the air bag readiness light ever comes on
when you have turned off the air bag, it means
that something may be wrong with the air bag
system. The passenger's air bag could in¯ate
even though the switch is off. If this ever
happens, don't let anyone whom the national
government has identi®ed as a member of a
passenger air bag risk group sit in the
passenger's position (for example, don't
secure a rear-facing child restraint in your
vehicle) until you have your vehicle serviced.
See ªAir Bag Off Switchº in the Index.
1-35
Page 42 of 368
You'll be using the lap-shoulder belt. SeeTop Strap on
page 1-30if the child restraint has one. Be sure to
follow the instructions that came with the child restraint.
Secure the child in the child restraint when and as
the instructions say.
1. Your vehicle has a passenger's air bag. If you are
using a rear-facing child restraint in this seat, make
sure the air bag is turned off. See
Air Bag Off
Switch on page 1-44. If your child restraint is
forward-facing, always move the seat as far back
as it will go before securing it in this seat. See
Manual Seats on page 1-2orPower Seats
on page 1-2.
2. Put the restraint on the seat.
3. Pick up the latch plate, and run the lap and shoulder
portions of the vehicle's safety belt through or
around the restraint. The child restraint instructions
will show you how.
4. Buckle the belt. Make sure the release button is
positioned so you would be able to unbuckle the
safety belt quickly if you ever had to.
1-36
Page 43 of 368
5. Pull the rest of the lap belt all the way out of the
retractor to set the lock.6. To tighten the belt, feed the lap belt back into the
retractor while you push down on the child restraint.
You may ®nd it helpful to use your knee to push
down on the child restraint as you tighten the belt.
7. Push and pull the child restraint in different
directions to be sure it is secure.
1-37
Page 46 of 368
{CAUTION:
Anyone who is up against, or very close to,
any air bag when it in¯ates can be seriously
injured or killed. Air bags plus lap-shoulder
belts offer the best protection for adults, but
not for young children and infants. Neither the
vehicle's safety belt system nor its air bag
system is designed for them. Young children
and infants need the protection that a child
restraint system can provide. Always secure
children properly in your vehicle. To read how,
see
Older Children on page 1-21andInfants
and Young Children on page 1-23
.
There is a air bag
readiness light on the
instrument panel, which
shows the air bag symbol.The system checks the air bag electrical system for
malfunctions. The light tells you if there is an electrical
problem. See
Air Bag Readiness Light on page 3-32for more information.
Where Are the Air Bags?
The driver's air bag is in the middle of the
steering wheel.
1-40
Page 69 of 368

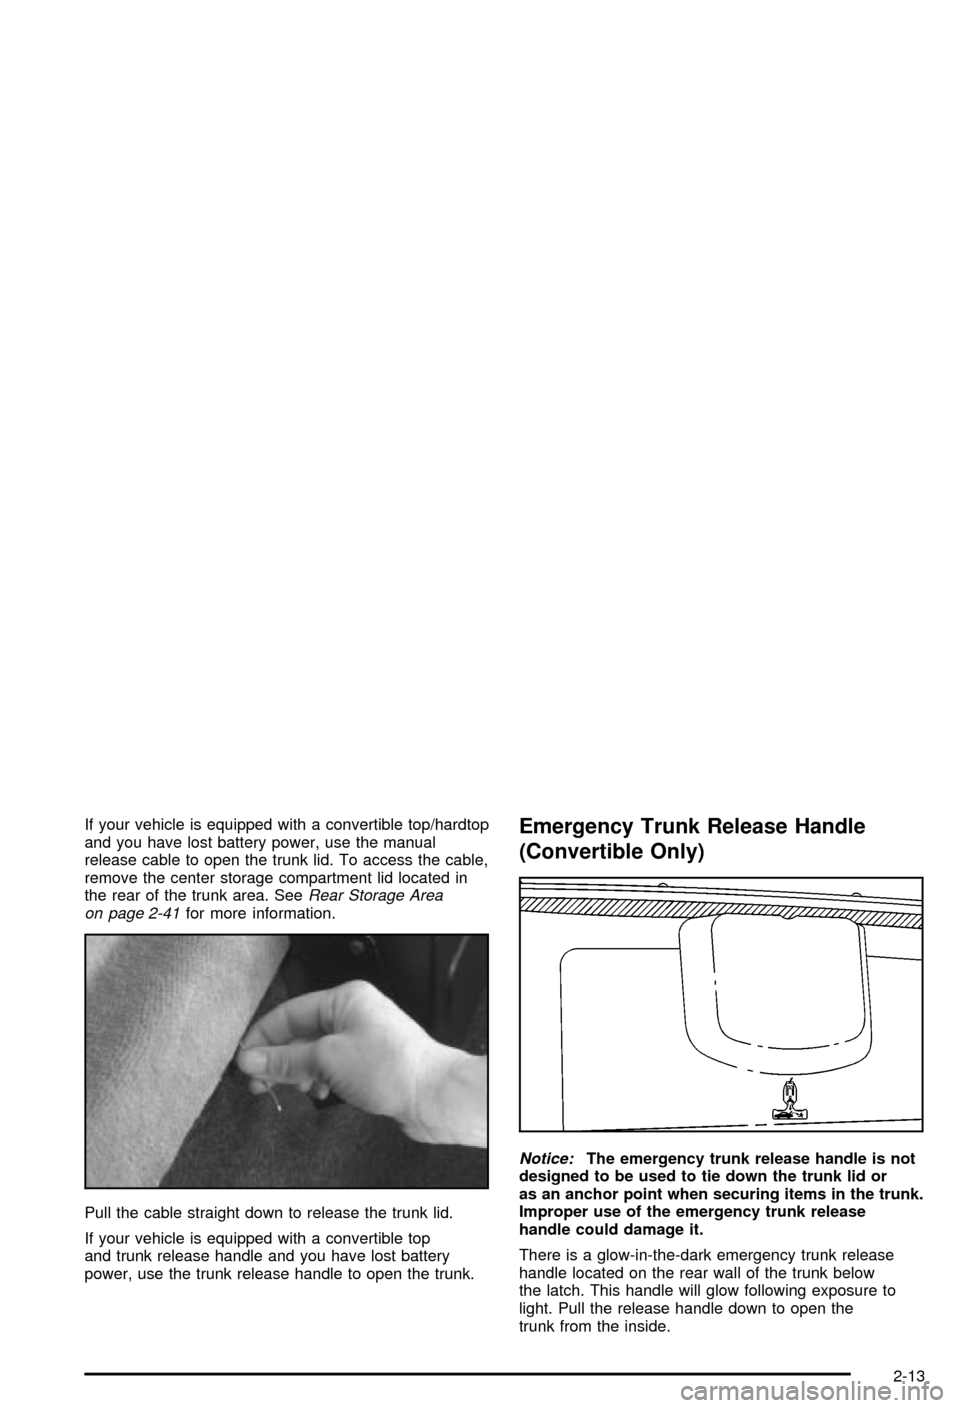
If your vehicle is equipped with a convertible top/hardtop
and you have lost battery power, use the manual
release cable to open the trunk lid. To access the cable,
remove the center storage compartment lid located in
the rear of the trunk area. See
Rear Storage Area
on page 2-41for more information.
Pull the cable straight down to release the trunk lid.
If your vehicle is equipped with a convertible top
and trunk release handle and you have lost battery
power, use the trunk release handle to open the trunk.
Emergency Trunk Release Handle
(Convertible Only)
Notice:The emergency trunk release handle is not
designed to be used to tie down the trunk lid or
as an anchor point when securing items in the trunk.
Improper use of the emergency trunk release
handle could damage it.
There is a glow-in-the-dark emergency trunk release
handle located on the rear wall of the trunk below
the latch. This handle will glow following exposure to
light. Pull the release handle down to open the
trunk from the inside.
2-13