2003 CHEVROLET CORVETTE maintenance schedule
[x] Cancel search: maintenance schedulePage 1 of 368

Seats and Restraint Systems........................... 1-1
Front Seats
............................................... 1-2
Safety Belts
.............................................. 1-7
Child Restraints
.......................................1-21
Air Bag System
.......................................1-39
Restraint System Check
............................1-48
Features and Controls..................................... 2-1
Keys
........................................................ 2-3
Doors and Locks
....................................... 2-9
Windows
.................................................2-14
Theft-Deterrent Systems
............................2-16
Starting and Operating Your Vehicle
...........2-19
Mirrors
....................................................2-37
Storage Areas
.........................................2-39
Roof Panel
..............................................2-43
Convertible Top
.......................................2-49
Vehicle Personalization
.............................2-55
Instrument Panel............................................. 3-1
Instrument Panel Overview
.......................... 3-2
Climate Controls
......................................3-22
Warning Lights, Gages and Indicators
.........3-29
Driver Information Center (DIC)
..................3-44
Audio System(s)
.......................................3-62Driving Your Vehicle....................................... 4-1
Your Driving, the Road, and Your Vehicle
..... 4-2
Towing
...................................................4-33
Service and Appearance Care.......................... 5-1
Service
..................................................... 5-3
Fuel
......................................................... 5-4
Checking Things Under the Hood
...............5-10
Rear Axle
...............................................5-46
Bulb Replacement
....................................5-47
Windshield Wiper Blade Replacement
.........5-51
Tires
......................................................5-54
Appearance Care
.....................................5-75
Vehicle Identi®cation
.................................5-83
Electrical System
......................................5-84
Capacities and Speci®cations
.....................5-92
Normal Maintenance Replacement Parts
......5-94
Maintenance Schedule..................................... 6-1
Maintenance Schedule
................................ 6-2
Customer Assistance Information.................... 7-1
Customer Assistance Information
.................. 7-2
Reporting Safety Defects
............................ 7-9
INDEX............................................................... 1
2003 Chevrolet Corvette Owner ManualM
Page 161 of 368

Average Speed
Press the TRIP button until the average speed is
displayed, such as:
·AVERAGE SPEED 62 MPH or
·AVERAGE SPEED 100 km/h
Press reset in this mode to start calculating the average
speed. Press and hold RESET to clear.
Engine Oil Life
Press the TRIP button until the engine oil life is
displayed, such as OIL LIFE REMAIN 89%.
This is an estimate of the engine oil's remaining useful
life. It will show 100% when the system is reset after
an oil change. It will alert you to change your oil
on a schedule consistent with your driving conditions.When the remaining oil life is low, the system will alert
you with the message CHANGE OIL SOON.
When the oil life is down to zero, you will receive the
message CHANGE OIL NOW.
Remember, you must reset the OIL LIFE yourself after
each oil change. It will not reset itself. Also, be
careful not to reset the OIL LIFE accidentally at any
time other than when the oil has just been changed. It
can't be reset accurately until the next oil change.
To reset the system, see ªHow to Reset the Change Oil
Soon Messageº underEngine Oil on page 5-13.
Also, see
Engine Oil on page 5-13andScheduled
Maintenance on page 6-4.
3-49
Page 248 of 368

Automatic Transmission Fluid
How to Check
It is not necessary to check the transmission ¯uid level.
A transmission ¯uid leak is the only reason for ¯uid
loss. If a leak occurs, take the vehicle to your dealer
service department and have it repaired as soon
as possible.
There is a special procedure for checking and changing
the transmission ¯uid. Because this procedure is
difficult, you should have this done at your dealer service
department. Contact your dealer for additional
information or the procedure can be found in the service
manual. To purchase a service manual, see
Service
Publications Ordering Information on page 7-10.
Notice:We recommend you use only ¯uid labeled
DEXRONž-III, because ¯uid with that label is
made especially for your automatic transmission.
Damage caused by ¯uid other than DEXRON
ž-III is
not covered by your new vehicle warranty.Change both the ¯uid and ®lter every 50,000 miles
(80 000 km) if the vehicle is mainly driven under one of
these conditions:
·In heavy city traffic where the outside temperature
regularly reaches 90ÉF (32ÉC) or higher.
·In hilly or mountainous terrain.
·High performance operation.
If you do not use your vehicle under one of these
conditions, change the ¯uid and ®lter every
100,000 miles (166 000 km).
See
Scheduled Maintenance on page 6-4for the proper
service intervals for the transmission ¯uid and ®lter.
Manual Transmission Fluid
When to Check
A good time to have it checked is when the engine oil is
changed. However, the ¯uid in your manual transmission
doesn't require changing.
5-20
Page 250 of 368

How to Add Fluid
Here's how to add ¯uid. Refer to the Maintenance
Schedule to determine what kind of ¯uid to use. See
Part D: Recommended Fluids and Lubricants on
page 6-14.
1. Remove the ®ller plug.
2. Add ¯uid at the ®ller plug hole. Add only enough
¯uid to bring the ¯uid level up to the bottom of the
®ller plug hole.
3. Install the ®ller plug. Be sure the plug is fully
seated.
4. Tighten the plug to 20 lb ft (27Y).
Hydraulic Clutch
The hydraulic clutch linkage in your vehicle is
self-adjusting. The master cylinder reservoir is ®lled with
hydraulic ¯uid.
It is not necessary to regularly check the ¯uid unless
you suspect there is a leak in the system. Adding ¯uid
won't correct a leak.
A ¯uid loss in this system could indicate a problem.
Have the system inspected and repaired.
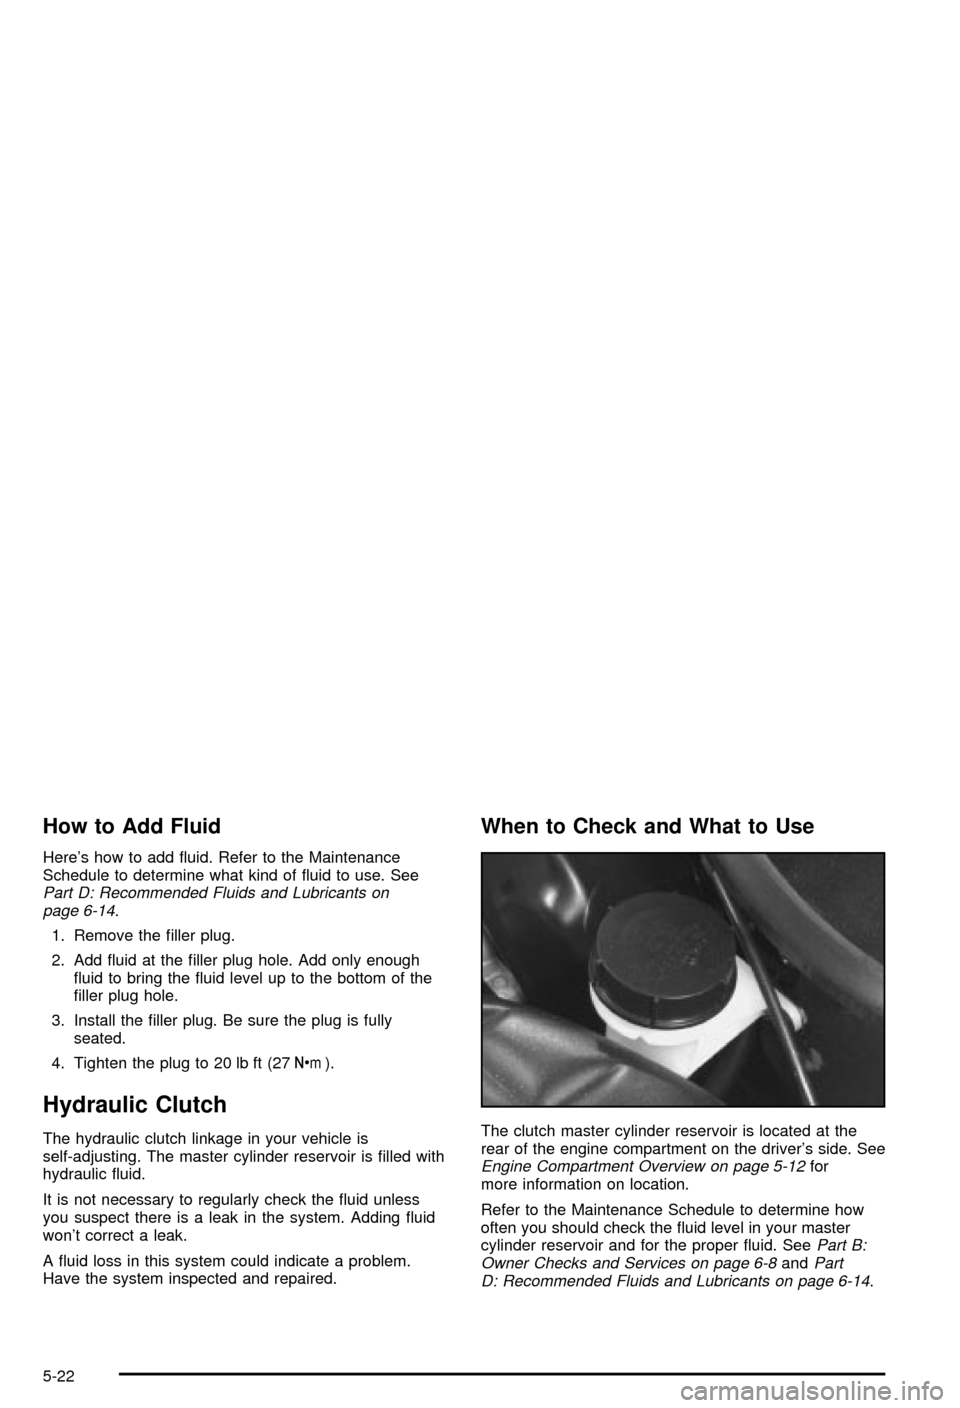
When to Check and What to Use
The clutch master cylinder reservoir is located at the
rear of the engine compartment on the driver's side. See
Engine Compartment Overview on page 5-12for
more information on location.
Refer to the Maintenance Schedule to determine how
often you should check the ¯uid level in your master
cylinder reservoir and for the proper ¯uid. See
Part B:
Owner Checks and Services on page 6-8andPart
D: Recommended Fluids and Lubricants on page 6-14.
5-22
Page 265 of 368

Brakes
Brake Fluid
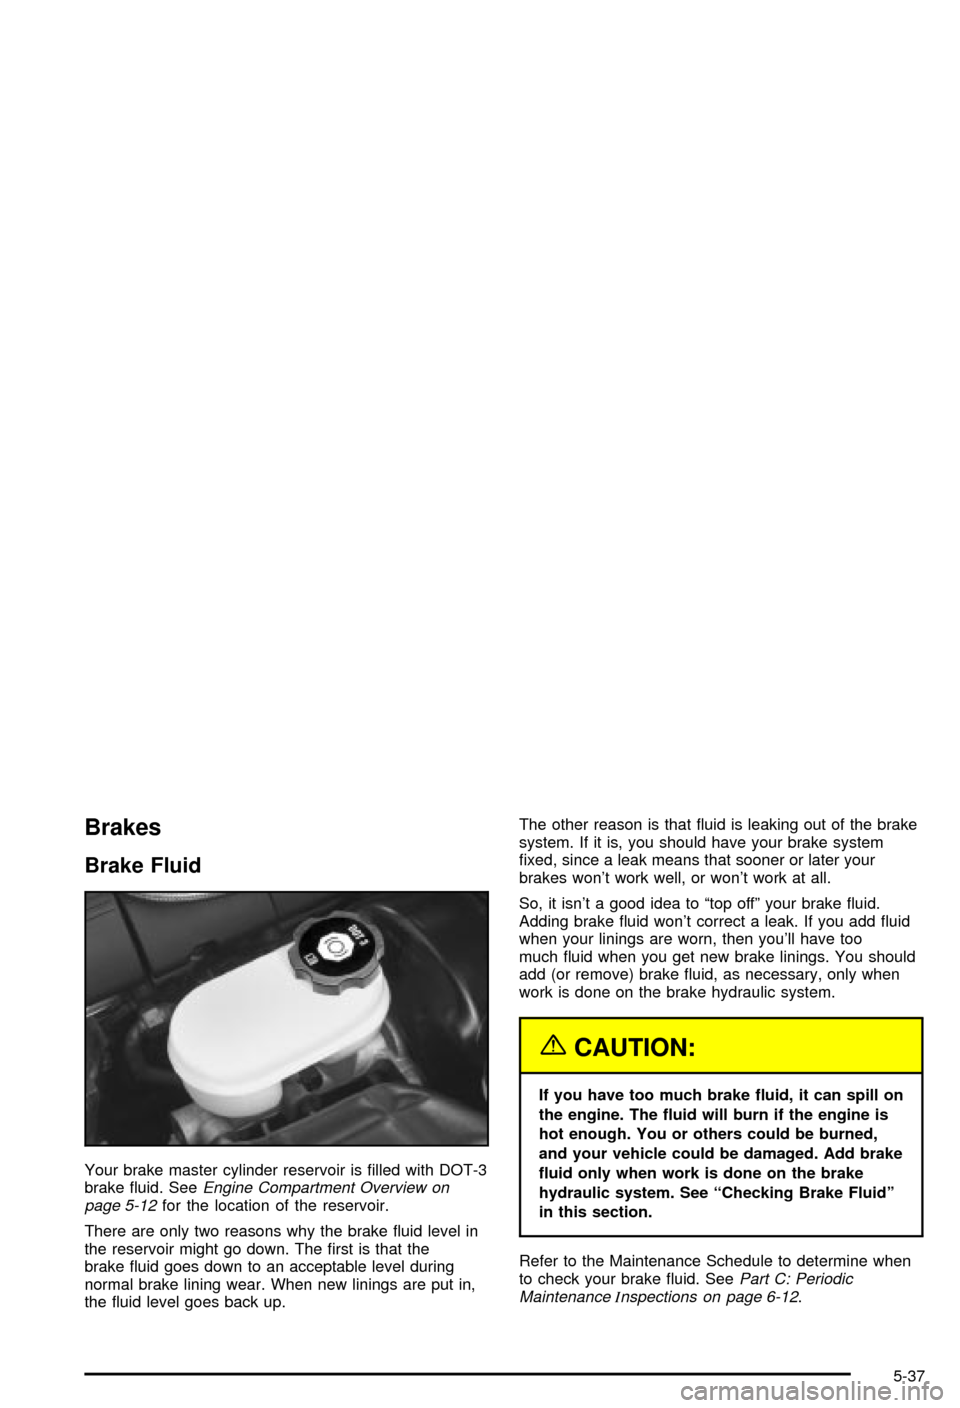
Your brake master cylinder reservoir is ®lled with DOT-3
brake ¯uid. SeeEngine Compartment Overview on
page 5-12for the location of the reservoir.
There are only two reasons why the brake ¯uid level in
the reservoir might go down. The ®rst is that the
brake ¯uid goes down to an acceptable level during
normal brake lining wear. When new linings are put in,
the ¯uid level goes back up.The other reason is that ¯uid is leaking out of the brake
system. If it is, you should have your brake system
®xed, since a leak means that sooner or later your
brakes won't work well, or won't work at all.
So, it isn't a good idea to ªtop offº your brake ¯uid.
Adding brake ¯uid won't correct a leak. If you add ¯uid
when your linings are worn, then you'll have too
much ¯uid when you get new brake linings. You should
add (or remove) brake ¯uid, as necessary, only when
work is done on the brake hydraulic system.
{CAUTION:
If you have too much brake ¯uid, it can spill on
the engine. The ¯uid will burn if the engine is
hot enough. You or others could be burned,
and your vehicle could be damaged. Add brake
¯uid only when work is done on the brake
hydraulic system. See ªChecking Brake Fluidº
in this section.
Refer to the Maintenance Schedule to determine when
to check your brake ¯uid. See
Part C: Periodic
MaintenanceInspections on page 6-12.
5-37
Page 274 of 368

Rear Axle
When to Check Lubricant
Refer to the Maintenance Schedule to determine how
often to check the lubricant. SeePart C: Periodic
MaintenanceInspections on page 6-12.
How to Check Lubricant
To get an accurate reading, the vehicle should be on a
level surface.
If the level is below the bottom of the ®ller plug hole,
you'll need to add some lubricant. Add enough lubricant
to raise the level to the bottom of the ®ller plug hole.
What to Use
To add lubricant when the level is low, use
SAE 75W±90 Synthetic Gear Lubricant (GM Part
No. 12378261) or equivalent meeting GM
Speci®cation 9986115. To completely re®ll after draining,
add 4 ounces (118 ml) of Limited-Slip Differential
Lubricant Additive (GM Part No. 1052358) or equivalent.
Then ®ll to the bottom of the ®ller plug hole with the
Synthetic Gear Lubricant.
5-46
Page 325 of 368

Maintenance Schedule......................................6-2
Introduction...................................................6-2
Your Vehicle and the Environment....................6-2
Maintenance Requirements..............................6-2
How This Section is Organized.........................6-3
Part A: Scheduled Maintenance Services...........6-4
Using Your Maintenance Schedule....................6-4
Scheduled Maintenance...................................6-4
Part B: Owner Checks and Services.................6-8
At Each Fuel Fill............................................6-8
At Least Once a Month...................................6-8
At Least Twice a Year....................................6-9At Least Once a Year.....................................6-9
Part C: Periodic MaintenanceInspections.........6-12
Steering and Suspension Inspection................6-12
Tire and Wheel Inspection.............................6-12
Exhaust System Inspection............................6-12
Fuel System Inspection..................................6-13
Engine Cooling System Inspection...................6-13
Rear Axle Service.........................................6-13
Brake System Inspection................................6-13
Part D: Recommended Fluids and
Lubricants................................................6-14
Part E: Maintenance Record...........................6-16
Section 6 Maintenance Schedule
6-1
Page 326 of 368

Maintenance Schedule
Introduction
Important: Keep engine oil at the proper level and
change as recommended.
Have you purchased the GM Protection Plan? The Plan
supplements your new vehicle warranties. See your
Warranty and Owner Assistance booklet or your dealer
for details.
Your Vehicle and the Environment
Proper vehicle maintenance not only helps to keep your
vehicle in good working condition, but also helps the
environment. Improper vehicle maintenance can
even affect the quality of the air we breathe. Improper
¯uid levels or the wrong tire in¯ation can increase
the level of emissions from your vehicle. To help protect
our environment, and to keep your vehicle in good
condition, be sure to maintain your vehicle properly.
Maintenance Requirements
Maintenance intervals, checks, inspections and
recommended ¯uids and lubricants as prescribed in this
manual are necessary to keep your vehicle in good
working condition. Any damage caused by failure
to follow scheduled maintenance may not be covered by
warranty.
6-2