Page 174 of 386

3-5 Defogging and Defrosting
Turn the mode knob to defrost to remove fog or ice from
the windshield quickly in extremely cold conditions.
The temperature knob should be in the red area with the
fan knob toward high.
To keep the windshield clear and send heated air
through the floor vents, turn the mode knob to defog.
The air conditioning compressor may operate in this
setting to dehumidify the air.
Rear Window Defogger (If Equipped)
If you see lines running across the rear windows, you
have a rear window defogger. The lines warm the glass.
For best results, clear the windows of as much snow or
ice as possible before using the rear window defogger.
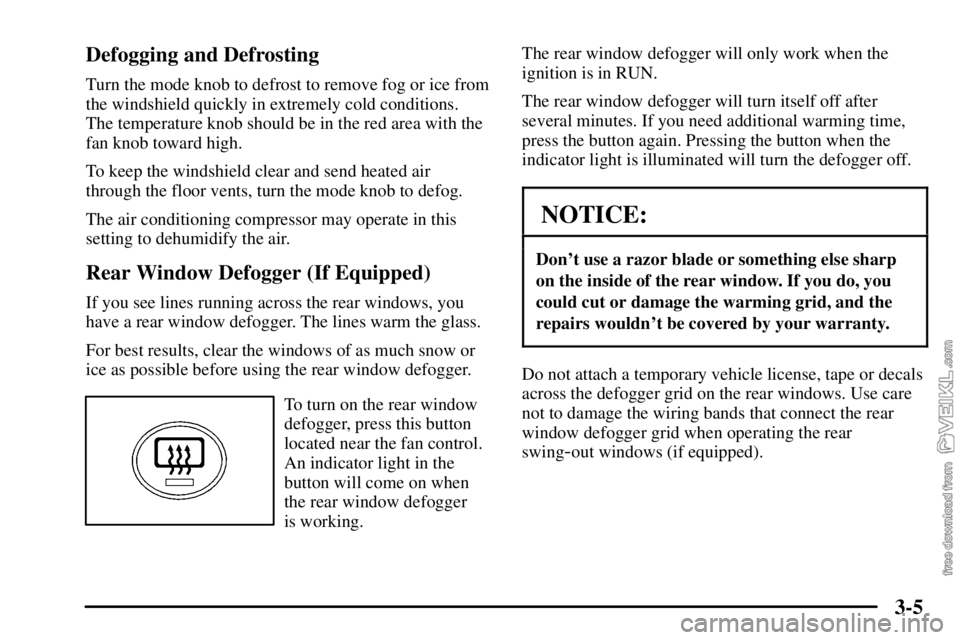
To turn on the rear window
defogger, press this button
located near the fan control.
An indicator light in the
button will come on when
the rear window defogger
is working.The rear window defogger will only work when the
ignition is in RUN.
The rear window defogger will turn itself off after
several minutes. If you need additional warming time,
press the button again. Pressing the button when the
indicator light is illuminated will turn the defogger off.
NOTICE:
Don't use a razor blade or something else sharp
on the inside of the rear window. If you do, you
could cut or damage the warming grid, and the
repairs wouldn't be covered by your warranty.
Do not attach a temporary vehicle license, tape or decals
across the defogger grid on the rear windows. Use care
not to damage the wiring bands that connect the rear
window defogger grid when operating the rear
swing
-out windows (if equipped).
Page 175 of 386

3-6 Rear Heater (If Equipped)
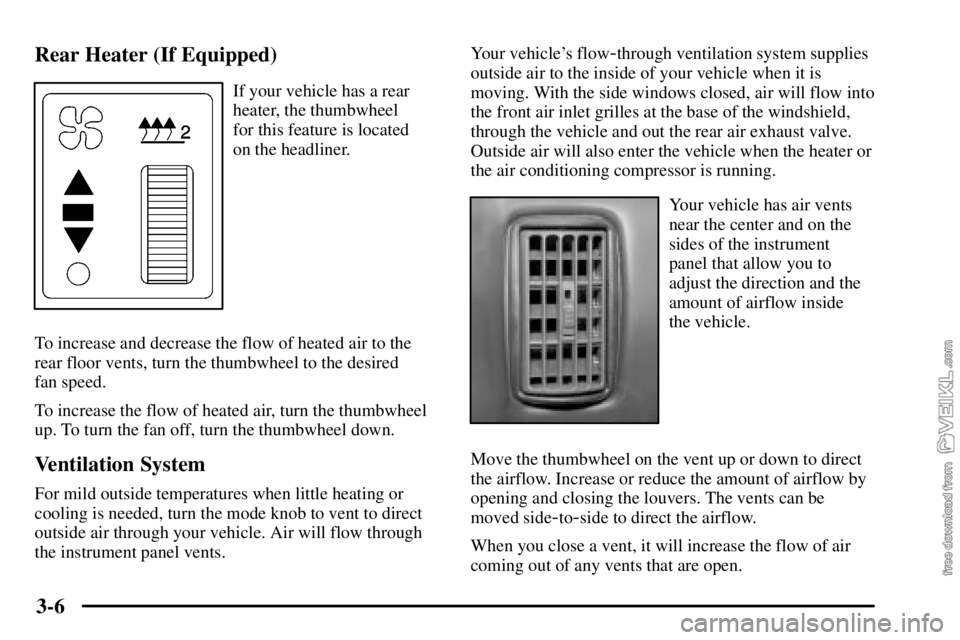
If your vehicle has a rear
heater, the thumbwheel
for this feature is located
on the headliner.
To increase and decrease the flow of heated air to the
rear floor vents, turn the thumbwheel to the desired
fan speed.
To increase the flow of heated air, turn the thumbwheel
up. To turn the fan off, turn the thumbwheel down.
Ventilation System
For mild outside temperatures when little heating or
cooling is needed, turn the mode knob to vent to direct
outside air through your vehicle. Air will flow through
the instrument panel vents.Your vehicle's flow
-through ventilation system supplies
outside air to the inside of your vehicle when it is
moving. With the side windows closed, air will flow into
the front air inlet grilles at the base of the windshield,
through the vehicle and out the rear air exhaust valve.
Outside air will also enter the vehicle when the heater or
the air conditioning compressor is running.
Your vehicle has air vents
near the center and on the
sides of the instrument
panel that allow you to
adjust the direction and the
amount of airflow inside
the vehicle.
Move the thumbwheel on the vent up or down to direct
the airflow. Increase or reduce the amount of airflow by
opening and closing the louvers. The vents can be
moved side
-to-side to direct the airflow.
When you close a vent, it will increase the flow of air
coming out of any vents that are open.
Page 202 of 386

4-9
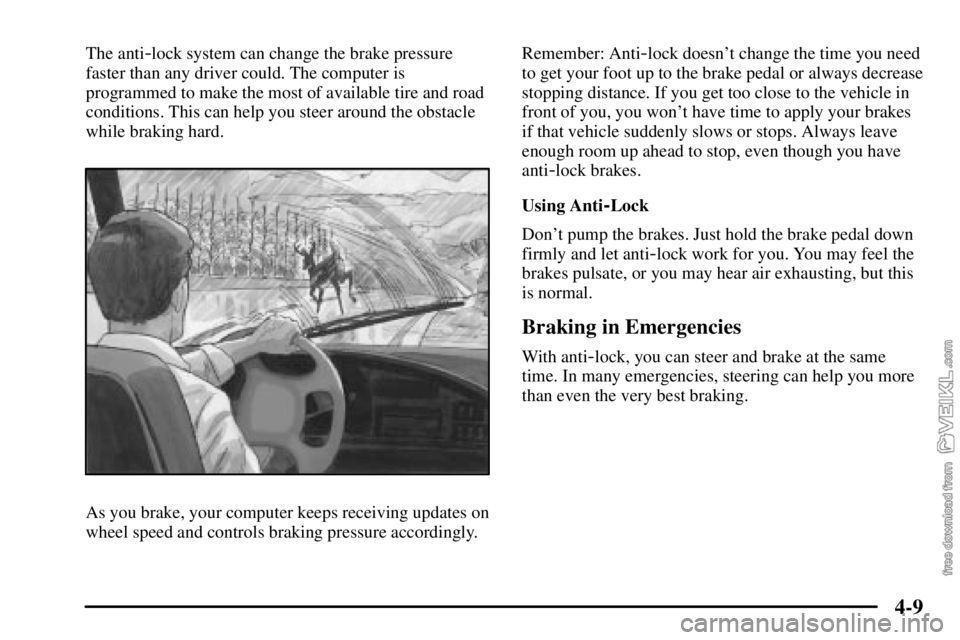
The anti-lock system can change the brake pressure
faster than any driver could. The computer is
programmed to make the most of available tire and road
conditions. This can help you steer around the obstacle
while braking hard.
As you brake, your computer keeps receiving updates on
wheel speed and controls braking pressure accordingly.Remember: Anti
-lock doesn't change the time you need
to get your foot up to the brake pedal or always decrease
stopping distance. If you get too close to the vehicle in
front of you, you won't have time to apply your brakes
if that vehicle suddenly slows or stops. Always leave
enough room up ahead to stop, even though you have
anti
-lock brakes.
Using Anti
-Lock
Don't pump the brakes. Just hold the brake pedal down
firmly and let anti
-lock work for you. You may feel the
brakes pulsate, or you may hear air exhausting, but this
is normal.
Braking in Emergencies
With anti-lock, you can steer and brake at the same
time. In many emergencies, steering can help you more
than even the very best braking.
Page 251 of 386

5-26
Engine Fan Noise
Your vehicle has a clutched engine cooling fan. When
the clutch is engaged, the fan spins faster to provide
more air to cool the engine. In most everyday driving
conditions, the clutch is not fully engaged. This
improves fuel economy and reduces fan noise. Under
heavy vehicle loading, trailer towing and/or high outside
temperatures, the fan speed increases when the clutch
engages. So you may hear an increase in fan noise.
This is normal and should not be mistaken as the
transmission slipping or making extra shifts. It is merely
the cooling system functioning properly. The fan will
slow down when additional cooling is not required and
the clutch disengages.
You may also hear this fan noise when you start the
engine. It will go away as the fan clutch disengages.
If a Tire Goes Flat
It's unusual for a tire to ªblow outº while you're driving,
especially if you maintain your tires properly. If air goes
out of a tire, it's much more likely to leak out slowly.
But if you should ever have a ªblowout,º here are a few
tips about what to expect and what to do:
If a front tire fails, the flat tire will create a drag that
pulls the vehicle toward that side. Take your foot off the
accelerator pedal and grip the steering wheel firmly.
Steer to maintain lane position, and then gently brake to
a stop well out of the traffic lane.
A rear blowout, particularly on a curve, acts much like a
skid and may require the same correction you'd use in a
skid. In any rear blowout, remove your foot from the
accelerator pedal. Get the vehicle under control by
steering the way you want the vehicle to go. It may be
very bumpy and noisy, but you can still steer. Gently
brake to a stop
-- well off the road if possible.
If a tire goes flat, avoid further tire and wheel damage
by driving slowly to a level place and turn on your
hazard warning flashers. The next part tells you what
to do.
Page 298 of 386
6-44 Four-Wheel Disc Brakes (Hydraulic Only)
Your vehicle has four-wheel disc brakes.
Some driving conditions or climates may cause a brake
squeal when the brakes are first applied or lightly
applied. This does not mean something is wrong with
your brakes.
Brake linings should always be replaced as complete
axle sets.
Four-Wheel and Six-Wheel Drum Brakes
(Air Only)
The brake drums should be removed and inspected each
time the tires are removed for rotation or changing.
When you have the front brakes replaced, have the rear
brakes inspected, too.
Brake linings should always be replaced as complete
axle sets.
Page 311 of 386

6-57 Front Wheel Bearings with Oil-Filled Hubs
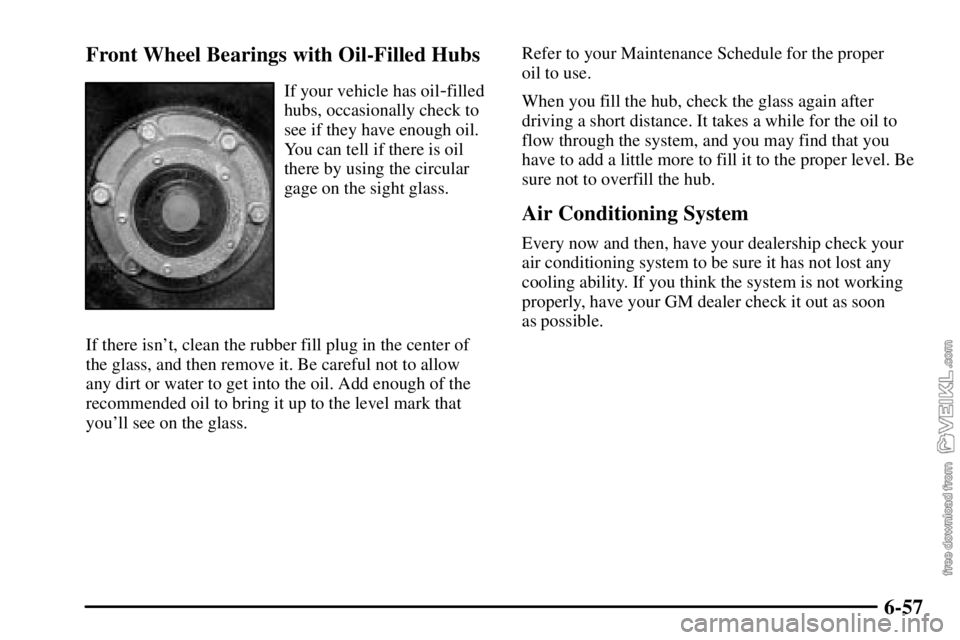
If your vehicle has oil-filled
hubs, occasionally check to
see if they have enough oil.
You can tell if there is oil
there by using the circular
gage on the sight glass.
If there isn't, clean the rubber fill plug in the center of
the glass, and then remove it. Be careful not to allow
any dirt or water to get into the oil. Add enough of the
recommended oil to bring it up to the level mark that
you'll see on the glass.Refer to your Maintenance Schedule for the proper
oil to use.
When you fill the hub, check the glass again after
driving a short distance. It takes a while for the oil to
flow through the system, and you may find that you
have to add a little more to fill it to the proper level. Be
sure not to overfill the hub.
Air Conditioning System
Every now and then, have your dealership check your
air conditioning system to be sure it has not lost any
cooling ability. If you think the system is not working
properly, have your GM dealer check it out as soon
as possible.
Page 336 of 386
6-82
Fuse Block 2
Circuit Breaker Usage
1 Stoplamps
2 Center High Mounted Stop Lamp
3 Parking Lamps
4 Powertrain Control Module
5 Auxiliary Wiring
6 Heater/Air ConditioningCircuit Breaker Usage
7 Hazard Warning Flashers
8 Power Post
9 Courtesy Lamps
10 Warning Lights, Gages
and Indicators
11 Crank
12 Rear Axle
13 Trailer Turn Signals/Hazard
Warning Flashers
14 Radio/Chime
15 Daytime Running Lamps
16 Air Bag System
17 Exterior/Interior Lamps
18 Parking Brake
19 Accessory Power
20 Ignition
21 Sidemarker Lamps
22 Turn Signal/Backup Lamps
23 Transmission
24 Chassis
A Spare
B Spare
Page 339 of 386
6-85
Fuse Usage
BLANK Empty
A/C COMP Air Conditioning Compressor
ABS 1 Anti
-Lock Brake System 1
ABS 2 Anti
-Lock Brake System 2
ABS 3 Anti
-Lock Brake System 3
ENGINE Engine
E/A PUMP Electronic/Automatic Pump
HORN Horn
NOTE 2 L18/LB7 Fuel, LG4 Powertrain
Control Valve, LG5 Electronic
Control Module
BLANK Empty
STUD A Spare
STUD B Spare
Secondary Underhood Fuse Block
Fuse Usage
IGN 1 Ignition 1
IGN 4 Ignition 4
IGN 3 Ignition 3
BATT/HAZ Battery/Hazard Warning Flashers
HEADLAMP Headlamps
LIGHTING Interior/Exterior Lamps
HVAC Comfort Control System
NOTE C4/C5 Electric Brake,
C6/C7/C8 Brake Lamps