2003 CHEVROLET BLAZER service
[x] Cancel search: servicePage 1 of 420

Seats and Restraint Systems........................... 1-1
Front Seats
............................................... 1-2
Rear Seats
............................................... 1-7
Safety Belts
.............................................. 1-9
Child Restraints
.......................................1-32
Air Bag System
.......................................1-52
Restraint System Check
............................1-58
Features and Controls..................................... 2-1
Keys
........................................................ 2-3
Doors and Locks
....................................... 2-7
Windows
.................................................2-11
Theft-Deterrent Systems
............................2-17
Starting and Operating Your Vehicle
...........2-19
Mirrors
....................................................2-41
HomeLink
žTransmitter
.............................2-44
Storage Areas
.........................................2-48
Vehicle Personalization
.............................2-61
Instrument Panel............................................. 3-1
Instrument Panel Overview
.......................... 3-2
Climate Controls
......................................3-17
Warning Lights, Gages and Indicators
.........3-21
Audio System(s)
.......................................3-37Driving Your Vehicle....................................... 4-1
Your Driving, the Road, and Your Vehicle
..... 4-2
Towing
...................................................4-45
Service and Appearance Care.......................... 5-1
Service
..................................................... 5-3
Fuel
......................................................... 5-4
Checking Things Under the Hood
................. 5-8
Rear Axle
...............................................5-45
Four-Wheel Drive
.....................................5-45
Front Axle
...............................................5-46
Bulb Replacement
....................................5-47
Windshield Wiper Blade Replacement
.........5-52
Tires
......................................................5-54
Appearance Care
.....................................5-76
Vehicle Identi®cation
.................................5-83
Electrical System
......................................5-84
Capacities and Speci®cations
.....................5-91
Normal Maintenance Replacement Parts
......5-92
Maintenance Schedule..................................... 6-1
Maintenance Schedule
................................ 6-2
Customer Assistance Information.................... 7-1
Customer Assistance Information
.................. 7-2
Reporting Safety Defects
...........................7-10
INDEX................................................................1
2003 Chevrolet Blazer Owner ManualM
Page 14 of 420

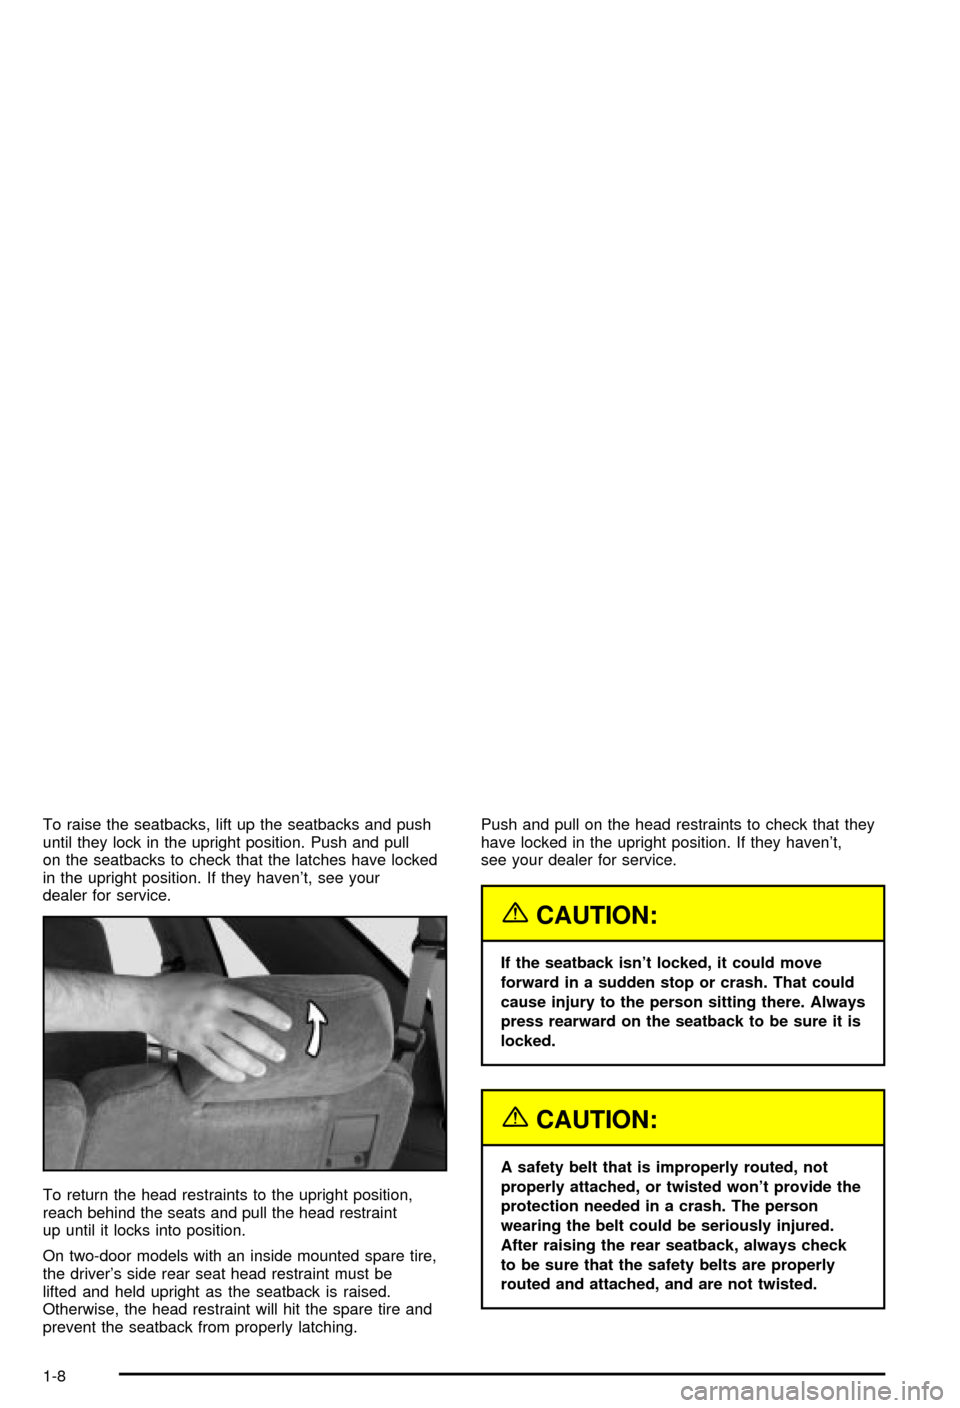
To raise the seatbacks, lift up the seatbacks and push
until they lock in the upright position. Push and pull
on the seatbacks to check that the latches have locked
in the upright position. If they haven't, see your
dealer for service.
To return the head restraints to the upright position,
reach behind the seats and pull the head restraint
up until it locks into position.
On two-door models with an inside mounted spare tire,
the driver's side rear seat head restraint must be
lifted and held upright as the seatback is raised.
Otherwise, the head restraint will hit the spare tire and
prevent the seatback from properly latching.Push and pull on the head restraints to check that they
have locked in the upright position. If they haven't,
see your dealer for service.
{CAUTION:
If the seatback isn't locked, it could move
forward in a sudden stop or crash. That could
cause injury to the person sitting there. Always
press rearward on the seatback to be sure it is
locked.
{CAUTION:
A safety belt that is improperly routed, not
properly attached, or twisted won't provide the
protection needed in a crash. The person
wearing the belt could be seriously injured.
After raising the rear seatback, always check
to be sure that the safety belts are properly
routed and attached, and are not twisted.
1-8
Page 62 of 420

What Will You See After an Air Bag
In¯ates?
After an air bag in¯ates, it quickly de¯ates, so quickly
that some people may not even realize the air bag
in¯ated. Some components of the air bag module Ð the
steering wheel hub for the driver's air bag, or the
instrument panel for the right front passenger's
bag Ð will be hot for a short time. The parts of the bag
that come into contact with you may be warm, but
not too hot to touch. There will be some smoke and dust
coming from the vents in the de¯ated air bags. Air
bag in¯ation doesn't prevent the driver from seeing or
being able to steer the vehicle, nor does it stop
people from leaving the vehicle.
{CAUTION:
When an air bag in¯ates, there is dust in the
air. This dust could cause breathing problems
for people with a history of asthma or other
breathing trouble. To avoid this, everyone in
the vehicle should get out as soon as it is safe
to do so. If you have breathing problems but
CAUTION: (Continued)
CAUTION: (Continued)
can't get out of the vehicle after an air bag
in¯ates, then get fresh air by opening a
window or a door. If you experience breathing
problems following an air bag deployment, you
should seek medical attention.
·Air bags are designed to in¯ate only once. After
they in¯ate, you'll need some new parts for your
air bag system. If you don't get them, the air
bag system won't be there to help protect you in
another crash. A new system will include air
bag modules and possibly other parts. The service
manual for your vehicle covers the need to
replace other parts.
·Your vehicle is equipped with a diagnostic module,
which records information about the air bag
system. The module records information about the
readiness of the system, when the system
commands air bag in¯ation and driver's safety belt
usage at deployment.
·Let only quali®ed technicians work on your air bag
system. Improper service can mean that an air
bag system won't work properly. See your dealer
for service.
1-56
Page 63 of 420

Notice:If you damage the covering for the driver's
or the right front passenger's air bag, the bag
may not work properly. You may have to replace the
air bag module in the steering wheel or both the
air bag module and the instrument panel for
the right front passenger's air bag. Do not open or
break the air bag coverings.
Servicing Your Air Bag-Equipped
Vehicle
Air bags affect how your vehicle should be serviced.
There are parts of the air bag system in several places
around your vehicle. You don't want the system to
in¯ate while someone is working on your vehicle. Your
dealer and the service manual have information
about servicing your vehicle and the air bag system. To
purchase a service manual, see
Service Publications
Ordering Information on page 7-11.
{CAUTION:
For up to 10 minutes after the ignition key is
turned off and the battery is disconnected, an
air bag can still in¯ate during improper
service. You can be injured if you are close to
an air bag when it in¯ates. Avoid wires
wrapped with yellow tape or yellow
connectors. They are probably part of the air
bag system. Be sure to follow proper service
procedures, and make sure the person
performing work for you is quali®ed to do so.
The air bag system does not need regular maintenance.
1-57
Page 70 of 420

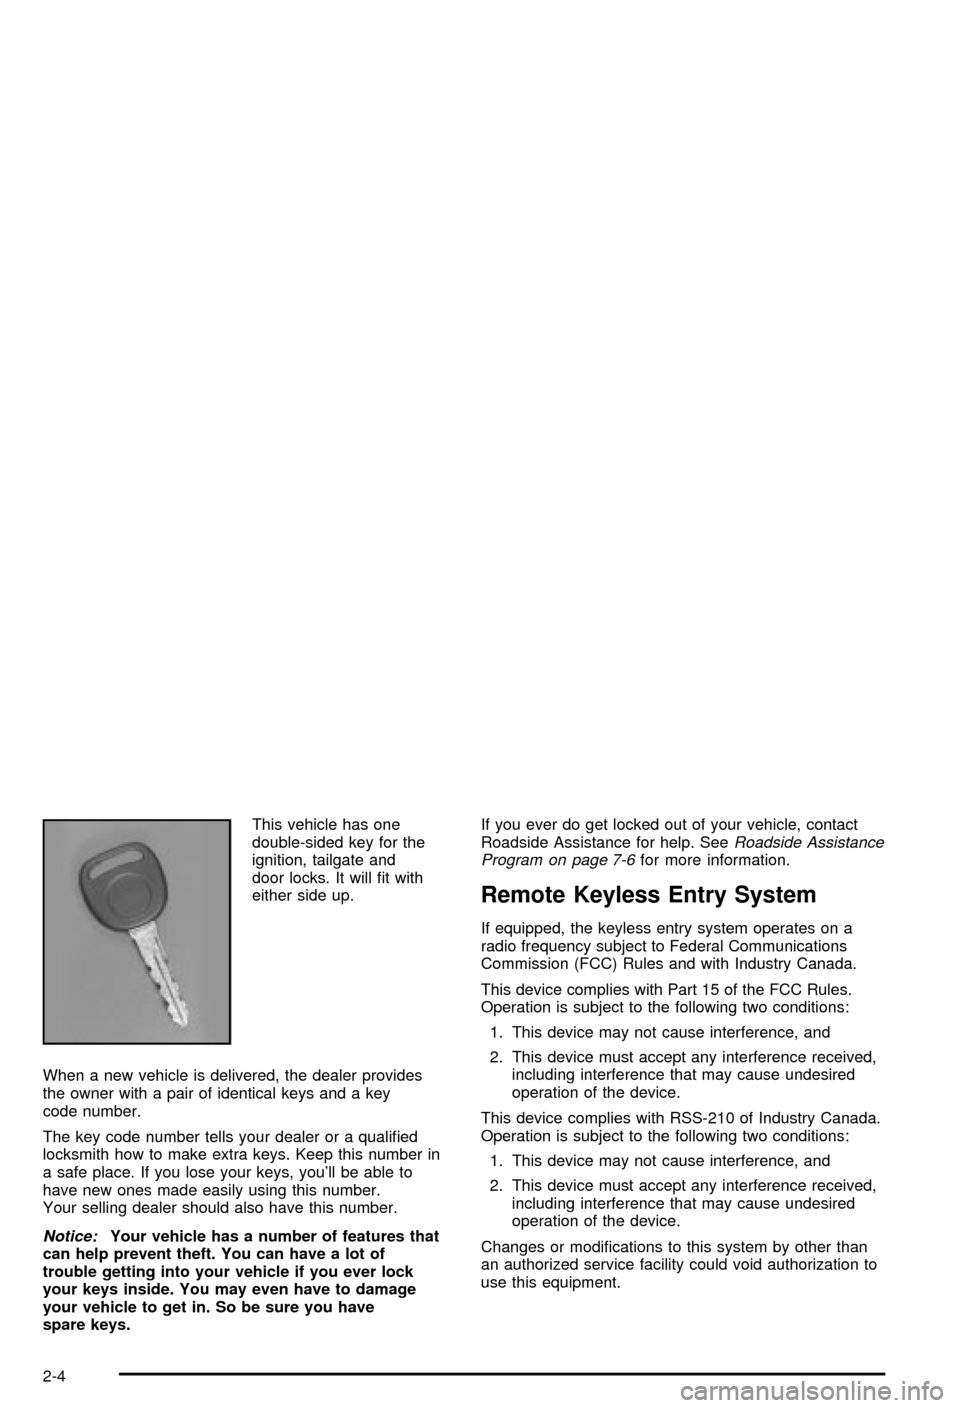
This vehicle has one
double-sided key for the
ignition, tailgate and
door locks. It will ®t with
either side up.
When a new vehicle is delivered, the dealer provides
the owner with a pair of identical keys and a key
code number.
The key code number tells your dealer or a quali®ed
locksmith how to make extra keys. Keep this number in
a safe place. If you lose your keys, you'll be able to
have new ones made easily using this number.
Your selling dealer should also have this number.
Notice:Your vehicle has a number of features that
can help prevent theft. You can have a lot of
trouble getting into your vehicle if you ever lock
your keys inside. You may even have to damage
your vehicle to get in. So be sure you have
spare keys.If you ever do get locked out of your vehicle, contact
Roadside Assistance for help. See
Roadside Assistance
Program on page 7-6for more information.
Remote Keyless Entry System
If equipped, the keyless entry system operates on a
radio frequency subject to Federal Communications
Commission (FCC) Rules and with Industry Canada.
This device complies with Part 15 of the FCC Rules.
Operation is subject to the following two conditions:
1. This device may not cause interference, and
2. This device must accept any interference received,
including interference that may cause undesired
operation of the device.
This device complies with RSS-210 of Industry Canada.
Operation is subject to the following two conditions:
1. This device may not cause interference, and
2. This device must accept any interference received,
including interference that may cause undesired
operation of the device.
Changes or modi®cations to this system by other than
an authorized service facility could void authorization to
use this equipment.
2-4
Page 71 of 420

At times you may notice a decrease in range. This is
normal for any remote keyless entry system. If the
transmitter does not work or if you have to stand closer
to your vehicle for the transmitter to work, try this:
·Check the distance. You may be too far from your
vehicle. You may need to stand closer during
rainy or snowy weather.
·Check the location. Other vehicles or objects may
be blocking the signal. Take a few steps to the
left or right, hold the transmitter higher, and
try again.
·Check to determine if battery replacement is
necessary. See ªBattery Replacementº under
Remote Keyless Entry System Operation on
page 2-5.
·If you are still having trouble, see your dealer or a
quali®ed technician for service.
Remote Keyless Entry System
Operation
If your vehicle has this feature, you can lock and unlock
your doors from about 3 feet (1m) up to 30 feet (9 m)
away using the remote keyless entry transmitter supplied
with your vehicle.UNLOCK:Press UNLOCK to unlock the driver's door.
The parking lamps will ¯ash and the interior lamps
will go on.
If you press UNLOCK twice within three seconds, the
remaining doors will unlock.
LOCK:Press LOCK to lock all the doors. Press LOCK
again within three seconds and the horn will chirp
for con®rmation.
REAR:When you press the REAR button twice within
three seconds to release the rear liftglass, the parking
lamps will ¯ash and the interior lamps will go on. If your
vehicle has an automatic transmission, the transmission
must be in PARK (P) or NEUTRAL (N). If your vehicle
has a manual transmission, the parking brake must
be engaged.
L(Remote Alarm):Press this button on the key
transmitter to make the horn sound and the headlamps
and taillamps ¯ash for up to 30 seconds. This can
be turned off by pressing the remote alarm button again,
waiting for 30 seconds, or starting the vehicle.
2-5
Page 84 of 420

Testing the Alarm
The alarm can be tested by following these steps:
1. From inside the vehicle, lower the driver's window
and open the driver's door.
2. Activate the system by locking the doors with the
power door lock switch while the door is open, or
with the remote keyless entry transmitter.
3. Get out of the vehicle, close the door and wait for
the SECURITY light to go out.
4. Then reach in through the window, unlock the door
with the manual door lock and open the door. This
should set off the alarm.
If the alarm does not sound when it should but the
vehicle's headlamps ¯ash, check to see if the horn
works. The horn fuse may be blown. To replace
the fuse, see
Fuses and Circuit Breakers on page 5-85.
If the alarm does not sound or the vehicle's headlamps
do not ¯ash, the vehicle should be serviced by an
authorized service center.
Passlockž
Your vehicle is equipped with the
Passlockžtheft-deterrent system.
Passlock
žis a passive theft-deterrent system.
Passlockženables fuel if the ignition lock cylinder is
turned with a valid key. If a correct key is not used or the
ignition lock cylinder is tampered with, fuel is disabled.
During normal operation, the SECURITY light will
go off approximately ®ve seconds after the key is turned
to RUN.
If the engine stalls and the SECURITY light ¯ashes,
wait about 10 minutes until the light stops ¯ashing before
trying to restart the engine. Remember to release the
key from START as soon as the engine starts.
If the engine does not start after three tries, the vehicle
needs service.
If the engine is running and the SECURITY message
comes on, you will be able to restart the engine if
you turn the engine off. However, your
Passlock
žsystem is not working properly and must be
serviced by your dealer. Your vehicle is not protected
by Passlock
žat this time. You may also want to check
the fuse. SeeFuses and Circuit Breakers on page 5-85.
See your dealer for service.
In an emergency, call the GM Roadside Assistance
Center. See
Roadside Assistance Program on page 7-6.
2-18
Page 86 of 420

Your steering wheel will remain locked, just as it was
before you inserted the key.
{CAUTION:
On manual transmission vehicles, turning the
key to LOCK will lock the steering column and
result in a loss of ability to steer the vehicle.
This could cause a collision. If you need to
turn the engine off while the vehicle is moving,
turn the key only to OFF. Don't press the key
release button while the vehicle is moving.
Notice:If your key seems stuck in LOCK and you
can't turn it, be sure you are using the correct key; if
so, is it all the way in? If it is, then turn the steering
wheel left and right while you turn the key hard.
Turn the key only with your hand. Using a tool
to force it could break the key or the ignition switch.
If none of this works, then your vehicle needs
service.
B (LOCK):This position locks your ignition, steering
wheel and transmission. It's a theft-deterrent feature.
You will only be able to remove your key when the
ignition is turned to LOCK.C (OFF):This position lets you turn off the engine but
still turn the steering wheel. Use OFF if you must
have your vehicle in motion while the engine is off (for
example, if your vehicle is being towed).
D (RUN):This is the position for driving.
E (START):This position starts your engine.
Key Release Button
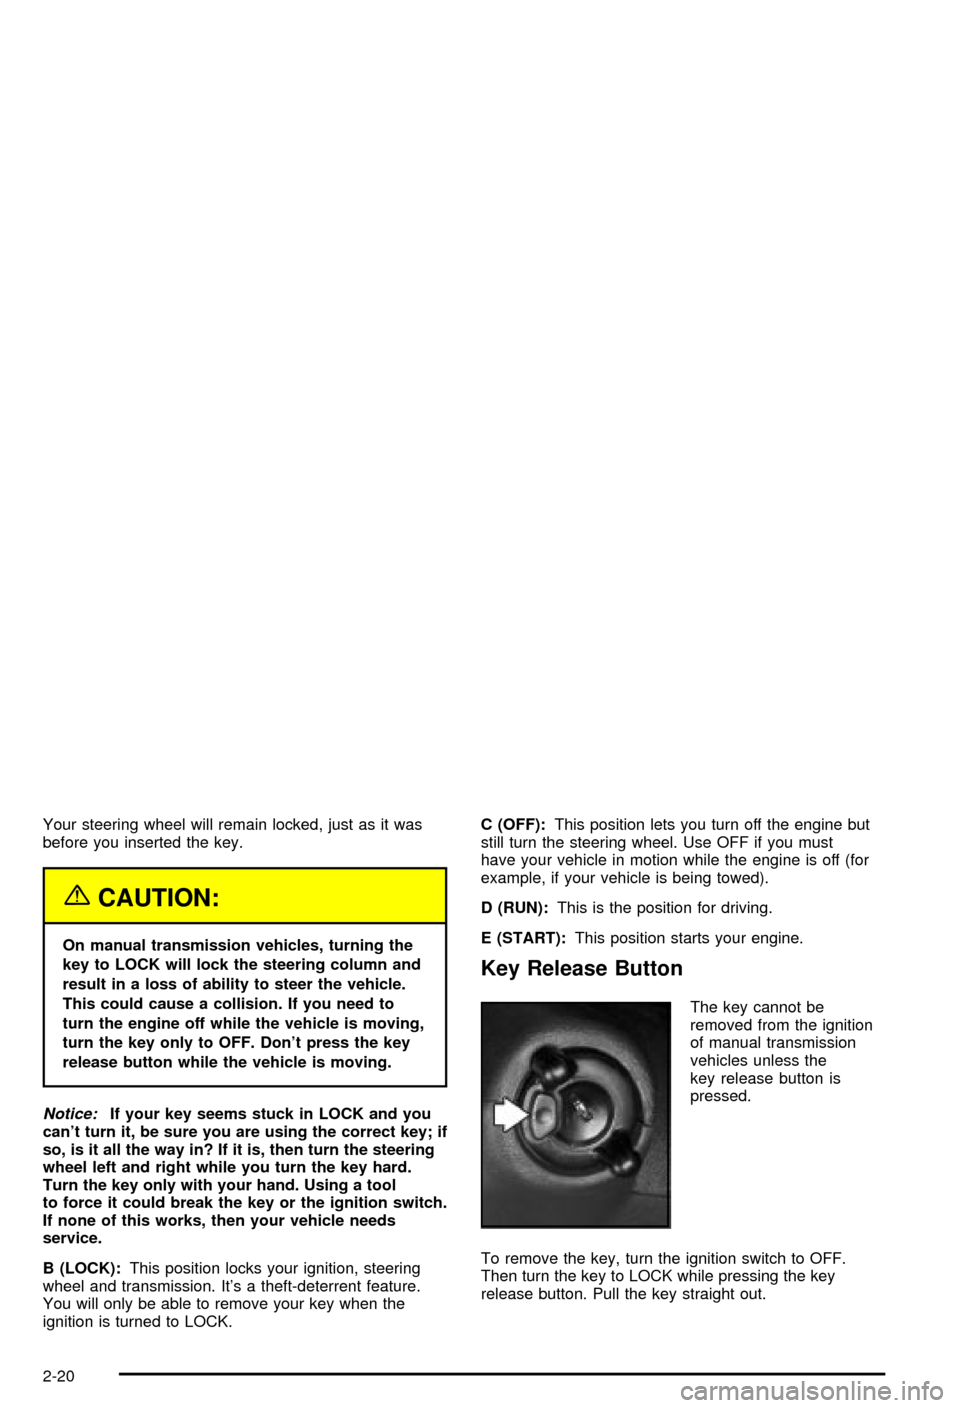
The key cannot be
removed from the ignition
of manual transmission
vehicles unless the
key release button is
pressed.
To remove the key, turn the ignition switch to OFF.
Then turn the key to LOCK while pressing the key
release button. Pull the key straight out.
2-20