Page 275 of 420

A. Battery
B. Coolant Recovery Tank
C. Engine Oil Dipstick
D. Engine Oil Fill
E. Automatic Transmission Dipstick (If Equipped)
F. Power Steering Reservoir
G. Brake Master Cylinder Reservoir
H. Engine Air Cleaner/Filter
I. Clutch Master Cylinder Reservoir
J. Engine Compartment Fuse Block
K. Windshield Washer Fluid ReservoirEngine Oil
Checking Engine Oil
It's a good idea to check your engine oil every time you
get fuel. In order to get an accurate reading, the oil
must be warm and the vehicle must be on level ground.
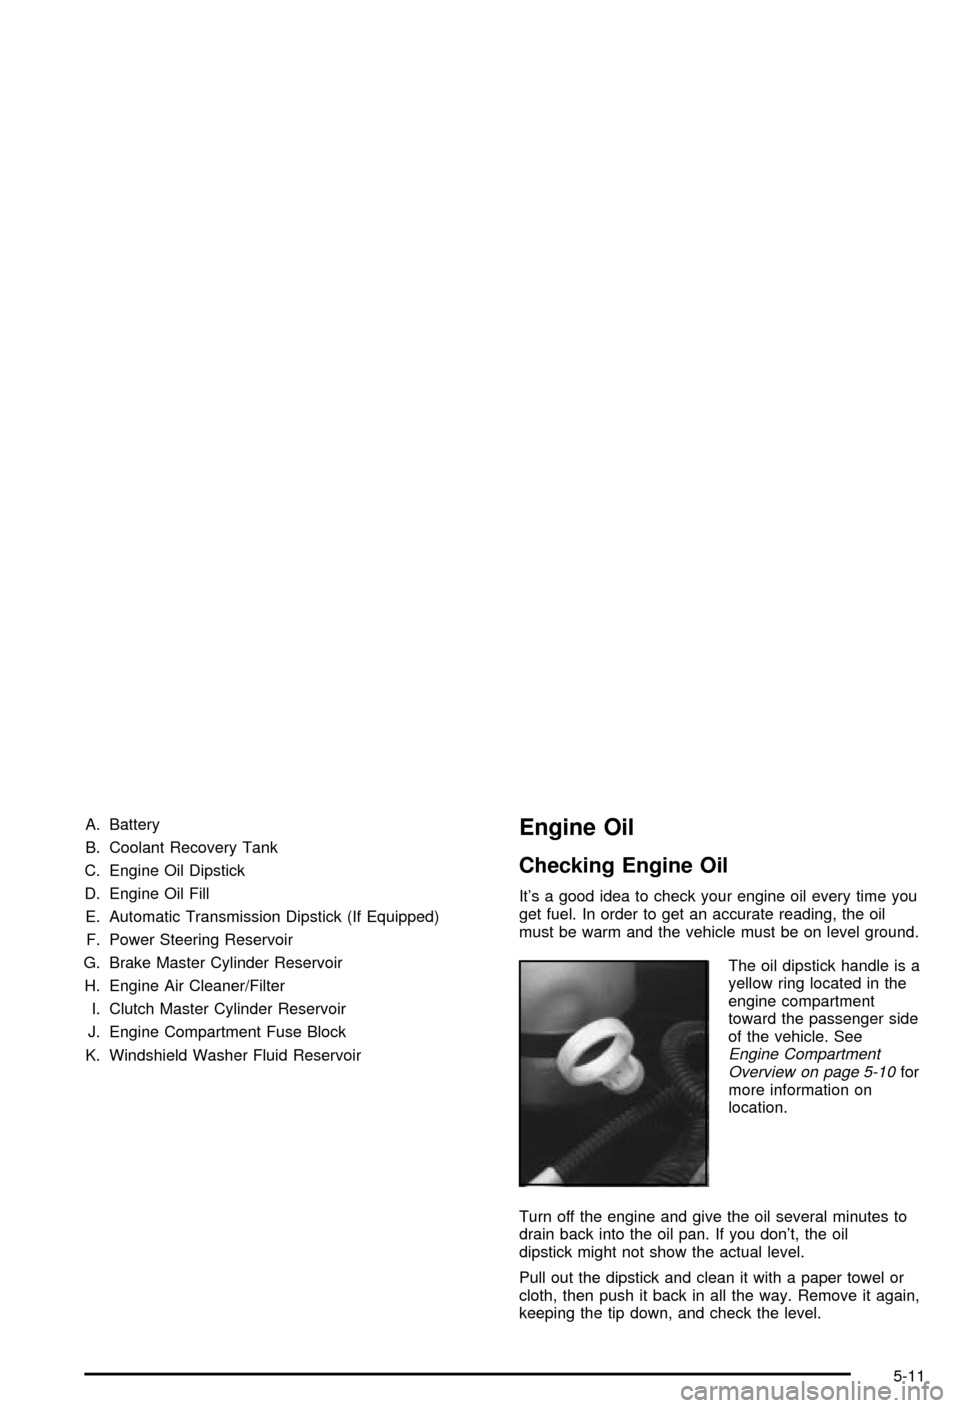
The oil dipstick handle is a
yellow ring located in the
engine compartment
toward the passenger side
of the vehicle. See
Engine Compartment
Overview on page 5-10for
more information on
location.
Turn off the engine and give the oil several minutes to
drain back into the oil pan. If you don't, the oil
dipstick might not show the actual level.
Pull out the dipstick and clean it with a paper towel or
cloth, then push it back in all the way. Remove it again,
keeping the tip down, and check the level.
5-11
Page 279 of 420

Remote Oil Filter (Four-Wheel Drive)
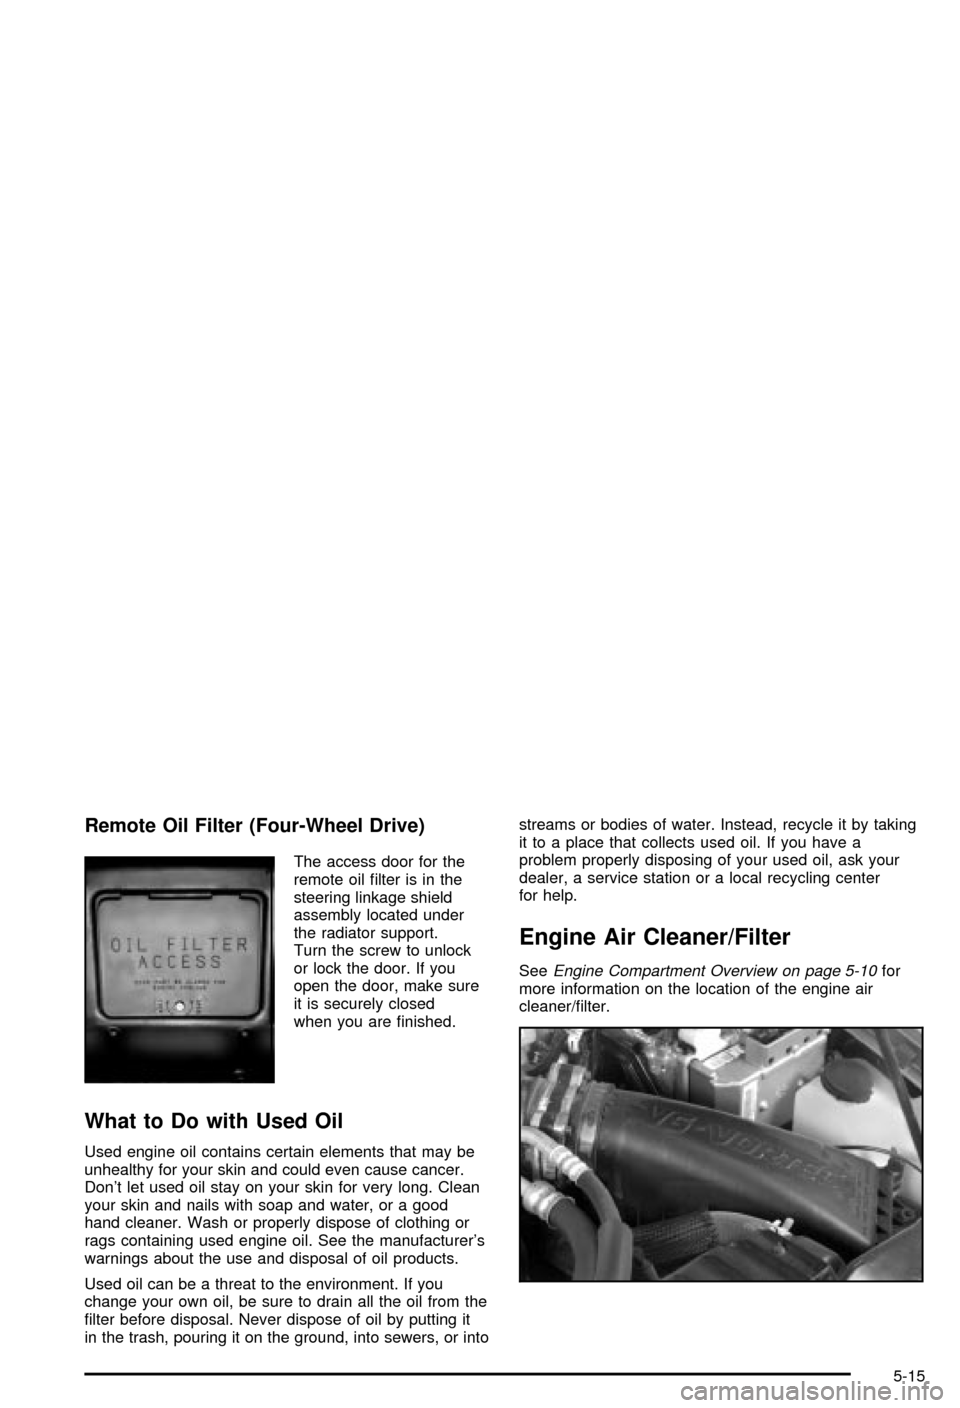
The access door for the
remote oil ®lter is in the
steering linkage shield
assembly located under
the radiator support.
Turn the screw to unlock
or lock the door. If you
open the door, make sure
it is securely closed
when you are ®nished.
What to Do with Used Oil
Used engine oil contains certain elements that may be
unhealthy for your skin and could even cause cancer.
Don't let used oil stay on your skin for very long. Clean
your skin and nails with soap and water, or a good
hand cleaner. Wash or properly dispose of clothing or
rags containing used engine oil. See the manufacturer's
warnings about the use and disposal of oil products.
Used oil can be a threat to the environment. If you
change your own oil, be sure to drain all the oil from the
®lter before disposal. Never dispose of oil by putting it
in the trash, pouring it on the ground, into sewers, or intostreams or bodies of water. Instead, recycle it by taking
it to a place that collects used oil. If you have a
problem properly disposing of your used oil, ask your
dealer, a service station or a local recycling center
for help.
Engine Air Cleaner/Filter
SeeEngine Compartment Overview on page 5-10for
more information on the location of the engine air
cleaner/®lter.
5-15
Page 283 of 420

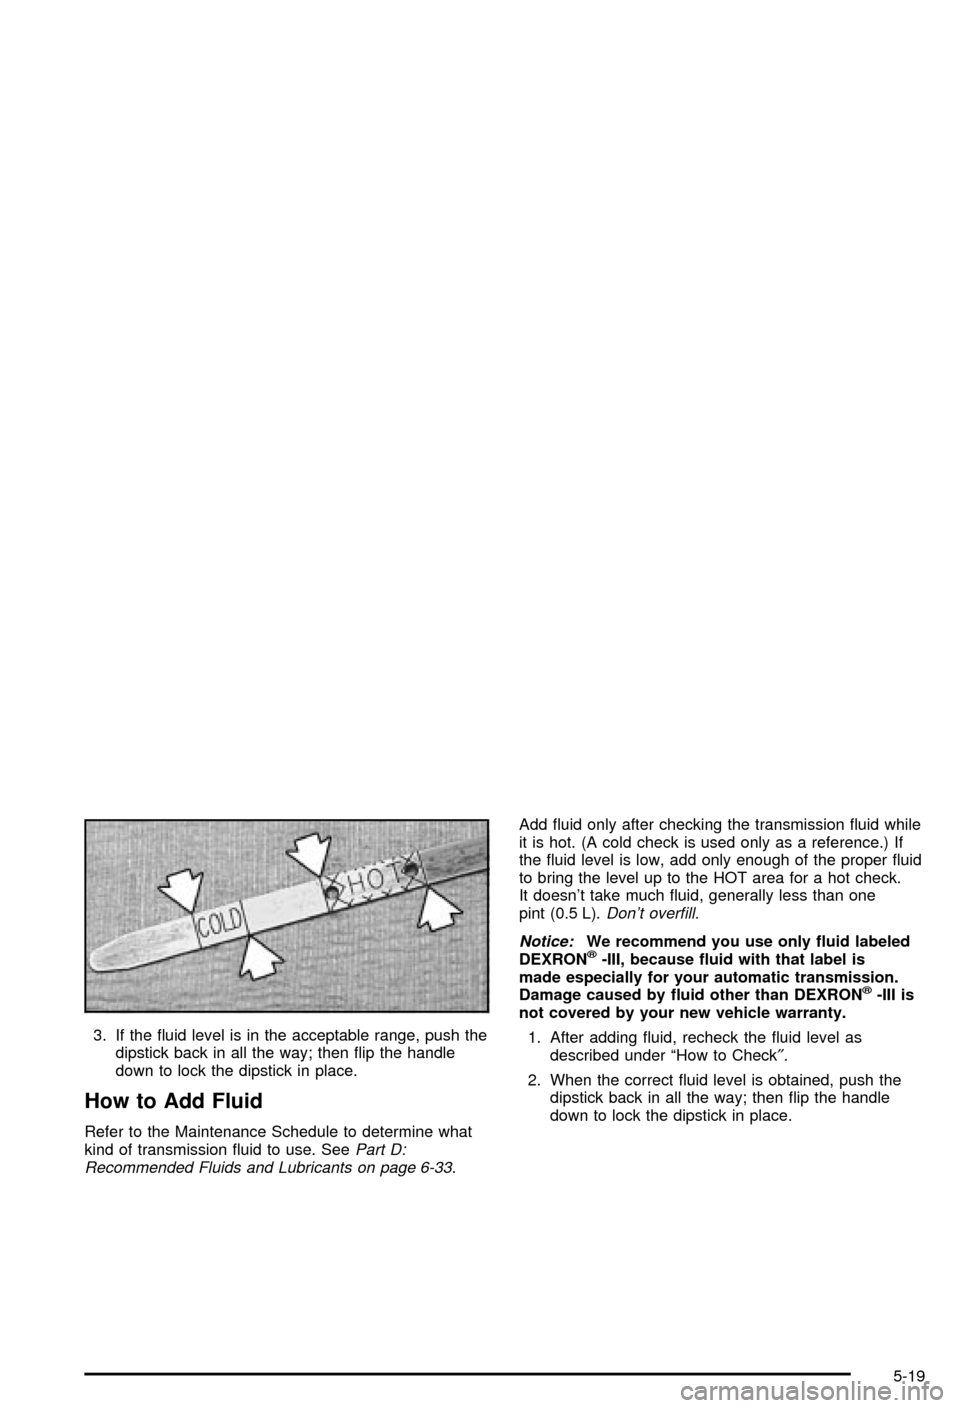
3. If the ¯uid level is in the acceptable range, push the
dipstick back in all the way; then ¯ip the handle
down to lock the dipstick in place.
How to Add Fluid
Refer to the Maintenance Schedule to determine what
kind of transmission ¯uid to use. SeePart D:
Recommended Fluids and Lubricants on page 6-33.Add ¯uid only after checking the transmission ¯uid while
it is hot. (A cold check is used only as a reference.) If
the ¯uid level is low, add only enough of the proper ¯uid
to bring the level up to the HOT area for a hot check.
It doesn't take much ¯uid, generally less than one
pint (0.5 L).
Don't over®ll.
Notice:
We recommend you use only ¯uid labeled
DEXRONž-III, because ¯uid with that label is
made especially for your automatic transmission.
Damage caused by ¯uid other than DEXRON
ž-III is
not covered by your new vehicle warranty.
1. After adding ¯uid, recheck the ¯uid level as
described under ªHow to Check².
2. When the correct ¯uid level is obtained, push the
dipstick back in all the way; then ¯ip the handle
down to lock the dipstick in place.
5-19
Page 295 of 420
{CAUTION:
Steam and scalding liquids from a hot cooling
system can blow out and burn you badly. They
are under pressure, and if you turn the radiator
pressure cap Ð even a little Ð they can come
out at high speed. Never turn the cap when the
cooling system, including the radiator pressure
cap, is hot. Wait for the cooling system and
radiator pressure cap to cool if you ever have
to turn the pressure cap.
How to Add Coolant to the Radiator
1. You can remove the radiator pressure cap when
the cooling system, including the radiator pressure
cap and upper radiator hose, is no longer hot.
Turn the pressure cap slowly counterclockwise until
it ®rst stops. (Don't press down while turning the
pressure cap.)
If you hear a hiss, wait for that to stop. A hiss
means there is still some pressure left.
5-31
Page 312 of 420
Headlamps
One-Piece Composite Headlamp System
1. Open the hood.
2. Remove the black retainer clips by lifting up.
3. Pull the headlamp assembly out.
4. Unplug the electrical connector.5. Turn the bulb/socket assembly counterclockwise to
remove it.
6. Put the new bulb/socket assembly into the
headlamp assembly and turn it clockwise until it is
tight.
7. Plug in the electrical connector.
8. Put the headlamp assembly back into the vehicle.
9. Install the two retaining clips.
10. Close the hood.
5-48
Page 313 of 420
Two-Piece Composite Headlamp System
1. Open the hood.
2. Remove the black retainer clips by lifting up.
3. Unplug the electrical connector.
4. Pull the headlamp assembly out.5. Turn the bulb/socket assembly counterclockwise to
remove it.
6. Put the new bulb/socket assembly into the
headlamp assembly and turn it clockwise until it is
tight.
7. Plug in the electrical connector.
8. Put the headlamp assembly back into the vehicle.
9. Install the two retaining clips.
10. Close the hood.
5-49
Page 314 of 420
One-Piece Front Turn Signal Lamps
1. Remove the headlamp assembly as shown in
ªOne-Piece Composite Headlamp Systemº
under
Headlamps on page 5-48.
2. Twist the bulb socket
to remove it from the
headlamp assembly.
3. Pull the bulb straight out to remove it from the
socket.
4. Push the new bulb into the socket until it snaps into
place.
5. Put the bulb socket into the lamp assembly and
turn it clockwise until it is tight.
6. Put the headlamp assembly back into the vehicle.
7. Install the two retaining clips.
8. Close the hood.
Two-Piece Front Turn Signal Lamps
1. Remove the headlamp assembly as shown in
ªTwo±Piece Composite Headlamp Systemº
under
Headlamps on page 5-48.
2. Locate the locking tabs
on the assembly.
Squeeze the tabs
together and push that
end of the assembly
out while holding
the tabs. The assembly
will swing out.
3. Unplug the electrical connector.
5-50
Page 315 of 420
4. Turn the harness bulb socket counterclockwise to
remove it.
5. Pull the bulb straight out to remove it from the
socket.
6. Push the new bulb into the socket until it snaps into
place.
7. Reinstall the harness bulb socket with the new bulb
into the headlamp assembly and turn it clockwise
until it is tight.
To reinstall the assembly, snap the outboard end of
the lamp assembly back into the vehicle. Then
swing the assembly in and snap it into place.8. Install the two retaining clips.
9. Close the hood.
Taillamps
1. Open the tailgate.
2. Remove the two
screws from the lamp
assembly.
3. Pull the assembly away from the vehicle.
4. Turn the socket counterclockwise to remove it.
Push the tab in while you turn the socket
counterclockwise.
5. Holding the base of the bulb, pull the bulb straight
out of the socket.
5-51