2003 CHEVROLET AVALANCHE ignition
[x] Cancel search: ignitionPage 11 of 492
The low setting warms the seatback and cushion until
the seat temperature is near body temperature. The
medium and high settings heat the seatback and seat
cushion to a slightly higher temperature. You will be able
to feel heat in about two minutes.
To heat only the seatback, press the vertical button with
the heated seatback symbol. An indicator light on the
seatback button will glow to designate that only the
seatback is being heated. Additional presses of
the seatback button will cycle through the heat levels for
the seatback only. Press the horizontal button again
to heat the whole seat.
The heated front seats will shut off automatically when
the ignition is turned off.Reclining Seatbacks
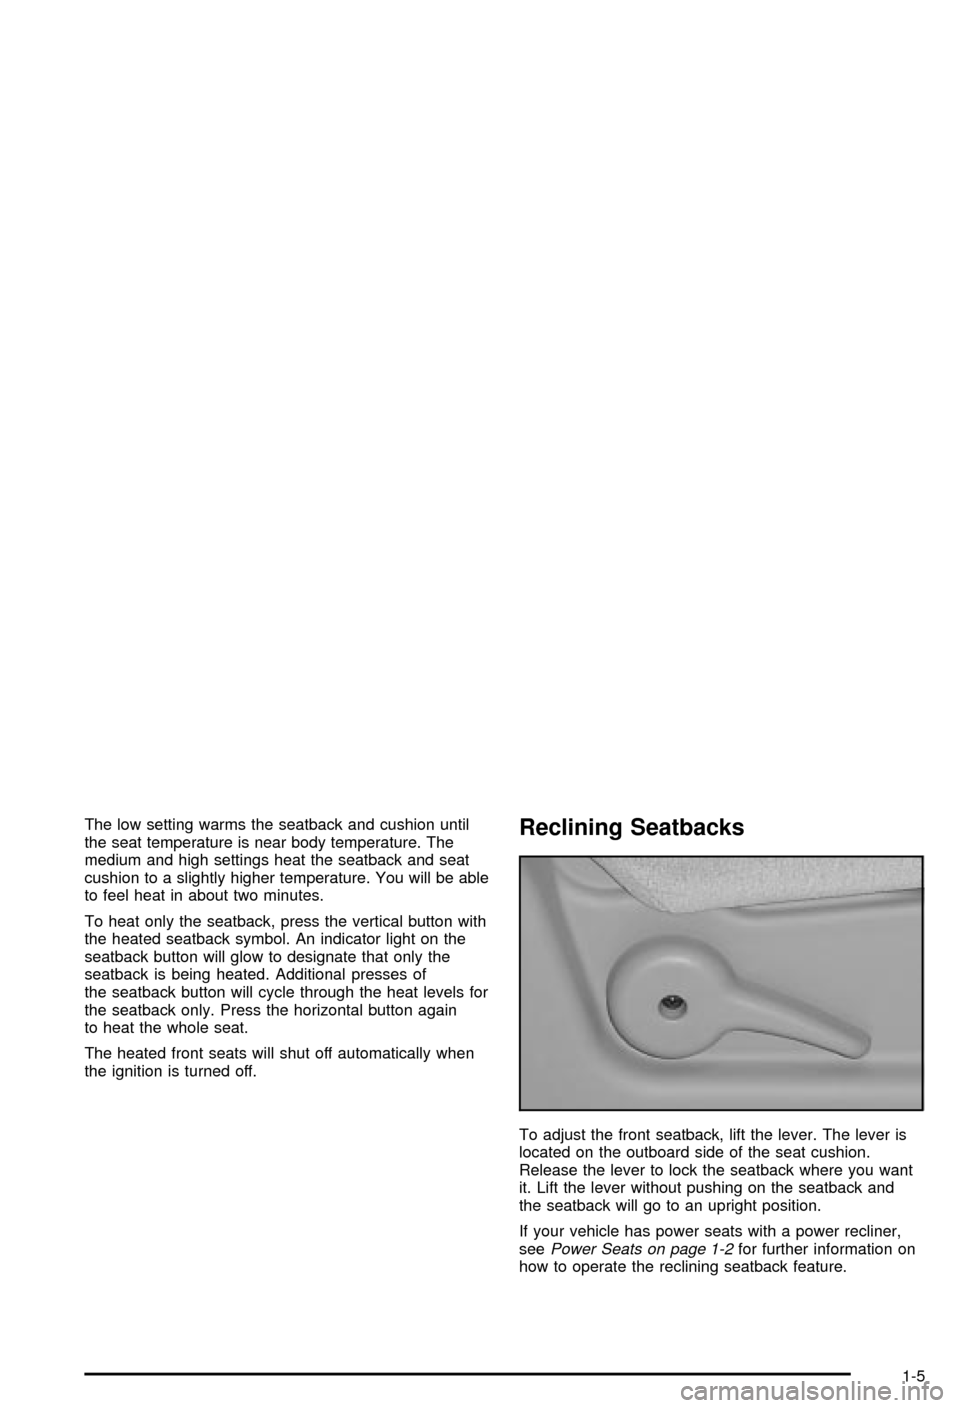
To adjust the front seatback, lift the lever. The lever is
located on the outboard side of the seat cushion.
Release the lever to lock the seatback where you want
it. Lift the lever without pushing on the seatback and
the seatback will go to an upright position.
If your vehicle has power seats with a power recliner,
see
Power Seats on page 1-2for further information on
how to operate the reclining seatback feature.
1-5
Page 56 of 492
You'll be using the lap-shoulder belt. SeeTop Strap on
page 1-42if the child restraint has one. Be sure to
follow the instructions that came with the child restraint.
Secure the child in the child restraint when and as
the instructions say.
1. Because your vehicle has a right front passenger
air bag, always move the seat as far back as it will
go before securing a child restraint, if you need
to secure a forward-facing child restraint in the right
front seat position. See
Power Seats on page 1-2orManual Passenger Seat on page 1-2.
If your vehicle has the passenger sensing system
and you are using a rear-facing child restraint in this
seat, make sure the frontal air bag is off. See
Passenger Sensing System on page 1-62.
When the passenger sensing system has turned off
the right front passenger's frontal air bag, the off
indicator on the inside rearview mirror will light and
stay lit when you turn the ignition to RUN or
START.
2. Put the restraint on the seat.
3. Pick up the latch plate, and run the lap and shoulder
portions of the vehicle's safety belt through or
around the restraint. The child restraint instructions
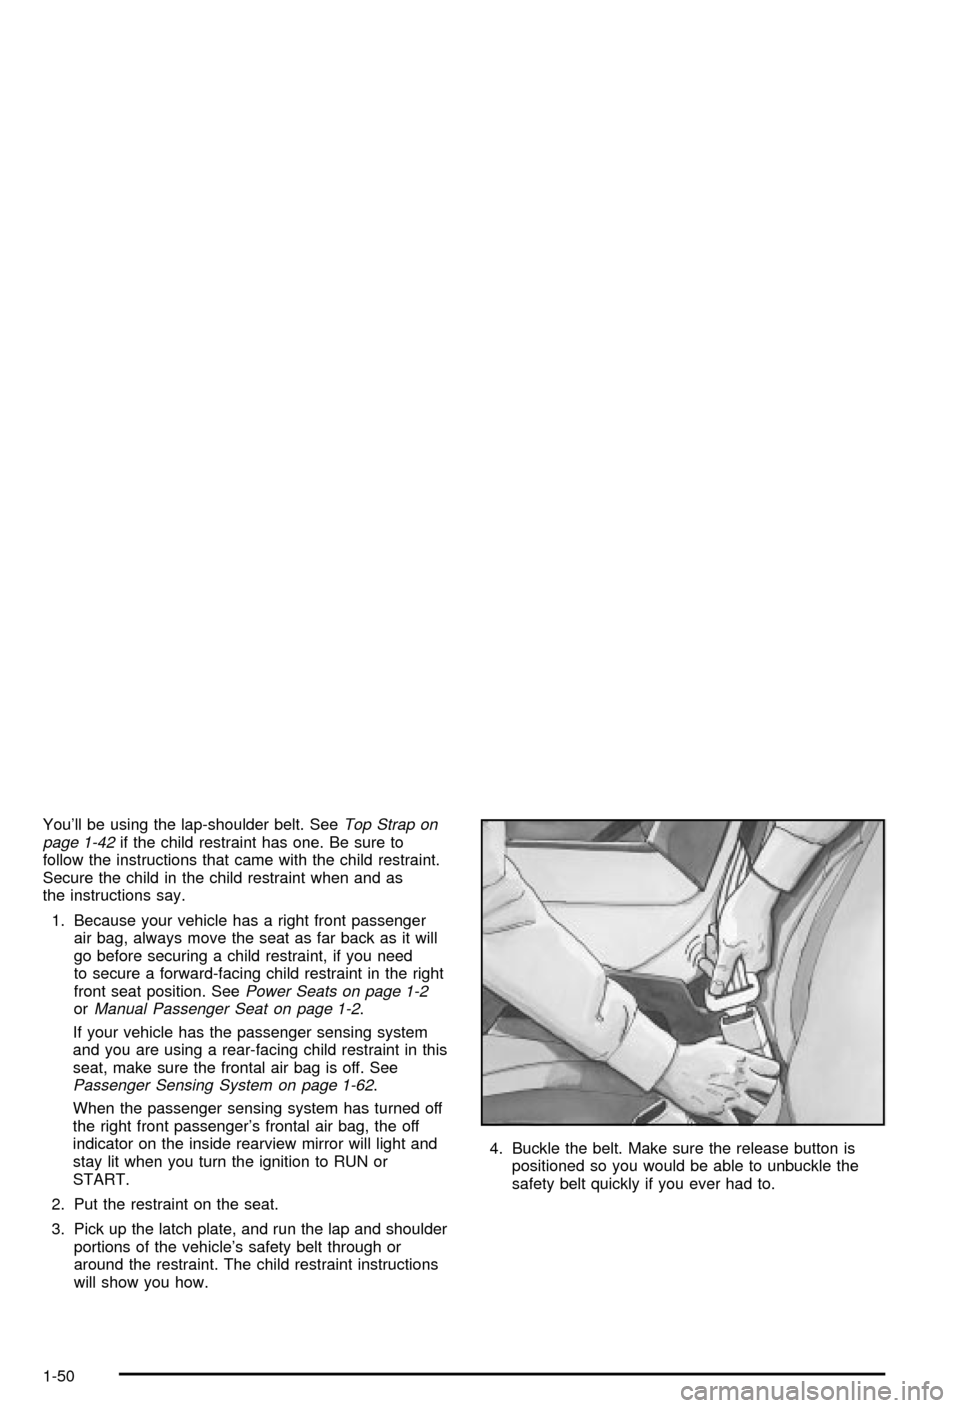
will show you how.4. Buckle the belt. Make sure the release button is
positioned so you would be able to unbuckle the
safety belt quickly if you ever had to.
1-50
Page 68 of 492

Passenger Sensing System
If your rearview mirror has one of the indicators pictured
in the following illustrations, your vehicle has a
passenger sensing system. The indicator will be visible
when you turn your ignition key to START or RUN.
The words ON and OFF or the symbol for on and off,
will be visible on the rearview mirror during the system
check. When the system check is complete, either
the word ON or the word OFF, or the symbol for on or
the symbol for off will be visible. See
Passenger Air
Bag Status Indicator on page 3-34. If your rearview
mirror doesn't have either of the indicators pictured, then
your vehicle doesn't have the passenger sensing
system.The passenger sensing system will turn off the right
front passenger's frontal air bag under certain
conditions. The driver's air bag and the side air bags
are not part of the passenger sensing system.
The passenger sensing system works with sensors that
are part of the right front passenger's seat and safety belt.
The sensors are designed to detect the presence of a
properly-seated occupant and determine if the
passenger's frontal air bag should be enabled (may
in¯ate) or not.
Accident statistics show that children are safer if they
are restrained in the rear rather than the front seat.
General Motors, therefore, recommends that child
restraints be secured in a rear seat, including an infant
riding in a rear-facing infant seat, a child riding in a
forward-facing child seat and an older child riding in a
booster seat. Never put a child in rear-facing child
restraint in the right front passenger seat unless your Passenger Air Bag Status Indicator ± United States
Passenger Air Bag
Status Indicator
± Canada
1-62
Page 72 of 492

Servicing Your Air Bag-Equipped
Vehicle
Air bags affect how your vehicle should be serviced.
There air bag system parts in several places around
your vehicle. You don't want the system to in¯ate while
someone is working on your vehicle. Your dealer
and the service manual have information about servicing
your vehicle and the air bag system. To purchase a
service manual, see
Service Publications Ordering
Information on page 7-11.
{CAUTION:
For up to 1 minute after the ignition key is
turned off and the battery is disconnected, an
air bag can still in¯ate during improper
service. You can be injured if you are close to
an air bag when it in¯ates. Avoid yellow
connectors. They are probably part of the air
bag system. Be sure to follow proper service
procedures, and make sure the person
performing work for you is quali®ed to do so.
Air bag systems do not need regular maintenance.
Adding Equipment to Your Air
Bag-Equipped Vehicle
Q:Is there anything I might add to the front or
sides of the vehicle that could keep the air
bags from working properly?
A:Yes. If you add things that change your vehicle's
frame, bumper system, front end or side sheet
metal or height, they may keep the air bag system
from working properly. Also, the air bag system
may not work properly if you relocate any of the air
bag sensors. If you have any questions about
this, you should contact Customer Assistance
before you modify your vehicle. The phone
numbers and addresses for Customer Assistance
are in Step Two of the Customer Satisfaction
Procedure in this manual. See
Customer
Satisfaction Procedure on page 7-2
.
1-66
Page 75 of 492

Keys...............................................................2-3
Remote Keyless Entry System.........................2-4
Remote Keyless Entry System Operation...........2-5
Doors and Locks.............................................2-7
Door Locks....................................................2-7
Power Door Locks..........................................2-8
Delayed Locking.............................................2-8
Programmable Automatic Door Locks................2-8
Rear Door Security Locks..............................2-11
Lockout Protection........................................2-12
Midgate.......................................................2-12
Tailgate.......................................................2-21
Windows........................................................2-23
Power Windows............................................2-24
Sun Visors...................................................2-24
Theft-Deterrent Systems..................................2-25
Content Theft-Deterrent.................................2-25
Passlock
ž....................................................2-26
Starting and Operating Your Vehicle................2-27
New Vehicle Break-In....................................2-27
Ignition Positions..........................................2-27
Starting Your Engine.....................................2-28
Adjustable Throttle and Brake Pedal................2-29Engine Coolant Heater..................................2-30
Automatic Transmission Operation...................2-31
Four-Wheel Drive..........................................2-34
Parking Brake..............................................2-39
Shifting Into Park (P).....................................2-40
Shifting Out of Park (P).................................2-42
Parking Over Things That Burn.......................2-43
Engine Exhaust............................................2-44
Running Your Engine While You Are Parked. . . .2-44
Mirrors...........................................................2-46
Manual Rearview Mirror.................................2-46
Automatic Dimming Rearview Mirror with
OnStar
ž, Compass and Temperature
Display....................................................2-46
Automatic Dimming Rearview Mirror with
Compass and Temperature Display..............2-48
Outside Camper-Type Mirrors.........................2-51
Outside Power Mirrors...................................2-51
Outside Convex Mirror...................................2-52
Outside Heated Mirrors..................................2-52
Outside Automatic Dimming Mirror with Curb
View Assist..............................................2-53
Section 2 Features and Controls
2-1
Page 77 of 492
Keys
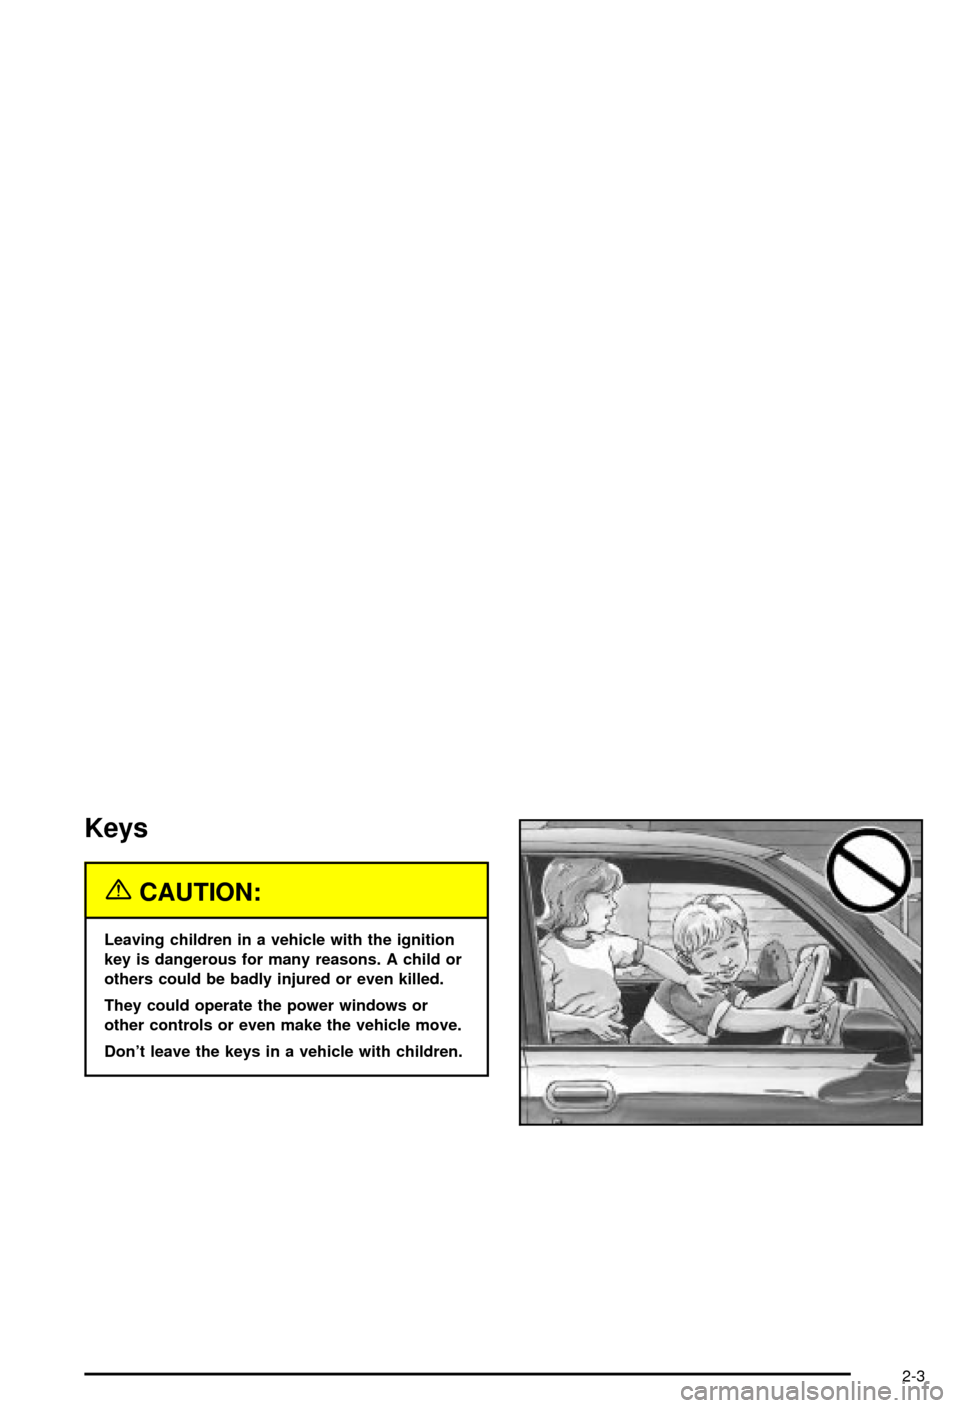
{CAUTION:
Leaving children in a vehicle with the ignition
key is dangerous for many reasons. A child or
others could be badly injured or even killed.
They could operate the power windows or
other controls or even make the vehicle move.
Don't leave the keys in a vehicle with children.
2-3
Page 78 of 492
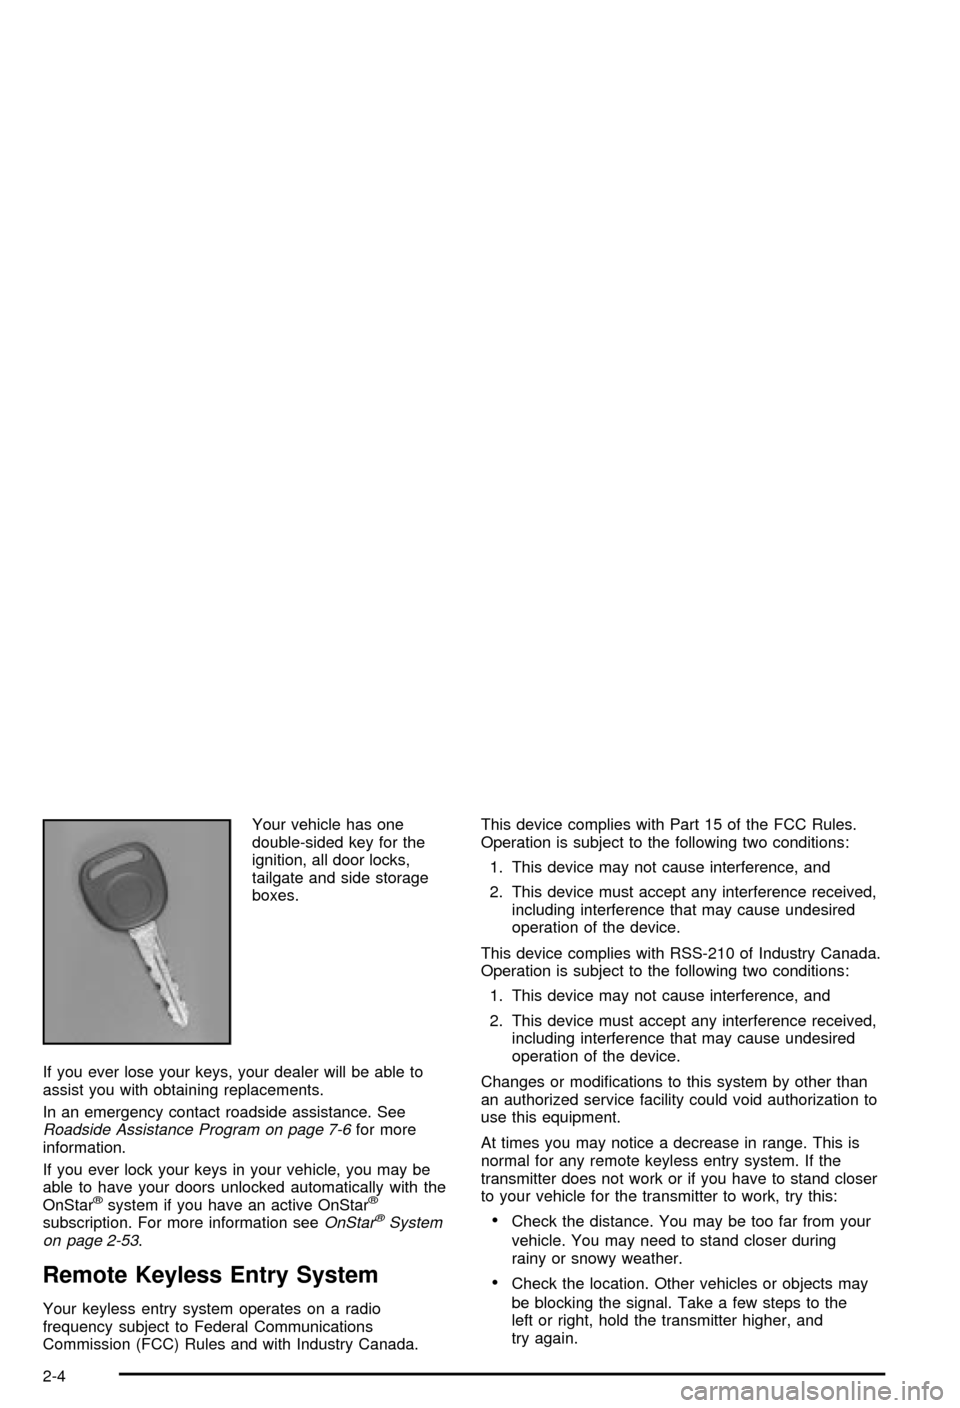
Your vehicle has one
double-sided key for the
ignition, all door locks,
tailgate and side storage
boxes.
If you ever lose your keys, your dealer will be able to
assist you with obtaining replacements.
In an emergency contact roadside assistance. See
Roadside Assistance Program on page 7-6for more
information.
If you ever lock your keys in your vehicle, you may be
able to have your doors unlocked automatically with the
OnStar
žsystem if you have an active OnStarž
subscription. For more information seeOnStaržSystem
on page 2-53.
Remote Keyless Entry System
Your keyless entry system operates on a radio
frequency subject to Federal Communications
Commission (FCC) Rules and with Industry Canada.This device complies with Part 15 of the FCC Rules.
Operation is subject to the following two conditions:
1. This device may not cause interference, and
2. This device must accept any interference received,
including interference that may cause undesired
operation of the device.
This device complies with RSS-210 of Industry Canada.
Operation is subject to the following two conditions:
1. This device may not cause interference, and
2. This device must accept any interference received,
including interference that may cause undesired
operation of the device.
Changes or modi®cations to this system by other than
an authorized service facility could void authorization to
use this equipment.
At times you may notice a decrease in range. This is
normal for any remote keyless entry system. If the
transmitter does not work or if you have to stand closer
to your vehicle for the transmitter to work, try this:
·Check the distance. You may be too far from your
vehicle. You may need to stand closer during
rainy or snowy weather.
·Check the location. Other vehicles or objects may
be blocking the signal. Take a few steps to the
left or right, hold the transmitter higher, and
try again.
2-4
Page 82 of 492
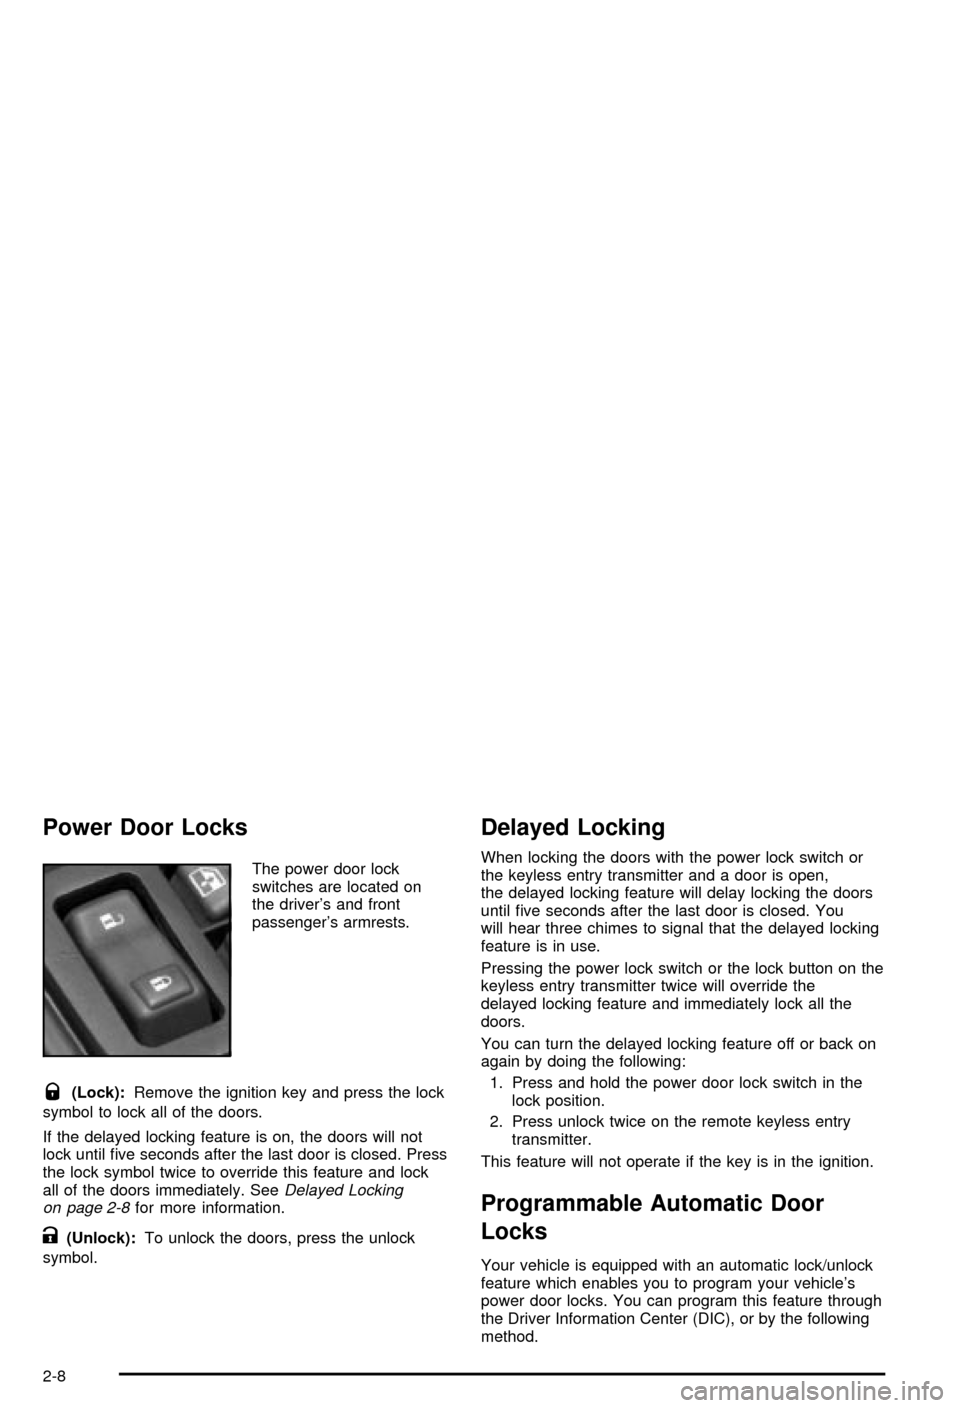
Power Door Locks
The power door lock
switches are located on
the driver's and front
passenger's armrests.
Q(Lock):Remove the ignition key and press the lock
symbol to lock all of the doors.
If the delayed locking feature is on, the doors will not
lock until ®ve seconds after the last door is closed. Press
the lock symbol twice to override this feature and lock
all of the doors immediately. See
Delayed Locking
on page 2-8for more information.
K(Unlock):To unlock the doors, press the unlock
symbol.
Delayed Locking
When locking the doors with the power lock switch or
the keyless entry transmitter and a door is open,
the delayed locking feature will delay locking the doors
until ®ve seconds after the last door is closed. You
will hear three chimes to signal that the delayed locking
feature is in use.
Pressing the power lock switch or the lock button on the
keyless entry transmitter twice will override the
delayed locking feature and immediately lock all the
doors.
You can turn the delayed locking feature off or back on
again by doing the following:
1. Press and hold the power door lock switch in the
lock position.
2. Press unlock twice on the remote keyless entry
transmitter.
This feature will not operate if the key is in the ignition.
Programmable Automatic Door
Locks
Your vehicle is equipped with an automatic lock/unlock
feature which enables you to program your vehicle's
power door locks. You can program this feature through
the Driver Information Center (DIC), or by the following
method.
2-8