2003 CHEVROLET AVALANCHE change wheel
[x] Cancel search: change wheelPage 129 of 492

OnStaržSteering Wheel Controls
g
: If your vehicle is
equipped with the steering
wheel control buttons
you can use them
to interact with the OnStar
ž
system.
See the OnStar
žmanual provided with your vehicle for
more information.
HomeLinkžTransmitter
HomeLinkž, a combined universal transmitter and
receiver, provides a way to replace up to three
hand-held transmitters used to activate devices such as
gate operators, garage door openers, entry door
locks, security systems and home lighting. Additional
HomeLink
žinformation can be found on the internet at
www.homelink.com or by calling 1-800-355-3515.
If your vehicle is equipped with the HomeLink
ž
Transmitter, it complies with Part 15 of the FCC Rules.
Operation is subject to the following two conditions:
(1) this device may not cause harmful interference, and
(2) this device must accept any interference received,
including interference that may cause undesired
operation.
This device complies with RSS-210 of Industry Canada.
Operation is subject to the following two conditions:
(1) this device may not cause interference, and (2) this
device must accept any interference, including
interference that may cause undesired operation of the
device.
Changes and modi®cations to this system by other than
an authorized service facility could void authorization
to use this equipment.
2-55
Page 167 of 492

Horn
To sound the horn, press the center pad on the steering
wheel.
Tilt Wheel
The tilt steering wheel allows you to adjust the steering
wheel before you drive. You can raise it to the highest
level to give your legs more room when you enter
and exit the vehicle.
The tilt lever is located on
the driver's side of the
steering column under the
turn signal lever.
To tilt the wheel, hold the steering wheel and pull the
lever. Move the steering wheel to a comfortable
level, then release the lever to lock the wheel in place.
Turn Signal/Multifunction Lever
The lever on the left side of the steering column
includes the following:
·Turn and Lane Change Signals
·Headlamp High/Low-Beam Changer
·Flash-to-Pass
·Windshield Wipers
·Windshield Washer
·Cruise Control
For more information on exterior lamps, see
Exterior
Lamps on page 3-13.
3-7
Page 170 of 492

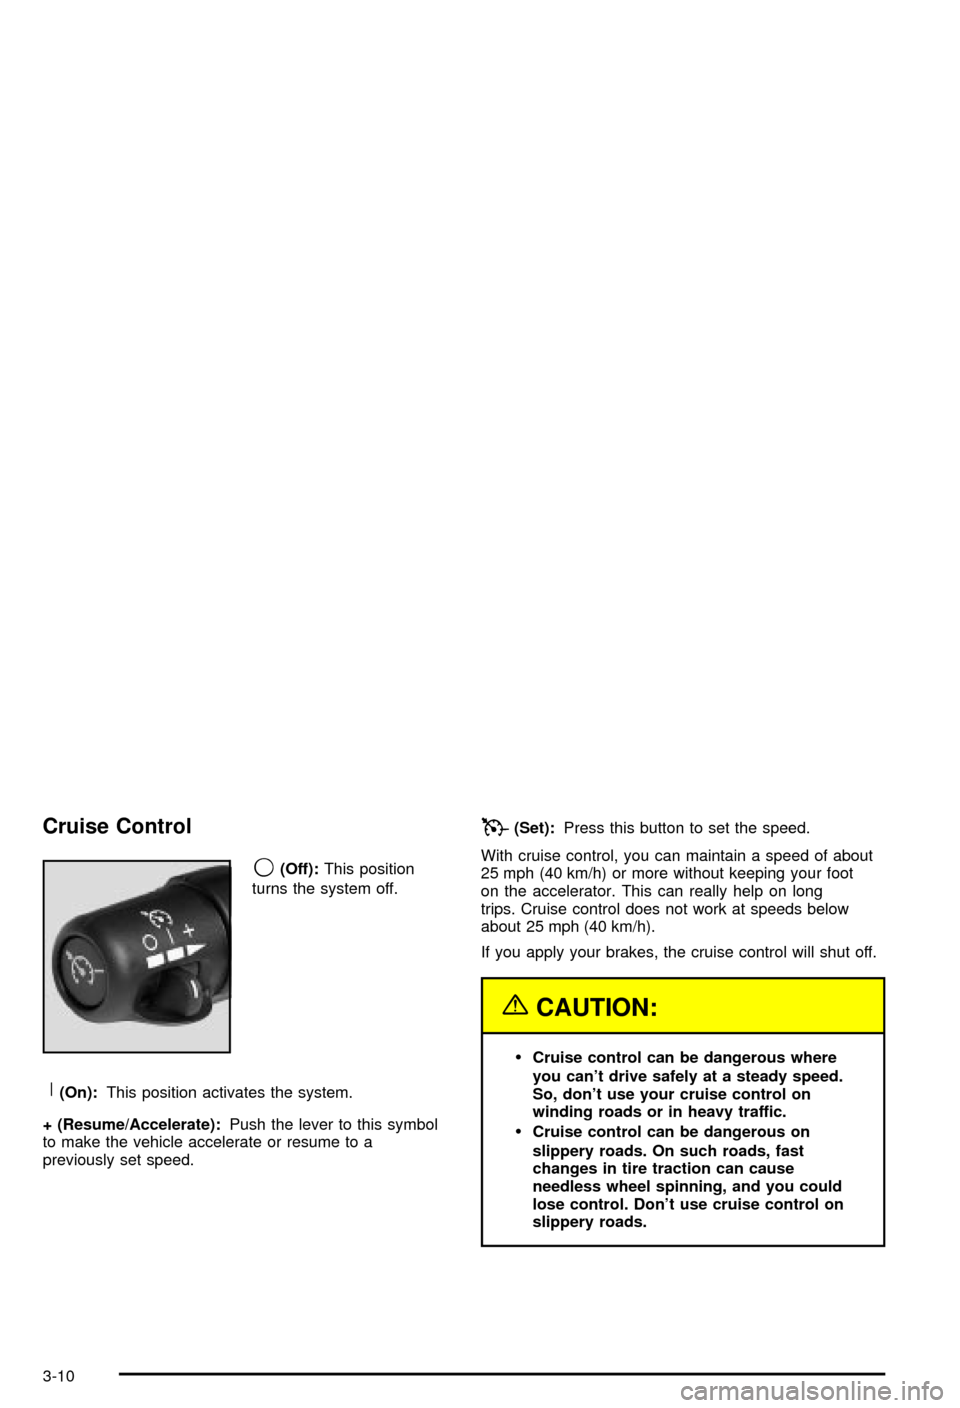
Cruise Control
9
(Off):This position
turns the system off.
R(On):This position activates the system.
+ (Resume/Accelerate):Push the lever to this symbol
to make the vehicle accelerate or resume to a
previously set speed.
T(Set):Press this button to set the speed.
With cruise control, you can maintain a speed of about
25 mph (40 km/h) or more without keeping your foot
on the accelerator. This can really help on long
trips. Cruise control does not work at speeds below
about 25 mph (40 km/h).
If you apply your brakes, the cruise control will shut off.
{CAUTION:
·Cruise control can be dangerous where
you can't drive safely at a steady speed.
So, don't use your cruise control on
winding roads or in heavy traffic.
·Cruise control can be dangerous on
slippery roads. On such roads, fast
changes in tire traction can cause
needless wheel spinning, and you could
lose control. Don't use cruise control on
slippery roads.
3-10
Page 206 of 492

Driver Information Center (DIC)
The DIC display is located on the instrument panel
cluster above the steering wheel. The DIC can display
information such as the trip odometer, fuel economy and
personalization features. Vehicles without the DIC
buttons will not have all the features as the regular DIC.
See
Speedometer and Odometer on page 3-32for
information on features for vehicles without a full DIC.
A (Trip Information):This button will display the
odometer, personal trip odometer, business trip
odometer, hourmeter, annual log and the timer.
B (Fuel Information):This button will display the
current range, average fuel economy, instant fuel
economy and engine oil life.C (Personalization):This button will change personal
options available on your vehicle.
D (Select):This button resets certain functions and
turns off or acknowledges messages on the DIC.
DIC Operation and Displays
The DIC comes on when the ignition is on. After a short
delay the DIC will display the current driver (1 or 2)
and the information that was last displayed before the
engine was turned off.
If a problem is detected, a warning message will appear
on the display. Pressing any of the four buttons will
acknowledge (clear) most current warnings or service
messages. Some warnings that cannot be
acknowledged (cleared) are: ENGINE OVERHEATED,
OIL PRESSURE LOW, REDUCED ENGINE POWER,
TRANS HOT IDLE ENGINE, STABILITY SYS ACTIVE,
TRACTION SYS LIMITED and TRACTION ACTIVE.
These warnings must be dealt with immediately
and therefore cannot be cleared until the problem has
been corrected.
The DIC has different modes which can be accessed by
pressing the four buttons on the DIC. These buttons
are trip information, fuel information, personalization and
select. The button functions are detailed in the
following.
3-46
Page 261 of 492

PROG (Program):The front passengers must be
listening to something different for each of these
functions to work:
·Press this button to go to the preset radio stations
set on the pushbuttons on the main radio.
·When a cassette tape is playing, press this button
to go to the other side of the tape.
·When a CD is playing in the radio, press this button
to go back to the beginning of the CD.
·When a CD is playing in the CD changer, press this
button to select a disc.
Theft-Deterrent Feature
THEFTLOCKžis designed to discourage theft of your
radio. The feature works automatically by learning
a portion of the Vehicle Identi®cation Number (VIN). If
the radio is moved to a different vehicle, it will not
operate and LOCKED will be displayed.
When the radio and vehicle are turned off, the blinking
red light indicates that THEFTLOCK
žis armed.
With THEFTLOCK
žactivated, your radio will not operate
if stolen.
Audio Steering Wheel Controls
You can control certain radio functions using the buttons
on your steering wheel.
g(OnStar/Voice Recognition):You can press this
button to interact with the OnStaržsystem. See the
OnStaržmanual provided with your vehicle for more
information.
PROG (Program):Press this button to play a station
you have programmed on the radio preset buttons
on the selected band. If a cassette tape is playing, press
this button to play the other side of the tape. If a
compact disc is playing in the CD changer, press this
button to go to the next available CD.
3-101
Page 271 of 492

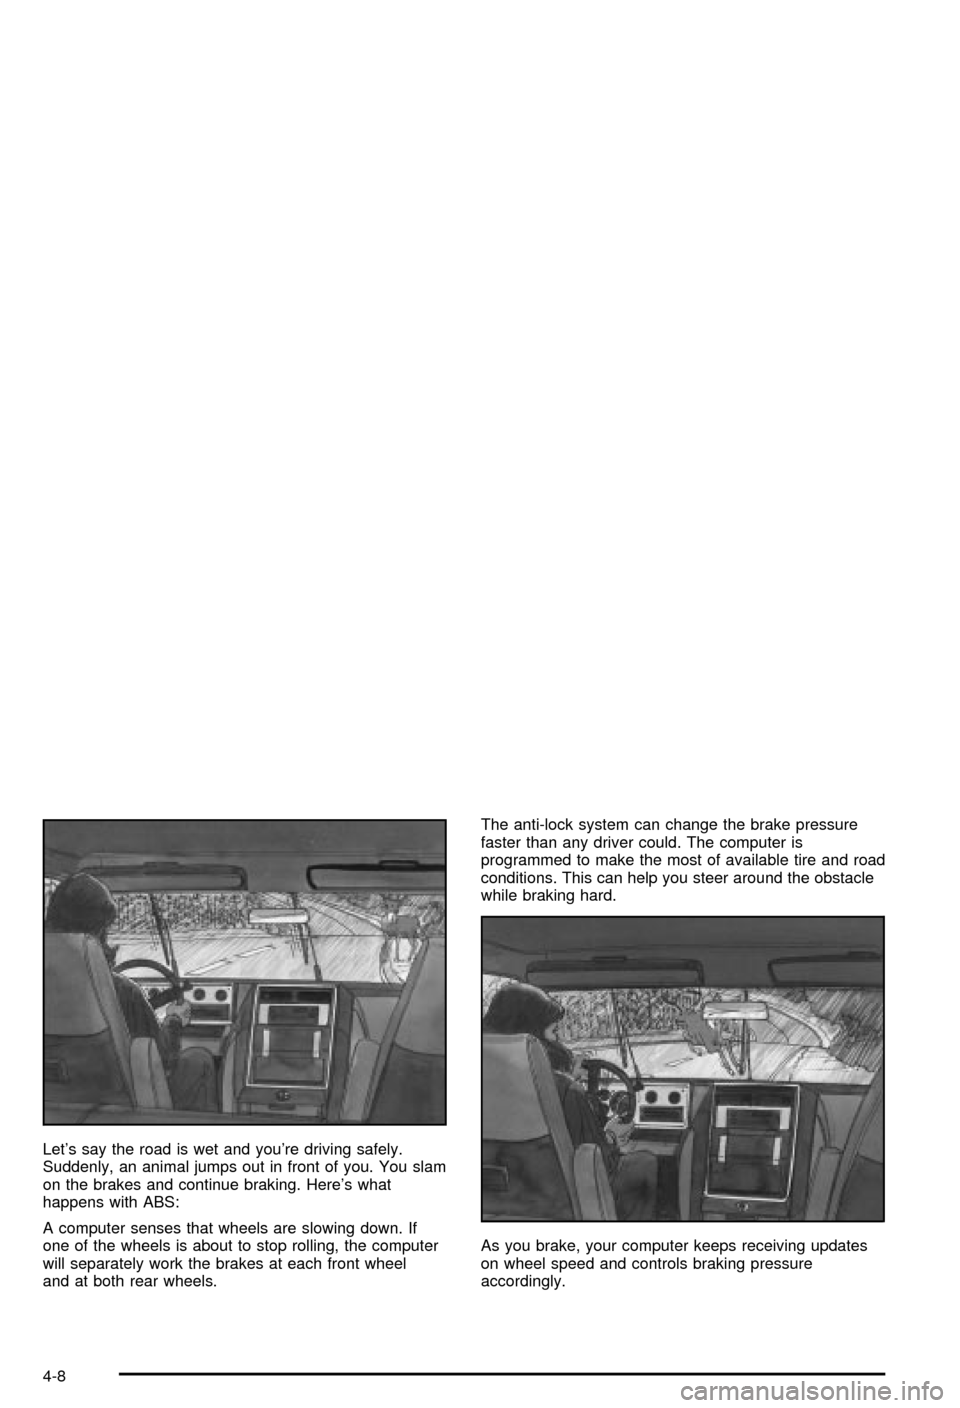
Let's say the road is wet and you're driving safely.
Suddenly, an animal jumps out in front of you. You slam
on the brakes and continue braking. Here's what
happens with ABS:
A computer senses that wheels are slowing down. If
one of the wheels is about to stop rolling, the computer
will separately work the brakes at each front wheel
and at both rear wheels.The anti-lock system can change the brake pressure
faster than any driver could. The computer is
programmed to make the most of available tire and road
conditions. This can help you steer around the obstacle
while braking hard.
As you brake, your computer keeps receiving updates
on wheel speed and controls braking pressure
accordingly.
4-8
Page 272 of 492

Remember: Anti-lock doesn't change the time you need
to get your foot up to the brake pedal or always
decrease stopping distance. If you get too close to the
vehicle in front of you, you won't have time to apply
your brakes if that vehicle suddenly slows or stops.
Always leave enough room up ahead to stop, even
though you have anti-lock brakes.
Using Anti-Lock
Don't pump the brakes. Just hold the brake pedal down
®rmly and let anti-lock work for you. You may feel
the brakes vibrate, or you may notice some noise, but
this is normal.
Braking in Emergencies
With anti-lock, you can steer and brake at the same
time. In many emergencies, steering can help you more
than even the very best braking.
Supplemental Brake Assist System
If your vehicle has vacuum assist power brakes, it is also
equipped with a supplemental brake assist system
that supplies additional vacuum to the vacuum brake
booster if engine vacuum is reduced. Under certain
conditions, the supplemental brake assist system may
run brie¯y after starting your vehicle or when you
apply and release the brake pedal and it may continue
to run even after you have removed your foot from
the brake pedal. When the supplemental brake assistsystem is operating, you may hear a motor running or
feel a slight vibration in the steering wheel or brake
pedal. This indicates that the supplemental brake assist
system is working to supply additional vacuum for
your vacuum assist power brakes. This is a normal
operation of your brake system and does not require that
the brake system be serviced.
Each time you start your vehicle and accelerate to 10
mph, the supplemental brake assist system will perform
a self-diagnostic check of the system and you may
hear or feel the supplemental brake assist motor run
brie¯y. While you are driving your vehicle, the
supplemental brake assist system monitors itself to
ensure that it is operating properly. If there is a problem
with the supplemental brake assist system, the
SERVICE BRAKE BOOSTER message will be displayed
on the Driver Information Center. See
DIC Warnings
and Messages on page 3-57.
If your supplemental brake assist system runs every
time you apply and release the brake pedal or you notice
that the brake pedal has suddenly become much
harder to push and the vehicle takes longer to stop, you
should have your vehicle serviced as soon as possible.
4-9
Page 274 of 492

The Traction Assist System, as delivered from the
factory, will automatically come on whenever you start
your vehicle. To limit wheel spin, especially in
slippery road conditions, you should always leave the
system on. But you can turn the TAS off if you ever need
to. You should turn the TAS off if your vehicle ever
gets stuck in sand, mud or snow and rocking the vehicle
is required. See
If You Are Stuck: In Sand, Mud, Ice
or Snow on page 4-45.
To turn the system on or
off press the TAS on/off
button located on the
instrument panel.
If you used the button to turn the system off, the traction
off light will come on and stay on. You can turn the
system back on at any time by pressing the button
again. The traction off light should go off.If desired, you can change the TAS automatic
engagement feature so that the system will not come on
automatically when the engine is started. To do so:
1. Park the vehicle with the ignition off and the
transmission in PARK (P).
2. Turn the ignition to RUN; do not start the engine.
3. Apply the brake pedal, shift into NEUTRAL (N),
press the accelerator pedal to the ¯oor and then
press the TAS on/off button and hold it down for at
least six seconds.
4. Release the TAS button and both pedals.
5. Turn off the ignition and wait a few seconds.
The next time you start your vehicle, the TAS will not
automatically come on. You can restore the automatic
feature by using the same procedure. Whether the TAS
is set to come on automatically or not, you can always
turn the system on or off by pressing the TAS on/off
button.
Locking Rear Axle
If your vehicle has this feature, it can give you additional
traction on snow, mud, ice, sand or gravel. It works
like a standard axle most of the time, but when one of
the rear wheels has no traction and the other does, this
feature will allow the wheel with traction to move the
vehicle.
4-11