Page 57 of 382
Bench Seats:An anchor bracket is located at the rear
of the seat cushion near the top rear of the seat leg
for each outboard seating position of the second row.
For the third row, an anchor bracket is located at
the rear of the seat cushion near the top rear of the
seat leg for the right outboard seating position.
If you have adjustable head restraints, raise the head
restraint and route the top strap under it.
The third row has one anchor for the passenger side
outboard position only.Passenger Van Bench Seat (Second row)
1-51
Page 58 of 382
Lower Anchorages and Top Tethers
for Children (LATCH System)
If you have a passenger van it has the LATCH system.
It has two sets of anchors (A) in the second row of
seats. In a seven passenger van, the anchors are
located in each of the bucket seats in the second row.
In an eight passenger van, the anchors are located
in the driver and passenger side seating positions of the
second row bench seat.In order to use the system, you need either a
forward-facing child restraint that has attaching
points (B) at its base and a top tether anchor (C), or a
rear-facing child restraint that has attaching points (B),
as shown here.
1-52
Page 66 of 382
You'll be using the lap-shoulder belt. SeeTop Strap on
page 1-48, if the child restraint has one. Be sure to
follow the instructions that came with the child restraint.
Secure the child in the child restraint when and as
the instructions say.
1. Because your vehicle has a right front passenger
air bag, always move the seat as far back as it will
go before securing a forward-facing child restraint.
See
Manual Seats on page 1-2.
2. Put the restraint on the seat.
3. Pick up the latch plate, and run the lap and shoulder
portions of the vehicle's safety belt through or
around the restraint. The child restraint instructions
will show you how.
4. Buckle the belt. Make sure the release button is
positioned so you would be able to unbuckle the
safety belt quickly if you ever had to.
1-60
Page 145 of 382

Be sure to keep the area under the front seats clear of
any objects so that the air inside of your vehicle can
circulate effectively.
For information on how to use the main climate-control
system. For information on ventilation, see ªOutlet
Adjustmentº listed later in this section.
Rear Climate Control System
Rear Window Defogger
The rear window defogger uses a warming grid to
remove fog or frost from the rear window.
The rear window defogger will only work when the
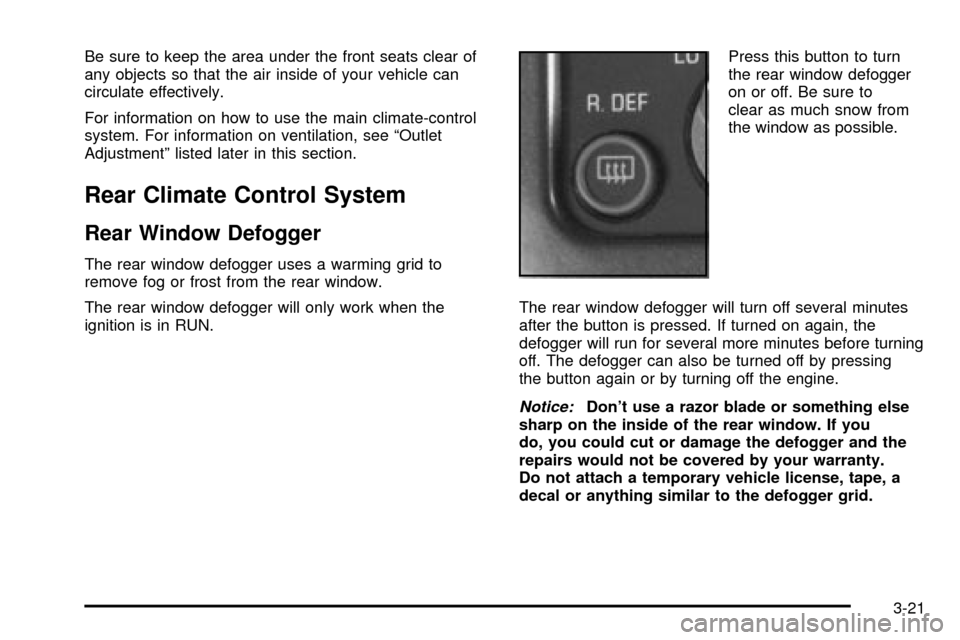
ignition is in RUN.Press this button to turn
the rear window defogger
on or off. Be sure to
clear as much snow from
the window as possible.
The rear window defogger will turn off several minutes
after the button is pressed. If turned on again, the
defogger will run for several more minutes before turning
off. The defogger can also be turned off by pressing
the button again or by turning off the engine.
Notice:Don't use a razor blade or something else
sharp on the inside of the rear window. If you
do, you could cut or damage the defogger and the
repairs would not be covered by your warranty.
Do not attach a temporary vehicle license, tape, a
decal or anything similar to the defogger grid.
3-21
Page 146 of 382
Outlet Adjustment
Move the thumbwheel in the center of the outlets up or
down to change the direction of air¯ow.
Operation Tips
·Clear away any ice, snow or leaves from the air
inlets at the base of the windshield that may
block the ¯ow of air into your vehicle.
·Use of non-GM approved hood de¯ectors may
adversely affect the performance of the system.
·Keep the path under the front seats clear
of objects to help circulate the air inside of your
vehicle more effectively.
3-22
Page 204 of 382

The Certi®cation/Tire label also tells you the maximum
weights for the front and rear axles, called Gross
Axle Weight Rating (GAWR). To ®nd out the actual loads
on your front and rear axles, you need to go to a
weigh station and weigh your vehicle. Your dealer can
help you with this. Be sure to spread out your load
equally on both sides of the centerline.
Never exceed the GVWR for your vehicle, or the GAWR
for either the front or rear axle.
And, if you do have a heavy load, you should spread
it out.
{CAUTION:
Do not load your vehicle any heavier than the
GVWR, or either the maximum front or rear
GAWR. If you do, parts on your vehicle can
break, and it can change the way your vehicle
handles. These could cause you to lose
control and crash. Also, overloading can
shorten the life of your vehicle.
Using heavier suspension components to get added
durability might not change your weight ratings. Ask your
dealer to help you load your vehicle the right way.
Notice:Your warranty does not cover parts or
components that fail because of overloading.
If you put things inside of your vehicle ± like suitcases,
tools, packages, or anything else ± they will go as
fast as the vehicle goes. If you have to stop or turn
quickly, or if there is a crash, they'll keep going.
{CAUTION:
Things you put inside your vehicle can strike
and injure people in a sudden stop or turn, or
in a crash.
·Put things in the cargo area of your
vehicle. Try to spread the weight evenly.
·Never stack heavier things, like suitcases,
inside the vehicle so that some of them
are above the tops of the seats.
·Don't leave an unsecured child restraint in
your vehicle.
·When you carry something inside the
vehicle, secure it whenever you can.
·Don't leave a seat folded down unless you
need to.
4-30
Page 236 of 382
Engine Cover
Removing the Engine Cover
1. Move both front seats as far back as they will go.
2. Remove the instrument panel extension by
removing the two nuts that secure it in place. The
nuts are located at the bottom of the extension
on the driver's and passenger's side corners.
5-20
Page 311 of 382

Fuse/Circuit
BreakerUsage
10 Air Bag System
11 Not Used
12L, M1, M2 Blower Motor, Rear Air
Conditioning Relay Coil, Front Cont.
Temp. Door Motor, HI Blower Relay,
Defogger Timer Coil
13Cigarette Lighter, Door Lock
Switches, Dutch Door Release
Module
14Cluster Illum, Climate Controls,
Chime Module, Radio Illumination,
Rear Heat Switch Illumination, Rear
Wiper/Washer Switch Illumination,
Rear Liftgate Switch Illumination,
Remote Cassette Illumination,
Overhead Console, Truck Body
Control Illumination
15Truck Body Module, Headlamp
Relay
16Front Turn Signals, Rear Turn
Signals, Trailer Turn Signals,
Back-Up Lamps, Brake
Transmission Shift Interlock SolenoidFuse/Circuit
BreakerUsage
17 Front Wipers, Front Washer Pump
18VCM-Ign 3, VCM-Brake, Cruise
Stepper Motor Signal, ATC Module
19Instrument Panel Radio: ATC (Main
Feed), 2000 Series (Standby)
20PRNDL/Odometer, TCC Enable and
PWM Solenoid, Shift A and Shift B
Solenoids, 3±2 Downshift Solenoid,
Instrument Panel Cluster, VCM
Module
21 Powr Adjust Mirrors
22 Not Used
23 Rear Wiper, Rear Washer Pump
24 Not Used
A(Circuit Breaker) Power Door Lock
Relay, 6±Way Power Seats
B (Circuit Breaker) Power Windows
5-95