2003 CHEVROLET ASTRO CARGO VAN turn signal
[x] Cancel search: turn signalPage 166 of 382

oSEEKp:Press the right or the left arrow to seek
to the next station or to the previous station and
stay there.
To scan stations, press and hold either SEEK arrow for
two seconds until SCAN appears on the display. The
radio will scan to a station, play for a few seconds, then
go on to the next station. Press either SEEK arrow
again to stop scanning.
The radio will seek and scan only to stations that are in
the selected band and only to those with a strong signal.
P.SCAN (Preset Scan):Press this button to listen to
each of your favorite stations stored on the pushbuttons
for a few seconds. P.SCAN will appear on the display.
Press this button again or one of the pushbuttons to stop
scanning presets.
The radio will scan only to the preset stations that are in
the selected band and only to those with a strong signal.Setting Preset Stations
The six numbered pushbuttons let you return to your
favorite stations. You can set up to 18 stations (six AM,
six FM1 and six FM2) by performing the following
steps:
1. Turn the radio on.
2. Press AM FM to select AM, FM1 or FM2.
3. Tune in the desired station.
4. Press AUTO TONE to select the setting you prefer.
5. Press and hold one of the six pushbuttons. The
sound will mute. When it returns, release the
pushbutton. Whenever you press that numbered
pushbutton, the station you set will return and
the tone you selected will be automatically selected
for that pushbutton.
6. Repeat the steps for each pushbutton.
3-42
Page 174 of 382

Understanding Radio Reception
AM
The range for most AM stations is greater than for FM,
especially at night. The longer range, however, can
cause stations to interfere with each other. AM can pick
up noise from things like storms and power lines. Try
reducing the treble to reduce this noise if you ever get it.
FM
FM stereo will give you the best sound, but FM signals
will reach only about 10 to 40 miles (16 to 65 km).
Tall buildings or hills can interfere with FM signals,
causing the sound to come and go.
Care of Your CDs
Handle discs carefully. Store them in their original cases
or other protective cases and away from direct sunlight
and dust. If the surface of a disc is soiled, dampen
a clean, soft cloth in a mild, neutral detergent solution
and clean it, wiping from the center to the edge.
Be sure never to touch the side without writing when
handling discs. Pick up discs by grasping the outer
edges or the edge of the hole and the outer edge.
Care of Your CD Player
The use of CD lens cleaner discs is not advised, due to
the risk of contaminating the lens of the CD optics
with lubricants internal to the CD mechanism.
Fixed Mast Antenna
The ®xed mast antenna can withstand most car washes
without being damaged. If the mast should ever
become slightly bent, you can straighten it out by hand.
If the mast is badly bent, as it might be by vandals,
you should replace it.
Check occasionally to be sure the mast is still tightened
to the fender. If tightening is required, tighten by
hand, then with a wrench one quarter turn.
3-50
Page 187 of 382

·Check your mirrors, glance over your shoulder, and
start your left lane change signal before moving out
of the right lane to pass. When you are far
enough ahead of the passed vehicle to see its front
in your inside mirror, activate your right lane
change signal and move back into the right lane.
(Remember that your right outside mirror is convex.
The vehicle you just passed may seem to be
farther away from you than it really is.)
·Try not to pass more than one vehicle at a time on
two-lane roads. Reconsider before passing the
next vehicle.
·Don't overtake a slowly moving vehicle too rapidly.
Even though the brake lamps are not ¯ashing, it
may be slowing down or starting to turn.
·If you're being passed, make it easy for the
following driver to get ahead of you. Perhaps you
can ease a little to the right.
Loss of Control
Let's review what driving experts say about what happens
when the three control systems (brakes, steering and
acceleration) don't have enough friction where the tires
meet the road to do what the driver has asked.
In any emergency, don't give up. Keep trying to steer
and constantly seek an escape route or area of
less danger.
Skidding
In a skid, a driver can lose control of the vehicle.
Defensive drivers avoid most skids by taking reasonable
care suited to existing conditions, and by not
ªoverdrivingº those conditions. But skids are always
possible.
The three types of skids correspond to your vehicle's
three control systems. In the braking skid, your wheels
aren't rolling. In the steering or cornering skid, too much
speed or steering in a curve causes tires to slip and lose
cornering force. And in the acceleration skid, too much
throttle causes the driving wheels to spin.
A cornering skid is best handled by easing your foot off
the accelerator pedal.
4-13
Page 190 of 382

Driving in Rain and on Wet Roads
Rain and wet roads can mean driving trouble. On a wet
road, you can't stop, accelerate or turn as well because
your tire-to-road traction isn't as good as on dry roads.And, if your tires don't have much tread left, you'll get
even less traction. It's always wise to go slower and be
cautious if rain starts to fall while you are driving. The
surface may get wet suddenly when your re¯exes are
tuned for driving on dry pavement.
The heavier the rain, the harder it is to see. Even if your
windshield wiper blades are in good shape, a heavy
rain can make it harder to see road signs and
traffic signals, pavement markings, the edge of the road
and even people walking.
It's wise to keep your wiping equipment in good shape
and keep your windshield washer tank ®lled with
washer ¯uid. Replace your windshield wiper inserts
when they show signs of streaking or missing areas on
the windshield, or when strips of rubber start to
separate from the inserts.
4-16
Page 193 of 382
City Driving
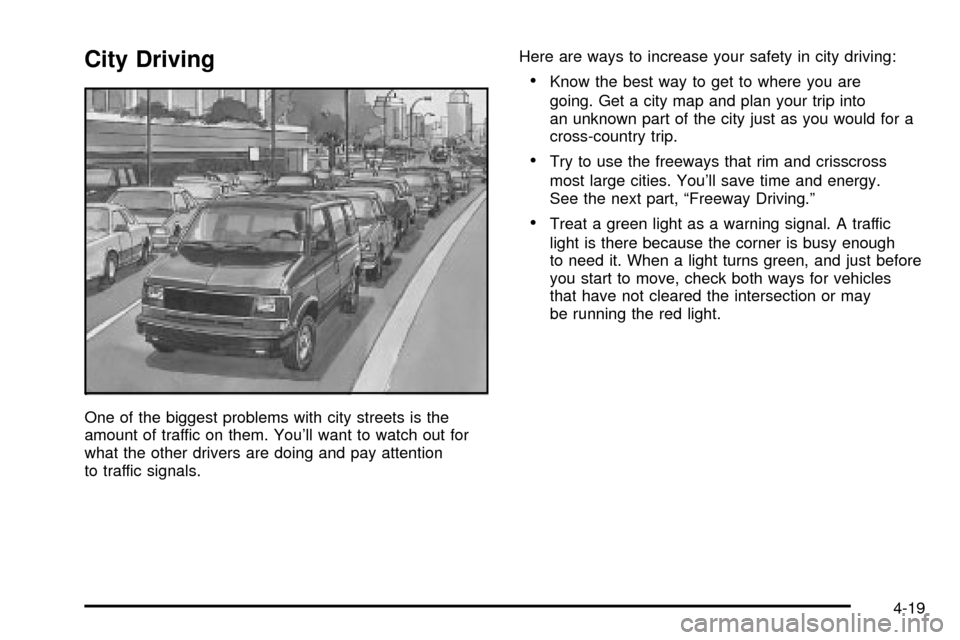
One of the biggest problems with city streets is the
amount of traffic on them. You'll want to watch out for
what the other drivers are doing and pay attention
to traffic signals.Here are ways to increase your safety in city driving:
·Know the best way to get to where you are
going. Get a city map and plan your trip into
an unknown part of the city just as you would for a
cross-country trip.
·Try to use the freeways that rim and crisscross
most large cities. You'll save time and energy.
See the next part, ªFreeway Driving.º
·Treat a green light as a warning signal. A traffic
light is there because the corner is busy enough
to need it. When a light turns green, and just before
you start to move, check both ways for vehicles
that have not cleared the intersection or may
be running the red light.
4-19
Page 194 of 382
Freeway Driving
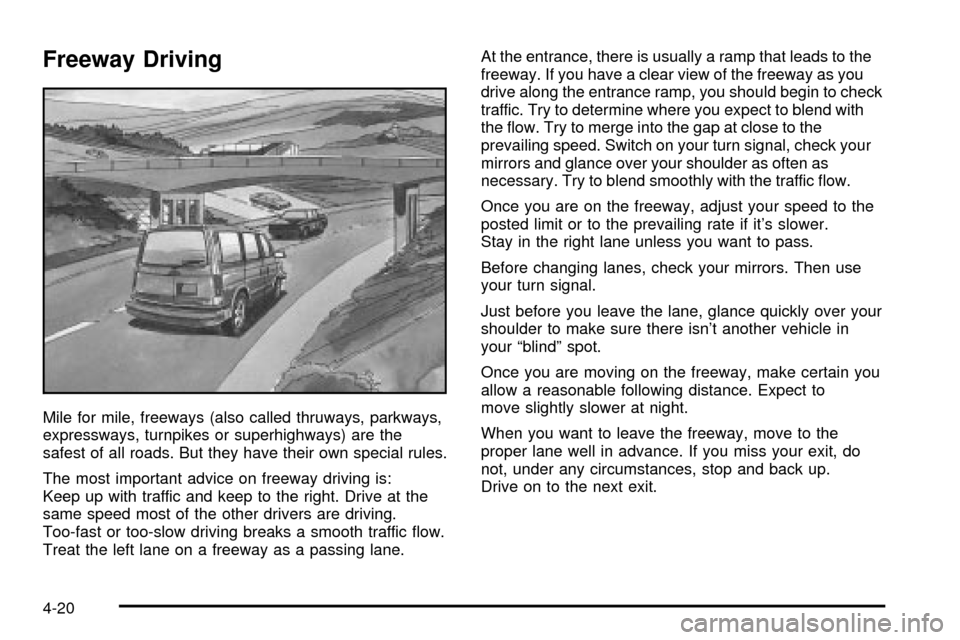
Mile for mile, freeways (also called thruways, parkways,
expressways, turnpikes or superhighways) are the
safest of all roads. But they have their own special rules.
The most important advice on freeway driving is:
Keep up with traffic and keep to the right. Drive at the
same speed most of the other drivers are driving.
Too-fast or too-slow driving breaks a smooth traffic ¯ow.
Treat the left lane on a freeway as a passing lane.At the entrance, there is usually a ramp that leads to the
freeway. If you have a clear view of the freeway as you
drive along the entrance ramp, you should begin to check
traffic. Try to determine where you expect to blend with
the ¯ow. Try to merge into the gap at close to the
prevailing speed. Switch on your turn signal, check your
mirrors and glance over your shoulder as often as
necessary. Try to blend smoothly with the traffic ¯ow.
Once you are on the freeway, adjust your speed to the
posted limit or to the prevailing rate if it's slower.
Stay in the right lane unless you want to pass.
Before changing lanes, check your mirrors. Then use
your turn signal.
Just before you leave the lane, glance quickly over your
shoulder to make sure there isn't another vehicle in
your ªblindº spot.
Once you are moving on the freeway, make certain you
allow a reasonable following distance. Expect to
move slightly slower at night.
When you want to leave the freeway, move to the
proper lane well in advance. If you miss your exit, do
not, under any circumstances, stop and back up.
Drive on to the next exit.
4-20
Page 212 of 382

Following Distance
Stay at least twice as far behind the vehicle ahead as
you would when driving your vehicle without a trailer.
This can help you avoid situations that require
heavy braking and sudden turns.
Passing
You'll need more passing distance up ahead when
you're towing a trailer. And, because you're a good deal
longer, you'll need to go much farther beyond the
passed vehicle before you can return to your lane.
Backing Up
Hold the bottom of the steering wheel with one hand.
Then, to move the trailer to the left, just move that hand
to the left. To move the trailer to the right, move your
hand to the right. Always back up slowly and, if possible,
have someone guide you.
Making Turns
Notice:Making very sharp turns while trailering
could cause the trailer to come in contact with the
vehicle. Your vehicle could be damaged. Avoid
making very sharp turns while trailering.
When you're turning with a trailer, make wider turns than
normal. Do this so your trailer won't strike soft shoulders,
curbs, road signs, trees or other objects. Avoid jerky or
sudden maneuvers. Signal well in advance.
Turn Signals When Towing a Trailer
When you tow a trailer, your vehicle has to have extra
wiring (included in the optional trailering package).
The arrows on your instrument panel will ¯ash whenever
you signal a turn or lane change. Properly hooked up,
the trailer lamps will also ¯ash, telling other drivers
you're about to turn, change lanes or stop.
When towing a trailer, the arrows on your instrument
panel will ¯ash for turns even if the bulbs on the trailer
are burned out. Thus, you may think drivers behind
you are seeing your signal when they are not. It's
important to check occasionally to be sure the trailer
bulbs are still working.
4-38
Page 215 of 382

Trailer Wiring Harness
If you have the optional trailering package, your vehicle
will have an eight-wire harness, including the center
high-mounted stoplamp battery feed wire. The harness
is stored on the passenger's side of the vehicle near
the rear wheel well. This harness has a 30 amp battery
feed wire and no connector, and should be wired by
a quali®ed electrical technician. After choosing an
aftermarket trailer mating connector pair, have the
technician attach one connector to the eight-wire trailer
harness and the other connector to the wiring harness
on the trailer. Be sure the wiring harness on the trailer is
taped or strapped to the trailer's frame rail and leave
it loose enough so the wiring doesn't bend or break, but
not so loose that it drags on the ground. The eight-wire
harness must be routed out of your vehicle between
the rear door and the ¯oor, with enough of the harness
left on both sides so that the trailer or the body won't
pull it. If you do not have the optional trailering package,
your vehicle will still have a trailering harness. The
harness is located near the passenger's side rear wheel
well. It consists of six wires that may be used by
after-market trailer hitch installers.The technician can use the following color code chart
when connecting the wiring harness to your trailer.·Brown: Rear lamps.
·Yellow: Left stoplamp and turn signal.
·Dark Green: Right stoplamp and turn signal.
·White (Heavy Gage): Ground.
·Light Green: Back-up lamps.
·White (Light Gage): Center High-Mounted Stoplamp.
·Blue: Auxiliary circuit (eight-wire harness only).
·Orange: Fused auxiliary (eight-wire harness only).
Store the harness in its original place. Wrap the
harness together and tie it neatly so it won't
be damaged.
4-41