2003 BUICK PARK AVENUE ignition
[x] Cancel search: ignitionPage 9 of 372

Power Lumbar
If your vehicle has this
feature, the power lumbar
control is located on
the outboard side of each
front seat. Use the
power seat control ®rst to
get the proper position.
Then continue with
the lumbar adjustment.
To reshape the lower seatback, press the lumbar
control forward to increase support and rearward to
decrease support. Press the control up or down to raise
or lower the support mechanism.
Keep in mind that as your seating position changes, as
it may during long trips, so should the position of
your lumbar support. Adjust the seat as needed.
If you have the independent front cushion moved down
as far as it will go, you may feel the lumbar support
higher in your back. Readjust the location of the cushion
until you are comfortable. You may also want to
adjust the seatback for maximum comfort.
Heated Seats
If your vehicle has this option, press this button to turn
on the heating element in the seat.
The heated seat controls
are located next to the
climate controls on
the instrument panel.
When the heated seat control is ®rst pressed, the HI
setting is activated. Press the button again for the
LO setting. The third press of the button turns the
feature off.
The LO setting warms the seatback and cushion until
the seat nears body temperature. The HI setting
heats the seat to a slightly higher temperature.
A light on the control reminds you that the heating
system is in use. When the ignition is turned off, the
heating element is also turned off.
1-3
Page 62 of 372

Servicing Your Air Bag-Equipped
Vehicle
Air bags affect how your vehicle should be serviced.
There are parts of the air bag systems in several places
around your vehicle. Your dealer and the service
manual have information about servicing your vehicle
and the air bag systems. To purchase a service manual,
see
Service Publications Ordering Information on
page 7-9.
{CAUTION:
For up to 10 seconds after the ignition key is
turned off and the battery is disconnected, an
air bag can still in¯ate during improper
service. You can be injured if you are close to
an air bag when it in¯ates. Avoid yellow
connectors. They are probably part of the air
bag systems. Be sure to follow proper service
procedures, and make sure the person
performing work for you is quali®ed to do so.
The air bag systems do not need regular maintenance.
Restraint System Check
Checking Your Restraint Systems
Now and then, make sure the safety belt reminder light
and all your belts, buckles, latch plates, retractors
and anchorages are working properly. Look for any other
loose or damaged safety belt system parts. If you see
anything that might keep a safety belt system from doing
its job, have it repaired.
Torn or frayed safety belts may not protect you in a
crash. They can rip apart under impact forces. If a belt
is torn or frayed, get a new one right away.
Also look for any opened or broken air bag covers, and
have them repaired or replaced. (The air bag system
does not need regular maintenance.)
1-56
Page 65 of 372
Keys...............................................................2-3
Remote Keyless Entry System.........................2-5
Remote Keyless Entry System Operation...........2-5
Doors and Locks.............................................2-9
Door Locks....................................................2-9
Central Door Unlocking System........................2-9
Power Door Locks........................................2-10
Door Ajar Reminder......................................2-10
Delayed Locking...........................................2-10
Programmable Automatic` Door Locks..............2-11
Rear Door Security Locks..............................2-12
Lockout Protection........................................2-13
Leaving Your Vehicle....................................2-13
Trunk..........................................................2-13
Windows........................................................2-15
Power Windows............................................2-16
Sun Visors...................................................2-17
Theft-Deterrent Systems..................................2-17
Content Theft-Deterrent.................................2-17
PASS-Key
žIII ..............................................2-19
PASS-KeyžIII Operation...............................2-19Starting and Operating Your Vehicle................2-21
New Vehicle Break-In....................................2-21
Ignition Positions..........................................2-21
Starting Your Engine.....................................2-22
Engine Coolant Heater..................................2-23
Automatic Transaxle Operation.......................2-24
Parking Brake..............................................2-27
Shifting Into Park (P).....................................2-28
Shifting Out of Park (P).................................2-30
Parking Over Things That Burn.......................2-31
Engine Exhaust............................................2-31
Running Your Engine While You Are Parked. . . .2-32
Mirrors...........................................................2-33
Manual Rearview Mirror.................................2-33
Automatic Dimming Rearview Mirror................2-33
Automatic Dimming Rearview Mirror with
Compass.................................................2-33
Outside Power Mirrors...................................2-36
Outside Curb View Assist Mirror.....................2-36
Outside Convex Mirror...................................2-37
Outside Automatic Dimming Heated Mirror........2-37
Section 2 Features and Controls
2-1
Page 67 of 372
Keys
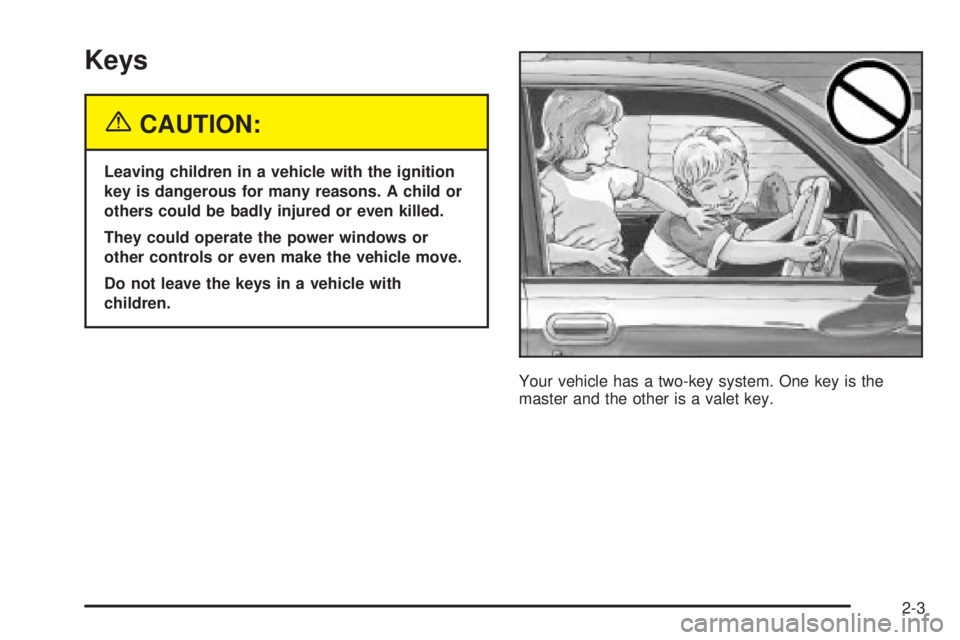
{CAUTION:
Leaving children in a vehicle with the ignition
key is dangerous for many reasons. A child or
others could be badly injured or even killed.
They could operate the power windows or
other controls or even make the vehicle move.
Do not leave the keys in a vehicle with
children.
Your vehicle has a two-key system. One key is the
master and the other is a valet key.
2-3
Page 68 of 372

The master key is used for
the ignition, as well as the
driver's door lock, trunk
and glove box.
The VALET key is used for
the ignition and the driver's
door only. It will not
open the trunk or glove
box. This is a
theft-deterrent feature. The
VALET key should
always be used when valet
parking your vehicle.Your vehicle has the PASS-KeyžIII vehicle theft
system. Both the master and VALET key have a
transponder in the key head that matches a decoder in
the vehicle's steering column. If a replacement key
or any additional key is needed, you must purchase this
key from your dealer. The key will have PK3
žstamped
on it. Keep the bar code tag that came with the
original keys. Give this tag to your dealer if you need a
new key made.
Any new PASS-Key
žIII key must be programmed
before it will start your vehicle. SeePASS-Keyž
III Operation on page 2-19for more information on
programming your new key.
If your vehicle is equipped with the OnStar
žSystem
with an active subscription and you lock your keys inside
the vehicle, OnStar
žmay be able to send a command
to unlock your vehicle. SeeOnStaržSystem on
page 2-37for more information.
Notice:Your vehicle has a number of features that
can help prevent theft. You can have a lot of
trouble getting into your vehicle if you ever lock
your keys inside. You may even have to damage
your vehicle to get in. So be sure you have
spare keys.
2-4
Page 70 of 372
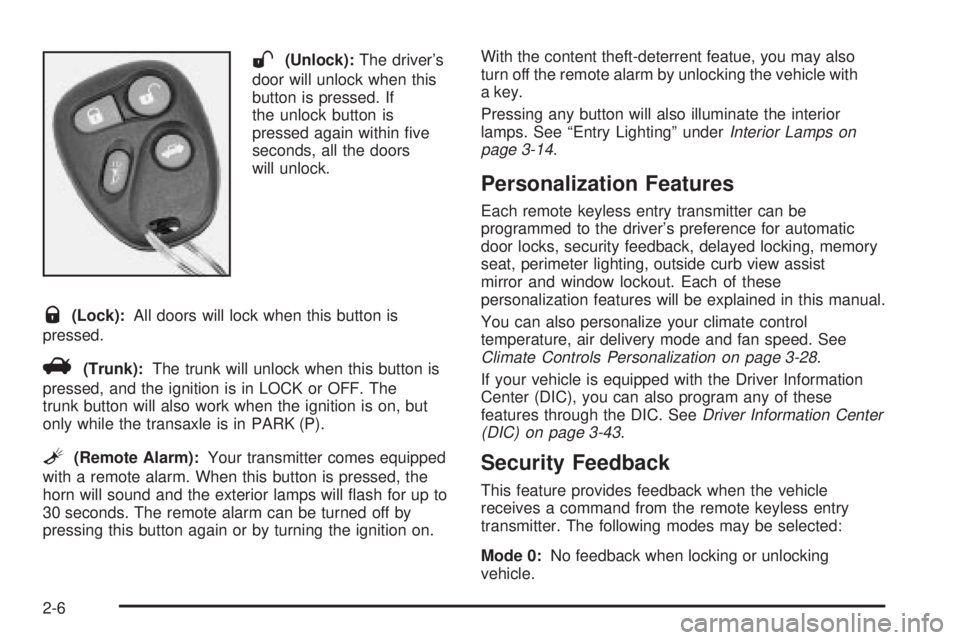
W(Unlock):The driver's
door will unlock when this
button is pressed. If
the unlock button is
pressed again within ®ve
seconds, all the doors
will unlock.
Q(Lock):All doors will lock when this button is
pressed.
V(Trunk):The trunk will unlock when this button is
pressed, and the ignition is in LOCK or OFF. The
trunk button will also work when the ignition is on, but
only while the transaxle is in PARK (P).
L(Remote Alarm):Your transmitter comes equipped
with a remote alarm. When this button is pressed, the
horn will sound and the exterior lamps will ¯ash for up to
30 seconds. The remote alarm can be turned off by
pressing this button again or by turning the ignition on.With the content theft-deterrent featue, you may also
turn off the remote alarm by unlocking the vehicle with
a key.
Pressing any button will also illuminate the interior
lamps. See ªEntry Lightingº under
Interior Lamps on
page 3-14.
Personalization Features
Each remote keyless entry transmitter can be
programmed to the driver's preference for automatic
door locks, security feedback, delayed locking, memory
seat, perimeter lighting, outside curb view assist
mirror and window lockout. Each of these
personalization features will be explained in this manual.
You can also personalize your climate control
temperature, air delivery mode and fan speed. See
Climate Controls Personalization on page 3-28.
If your vehicle is equipped with the Driver Information
Center (DIC), you can also program any of these
features through the DIC. See
Driver Information Center
(DIC) on page 3-43.
Security Feedback
This feature provides feedback when the vehicle
receives a command from the remote keyless entry
transmitter. The following modes may be selected:
Mode 0:No feedback when locking or unlocking
vehicle.
2-6
Page 71 of 372
Mode 1:No feedback when locking; exterior lamps
¯ash when unlocking vehicle.
Mode 2:Exterior lamps ¯ash when locking; no feedback
when unlocking vehicle.
Mode 3:Exterior lamps ¯ash when locking and when
unlocking vehicle.
Mode 4:Exterior lamps ¯ash and horn chirps when
locking; no feedback when unlocking vehicle.
Mode 5:Exterior lamps ¯ash and horn chirps when
locking; exterior lamps ¯ash when unlocking vehicle.
Each remote keyless entry transmitter can be
programmed to a different mode according to the user's
preference. To change to another mode do the
following:
1. Press and hold LOCK on the power door lock
switch on the driver's door throughout the
procedure.
2. Press the trunk button on the transmitter. The horn
will chirp and the transmitter will remain in its
current mode.
3. Press the trunk button again. Each time the trunk
button is pressed, the horn will chirp and the
transmitter will advance to the next mode.
4. Release the power door lock switch.If your vehicle is equipped with the Driver Information
Center (DIC), you can also program these features
through the DIC. See
Driver Information Center (DIC)
on page 3-43.
Theft-Deterrent System
The remote keyless entry transmitter will arm the
theft-deterrent system whenever the doors are closed
and you push the lock button when the ignition is off. It
will disarm the system when you push the unlock
button.
Matching Transmitter(s) to Your
Vehicle
Each remote keyless entry transmitter is coded to
prevent another transmitter from unlocking your vehicle.
If a transmitter is lost or stolen, a replacement can
be purchased through your dealer. Remember to bring
any remaining transmitters with you when you go to
your dealer. When the dealer matches the replacement
transmitter to your vehicle, any remaining transmitters
must also be matched. Once your dealer has coded the
new transmitter, the lost transmitter will not unlock
your vehicle. Each vehicle can have a maximum of four
transmitters matched to it.
See your dealer to match additional transmitters to your
vehicle.
2-7
Page 74 of 372
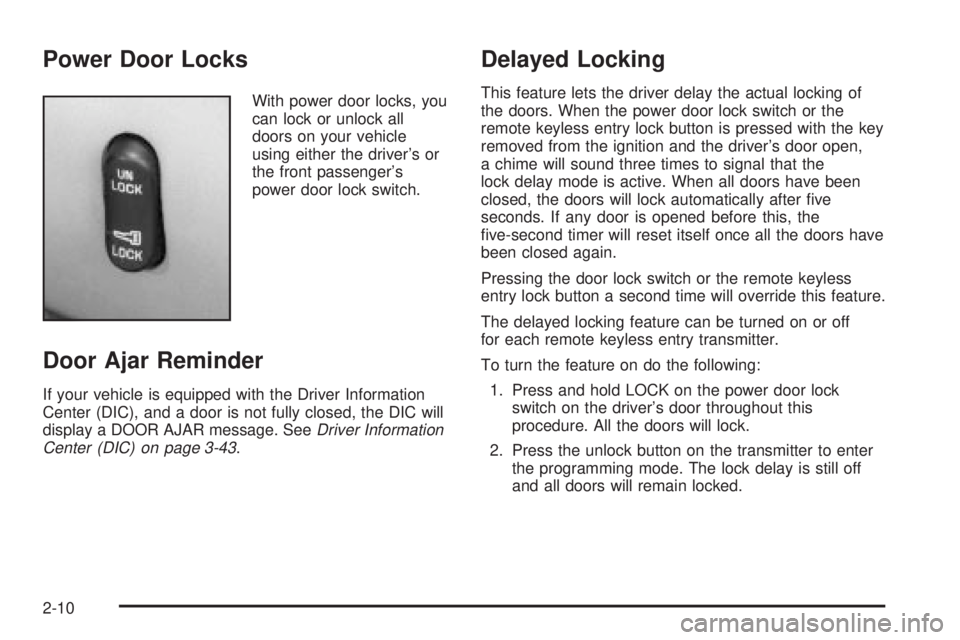
Power Door Locks
With power door locks, you
can lock or unlock all
doors on your vehicle
using either the driver's or
the front passenger's
power door lock switch.
Door Ajar Reminder
If your vehicle is equipped with the Driver Information
Center (DIC), and a door is not fully closed, the DIC will
display a DOOR AJAR message. See
Driver Information
Center (DIC) on page 3-43.
Delayed Locking
This feature lets the driver delay the actual locking of
the doors. When the power door lock switch or the
remote keyless entry lock button is pressed with the key
removed from the ignition and the driver's door open,
a chime will sound three times to signal that the
lock delay mode is active. When all doors have been
closed, the doors will lock automatically after ®ve
seconds. If any door is opened before this, the
®ve-second timer will reset itself once all the doors have
been closed again.
Pressing the door lock switch or the remote keyless
entry lock button a second time will override this feature.
The delayed locking feature can be turned on or off
for each remote keyless entry transmitter.
To turn the feature on do the following:
1. Press and hold LOCK on the power door lock
switch on the driver's door throughout this
procedure. All the doors will lock.
2. Press the unlock button on the transmitter to enter
the programming mode. The lock delay is still off
and all doors will remain locked.
2-10