2003 BUICK CENTURY lamps
[x] Cancel search: lampsPage 75 of 344

Remote Keyless Entry System
Operation
Using the remote keyless
entry transmitter, you can
lock and unlock your
doors, or release the trunk
from about 3 feet 1 (m)
and up to 30 feet
9 (m) away.
LOCK:Press the LOCK button to lock all the doors.
UNLOCK:Press the UNLOCK button to unlock
the driver's door and turn on the interior lamps. See
ªIllumination on Remote Activationº later in this section
for more details. Press UNLOCK again to unlock
the passenger's door.
F(Trunk Release):To release the trunk lid, press
the button with the trunk symbol on it. The trunk will only
unlock if your transaxle is in PARK (P).
L(Remote Alarm):Press this button to activate an
alarm. The ignition must be in OFF or ACC for the
remote alarm to work. When you press the remote alarm
button the headlamps will ¯ash, the horn will sound
repeatedly and your interior lamps will turn on, attracting
attention. The alarms will continue until one of the
following occurs:
·You press the remote alarm on the remote keyless
entry transmitter a second time,
·the ignition is moved to RUN, or
·an alarm period of about two minutes has elapsed.
Security Feedback
Security feedback provides audible and/or visible
feedback con®rming that a remote keyless entry lock or
unlock command has been received and executed.
The ignition must be off for this feature to work.
You may select one of four operating modes for reception
of a lock command. You may also select one of four
operating modes for reception of an unlock command.
The selection and programming of the lock and unlock
operating modes are independent of each other.
2-5
Page 76 of 344

Programmable Modes
Your vehicle can be programmed to one of the following
modes.
Mode 1:No Veri®cation
Mode 2:Horn Chirp only
Mode 3:Headlamps Flash only
Mode 4:Horn Chirp and Headlamps Flash
The vehicle was originally programmed to Mode 3. The
mode may have been changed since then. To
determine the current mode, or to change the mode, do
the following:
1. Close all doors and turn the ignition key to RUN.
2. Press and hold the power door lock switch in
the lock position.
3. While holding the door lock switch in the lock
position, press and release the remote keyless entry
transmitter LOCK button. This will start the
customization mode. While in the customizationmode, the feature will sound the number of chimes
corresponding to the current lock mode. If you
do not wish to change the current mode, you can
either exit the programming mode by following
the instructions listed here or program the
next feature available on your vehicle.
4. Each additional press of the remote keyless entry
transmitter LOCK button will cause your vehicle to
advance the lock mode by one, starting from
the current lock mode.
5. If cycled beyond Mode 4, the vehicle will enter
Mode 1. When the door lock switch is released,
the vehicle will remain in the most recent lock mode.
The mode you selected is now set. You can either exit
the programming mode by following the previous
instructions or program the next feature available on
your vehicle.
Disconnecting the vehicle's battery for up to a year will
not change the programmed mode for the lock and
unlock security feedback features.
2-6
Page 78 of 344

After an initial transaxle cycle, each additional cycle will
toggle the enable/disable state of the delayed locking
feature. During this procedure, the chime will sound,
providing you with feedback. In Mode 1, a single chime
will be heard if the delayed locking feature is disabled.
In Mode 2, two chimes will be heard if the feature
is enabled. When the door lock switch is released, the
vehicle will remain in the most recent operating mode.
Disconnecting the vehicle battery for up to a year will not
change the programmed mode for the delayed locking
feature.
Illumination on Remote Activation
This feature provides interior lighting when a remote
keyless entry door unlock command is received by your
vehicle. Your ignition must be off for this feature to
work. The interior lamps will light until either the ignition
is turned to RUN or until a period of 40 seconds has
elapsed. If a door is opened during this period, the timed
lighting will be canceled, and the interior lamps will
remain on. Also see ªEntry Lightingº under
Interior
Lamps on page 3-14for more information.
Matching Transmitter(s) to Your
Vehicle
Each remote keyless entry transmitter is coded to
prevent another transmitter from unlocking your vehicle.
If a transmitter is lost or stolen, a replacement can
be purchased through your dealer. Remember to bring
any remaining transmitters with you when you go to
your dealer. When the dealer matches the replacement
transmitter to your vehicle, any remaining transmitters
must also be matched. Once your dealer has coded the
new transmitter, the lost transmitter will not unlock
your vehicle. Each vehicle can have a maximum of four
transmitters matched to it.
Battery Replacement
Under normal use, the battery in your remote keyless
entry transmitter should last about three years.
You can tell the battery is weak if the transmitter won't
work at the normal range in any location. If you have
to get close to your vehicle before the transmitter works,
it's probably time to change the battery.
2-8
Page 86 of 344

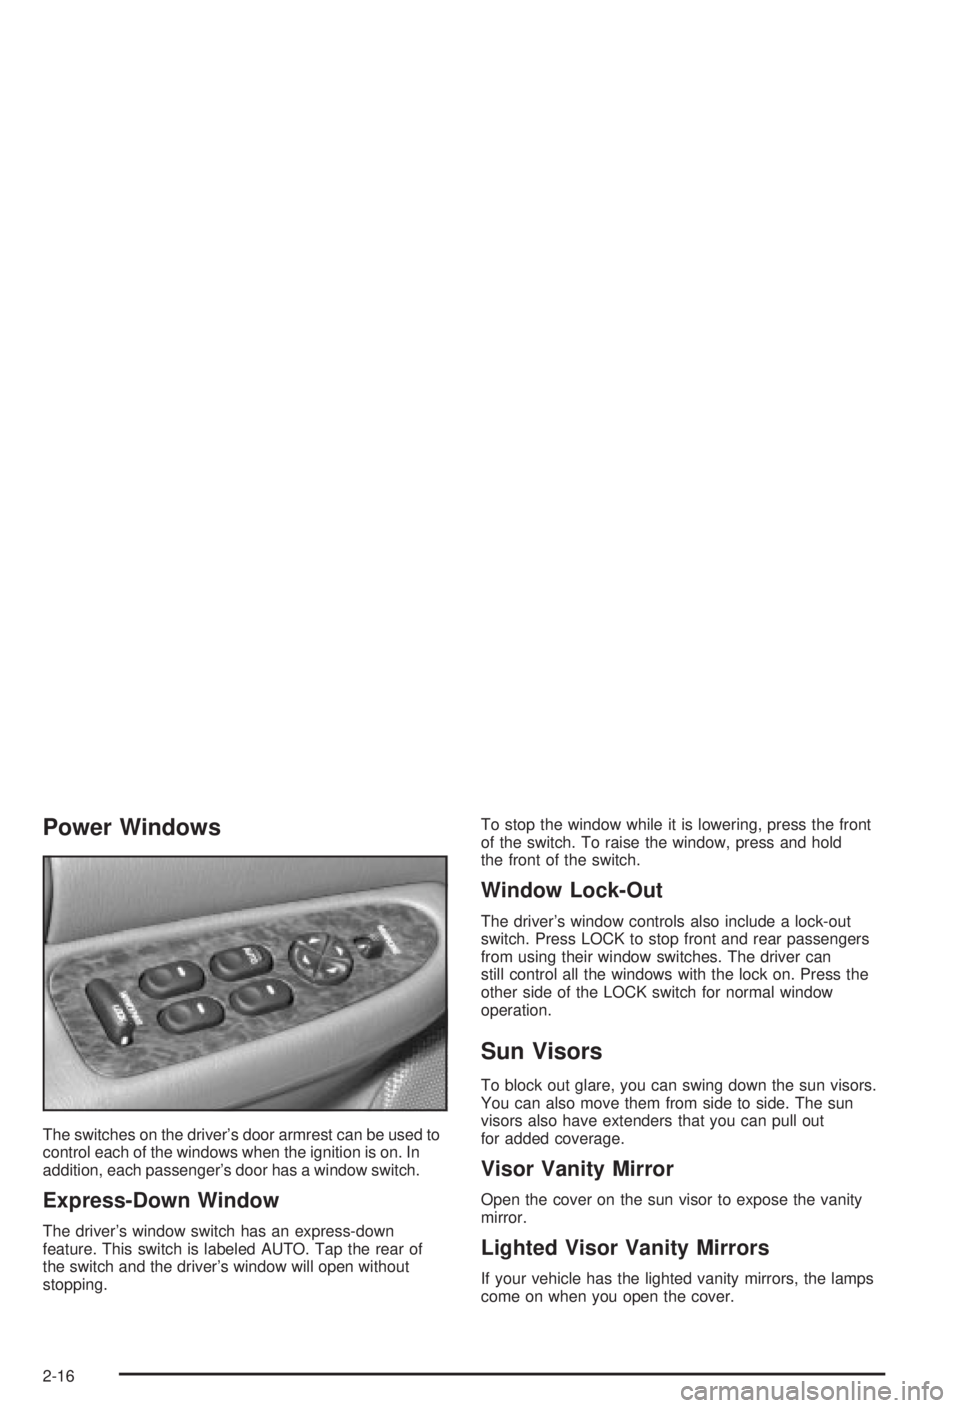
Power Windows
The switches on the driver's door armrest can be used to
control each of the windows when the ignition is on. In
addition, each passenger's door has a window switch.
Express-Down Window
The driver's window switch has an express-down
feature. This switch is labeled AUTO. Tap the rear of
the switch and the driver's window will open without
stopping.To stop the window while it is lowering, press the front
of the switch. To raise the window, press and hold
the front of the switch.
Window Lock-Out
The driver's window controls also include a lock-out
switch. Press LOCK to stop front and rear passengers
from using their window switches. The driver can
still control all the windows with the lock on. Press the
other side of the LOCK switch for normal window
operation.
Sun Visors
To block out glare, you can swing down the sun visors.
You can also move them from side to side. The sun
visors also have extenders that you can pull out
for added coverage.
Visor Vanity Mirror
Open the cover on the sun visor to expose the vanity
mirror.
Lighted Visor Vanity Mirrors
If your vehicle has the lighted vanity mirrors, the lamps
come on when you open the cover.
2-16
Page 102 of 344

Mirrors
Manual Rearview Mirror
Adjust all the mirrors so you can see clearly when you
are sitting in a comfortable driving position.
To reduce glare from lamps behind you, pull the lever at
the bottom of the mirror toward you, to the night
position. To return the mirror to the day position, push
the lever away from you.
Manual Rearview Mirror with
OnStar
ž
The vehicle may have a mirror with Onstarž. It has a
lever located at the bottom between the two lamps. To
reduce glare from headlamps behind you while
driving at night, pull the lever towards you, to the night
position. To return the mirror to the day position,
return the lever to its original position.There are two lamps located on the bottom of the
mirror. Press the button located next to each lamp to
turn it on or off.
There are also three OnStar
žbuttons located at the
bottom of the mirror. See your dealer for more
information on the system and how to subscribe to
OnStar
ž. SeeOnStaržSystem on page 2-34for more
information about the services OnStaržprovides.
2-32
Page 107 of 344

Instrument Panel Overview...............................3-2
Hazard Warning Flashers................................3-3
Other Warning Devices...................................3-4
Horn.............................................................3-4
Tilt Wheel.....................................................3-4
Turn Signal/Multifunction Lever.........................3-5
Exterior Lamps.............................................3-11
Interior Lamps..............................................3-14
Auxiliary Power Connection
(Power Drop)............................................3-16
Ashtrays and Cigarette Lighter........................3-16
Climate Controls............................................3-17
Dual Climate Control System..........................3-17
Outlet Adjustment.........................................3-20
Passenger Compartment Air Filter...................3-20
Warning Lights, Gages and Indicators.............3-22
Instrument Panel Cluster................................3-23
Speedometer and Odometer...........................3-24
Safety Belt Reminder Light.............................3-24
Air Bag Readiness Light................................3-25
Charging System Light..................................3-26
Brake System Warning Light..........................3-27
Anti-Lock Brake System Warning Light.............3-28
Enhanced Traction System Warning Light.........3-28
Low Traction Light........................................3-29Engine Coolant Temperature Warning Light......3-29
Engine Coolant Temperature Gage..................3-30
Tire Pressure Light.......................................3-30
Malfunction Indicator Lamp.............................3-31
Oil Pressure Light.........................................3-34
Low Oil Level Light.......................................3-35
Change Engine Oil Light................................3-35
Security Light...............................................3-36
Cruise Control Light......................................3-36
Low Washer Fluid Warning Light.....................3-36
Door/Trunk Ajar Warning Light........................3-36
Service Vehicle Soon Light............................3-37
Fuel Gage...................................................3-37
Low Fuel Warning Light.................................3-38
Audio System(s).............................................3-39
Setting the Time...........................................3-39
AM-FM Radio...............................................3-40
Radio with Cassette and CD..........................3-42
Theft-Deterrent Feature..................................3-48
Audio Steering Wheel Controls.......................3-50
Understanding Radio Reception......................3-50
Care of Your Cassette Tape Player.................3-51
Care of Your CDs.........................................3-52
Care of Your CD Player................................3-52
Fixed Mast Antenna......................................3-52
Section 3 Instrument Panel
3-1
Page 109 of 344

The main components of the instrument panel are the
following:
A. Exterior Lamps Control. See
Exterior Lamps on
page 3-11.
B. Turn Signal/Multifunction Lever. See
Turn
Signal/Multifunction Lever on page 3-5.
C. Instrument Panel Cluster. See
Instrument Panel
Cluster on page 3-23.
D. Audio Steering Wheel Controls. See
Audio Steering
Wheel Controls on page 3-50.
E. Gear Shift Lever. See
Automatic Transaxle
Operation on page 2-23.
F. Air Outlets. See
Outlet Adjustment on page 3-20.
G. Side Window Defogger Outlet.
H. Hood Release. See
Hood Release on page 5-11.
I. Tilt Wheel Lever. See
Tilt Wheel on page 3-4.
J. Horn. (See
Horn on page 3-4.
K. Audio System. See
Audio System(s) on page 3-39.
L. Ashtray. See
Ashtrays and Cigarette Lighter on
page 3-16.
M. Climate Control. See
Dual Climate Control System
on page 3-17.
N. Glove Box.
O. Instrument Panel Fuse Block. See
Fuses and Circuit
Breakers on page 5-89.
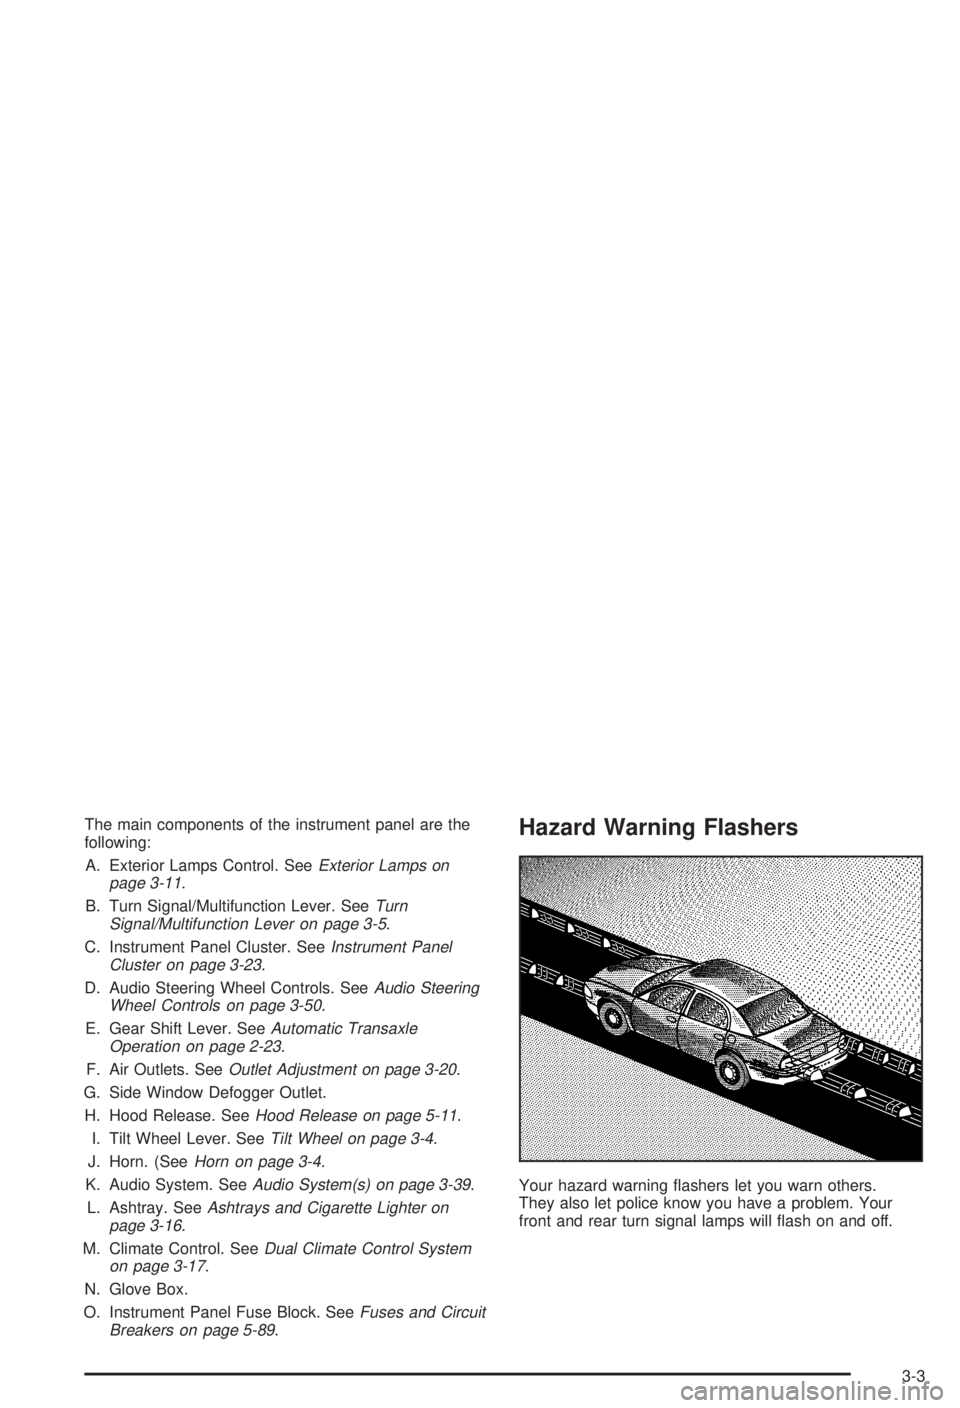
Hazard Warning Flashers
Your hazard warning ¯ashers let you warn others.
They also let police know you have a problem. Your
front and rear turn signal lamps will ¯ash on and off.
3-3
Page 110 of 344

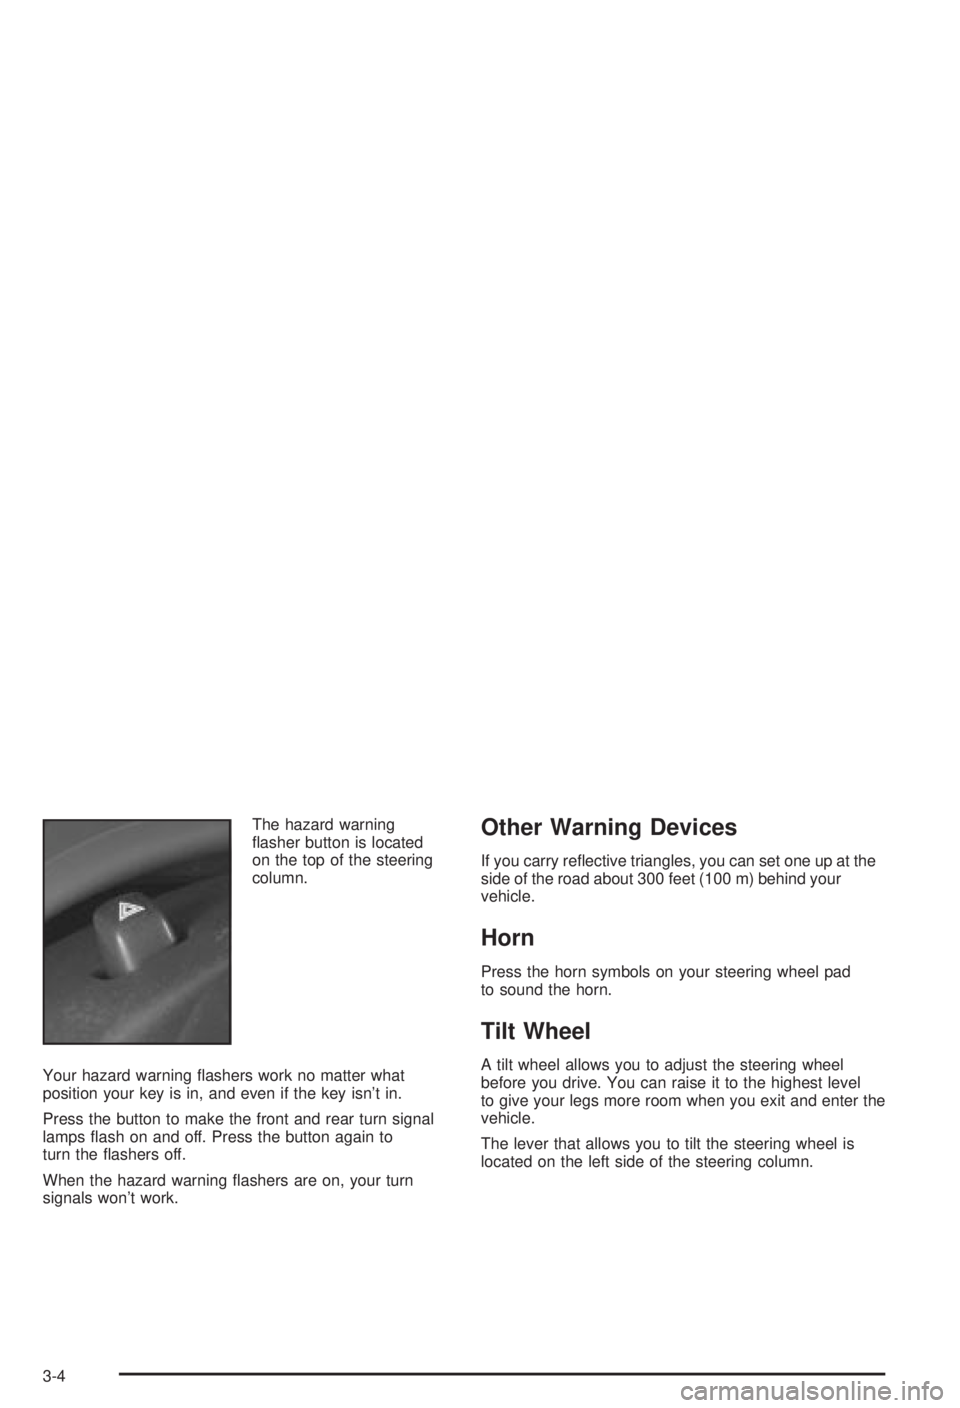
The hazard warning
¯asher button is located
on the top of the steering
column.
Your hazard warning ¯ashers work no matter what
position your key is in, and even if the key isn't in.
Press the button to make the front and rear turn signal
lamps ¯ash on and off. Press the button again to
turn the ¯ashers off.
When the hazard warning ¯ashers are on, your turn
signals won't work.Other Warning Devices
If you carry re¯ective triangles, you can set one up at the
side of the road about 300 feet (100 m) behind your
vehicle.
Horn
Press the horn symbols on your steering wheel pad
to sound the horn.
Tilt Wheel
A tilt wheel allows you to adjust the steering wheel
before you drive. You can raise it to the highest level
to give your legs more room when you exit and enter the
vehicle.
The lever that allows you to tilt the steering wheel is
located on the left side of the steering column.
3-4