2003 BMW Z4 2.5I door lock
[x] Cancel search: door lockPage 4 of 106

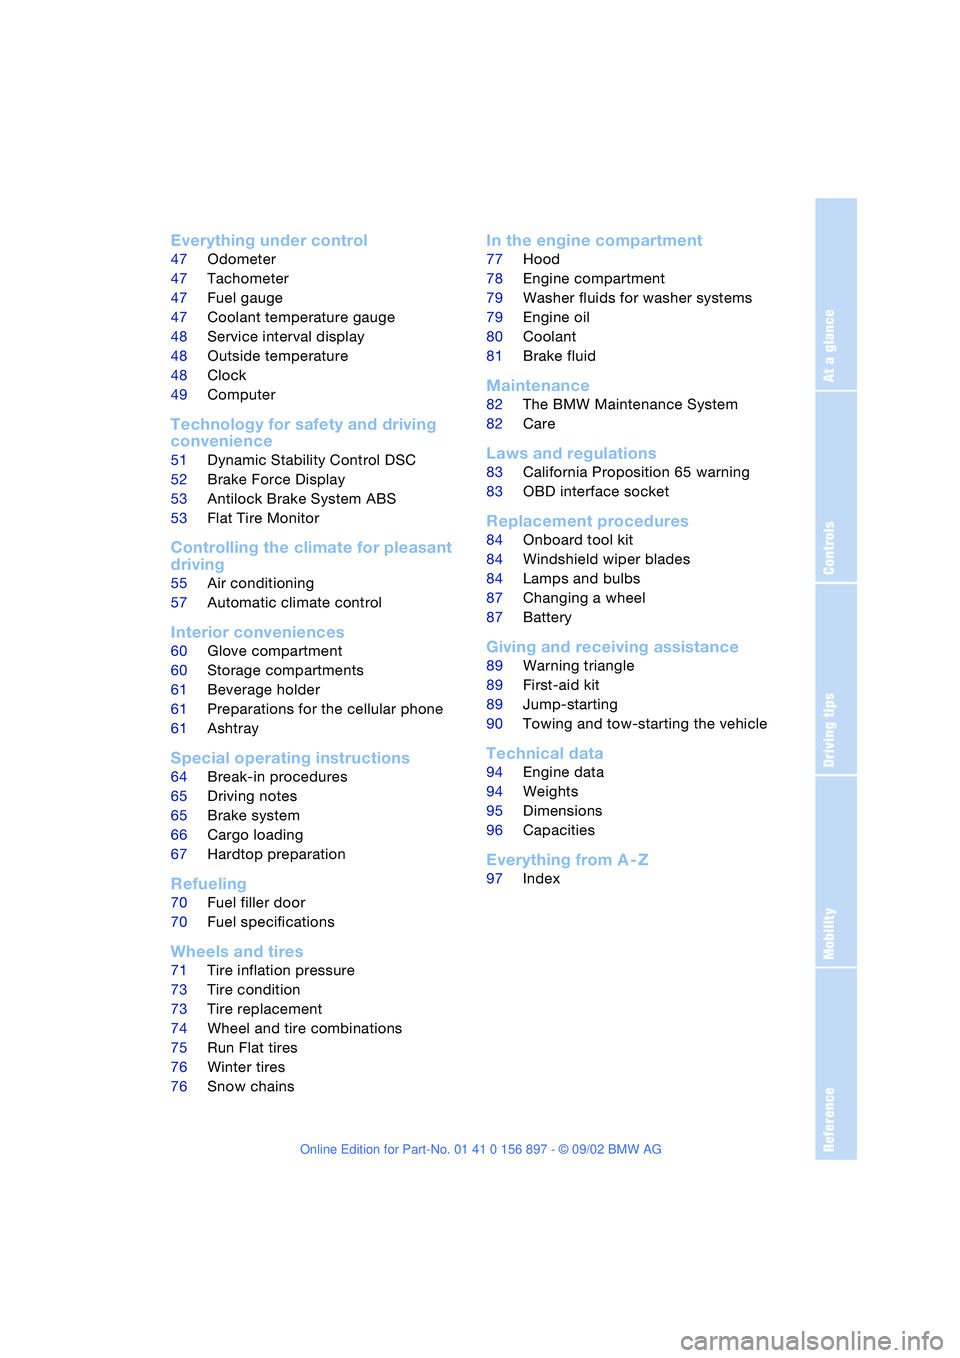
Contents
Contents
Notes
6About this Owner's Manual
6Symbols used
6Symbol on vehicle parts
6Your individual vehicle
6Status at time of printing
7For your own safety
7Service and warranty
8Reporting safety defects
Overview
12Cockpit
13Instrument cluster
14Indicator and warning lamps
Opening and closing
18Keys
18Central locking system
18Remote control
20Door lock
20Interior
21Luggage compartment lid
22Luggage compartment
22Electric power windows
23Manual convertible top
24Fully automatic convertible top*
26Wind deflector*
27Alarm system*
Adjustments
29Safe seating position
29Seats
30Seat memory*
31Seat heating*
31Safety belts
32Steering wheel
32Mirrors
33Airbags
34Transporting children safely
37Vehicle Memory, Key Memory
Driving
38Ignition lock
38Engine
39Parking brake
40Manual transmission
40Automatic transmission with
Steptronic*
42Electric Power Steering EPS
42Drivelogic*
42Turn signal indicators/Headlamp
flasher
43Washer/wiper system and
rain sensor*
44Cruise control*
Lamps
45Parking lamps/Low beams
46High beams/Standing lamps
46Instrument lighting
46Fog lamps
46Interior lamps
© 2002 Bayerische Motoren Werke
Aktiengesellschaft
Munich, Germany
Reprinting, including excerpts, only with the
written consent of BMW AG, Munich.
Order No. 01 41 0 156 897
US English VIII/02
Printed in Germany
Printed on environmentally friendly paper –
bleached without chlorine, suitable for recycling.
Page 5 of 106
At a glance
Controls
Driving tips
Mobility
Reference
Everything under control
47Odometer
47Tachometer
47Fuel gauge
47Coolant temperature gauge
48Service interval display
48Outside temperature
48Clock
49Computer*
Technology for safety and driving
convenience
51Dynamic Stability Control DSC
52Brake Force Display
53Antilock Brake System ABS
53Flat Tire Monitor
Controlling the climate for pleasant
driving
55Air conditioning
57Automatic climate control*
Interior conveniences
60Glove compartment
60Storage compartments
61Beverage holder
61Preparations for the cellular phone*
61Ashtray*
Special operating instructions
64Break-in procedures
65Driving notes
65Brake system
66Cargo loading
67Hardtop preparation*
Refueling
70Fuel filler door
70Fuel specifications
Wheels and tires
71Tire inflation pressure
73Tire condition
73Tire replacement
74Wheel and tire combinations
75Run Flat tires
76Winter tires
76Snow chains*
In the engine compartment
77Hood
78Engine compartment
79Washer fluids for washer systems
79Engine oil
80Coolant
81Brake fluid
Maintenance
82The BMW Maintenance System
82Care
Laws and regulations
83California Proposition 65 warning
83OBD interface socket
Replacement procedures
84Onboard tool kit
84Windshield wiper blades
84Lamps and bulbs
87Changing a wheel
87Battery
Giving and receiving assistance
89Warning triangle*
89First-aid kit*
89Jump-starting
90Towing and tow-starting the vehicle
Technical data
94Engine data
94Weights
95Dimensions
96Capacities
Everything from A - Z
97Index
Page 7 of 106
At a glance
Controls
Driving tips
Mobility
Reference
7
For your own safety
Use unleaded gasoline only. Fuels
containing up to and including 10 %
ethanol or other oxygenates with up to
2.8 % oxygen by weight – i.e. 15 % MTBE or
3% methanol plus an equivalent amount of
co-solvent – will not void the applicable
warranties respecting defects in materials
or workmanship. Field experience has indi-
cated significant differences in fuel quality –
i.e. volatility, composition, additives, etc. –
among gasolines offered for sale in the
United States and Canada. The use of poor
quality fuels may result in drivability, start-
ing and stalling problems especially under
certain environmental conditions, such as
high ambient temperature and high alti-
tude.
Should you encounter driveability prob-
lems that you suspect could be related to
the fuel you are using, we recommend that
you respond by switching to a recognized
high-quality brand.
Failure to comply with these recommenda-
tions may result in unscheduled mainte-
nance.
Follow the relevant safety rules when you
are handling gasoline.<
Important safety information!
For your own safety, use parts and
accessories approved by BMW.
When you purchase accessories tested
and approved by BMW and Original BMW
Parts, you simultaneously acquire the
assurance that they have been thoroughly
tested by BMW to ensure optimum perfor-
mance when installed on your vehicle.
BMW warrants these parts to be free from
defects in material and workmanship.
BMW will not accept any liability for dam-
age resulting from installation of parts and
accessories not approved by BMW.
BMW cannot test every product made by
other manufacturers to verify if it can be
used on a BMW safely and without risk to
either the vehicle, its operation, or its occu-
pants.Original BMW Parts, BMW Accessories
and other products approved by BMW,
together with professional advice on using
these items, are available from all BMW
retailers.
Installation and operation of non-BMW
approved accessories such as alarms,
radios, amplifiers, radar detectors, wheels,
suspension components, brake dust
shields, telephones – including operation of
any portable cellular phone from within the
vehicle without using an externally mounted
antenna – or transceiver equipment – e.g.
C.B., walkie-talkie, ham radio or similar –
may cause extensive damage to the vehicle,
compromise its safety, interfere with the
vehicle's electrical system or affect the
validity of the BMW Limited Warranty. See
your BMW center for additional information.
Do not use key or remote control to lock
doors or luggage compartment with any-
one inside the car. Refer to the Owner's
Manual for more details.<
Maintenance, replacement or repair
of the emission control devices and
systems may be performed by any automo-
tive repair establishment or individual using
any certified automotive part.
and Warranty Information Booklet for US
models or a Warranty and Service Guide
Booklet for Canadian models.
We recommend that you read this publica-
tion thoroughly.
Your BMW is covered by the following war-
ranties:
>New Vehicle Limited Warranty
>Rust Perforation Limited Warranty
>Federal Emissions System Defect
Warranty
>Federal Emissions Performance
Warranty
>California Emission Control System
Limited Warranty.
Page 18 of 106
Opening and closing
18
Opening and closing
Keys
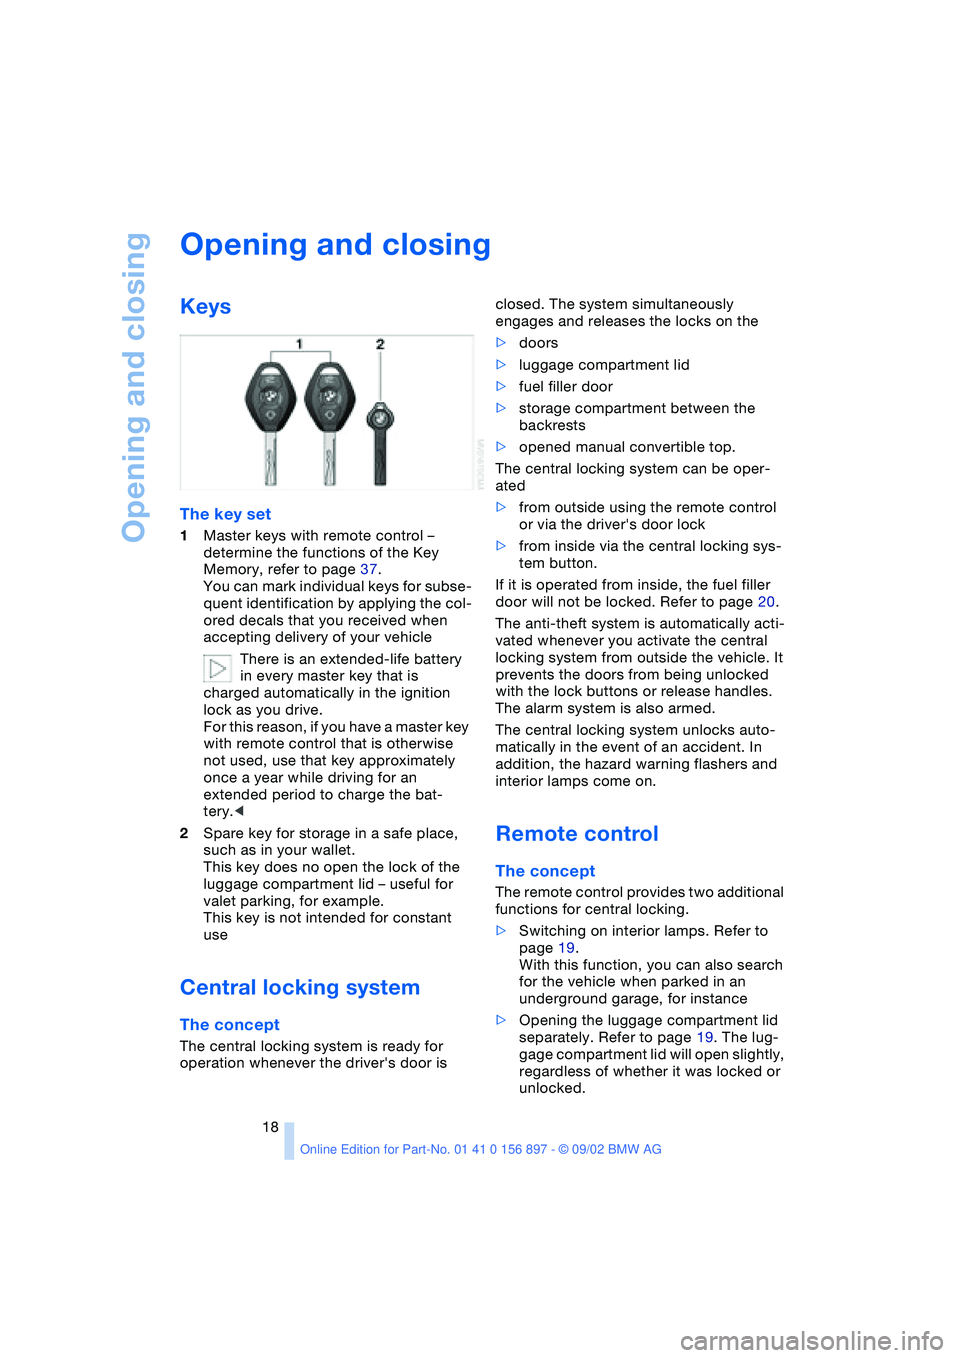
The key set
1Master keys with remote control –
determine the functions of the Key
Memory, refer to page 37.
You can mark individual keys for subse-
quent identification by applying the col-
ored decals that you received when
accepting delivery of your vehicle
There is an extended-life battery
in every master key that is
charged automatically in the ignition
lock as you drive.
For this reason, if you have a master key
with remote control that is otherwise
not used, use that key approximately
once a year while driving for an
extended period to charge the bat-
tery.<
2Spare key for storage in a safe place,
such as in your wallet.
This key does no open the lock of the
luggage compartment lid – useful for
valet parking, for example.
This key is not intended for constant
use
Central locking system
The concept
The central locking system is ready for
operation whenever the driver's door is closed. The system simultaneously
engages and releases the locks on the
>doors
>luggage compartment lid
>fuel filler door
>storage compartment between the
backrests
>opened manual convertible top.
The central locking system can be oper-
ated
>from outside using the remote control
or via the driver's door lock
>from inside via the central locking sys-
tem button.
If it is operated from inside, the fuel filler
door will not be locked. Refer to page 20.
The anti-theft system is automatically acti-
vated whenever you activate the central
locking system from outside the vehicle. It
prevents the doors from being unlocked
with the lock buttons or release handles.
The alarm system is also armed.
The central locking system unlocks auto-
matically in the event of an accident. In
addition, the hazard warning flashers and
interior lamps come on.
Remote control
The concept
The remote control provides two additional
functions for central locking.
>Switching on interior lamps. Refer to
page 19.
With this function, you can also search
for the vehicle when parked in an
underground garage, for instance
>Opening the luggage compartment lid
separately. Refer to page 19. The lug-
gage compartment lid will open slightly,
regardless of whether it was locked or
unlocked.
Page 19 of 106
At a glance
Controls
Driving tips
Mobility
Reference
19
Whenever you unlock or lock the vehicle,
you simultaneously deactivate/activate
the anti-theft system, disarm/arm the alarm
system and switch the interior lamps on/
off.
You can have a signal set to confirm
that the vehicle's locks have engaged
securely.<
Since persons or animals in the vehi-
cle could lock the doors from the
inside, always take the vehicle keys with
you so that the vehicle can be opened
again from the outside at any time.<
If it is no longer possible to lock the
vehicle via the remote control, the
battery is discharged. Use this key while
driving for an extended period in order to
recharge the battery.
In the event of a system malfunction,
please contact your BMW center. You can
also obtain replacement keys there.<
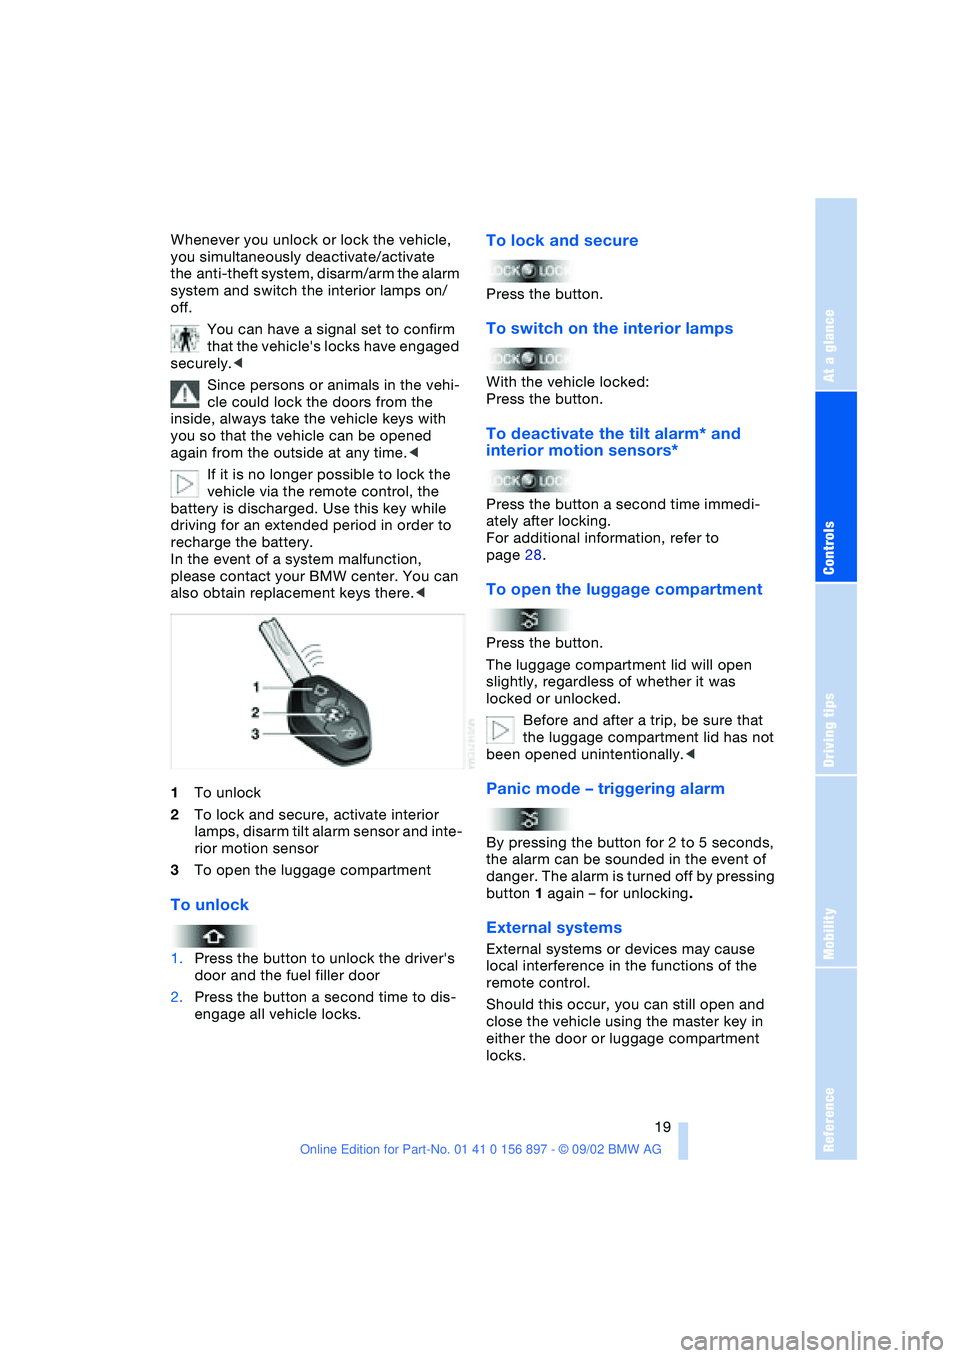
1To unlock
2To lock and secure, activate interior
lamps, disarm tilt alarm sensor and inte-
rior motion sensor
3To open the luggage compartment
To unlock
1.Press the button to unlock the driver's
door and the fuel filler door
2.Press the button a second time to dis-
engage all vehicle locks.
To lock and secure
Press the button.
To switch on the interior lamps
With the vehicle locked:
Press the button.
To deactivate the tilt alarm* and
interior motion sensors*
Press the button a second time immedi-
ately after locking.
For additional information, refer to
page 28.
To open the luggage compartment
Press the button.
The luggage compartment lid will open
slightly, regardless of whether it was
locked or unlocked.
Before and after a trip, be sure that
the luggage compartment lid has not
been opened unintentionally.<
Panic mode – triggering alarm
By pressing the button for 2 to 5 seconds,
the alarm can be sounded in the event of
danger. The alarm is turned off by pressing
button 1 again – for unlocking.
External systems
External systems or devices may cause
local interference in the functions of the
remote control.
Should this occur, you can still open and
close the vehicle using the master key in
either the door or luggage compartment
locks.
Page 20 of 106
Opening and closing
20
For US owners only
The transmitter and receiver units comply
with part 15 of the FCC – Federal Commu-
nications Commission – regulations. Oper-
ation is governed by the following:
FCC ID: LX8EWS
LX8FZVS
LX8FZVE
Compliance statement:
This device complies with part 15 of the
FCC Rules. Operation is subject to the fol-
lowing two conditions:
>This device may not cause harmful
interference, and
>this device must accept any interfer-
ence received, including interference
that may cause undesired operation.
Any unauthorized modifications to
these devices could void the user's
authority to operate the equipment.<
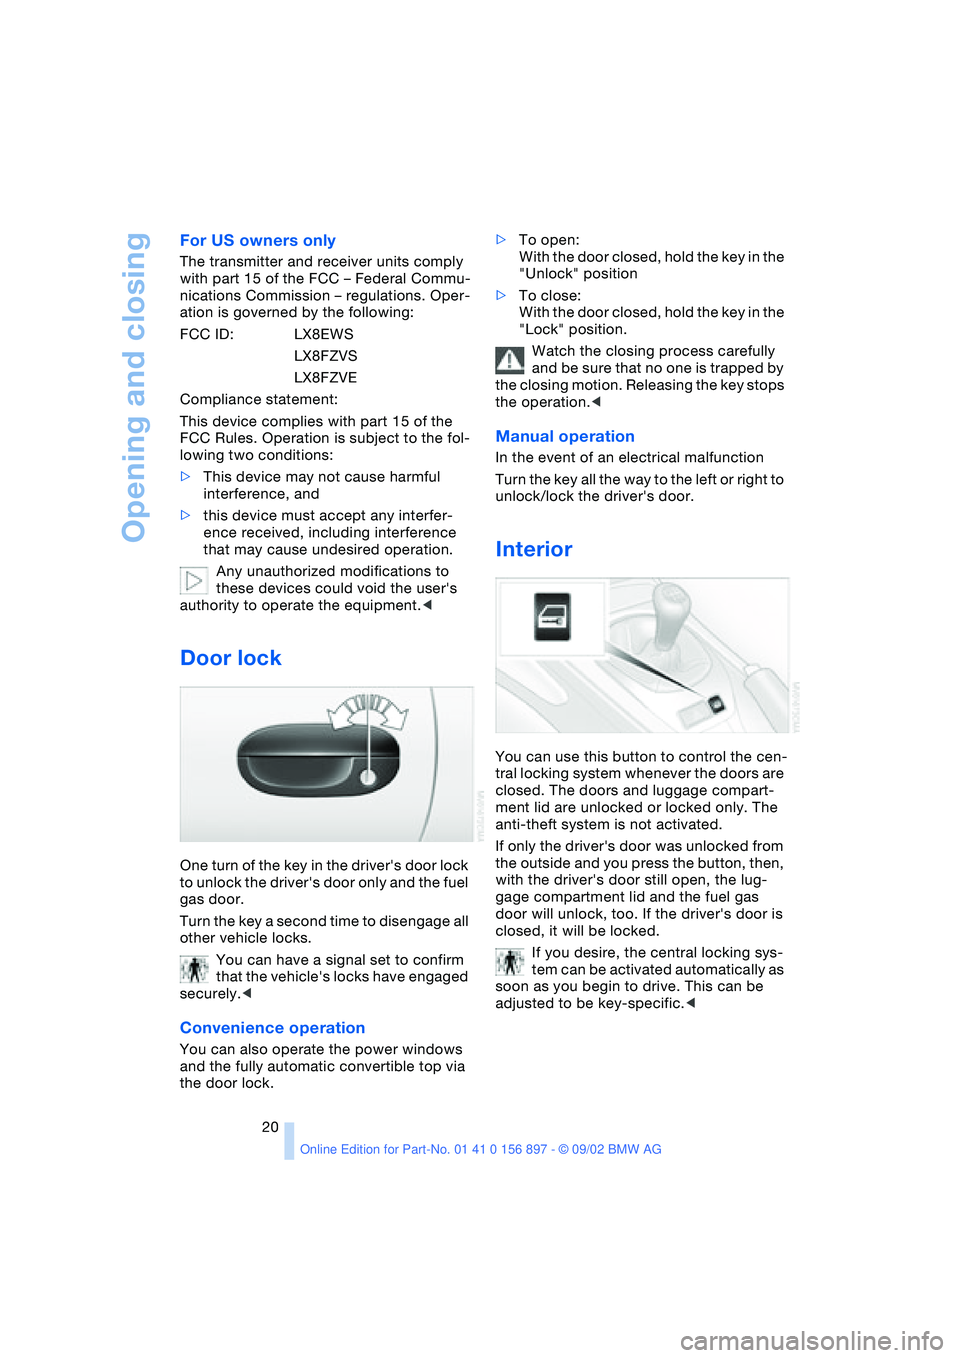
Door lock
One turn of the key in the driver's door lock
to unlock the driver's door only and the fuel
gas door.
Turn the key a second time to disengage all
other vehicle locks.
You can have a signal set to confirm
that the vehicle's locks have engaged
securely.<
Convenience operation
You can also operate the power windows
and the fully automatic convertible top via
the door lock.>To open:
With the door closed, hold the key in the
"Unlock" position
>To close:
With the door closed, hold the key in the
"Lock" position.
Watch the closing process carefully
and be sure that no one is trapped by
the closing motion. Releasing the key stops
the operation.<
Manual operation
In the event of an electrical malfunction
Turn the key all the way to the left or right to
unlock/lock the driver's door.
Interior
You can use this button to control the cen-
tral locking system whenever the doors are
closed. The doors and luggage compart-
ment lid are unlocked or locked only. The
anti-theft system is not activated.
If only the driver's door was unlocked from
the outside and you press the button, then,
with the driver's door still open, the lug-
gage compartment lid and the fuel gas
door will unlock, too. If the driver's door is
closed, it will be locked.
If you desire, the central locking sys-
tem can be activated automatically as
soon as you begin to drive. This can be
adjusted to be key-specific.<
Page 21 of 106
At a glance
Controls
Driving tips
Mobility
Reference
21
To unlock and open
>Either unlock the doors together with
the button for the central locking sys-
tem and then pull each of the release
handles above the armrests
or
>pull the release handle for each door
twice: the initial pull unlocks the door,
and the second one opens it.
To lock
>Either use the central locking button to
lock all doors at once
or
>press the individual door lock buttons
down.
To prevent the driver from being
inadvertently locked out of the
vehicle, the driver's door lock button
will not engage as long as the door is
open.<
Since persons or animals in the vehi-
cle could lock the doors from the
inside, always take the vehicle keys with
you so that the vehicle can be opened
again from the outside at any time.<
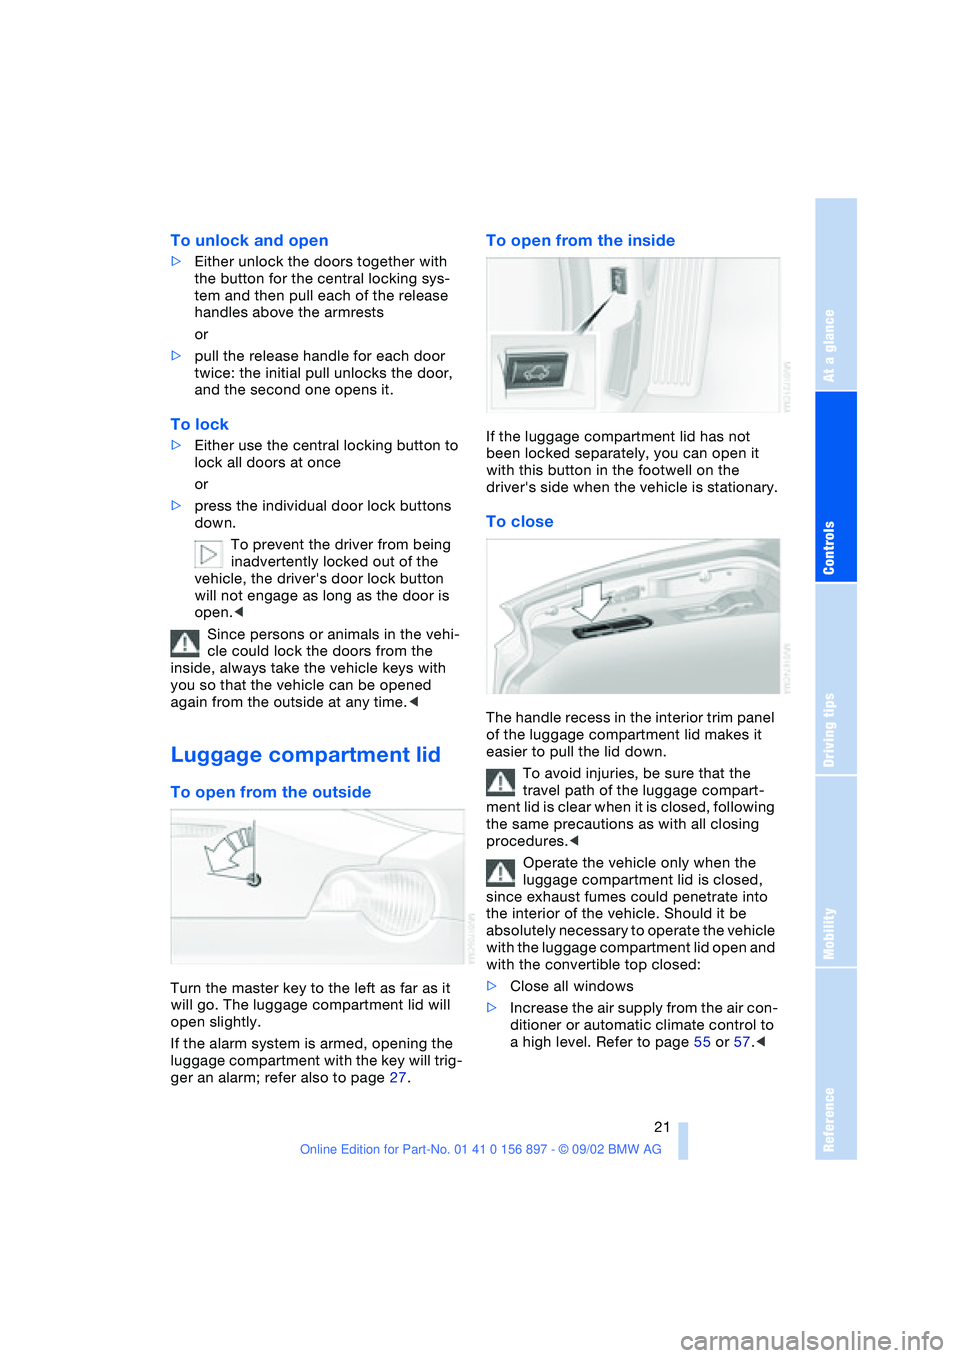
Luggage compartment lid
To open from the outside
Turn the master key to the left as far as it
will go. The luggage compartment lid will
open slightly.
If the alarm system is armed, opening the
luggage compartment with the key will trig-
ger an alarm; refer also to page 27.
To open from the inside
If the luggage compartment lid has not
been locked separately, you can open it
with this button in the footwell on the
driver's side when the vehicle is stationary.
To close
The handle recess in the interior trim panel
of the luggage compartment lid makes it
easier to pull the lid down.
To avoid injuries, be sure that the
travel path of the luggage compart-
ment lid is clear when it is closed, following
the same precautions as with all closing
procedures.<
Operate the vehicle only when the
luggage compartment lid is closed,
since exhaust fumes could penetrate into
the interior of the vehicle. Should it be
absolutely necessary to operate the vehicle
with the luggage compartment lid open and
with the convertible top closed:
>Close all windows
>Increase the air supply from the air con-
ditioner or automatic climate control to
a high level. Refer to page 55 or 57.<
Page 22 of 106
Opening and closing
22
Luggage compartment
Emergency release
This lever releases the luggage compart-
ment lid from inside the luggage compart-
ment.
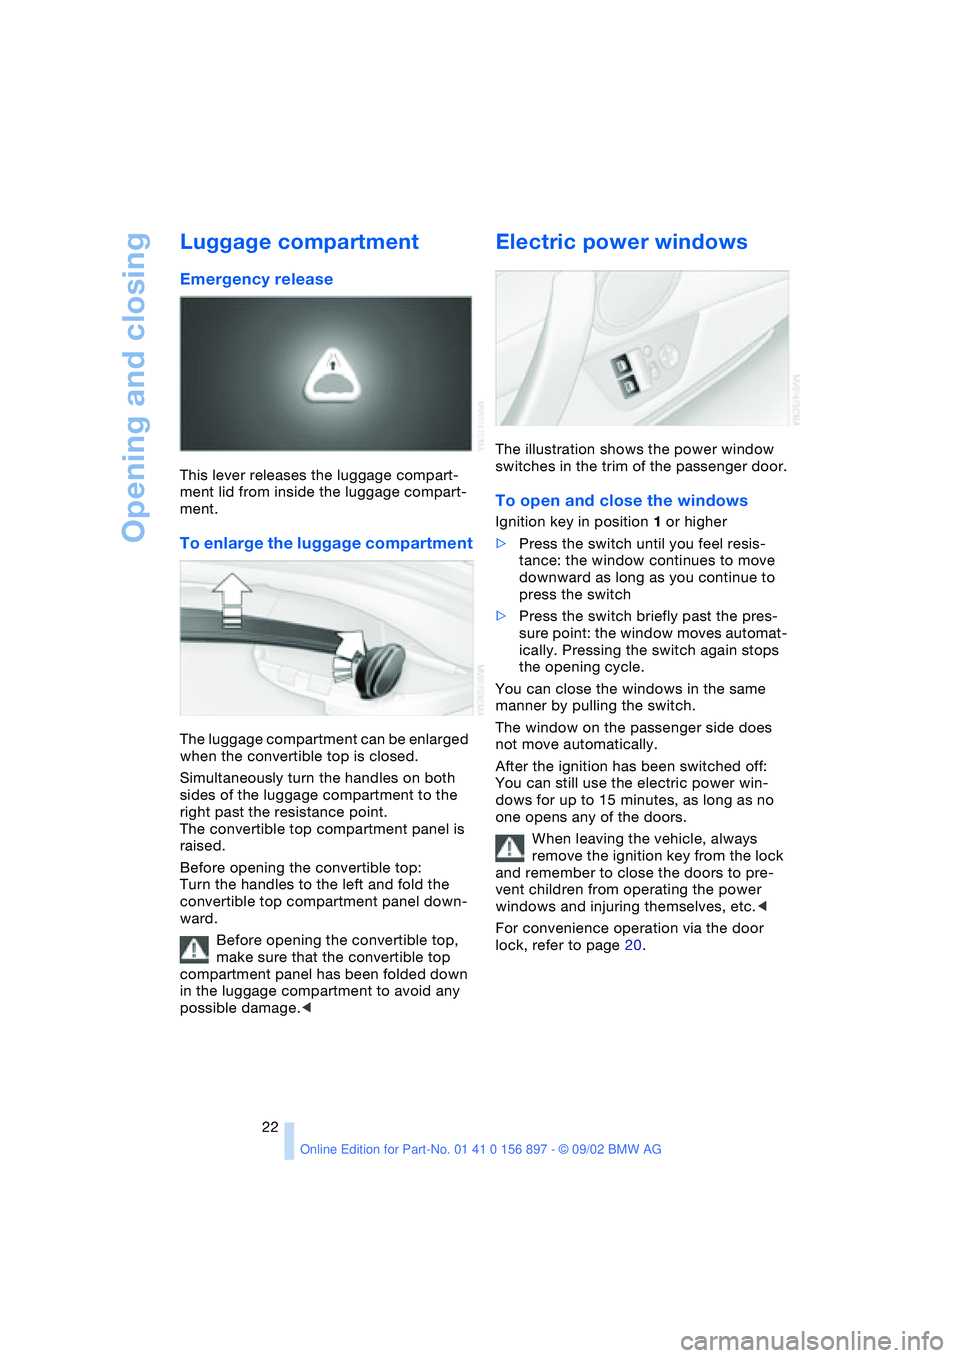
To enlarge the luggage compartment
The luggage compartment can be enlarged
when the convertible top is closed.
Simultaneously turn the handles on both
sides of the luggage compartment to the
right past the resistance point.
The convertible top compartment panel is
raised.
Before opening the convertible top:
Turn the handles to the left and fold the
convertible top compartment panel down-
ward.
Before opening the convertible top,
make sure that the convertible top
compartment panel has been folded down
in the luggage compartment to avoid any
possible damage.<
Electric power windows
The illustration shows the power window
switches in the trim of the passenger door.
To open and close the windows
Ignition key in position 1 or higher
>Press the switch until you feel resis-
tance: the window continues to move
downward as long as you continue to
press the switch
>Press the switch briefly past the pres-
sure point: the window moves automat-
ically. Pressing the switch again stops
the opening cycle.
You can close the windows in the same
manner by pulling the switch.
The window on the passenger side does
not move automatically.
After the ignition has been switched off:
You can still use the electric power win-
dows for up to 15 minutes, as long as no
one opens any of the doors.
When leaving the vehicle, always
remove the ignition key from the lock
and remember to close the doors to pre-
vent children from operating the power
windows and injuring themselves, etc.<
For convenience operation via the door
lock, refer to page 20.