2003 BMW Z4 2.5I catalytic converter
[x] Cancel search: catalytic converterPage 39 of 106

At a glance
Controls
Driving tips
Mobility
Reference
39
the ignition key immediately when the
engine starts.<
Extended starting attempts, charac-
terized by excessively frequent or
long periods with the starter engaged, can
damage the catalytic converter.<
If the engine fails to start on the first
attempt – if it is very hot or cold, for
instance:
>Press the accelerator pedal halfway
down.
Cold starts at very low temperatures –
starting at approx. +57 / –156
>Press the accelerator pedal halfway
down while engaging the starter
>On the first start attempt, engage the
starter for a longer period –
approx. 10 seconds.
Manual transmission
1.Engage the parking brake
2.Gearshift lever in idling position
3.Depress clutch pedal
4.Start the engine.
Automatic transmission
1.Depress footbrake
2.Place selector lever in position P or N
3.Start the engine.
Before leaving the vehicle with the
engine running, place the selector
lever in position P and pull the parking
brake.
Do not leave the vehicle unattended with
the engine running. An unattended vehicle
with a running engine poses a safety haz-
ard.<
Switching off the engine
Do not remove the ignition key while
the vehicle is still moving. If you did so,
the steering lock would engage when the
steering wheel is turned.
When you leave the vehicle, always remove
the ignition key and engage the steering lock.
Always engage the parking brake when park-
ing on downhill roads.<
Manual transmission
Turn the ignition key to position 1 or 0.
Automatic transmission
Place the selector lever in position P and
turn the ignition key to position 1 or 0.
Parking brake
The parking brake is designed primarily to
prevent the vehicle from rolling when
parked. It operates against the rear wheels.
The brake warning lamp lights up
when the parking brake is engaged;
if you start driving, an acoustic sig-
nal is heard as well.
Brake warning lamp for Canadian
models
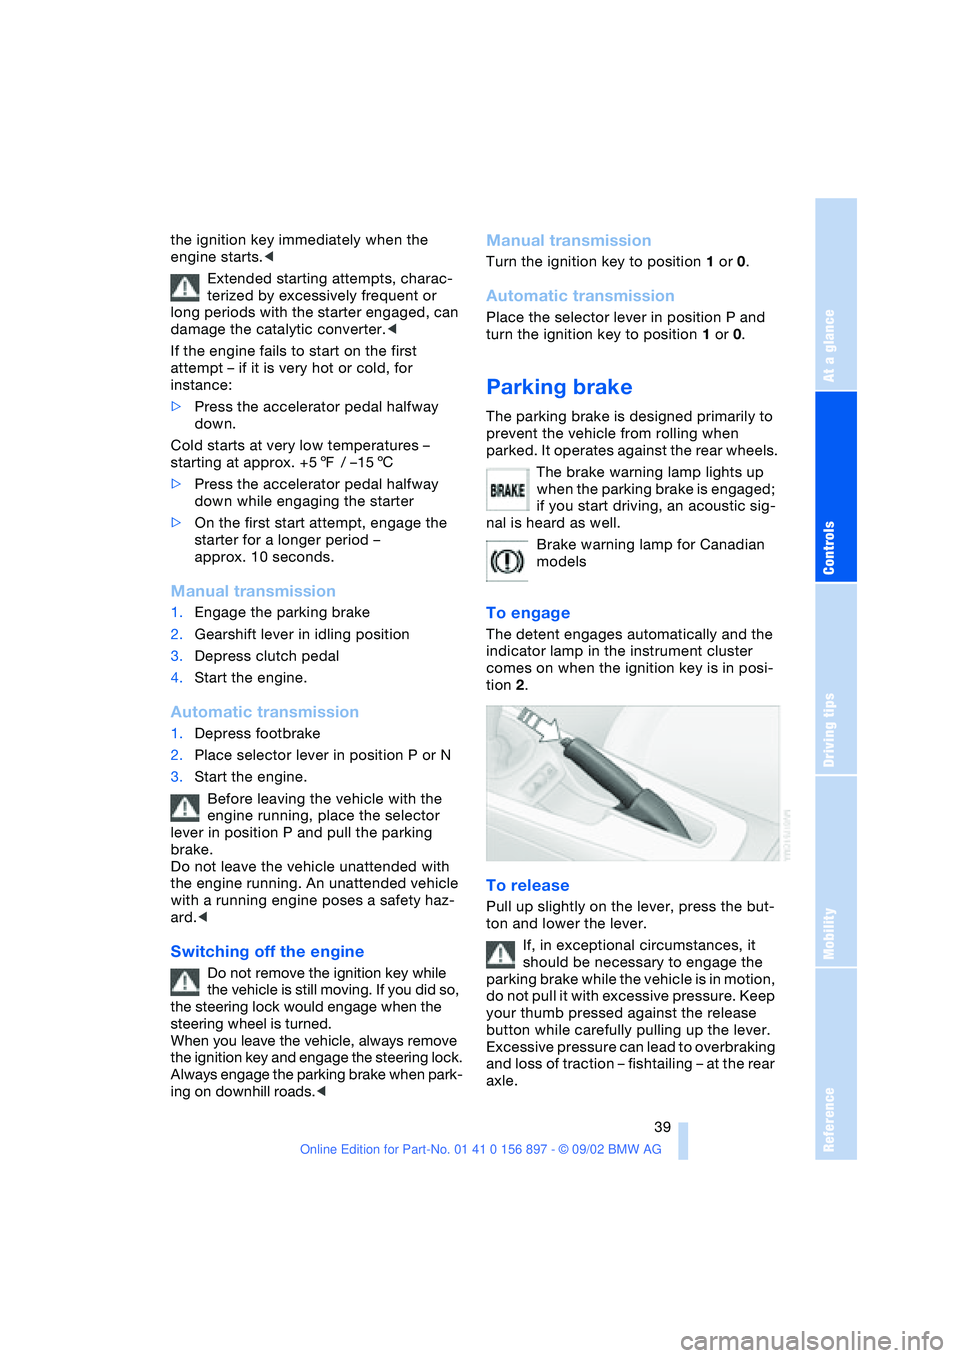
To engage
The detent engages automatically and the
indicator lamp in the instrument cluster
comes on when the ignition key is in posi-
tion 2.
To release
Pull up slightly on the lever, press the but-
ton and lower the lever.
If, in exceptional circumstances, it
should be necessary to engage the
parking brake while the vehicle is in motion,
do not pull it with excessive pressure. Keep
your thumb pressed against the release
button while carefully pulling up the lever.
Excessive pressure can lead to overbraking
and loss of traction – fishtailing – at the rear
axle.
Page 70 of 106

Refueling
70
Refueling
Fuel filler door
1.Open fuel filler door
2.Turn the filler cap in a counter-clock-
wise direction
3.Place the filler cap in the bracket on the
filler door.
Releasing manually
If an electrical malfunction occurs, you can
unlock the fuel filler door manually.
1.Remove the covers of the tail lamps by
turning the lock to the right; refer also to
page 87
2.Pull the luggage compartment trim
panel slightly toward the interior.
The green button with the fuel pump
symbol is revealed
3.Undo the adhesive strip and pull off
4.Pull on the knob
Fuel filler cap is released.
Fuel gas cap
Close the gas cap carefully after refu-
eling until a "click" is heard. While closing, be sure not to squeeze the strap
which is fastened to the cap. A loose or
missing cap will activate the "Check gas
cap" lamp.<
Check gas cap
This indicator lamp comes on when
the fuel gas cap is loose or missing.
Close the gas cap tightly as described
above.
Tank capacity: approx. 14.5 gallons /
55 liters, of which approx. 2.1 gallons /
8 liters are reserve capacity.
Simple and environmentally friendly
When handling fuels, comply with all
of the applicable safety precautions
posted at the service station.<
When refueling, insert the filler nozzle com-
pletely into the filler pipe. Pulling the nozzle
out of the pipe during refueling
>results in premature shutoff
>and will reduce the effect of the vapor
recovery system on the pump.
The fuel tank is full when the filler nozzle
shuts off the first time.
Fill the fuel tank before it is com-
pletely empty. Driving to the last drop
of fuel can prevent the engine from operat-
ing properly and result in damage.<
Fuel specifications
The engine uses lead-free gasoline only.
Required fuel:
>Premium Unleaded Gasoline,
min. 91 AKI.
AKI = Anti Knock Index.
Do not use leaded fuels. The use of
leaded fuels will cause permanent
damage to the system's oxygen sensor and
the catalytic converter.<
Page 83 of 106

At a glance
Controls
Driving tips
Mobility
Reference
83
Laws and regulations
California Proposition 65
warning
California laws require us to state the fol-
lowing warning:
Engine exhaust, some of its constitu-
ents, and certain vehicle components
contain or emit chemicals known to the
State of California to cause cancer and
birth defects and reproductive harm. In
addition, certain fluids contained in vehi-
cles and certain products of component
wear contain or emit chemicals known to
the State of California to cause cancer and
birth defects or other reproductive harm.
Battery posts, terminals and related acces-
sories contain lead and lead compounds.
Wash your hands after handling. Used
engine oil contains chemicals that have
caused cancer in laboratory animals.
Always protect your skin by washing thor-
oughly with soap and water.<
OBD interface socket
The Onboard Diagnostic OBD interface
socket is located on the left of the driver's
side behind a specially marked cover
located beneath the instrument panel. The
cover has the letters OBD on it.
This interface makes it possible to access
data on emissions – related components
using special equipment.If the Service Engine Soon indicator
lamp comes on either continuously
or intermittently, this indicates a
fault in the emissions-related electronic
systems. Although the vehicle remains
operational, you should have the systems
checked by your BMW center at the earli-
est possible opportunity.
The illuminated indicator informs you of the
need for service, not that you need to stop
the vehicle. However, the systems should
be checked by your BMW center at the
next opportunity.
If the indicator blinks or flashes, this indi-
cates a high level of engine misfire. Reduce
speed and contact the nearest BMW center
immediately. Severe engine misfiring over
even a short period of time can seriously
damage emission control system compo-
nents, especially the catalytic converter.
Service Engine Soon
warning lamp for Canadian
models.
If the fuel filler cap is not on tight
enough, the OBD system can detect
leaking vapor and the indicator will light up.
If the fuel filler cap is then tightened, the
indicator will usually go out after a short
period of time.<
Page 98 of 106

Everything from A - Z
98 Brake system 65
– brake fluid level 81
– brake pads 66
– break-in procedures 64
– disc brakes 65
Brakes
– driving notes 65
Break-in procedures 64
– brake system 64
– clutch 64
– differential 64
– engine 64
– tires 64
Bulb
– defective 45
– replacement 84
C
California Proposition 65
warning 83
Can holder 61
Capacities 94, 96
– luggage
compartment 22, 94
Car battery 87
Car radio, refer to the
Owner's Manual for Radio
Car wash, refer to the Car-
ing for your vehicle bro-
chure
Cargo loading 66
Cassette player operation,
refer to the Owner's Man-
ual for Radio
Catalytic converter, refer to
High temperatures 65
CD player operation, refer
to the Owner's Manual for
Radio
Cellular phone
preparation 61
Cellular phone, refer to the
separate Owner's Manual
Center high-mount brake
lamp 87
Central locking system 18
– button 20
– interior 20
Charge indicator
lamp 14, 88Check gas cap 70
– indicator lamp 14
Child seat 34
Child-restraint mounting
system (LATCH) 36
Child-restraint systems 34
Cigarette lighter 61
Cleaning the headlamps 43
Cleaning the windshield 43
Clock
– 12/24-hour mode 49
– adjusting, refer also to the
radio or onboard com-
puter Owner's Manual
Clothes hooks 27
Cluster 13
Clutch
– break-in procedure 64
Cockpit 12
Code, refer to the Owner's
Manual for Radio
Combination switch, refer
to Turn signal indicators/
Headlamp flasher 42
Compartments 60
Compression ratio 94
Computer 49
– average fuel
consumption 50
– average speed 50
– clock, 12/24-hour
mode 49
– cruising range 50
– outside temperature 49
Condensation
– removing from
windows 56, 58
Configuring adjustments,
refer to Vehicle Memory,
Key Memory 37
Consumption 50
Convenience operation
– convertible top 20
– windows 20
Convertible top 23
– convenience operation 20
– electrical fault 25
– emergency operation 25
– malfunction 25
– manual operation 23
– mechanical 23Convertible top compart-
ment panel 22
Coolant 80, 96
– indicator lamp 14
Coolant thermometer 47
Cooling system 96
Cooling, maximum 58
Copyright 4, 6
Cruise control 44
Cruising range 50
Cup holder, refer to Bever-
age holder 61
Curb weight 94
Cylinders 94
D
Data 94
– engine 94
– filling capacities 96
– weights 94
Daytime driving lamps 45
DBC Dynamic Brake
Control 52
Defects 8
Deflector for wind 26
Defrost setting 56, 58
Defroster, rear window
– air conditioning 56
– automatic climate
control 59
Defrosting
– windows 56, 58
Differential
– break-in procedures 64
Digital clock
Dimensions 95
Dimming mirror 33
Dipstick, engine oil 79
Disc brakes 65
Displacement 94
Displays, refer to Instru-
ment cluster 13
Door lock 20
Door lock buttons 21
Doors
– emergency operation 20
– locking 19
– unlocking 19
DOT quality grades 73
Drivelogic 42