Page 48 of 183

48n
Head restraints Power rear-seat backrest adjustment
*
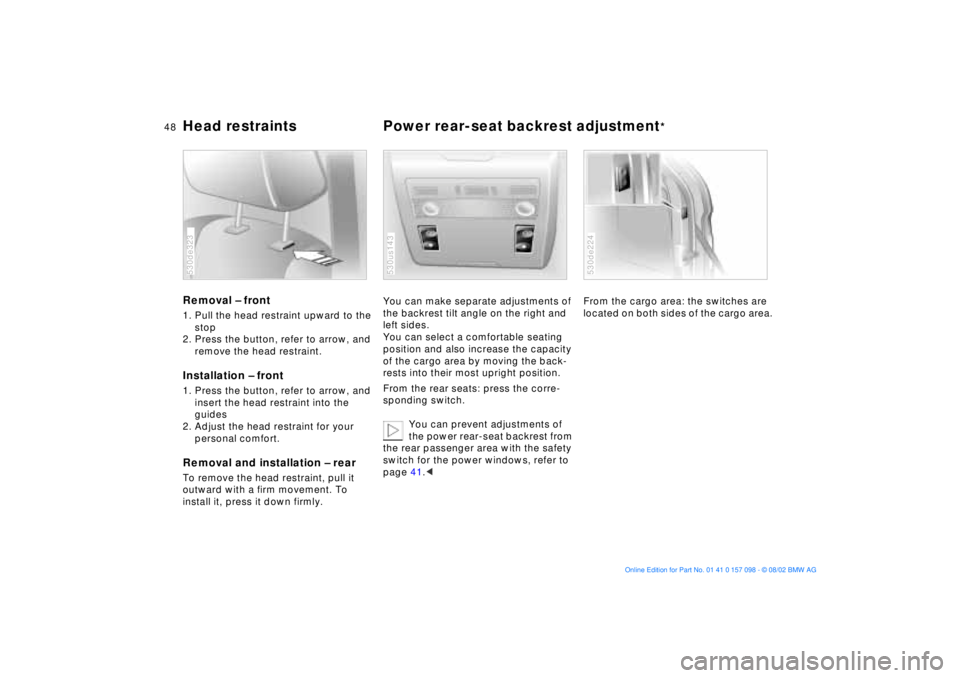
Removal Ð front 1. Pull the head restraint upward to the
stop
2. Press the button, refer to arrow, and
remove the head restraint.Installation Ð front 1. Press the button, refer to arrow, and
insert the head restraint into the
guides
2. Adjust the head restraint for your
personal comfort.Removal and installation Ð rearTo remove the head restraint, pull it
outward with a firm movement. To
install it, press it down firmly. 530de323
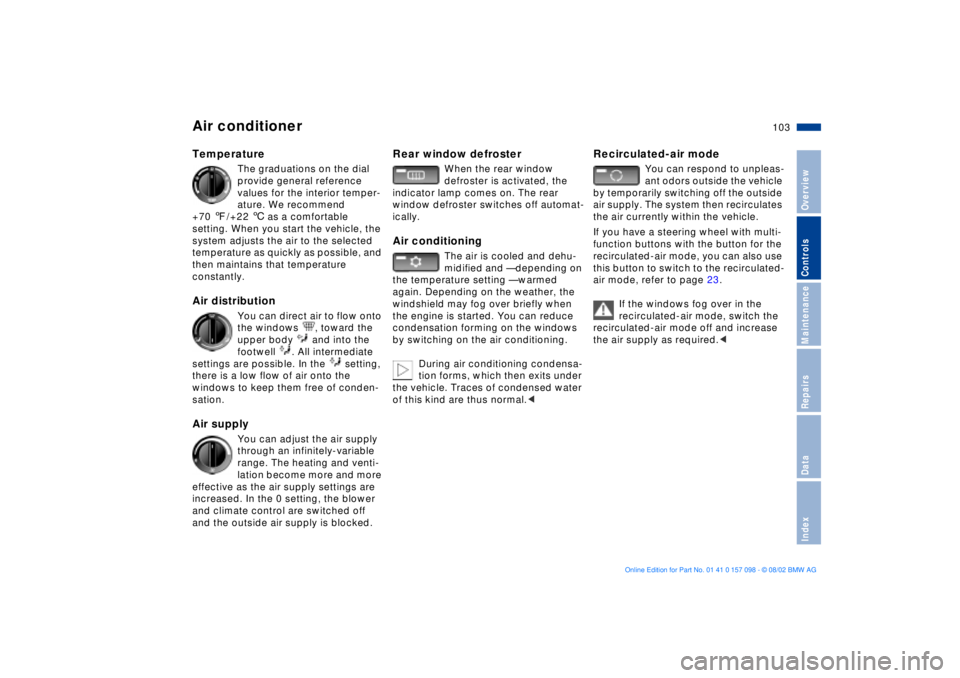
You can make separate adjustments of
the backrest tilt angle on the right and
left sides.
You can select a comfortable seating
position and also increase the capacity
of the cargo area by moving the back-
rests into their most upright position.
From the rear seats: press the corre-
sponding switch.
You can prevent adjustments of
the power rear-seat backrest from
the rear passenger area with the safety
switch for the power windows, refer to
page 41.< 530us143
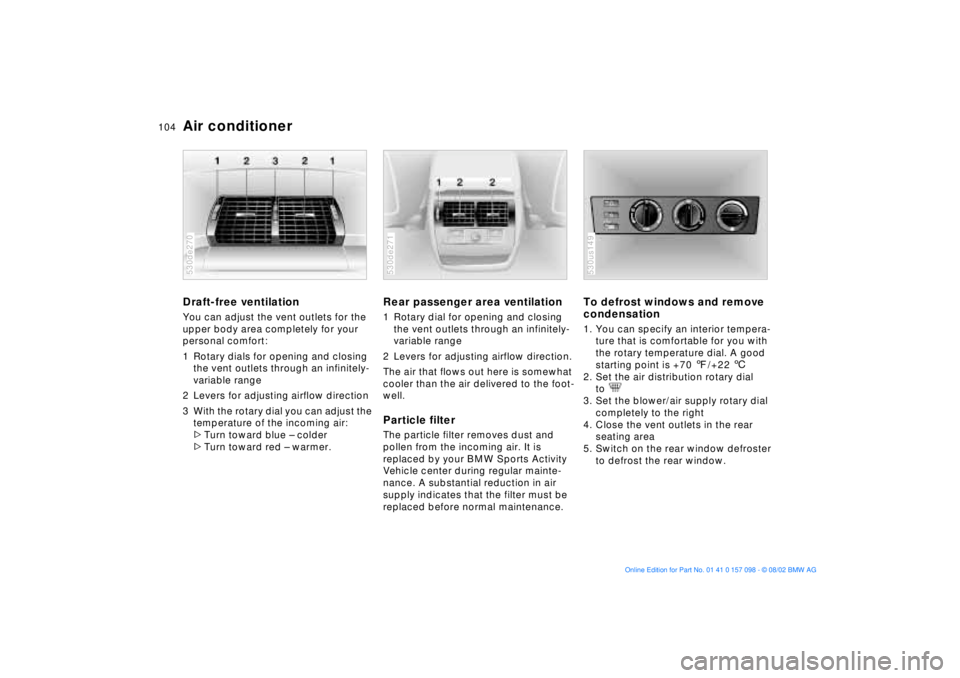
From the cargo area: the switches are
located on both sides of the cargo area. 530de224
Page 70 of 183

70n
Washer/Wiper system/Rain sensor
*
Do not use the washers if there is
any danger that the fluid will
freeze on the windshield. If you do so,
your vision could be obscured. For this
reason, use an antifreeze agent, refer to
page 141.
Do not use the washers when the reser-
voir is empty. This could cause damage
to the washer pump.<
Windshield washer jetsThe windshield washer jets are warmed
automatically when the ignition key is in
position 2.
Rear window wiper 0 Retracted position of the rear window
wiper
1 Rear window wiper in intermittent
mode. When reverse gear is
engaged, continuous operation is
switched on automatically
2 Clean the rear window
You can also program the interval:
>Switch briefly from position 0 to posi-
tion 1
>The time until reactivation Ð from
position 0 to 1 Ð is the programmed
interval, max. 30 seconds. 530de266
Programming is deleted:
>Approx. 10 seconds after the lever is
placed in position 0 or
>after the engine is switched off.
For changing the wiper blade, refer to
page 150.
Page 102 of 183
102n
1 Airflow directed toward the wind-
shield and side windows
2 Airflow for the upper body104
3 Front footwell ventilation 4 Rear footwell ventilation
5 Airflow for the upper body in the rear
seat104
6 Temperature103
7 Air distribution1038 Air supply103
9 Rear window defroster103
10 Air conditioning103
11 Recirculated-air mode103
Air conditioner
530us222
Page 103 of 183

103n
OverviewControlsMaintenanceRepairsDataIndex
Air conditioner Temperature
The graduations on the dial
provide general reference
values for the interior temper-
ature. We recommend
+70 7/+22 6 as a comfortable
setting. When you start the vehicle, the
system adjusts the air to the selected
temperature as quickly as possible, and
then maintains that temperature
constantly.
Air distribution
You can direct air to flow onto
the windows , toward the
upper body and into the
footwell . All intermediate
settings are possible. In the setting,
there is a low flow of air onto the
windows to keep them free of conden-
sation.
Air supply
You can adjust the air supply
through an infinitely-variable
range. The heating and venti-
lation become more and more
effective as the air supply settings are
increased. In the 0 setting, the blower
and climate control are switched off
and the outside air supply is blocked.
Rear window defroster
When the rear window
defroster is activated, the
indicator lamp comes on. The rear
window defroster switches off automat-
ically.
Air conditioning
The air is cooled and dehu-
midified and Ñ depending on
the temperature setting Ñ warmed
again. Depending on the weather, the
windshield may fog over briefly when
the engine is started. You can reduce
condensation forming on the windows
by switching on the air conditioning.
During air conditioning condensa-
tion forms, which then exits under
the vehicle. Traces of condensed water
of this kind are thus normal.<
Recirculated-air mode
You can respond to unpleas-
ant odors outside the vehicle
by temporarily switching off the outside
air supply. The system then recirculates
the air currently within the vehicle.
If you have a steering wheel with multi-
function buttons with the button for the
recirculated-air mode, you can also use
this button to switch to the recirculated-
air mode, refer to page 23.
If the windows fog over in the
recirculated-air mode, switch the
recirculated-air mode off and increase
the air supply as required.<
Page 104 of 183

104n
Air conditionerDraft-free ventilation You can adjust the vent outlets for the
upper body area completely for your
personal comfort:
1 Rotary dials for opening and closing
the vent outlets through an infinitely-
variable range
2 Levers for adjusting airflow direction
3 With the rotary dial you can adjust the
temperature of the incoming air:
>Turn toward blue Ð colder
>Turn toward red Ð warmer. 530de270
Rear passenger area ventilation1 Rotary dial for opening and closing
the vent outlets through an infinitely-
variable range
2 Levers for adjusting airflow direction.
The air that flows out here is somewhat
cooler than the air delivered to the foot-
well. Particle filter The particle filter removes dust and
pollen from the incoming air. It is
replaced by your BMW Sports Activity
Vehicle center during regular mainte-
nance. A substantial reduction in air
supply indicates that the filter must be
replaced before normal maintenance.530de271
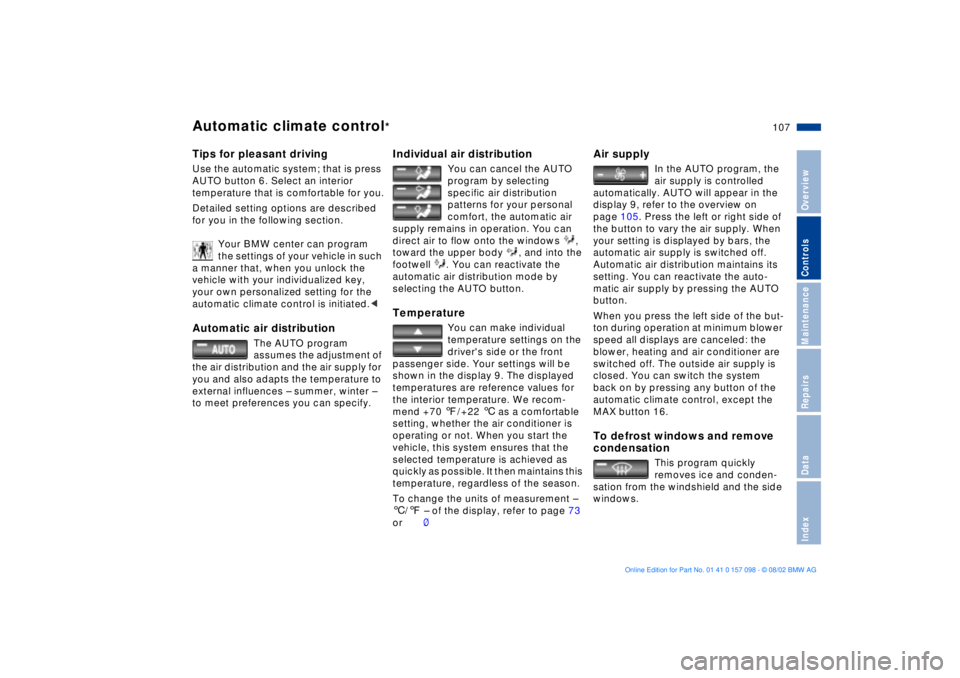
To defrost windows and remove
condensation 1. You can specify an interior tempera-
ture that is comfortable for you with
the rotary temperature dial. A good
starting point is +70 7/+22 6
2. Set the air distribution rotary dial
to
3. Set the blower/air supply rotary dial
completely to the right
4. Close the vent outlets in the rear
seating area
5. Switch on the rear window defroster
to defrost the rear window. 530us149
Page 105 of 183
105n
OverviewControlsMaintenanceRepairsDataIndex
1 Airflow directed toward the wind-
shield and side windows
2 Airflow for the upper body109
3 Front footwell ventilation4 Rear footwell ventilation
5 Airflow for the upper body in the rear
seat109
6 Automatic air distribution and air
supply1077 Individual air distribution107
8 Temperature control Ð
left-hand side107
9 Display for temperature and air
supply107Automatic climate control
*
530us223
Page 106 of 183
106n
Automatic climate control
*
10 Temperature control Ð
right-hand side107
11 To defrost windows and remove
condensation108
12 Air conditioning10813 Automatic recirculated-air control
(AUC)108
14 Rear window defroster108
15 Air supply107 16 Maximum cooling108
or using up residual heat109
17 Air grille for interior temperature
sensor Ð please keep clear and
unobstructed
530us223
Page 107 of 183

107n
OverviewControlsMaintenanceRepairsDataIndex
Automatic climate control
*
Tips for pleasant drivingUse the automatic system; that is press
AUTO button 6. Select an interior
temperature that is comfortable for you.
Detailed setting options are described
for you in the following section.
Your BMW center can program
the settings of your vehicle in such
a manner that, when you unlock the
vehicle with your individualized key,
your own personalized setting for the
automatic climate control is initiated.< Automatic air distribution
The AUTO program
assumes the adjustment of
the air distribution and the air supply for
you and also adapts the temperature to
external influences Ð summer, winter Ð
to meet preferences you can specify.
Individual air distribution
You can cancel the AUTO
program by selecting
specific air distribution
patterns for your personal
comfort, the automatic air
supply remains in operation. You can
direct air to flow onto the windows ,
toward the upper body , and into the
footwell . You can reactivate the
automatic air distribution mode by
selecting the AUTO button.
Temperature
You can make individual
temperature settings on the
driver's side or the front
passenger side. Your settings will be
shown in the display 9. The displayed
temperatures are reference values for
the interior temperature. We recom-
mend +70 7/+22 6 as a comfortable
setting, whether the air conditioner is
operating or not. When you start the
vehicle, this system ensures that the
selected temperature is achieved as
quickly as possible. It then maintains this
temperature, regardless of the season.
To change the units of measurement Ð
6/7 Ð of the display, refer to page 73
or 80.
Air supply
In the AUTO program, the
air supply is controlled
automatically. AUTO will appear in the
display 9, refer to the overview on
page 105. Press the left or right side of
the button to vary the air supply. When
your setting is displayed by bars, the
automatic air supply is switched off.
Automatic air distribution maintains its
setting. You can reactivate the auto-
matic air supply by pressing the AUTO
button.
When you press the left side of the but-
ton during operation at minimum blower
speed all displays are canceled: the
blower, heating and air conditioner are
switched off. The outside air supply is
closed. You can switch the system
back on by pressing any button of the
automatic climate control, except the
MAX button 16.
To defrost windows and remove
condensation
This program quickly
removes ice and conden-
sation from the windshield and the side
windows.