2003 BMW M5 SEDAN ESP
[x] Cancel search: ESPPage 9 of 155
9n
OverviewControlsMaintenanceRepairsDataIndex
Status at time of printing
BMW pursues a policy of continuous,
ongoing development designed to
ensure that our vehicles continue to
embody the highest quality and safety
standards combined with advanced,
state-of-the-art technology. For this
reason, it is possible that the features
described in this Owner's Manual could
differ from those on your vehicle. Nor
can errors and omissions be entirely
ruled out. We therefore request your
understanding for the fact that we are
unable to recognize any legal claims
based on the data, illustrations or
descriptions in this manual.
For your own safety
Use unleaded gasoline only. Fuels
containing up to and including
10 % ethanol or other oxygenates with
up to 2.8 % oxygen by weight Ð i.e.
15 % MTBE or 3 % methanol plus an
equivalent amount of co-solvent Ð will
not void the applicable warranties
covering defects in materials or work-
manship. Field experience has indi-
cated significant differences in fuel
quality Ð volatility, composition, addi-
tives, etc. among gasolines offered for
sale in the United States and Canada.
The use of poor-quality fuels may result
in driveability, starting and stalling
problems, especially under certain
environmental conditions, such as high
ambient temperature and high altitude.
Should you encounter driveability prob-
lems that you suspect could be related
to the fuel you are using, we recom-
mend that you respond by switching to
a recognized high-quality brand.
Failure to comply with these recom-
mendations may result in unscheduled
maintenance.
Obey pertinent safety rules when you
are handling gasoline.
<
Important safety information!
For your own safety, use genuine
parts and accessories approved by
BMW.
When you purchase accessories tested
and approved by BMW and Original
BMW Parts, you simultaneously acquire
the assurance that they have been thor-
oughly tested by BMW to ensure
optimum performance when installed
on your vehicle.
BMW warrants these parts to be free
from defects in material and workman-
ship.
BMW will not accept any liability for
damages resulting from installation of
parts and accessories not approved by
BMW.
BMW cannot test every product from
other manufacturers to verify if it can be
used on a BMW safely and without risk
to either the vehicle, its operation, or its
occupants.
Original BMW Parts, BMW Accessories
and other products approved by BMW,
together with professional advice on
using these items, are available from all
BMW centers.
Status at time of printing
Your individual vehicle
Notes
Page 16 of 155
16n
Indicator and warning lamps
Technology that monitors itself
The system runs a check on the
warning and indicator lamps marked
by "
l
" each time you switch on the
ignition. They each light up once for dif-
ferent periods of time.
If a fault should occur in one of these
systems, the corresponding lamp does
not go out after the engine is started or
it lights up while the vehicle is moving.
The following section describes how
you should respond.
Red: stop immediately
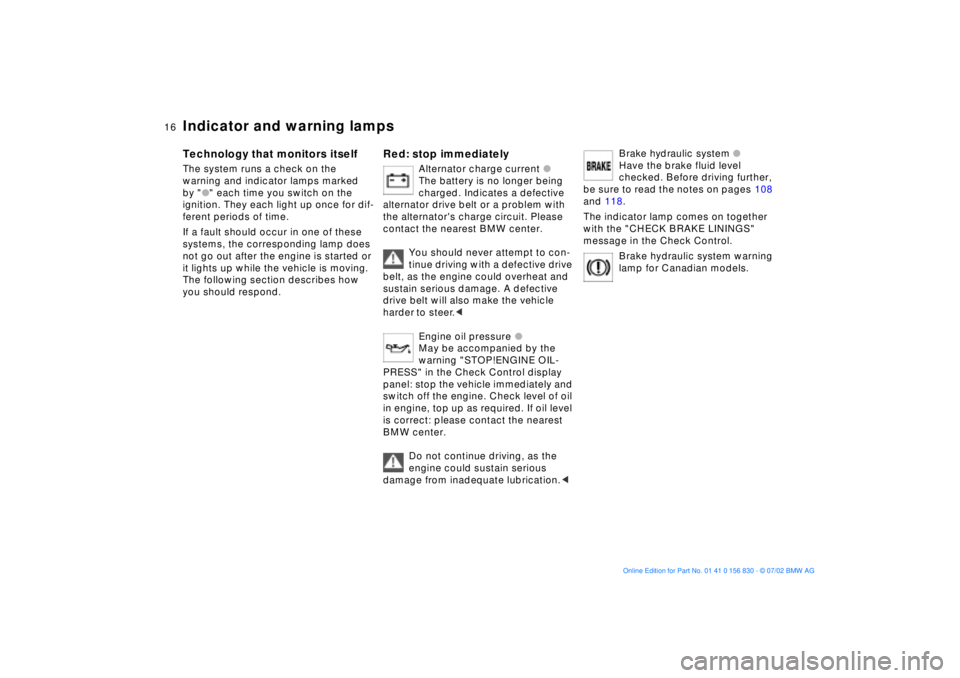
Alternator charge current
l
The battery is no longer being
charged. Indicates a defective
alternator drive belt or a problem with
the alternator's charge circuit. Please
contact the nearest BMW center.
You should never attempt to con-
tinue driving with a defective drive
belt, as the engine could overheat and
sustain serious damage. A defective
drive belt will also make the vehicle
harder to steer.
<
Engine oil pressure
l
May be accompanied by the
warning "STOP!ENGINE OIL-
PRESS" in the Check Control display
panel: stop the vehicle immediately and
switch off the engine. Check level of oil
in engine, top up as required. If oil level
is correct: please contact the nearest
BMW center.
Do not continue driving, as the
engine could sustain serious
damage from inadequate lubrication.
<
Brake hydraulic system
l
Have the brake fluid level
checked. Before driving further,
be sure to read the notes on pages 108
and 118.
The indicator lamp comes on together
with the "CHECK BRAKE LININGS"
message in the Check Control.
Brake hydraulic system warning
lamp for Canadian models.
Page 17 of 155
17n
OverviewControlsMaintenanceRepairsDataIndex
Indicator and warning lamps
Red: an important reminder
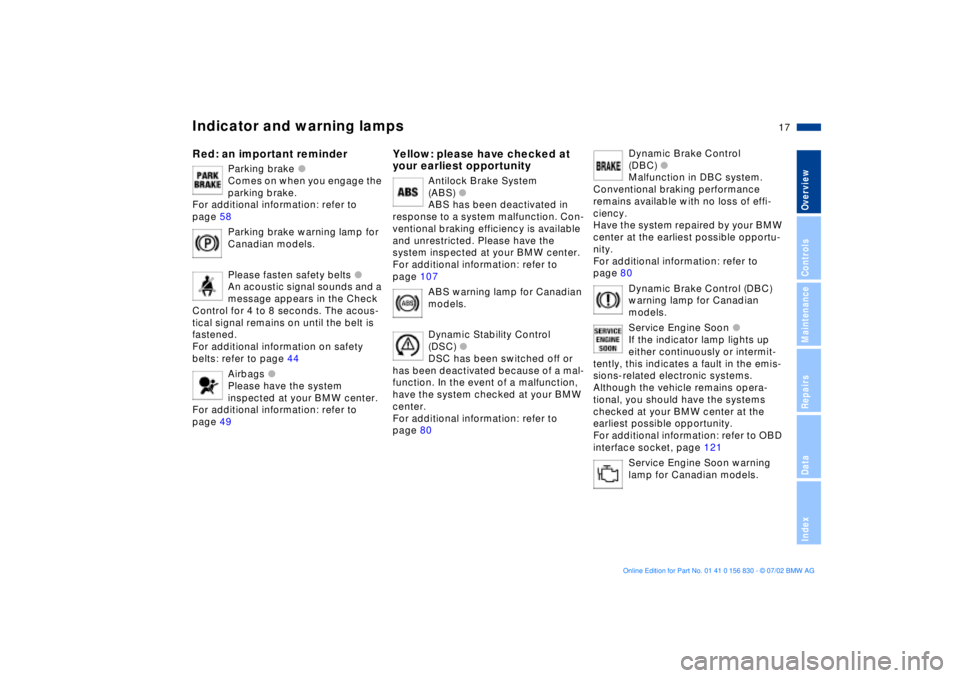
Parking brake
l
Comes on when you engage the
parking brake.
For additional information: refer to
page 58
Parking brake warning lamp for
Canadian models.
Please fasten safety belts
l
An acoustic signal sounds and a
message appears in the Check
Control for 4 to 8 seconds. The acous-
tical signal remains on until the belt is
fastened.
For additional information on safety
belts: refer to page 44
Airbags
l
Please have the system
inspected at your BMW center.
For additional information: refer to
page 49
Yellow: please have checked at
your earliest opportunity
Antilock Brake System
(ABS)
l
ABS has been deactivated in
response to a system malfunction. Con-
ventional braking efficiency is available
and unrestricted. Please have the
system inspected at your BMW center.
For additional information: refer to
page 107
ABS warning lamp for Canadian
models.
Dynamic Stability Control
(DSC)
l
DSC has been switched off or
has been deactivated because of a mal-
function. In the event of a malfunction,
have the system checked at your BMW
center.
For additional information: refer to
page 80
Dynamic Brake Control
(DBC)
l
Malfunction in DBC system.
Conventional braking performance
remains available with no loss of effi-
ciency.
Have the system repaired by your BMW
center at the earliest possible opportu-
nity.
For additional information: refer to
page 80
Dynamic Brake Control (DBC)
warning lamp for Canadian
models.
Service Engine Soon
l
If the indicator lamp lights up
either continuously or intermit-
tently, this indicates a fault in the emis-
sions-related electronic systems.
Although the vehicle remains opera-
tional, you should have the systems
checked at your BMW center at the
earliest possible opportunity.
For additional information: refer to OBD
interface socket, page 121
Service Engine Soon warning
lamp for Canadian models.
Page 19 of 155
19n
OverviewControlsMaintenanceRepairsDataIndex
Steering wheel with multifunction buttons
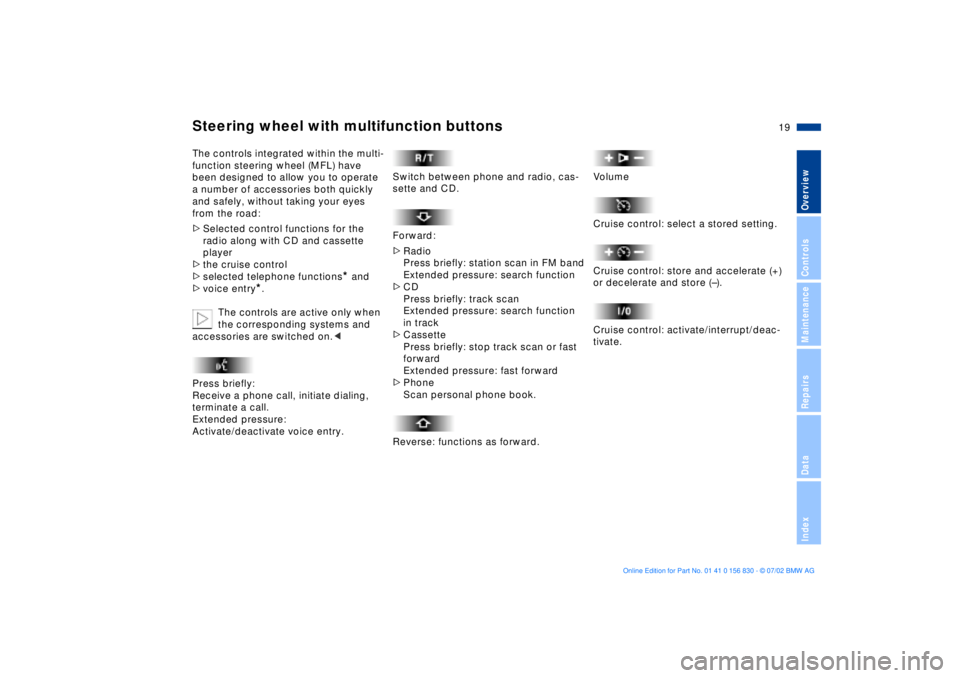
The controls integrated within the multi-
function steering wheel (MFL) have
been designed to allow you to operate
a number of accessories both quickly
and safely, without taking your eyes
from the road:
>
Selected control functions for the
radio along with CD and cassette
player
>
the cruise control
>
selected telephone functions
*
and
>
voice entry
*
.
The controls are active only when
the corresponding systems and
accessories are switched on.
<
Press briefly:
Receive a phone call, initiate dialing,
terminate a call.
Extended pressure:
Activate/deactivate voice entry.
Switch between phone and radio, cas-
sette and CD.
Forward:
>
Radio
Press briefly: station scan in FM band
Extended pressure: search function
>
CD
Press briefly: track scan
Extended pressure: search function
in track
>
Cassette
Press briefly: stop track scan or fast
forward
Extended pressure: fast forward
>
Phone
Scan personal phone book.
Reverse: functions as forward.
Volume
Cruise control: select a stored setting.
Cruise control: store and accelerate (+)
or decelerate and store (Ð).
Cruise control: activate/interrupt/deac-
tivate.
Page 27 of 155
27n
OverviewControlsMaintenanceRepairsDataIndex
Central locking system Opening and closing Ð via the door lockWhen you use the central locking
system to lock the doors from inside
the vehicle, it will automatically disen-
gage the locks if an accident occurs,
except on doors that have been locked
individually using the lock buttons, refer
to page 31. The accident response rou-
tine also includes automatic activation
of the hazard warning flashers and the
interior lamps.
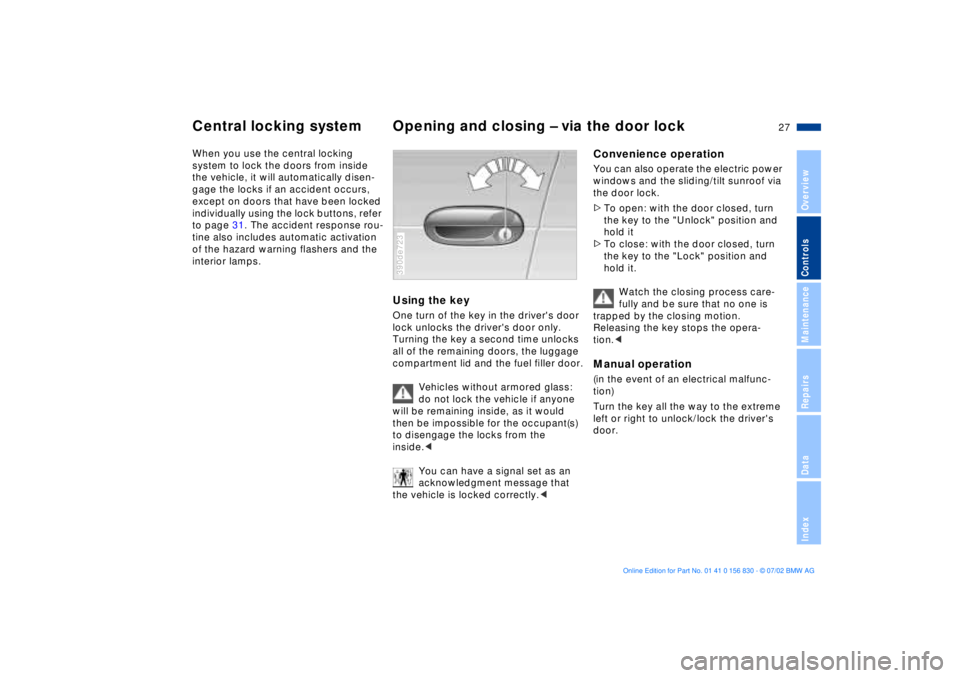
Using the key One turn of the key in the driver's door
lock unlocks the driver's door only.
Turning the key a second time unlocks
all of the remaining doors, the luggage
compartment lid and the fuel filler door.
Vehicles without armored glass:
do not lock the vehicle if anyone
will be remaining inside, as it would
then be impossible for the occupant(s)
to disengage the locks from the
inside.<
You can have a signal set as an
acknowledgment message that
the vehicle is locked correctly.<390de723
Convenience operationYou can also operate the electric power
windows and the sliding/tilt sunroof via
the door lock.
>To open: with the door closed, turn
the key to the "Unlock" position and
hold it
>To close: with the door closed, turn
the key to the "Lock" position and
hold it.
Watch the closing process care-
fully and be sure that no one is
trapped by the closing motion.
Releasing the key stops the opera-
tion.< Manual operation (in the event of an electrical malfunc-
tion)
Turn the key all the way to the extreme
left or right to unlock/lock the driver's
door.
Page 29 of 155
29n
OverviewControlsMaintenanceRepairsDataIndex
Opening and closing Ð via the remote control To unlockPress button.
Press the button once to unlock the
driver's door and the fuel filler door
only; press a second time to unlock all
remaining doors as well as the luggage
compartment lid.Convenience opening modePress and hold button to open the elec-
tric power windows and sliding/tilt sun-
roof.
To lock and secure Press button.
Vehicles without armored glass:
Do not lock the vehicle if anyone
will be remaining inside, as it would
then be impossible for the occupant(s)
to disengage the locks from the
inside.< To deactivate the tilt alarm sensor
and the interior motion sensorPress button a second time immedi-
ately after locking.
For additional information: refer to
page 36.To switch on the interior lampsWith the vehicle locked, press button.
To open the luggage
compartment lidPress button.
The luggage compartment lid will open
slightly, regardless of whether the lid
was previously locked or unlocked.
Before and after a trip, be sure
that the luggage compartment lid
has not been opened unintentionally.
danger by holding down the button for
between two and five seconds.
To cancel alarm
Press button.
Page 35 of 155
35n
OverviewControlsMaintenanceRepairsDataIndex
Alarm systemThe conceptThe vehicle alarm system responds:
>When a door, the hood or the lug-
gage compartment lid are opened
>To movement inside the vehicle (inte-
rior motion sensor)
>Variations in the vehicle's tilt angle of
the kind that occur during attempts to
steal the wheels or tow the vehicle
>To interruption of battery voltage.
The system responds to unauthorized
vehicle entry and attempted theft by
simultaneously activating the following:
>Sounding an acoustical alarm for
30 seconds
>The hazard warning flashers are acti-
vated for approx. five minutes
>The high beams flash on and off in
the same rhythm as the hazard
warning flashers.
To arm and disarm the
alarm systemWhen the vehicle is locked or unlocked
with the key or the remote control, the
alarm system is also simultaneously
armed or disarmed.
You can have different acknowl-
edgment messages set to confirm
arming and disarming.<
You can also open the luggage com-
partment lid when the system is armed
by pressing the button on the remote
control (refer to page 29). When you
close the luggage compartment lid, the
luggage compartment is secured again.
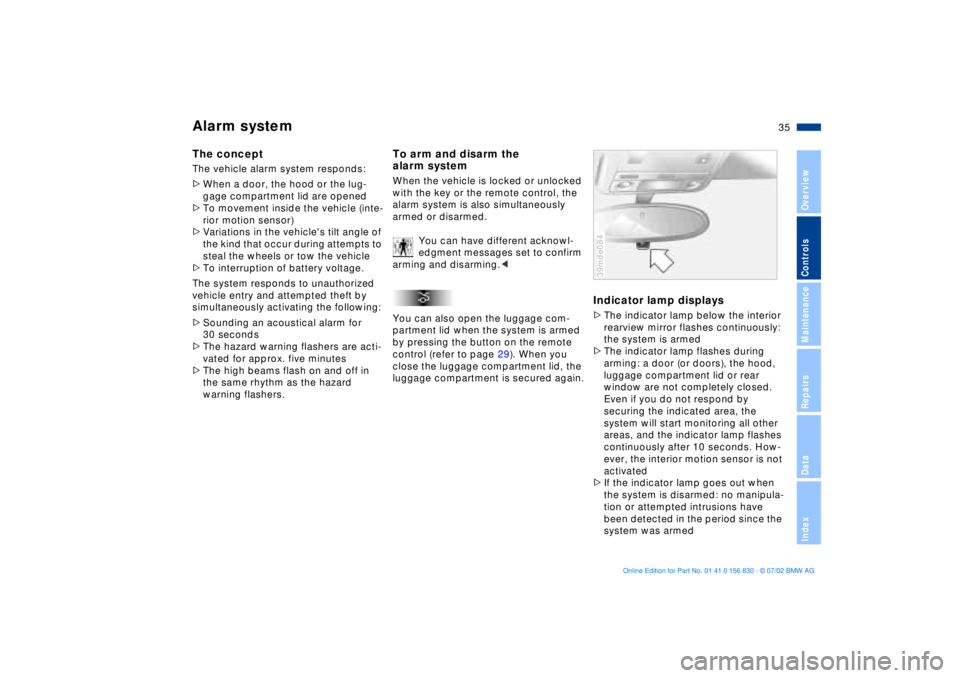
Indicator lamp displays>The indicator lamp below the interior
rearview mirror flashes continuously:
the system is armed
>The indicator lamp flashes during
arming: a door (or doors), the hood,
luggage compartment lid or rear
window are not completely closed.
Even if you do not respond by
securing the indicated area, the
system will start monitoring all other
areas, and the indicator lamp flashes
continuously after 10 seconds. How-
ever, the interior motion sensor is not
activated
>If the indicator lamp goes out when
the system is disarmed: no manipula-
tion or attempted intrusions have
been detected in the period since the
system was armed39mde084
Page 37 of 155
37n
OverviewControlsMaintenanceRepairsDataIndex
Electric power windows
After the ignition has been switched off:
>You can still operate the power win-
dows as long as neither of the front
doors has been opened. To open a
window, press the switch beyond the
pressure point.
When leaving the vehicle, always
remove the ignition key from the
lock and remember to close the doors
to prevent children from operating the
power windows and injuring them-
selves, etc.<
For convenience operation via the door
lock or remote control, refer to page 27
or 29.Safety featureA contact strip is located on the inside
upper frame of each of the windows. If
pressure is exerted against this contact
strip while a window is being raised, the
system will respond by stopping the
window and then retracting it slightly.
Despite this safety feature, be
extremely careful to ensure that
the closing path of the window is not
obstructed. Otherwise, an object might
not touch the contact strip in some situ-
ations (very thin objects, for instance).
You can disable this safety feature by
pressing the switch beyond the pres-
sure point and holding it.
Because the power windows are sealed
at high pressure to prevent wind noise
when closed, a powerful motor is
required for efficient closing. When
closing the windows, always be sure
that they are not obstructed in any way.
Unsupervised use of these systems can
result in serious personal injury.
Remove the ignition key to deactivate
the electric power windows whenever
you leave the vehicle. Never leave the
keys in the vehicle with unsupervised
children. Never place anything that
could obstruct the driver's vision on or
next to the windows.<
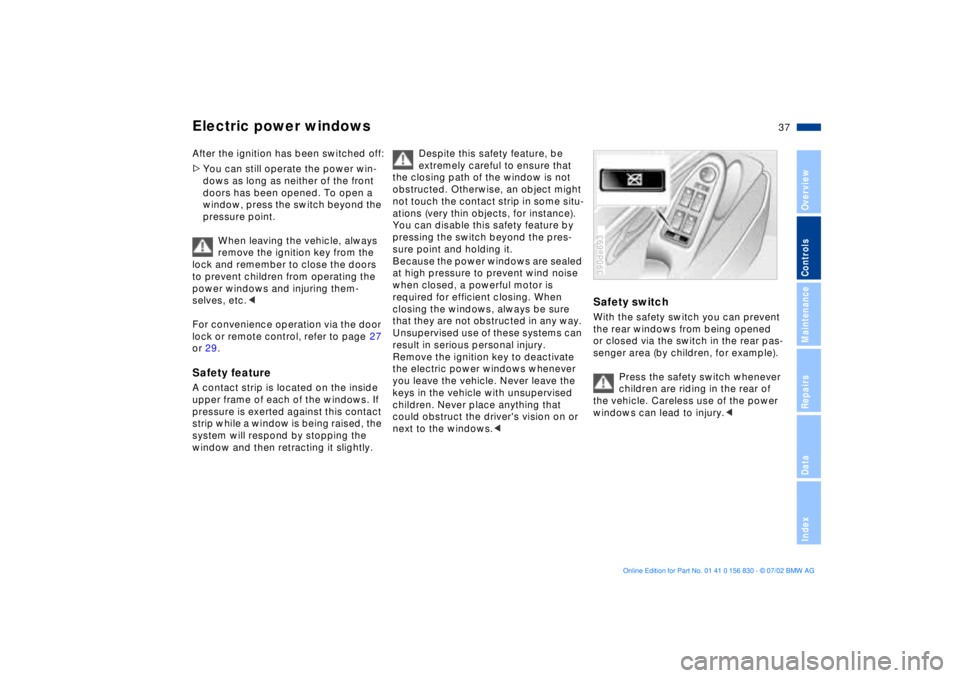
Safety switchWith the safety switch you can prevent
the rear windows from being opened
or closed via the switch in the rear pas-
senger area (by children, for example).
Press the safety switch whenever
children are riding in the rear of
the vehicle. Careless use of the power
windows can lead to injury.<390de693