2003 BMW M5 SEDAN change time
[x] Cancel search: change timePage 43 of 155
43n
OverviewControlsMaintenanceRepairsDataIndex
Head restraints BMW active seat
*
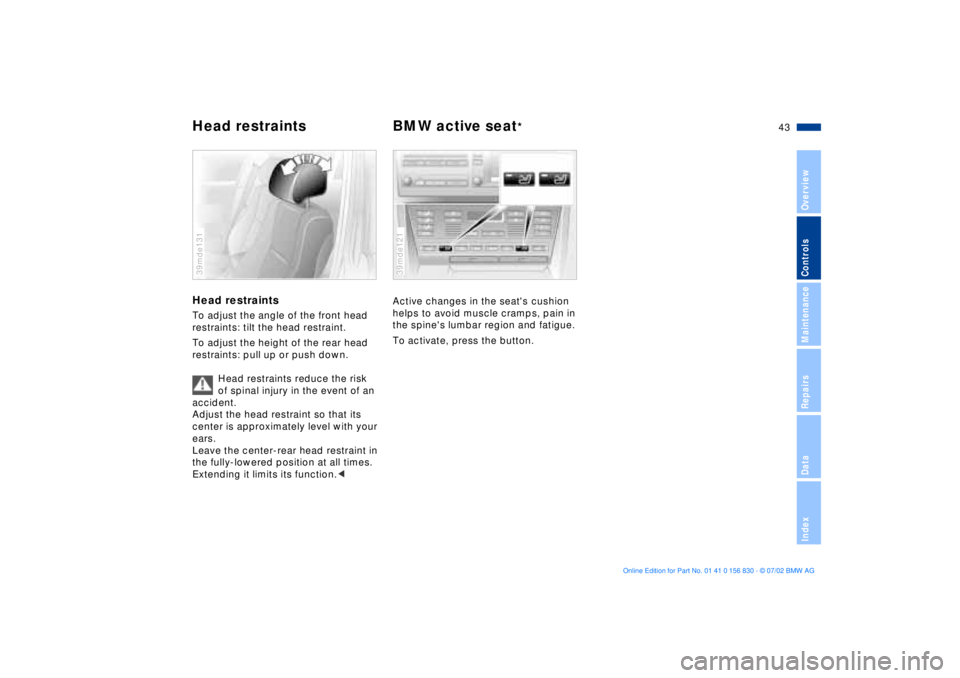
Head restraints To adjust the angle of the front head
restraints: tilt the head restraint.
To adjust the height of the rear head
restraints: pull up or push down.
Head restraints reduce the risk
of spinal injury in the event of an
accident.
Adjust the head restraint so that its
center is approximately level with your
ears.
Leave the center-rear head restraint in
the fully-lowered position at all times.
Extending it limits its function.<39mde131
Active changes in the seat's cushion
helps to avoid muscle cramps, pain in
the spine's lumbar region and fatigue.
To activate, press the button.39mde121
Page 55 of 155
55n
OverviewControlsMaintenanceRepairsDataIndex
Vehicle Memory, Key Memory How the system functionsNo doubt you have reflected at one
time or another on how great it would
be if you could permanently configure
your vehicle's various features and
adjustments to mirror your own indi-
vidual preferences. In engineering your
vehicle, BMW has incorporated a
number of options for personal adjust-
ment that can be programmed into your
vehicle at your BMW center.
The available configuration data fall into
two categories, according to whether
their primary orientation is the vehicle
("Vehicle Memory") or the individual
("Key Memory"). Provided that each
person has a separate remote-control
key, you can have your BMW center
enter two personal adjustments for two
different individuals into the system.463de029
When your vehicle is unlocked with the
remote control, the vehicle recognizes
the individual user by means of a data
exchange with the key, and makes
adjustments accordingly.
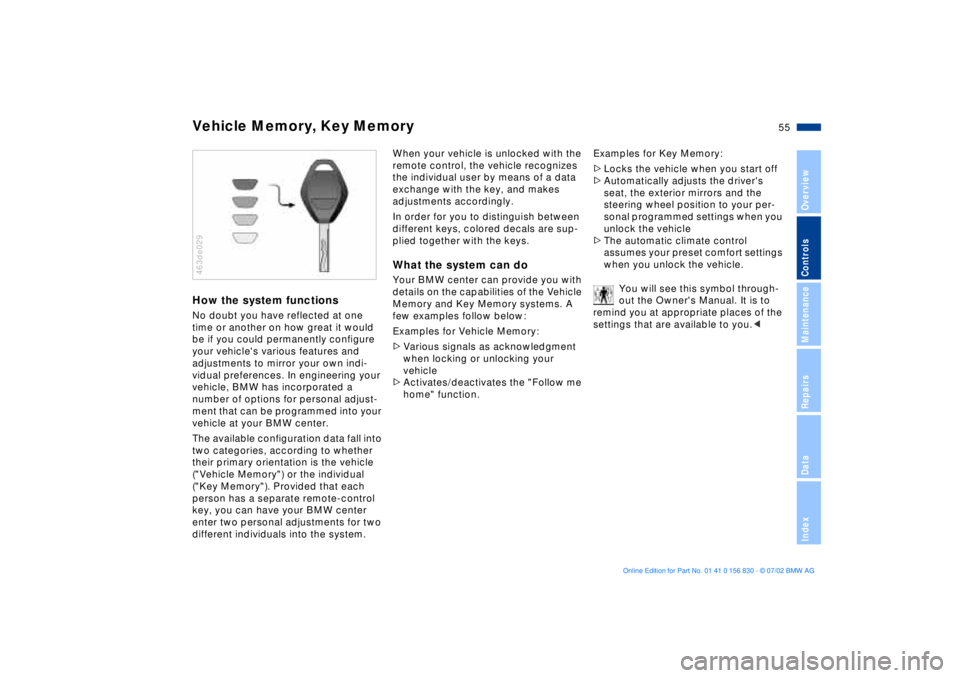
In order for you to distinguish between
different keys, colored decals are sup-
plied together with the keys.What the system can doYour BMW center can provide you with
details on the capabilities of the Vehicle
Memory and Key Memory systems. A
few examples follow below:
Examples for Vehicle Memory:
>Various signals as acknowledgment
when locking or unlocking your
vehicle
>Activates/deactivates the "Follow me
home" function.Examples for Key Memory:
>Locks the vehicle when you start off
>Automatically adjusts the driver's
seat, the exterior mirrors and the
steering wheel position to your per-
sonal programmed settings when you
unlock the vehicle
>The automatic climate control
assumes your preset comfort settings
when you unlock the vehicle.
You will see this symbol through-
out the Owner's Manual. It is to
remind you at appropriate places of the
settings that are available to you.<
Page 70 of 155

70n
Digital clock
Only make entries when the
vehicle is standing still Ð to avoid
endangering yourself or other road
users.<
Calling up time or datePress the left side of the button.
Display shows:
You can have the time of day displayed
in 12 or 24 hours.
To change the display:
Press the left side of the button.
If the 12-hour time display is in use,
AM or PM appears after the time.
Changing the timePress the left side of the button.
Press the right side of the button:
The dots flash in the display.
To alter the setting:
Press on the left or right, or hold the
button down.
To store the entry:
Press the right side of the button.
Changing the datePress the left side of the button.
Press.
Press the right side of the button:
The dots and the DATE display will
flash.
To alter the setting:
Press on left or right, or hold the button
down.
To store the entry:
Press the right side of the button.
The clock takes leap years into account
and therefore does not have to be reset
manually.
Page 72 of 155

72n
Digital clockSetting activation times for
parked-car ventilation systemYou can enter two different activation
times.
After 30 minutes, the ventilation will
switch off automatically.
Please observe the instructions
for operating the parked-car venti-
lation system on page 92.<
Press the left side of the button.
Press on the left or right.
Display shows:
Press the right side of the button:
Display flashes, e. g. TIMER 1.
To enter the time:
Press on left or right, or hold down.
To confirm the entry:
Press the right side of the button.
The activated time is marked with an
asterisk.
The switch-on times remain memorized
until new entries are made.
You can change switch-on times that
have already been memorized by set-
ting a new time using the procedure
described above.
When the switch-on time is active, the
LED comes on in the MID. During actual
operation of the ventilation, the LED
flashes. The LED goes out when the
system is switched off.
To activate/deactivate the time:
Press twice.Turning the parked-car ventilation
system on and off directly
The parked-car ventilation system
is available exclusively in ignition
key position 1.<
Press the left side of the button.
Press
or
press.
Page 84 of 155
84n
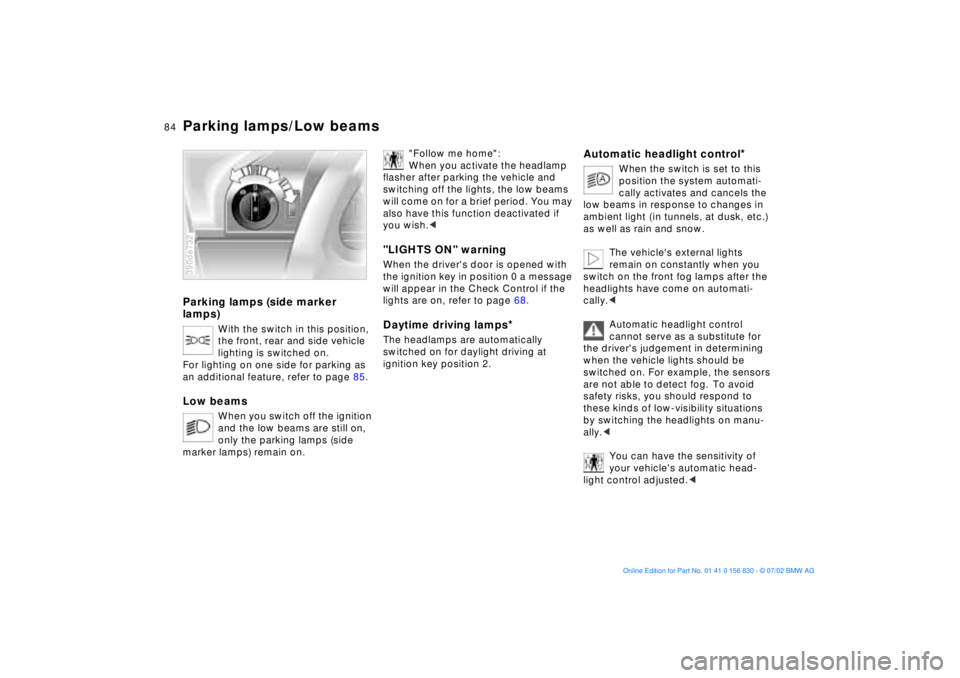
Parking lamps (side marker
lamps)
With the switch in this position,
the front, rear and side vehicle
lighting is switched on.
For lighting on one side for parking as
an additional feature, refer to page 85.
Low beams
When you switch off the ignition
and the low beams are still on,
only the parking lamps (side
marker lamps) remain on.
390de732
"Follow me home":
When you activate the headlamp
flasher after parking the vehicle and
switching off the lights, the low beams
will come on for a brief period. You may
also have this function deactivated if
you wish.<
"LIGHTS ON" warningWhen the driver's door is opened with
the ignition key in position 0 a message
will appear in the Check Control if the
lights are on, refer to page 68.Daytime driving lamps
*
The headlamps are automatically
switched on for daylight driving at
ignition key position 2.
Automatic headlight control
*
When the switch is set to this
position the system automati-
cally activates and cancels the
low beams in response to changes in
ambient light ( in tunnels, at dusk, etc.)
as well as rain and snow.
The vehicle's external lights
remain on constantly when you
switch on the front fog lamps after the
headlights have come on automati-
cally.<
Automatic headlight control
cannot serve as a substitute for
the driver's judgement in determining
when the vehicle lights should be
switched on. For example, the sensors
are not able to detect fog. To avoid
safety risks, you should respond to
these kinds of low-visibility situations
by switching the headlights on manu-
ally.<
You can have the sensitivity of
your vehicle's automatic head-
light control adjusted.<
Parking lamps/Low beams
Page 112 of 155

112n
Special characteristics of winter tires Snow chains
*
Choosing the right tireBMW recommends winter tires (M+S
radial tires) for driving in adverse winter
road conditions. While "all-season"
tires (M+S designation) provide better
winter traction than summer tires with
the load ratings H, V, W, Y and ZR, they
generally do not achieve the perfor-
mance of winter tires.
In the interests of safe tracking and
steering response, install radial tires
made by the same manufacturer and
with the same tread configuration on all
four wheels if you elect to mount winter
tires.
Never exceed the maximum speed
approved for your speciÞc winter
tires.
Unprofessional attempts by laymen to
service tires can lead to damage and
accidents.
Have this work performed by skilled
professionals only. Any BMW center
has the required technical knowledge
and the proper equipment and will be
happy to assist you.<
Tire condition, tire inflation
pressureWhen the tread wears to a depth of less
than 0.16 in (4 mm) there is a substan-
tial reduction in the tire's ability to pro-
vide adequate traction under winter
driving conditions. To ensure continued
safety, tires with this amount of tread
wear should always be replaced.
Comply with the specified tire inflation
pressures Ð and be sure to have the
wheel and tire assemblies balanced
every time you change the wheels/tires.The use of BMW narrow-link snow
chains on winter tires is approved only
in pairs and only on the rear wheels.
Comply with all manufacturer's safety
precautions when mounting the chains.
Do not exceed a speed of 30 mph
(50 km/h) while driving with mounted
snow chains.
It is not possible to mount snow
chains with 18-inch wheels and
tires.<
Page 118 of 155
118n
Coolant Brake fluidChecking coolant level and
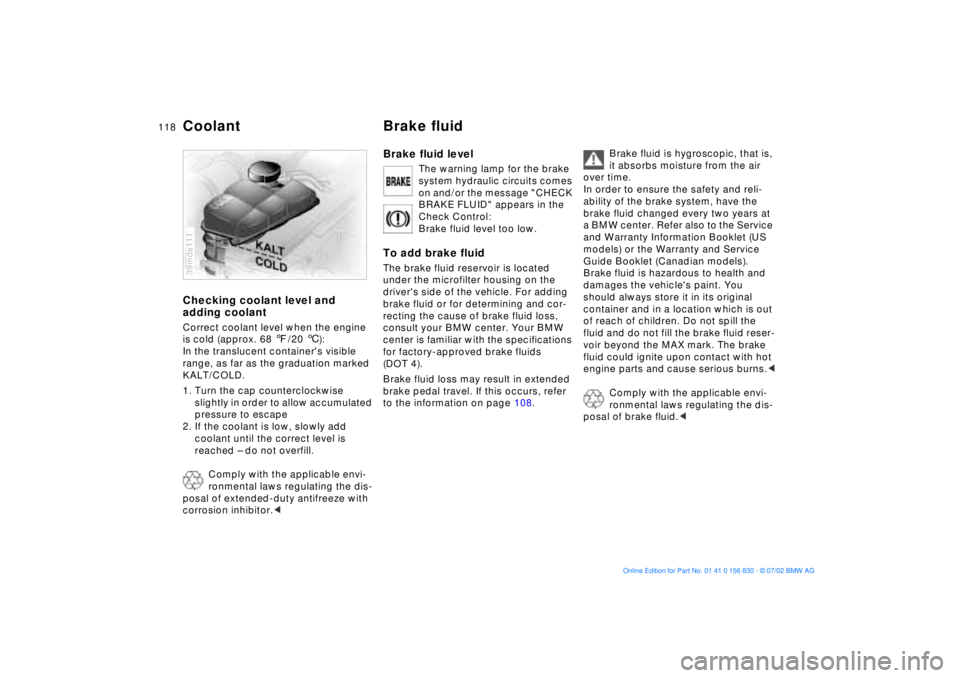
adding coolantCorrect coolant level when the engine
is cold (approx. 68 7/20 6):
In the translucent container's visible
range, as far as the graduation marked
KALT/COLD.
1. Turn the cap counterclockwise
slightly in order to allow accumulated
pressure to escape
2. If the coolant is low, slowly add
coolant until the correct level is
reached Ð do not overfill.
Comply with the applicable envi-
ronmental laws regulating the dis-
posal of extended-duty antifreeze with
corrosion inhibitor.<39mde111
Brake fluid level
The warning lamp for the brake
system hydraulic circuits comes
on and/or the message "CHECK
BRAKE FLUID" appears in the
Check Control:
Brake fluid level too low.
To add brake fluidThe brake fluid reservoir is located
under the microfilter housing on the
driver's side of the vehicle. For adding
brake fluid or for determining and cor-
recting the cause of brake fluid loss,
consult your BMW center. Your BMW
center is familiar with the specifications
for factory-approved brake fluids
(DOT 4).
Brake fluid loss may result in extended
brake pedal travel. If this occurs, refer
to the information on page 108.
Brake fluid is hygroscopic, that is,
it absorbs moisture from the air
over time.
In order to ensure the safety and reli-
ability of the brake system, have the
brake fluid changed every two years at
a BMW center. Refer also to the Service
and Warranty Information Booklet (US
models) or the Warranty and Service
Guide Booklet (Canadian models).
Brake fluid is hazardous to health and
damages the vehicle's paint. You
should always store it in its original
container and in a location which is out
of reach of children. Do not spill the
fluid and do not fill the brake fluid reser-
voir beyond the MAX mark. The brake
fluid could ignite upon contact with hot
engine parts and cause serious burns.<
Comply with the applicable envi-
ronmental laws regulating the dis-
posal of brake fluid.<
Page 119 of 155
119n
OverviewControlsMaintenanceRepairsDataIndex
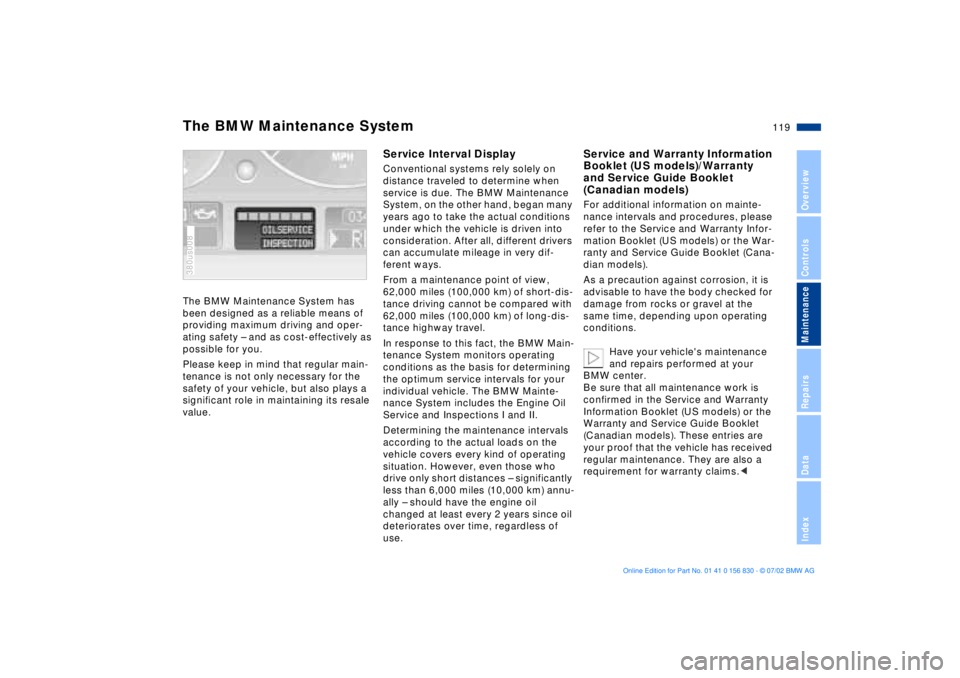
The BMW Maintenance System has
been designed as a reliable means of
providing maximum driving and oper-
ating safety Ð and as cost-effectively as
possible for you.
Please keep in mind that regular main-
tenance is not only necessary for the
safety of your vehicle, but also plays a
significant role in maintaining its resale
value. 380us008
Service Interval DisplayConventional systems rely solely on
distance traveled to determine when
service is due. The BMW Maintenance
System, on the other hand, began many
years ago to take the actual conditions
under which the vehicle is driven into
consideration. After all, different drivers
can accumulate mileage in very dif-
ferent ways.
From a maintenance point of view,
62,000 miles (100,000 km) of short-dis-
tance driving cannot be compared with
62,000 miles (100,000 km) of long-dis-
tance highway travel.
In response to this fact, the BMW Main-
tenance System monitors operating
conditions as the basis for determining
the optimum service intervals for your
individual vehicle. The BMW Mainte-
nance System includes the Engine Oil
Service and Inspections I and II.
Determining the maintenance intervals
according to the actual loads on the
vehicle covers every kind of operating
situation. However, even those who
drive only short distances Ð significantly
less than 6,000 miles (10,000 km) annu-
ally Ð should have the engine oil
changed at least every 2 years since oil
deteriorates over time, regardless of
use.
Service and Warranty Information
Booklet (US models)/Warranty
and Service Guide Booklet
(Canadian models)For additional information on mainte-
nance intervals and procedures, please
refer to the Service and Warranty Infor-
mation Booklet (US models) or the War-
ranty and Service Guide Booklet (Cana-
dian models).
As a precaution against corrosion, it is
advisable to have the body checked for
damage from rocks or gravel at the
same time, depending upon operating
conditions.
Have your vehicle's maintenance
and repairs performed at your
BMW center.
Be sure that all maintenance work is
confirmed in the Service and Warranty
Information Booklet (US models) or the
Warranty and Service Guide Booklet
(Canadian models). These entries are
your proof that the vehicle has received
regular maintenance. They are also a
requirement for warranty claims.<
The BMW Maintenance System