Page 89 of 166

89
Initializing the systemInitializing is necessary to familiarize the
system with the correct inflation pres-
sures.
Repeat this process after any changes
in tire inflation pressure, tire rotation or
replacement.
1. Check the tire inflation pressures in
all the tires, comparing them with the
inflation pressure table, refer to
page 25, and adjust them if neces-
sary
2. Turn the ignition key to position 2
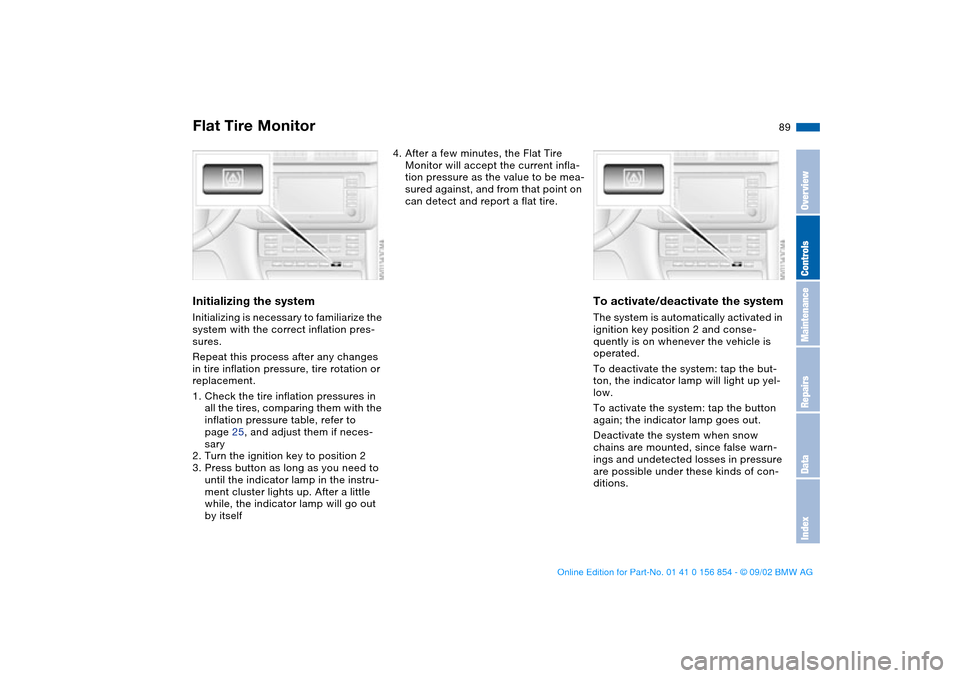
3. Press button as long as you need to
until the indicator lamp in the instru-
ment cluster lights up. After a little
while, the indicator lamp will go out
by itself
4. After a few minutes, the Flat Tire
Monitor will accept the current infla-
tion pressure as the value to be mea-
sured against, and from that point on
can detect and report a flat tire.
To activate/deactivate the systemThe system is automatically activated in
ignition key position 2 and conse-
quently is on whenever the vehicle is
operated.
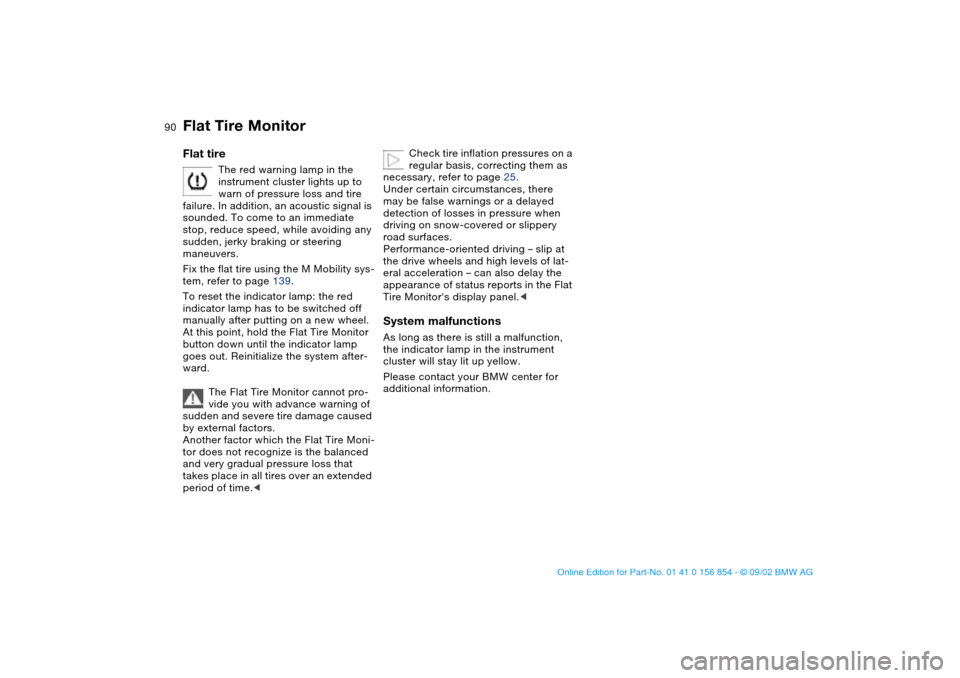
To deactivate the system: tap the but-
ton, the indicator lamp will light up yel-
low.
To activate the system: tap the button
again; the indicator lamp goes out.
Deactivate the system when snow
chains are mounted, since false warn-
ings and undetected losses in pressure
are possible under these kinds of con-
ditions.
Flat Tire Monitor
OverviewControlsMaintenanceRepairsDataIndex
handbook.book Page 89 Tuesday, July 30, 2002 9:28 AM
Page 90 of 166

90
Flat tire
The red warning lamp in the
instrument cluster lights up to
warn of pressure loss and tire
failure. In addition, an acoustic signal is
sounded. To come to an immediate
stop, reduce speed, while avoiding any
sudden, jerky braking or steering
maneuvers.
Fix the flat tire using the M Mobility sys-
tem, refer to page 139.
To reset the indicator lamp: the red
indicator lamp has to be switched off
manually after putting on a new wheel.
At this point, hold the Flat Tire Monitor
button down until the indicator lamp
goes out. Reinitialize the system after-
ward.
The Flat Tire Monitor cannot pro-
vide you with advance warning of
sudden and severe tire damage caused
by external factors.
Another factor which the Flat Tire Moni-
tor does not recognize is the balanced
and very gradual pressure loss that
takes place in all tires over an extended
period of time.<
Check tire inflation pressures on a
regular basis, correcting them as
necessary, refer to page 25.
Under certain circumstances, there
may be false warnings or a delayed
detection of losses in pressure when
driving on snow-covered or slippery
road surfaces.
Performance-oriented driving – slip at
the drive wheels and high levels of lat-
eral acceleration – can also delay the
appearance of status reports in the Flat
Tire Monitor's display panel.<
System malfunctionsAs long as there is still a malfunction,
the indicator lamp in the instrument
cluster will stay lit up yellow.
Please contact your BMW center for
additional information.
Flat Tire Monitor
handbook.book Page 90 Tuesday, July 30, 2002 9:28 AM
Page 92 of 166

92Lamps
Parking lamps/Low beamsParking lamps
The front, rear and side vehicle
lighting is switched on. You can
use this to signal the position of
the vehicle when it is parked. For light-
ing on one side for parking as an addi-
tional feature, refer to page 93.
Low beams
When you switch the ignition off
with the low-beam headlamps
on, only the parking lamps will
remain on.
Follow me home lampsWhen you activate the headlamp
flasher after parking the vehicle and
switching off the lights, the low beams
will come on for a brief period.
You can also have this function
deactivated.<
LIGHTS ON warningWhenever you open the driver's door
after having turned the ignition key to
position 0, you will hear an acoustic
signal for a few seconds to remind you
that the lamps have not been switched
off.Daytime driving lamps*If you desire, the light switch can be left
in the low-beam position: when the
ignition is switched off, the external
lighting is also switched off.
Observe the legal regulations regarding
the use of daytime driving lamps.
When required, switch on the parking
lamps as usual as described under
Parking lamps.
You can have the activation set-
tings for the daytime driving lamps
programmed on your vehicle.<
Automatic headlamp control*
When the switch is in this posi-
tion, the system automatically
responds to changes in ambient
light – in tunnels, at dusk, etc. – and to
rain and snow by switching the low
beams on or off.
The vehicle's external lamps
remain on constantly when you
switch on the front fog lamps after the
headlamps have come on automati-
cally.<
Automatic headlamp control can-
not serve as a substitute for your
personal judgement in determining
when the lamps should be switched on.
For example, the sensors are not able
to detect fog. In such situations switch
on the lamp manually, as otherwise a
safety hazard will result.<
You can have the sensitivity of
your vehicle's automatic head-
lamp control adjusted.<
handbook.book Page 92 Tuesday, July 30, 2002 9:28 AM
Page 93 of 166
93
Instrument lightingTurn the rotary dial to control the light-
ing when the parking or low beam
lamps are on.
High beams/Standing lamps1High beams – blue indicator lamp
2Headlamp flasher – blue indicator
lamp
3Standing lampsStanding lamps, left or rightAs an additional feature, you can illumi-
nate your vehicle on either side for
parking, if you wish to do so:
With the ignition key in position 0, push
the lever in the appropriate direction.
The lever engages in the turn signal
position.
OverviewControlsMaintenanceRepairsDataIndex
handbook.book Page 93 Tuesday, July 30, 2002 9:28 AM
Page 94 of 166
94
Fog lampsFront fog lamps
The green indicator lamp in the
instrument cluster lights up to
indicate that the front fog lamps
are on.
If the automatic headlamp control
is on, the low beams will come on
automatically whenever you activate
the front fog lamps.<
Interior lampsThe interior lamps operate automati-
cally.To switch the interior lamps on
and off manuallyPress the button briefly.
If you want the interior lamps to remain
off all the time, press and hold the but-
ton for approx. three seconds.
Press the button briefly to revert to nor-
mal operation.
Reading lampsFront reading lampsSwitch on and off with the button adja-
cent to each lamp.
handbook.book Page 94 Tuesday, July 30, 2002 9:28 AM
Page 101 of 166
101 Interior conveniences
Glove compartmentTo openPull the handle. The glove compartment
will light up.To closeFold up cover.
To prevent injury in the event of an
accident, close the glove com-
partment immediately after use.
master key can also be used for unlock-
ing.
If – for example for valet parking –
you turn over only your door and
ignition key, refer to page 30, then
access to the glove compartment and
the luggage compartment is not possi-
ble.<
Storage compartmentsFront center armrestTo open: press the button and lift
upward – see arrow.Other compartments and netsYou will find additional storage areas in
the doors and in the center console
above the ashtray. Storage nets are
located on the backrests of the front
seats.
OverviewControlsMaintenanceRepairsDataIndex
handbook.book Page 101 Tuesday, July 30, 2002 9:28 AM
Page 102 of 166
102
Beverage holder, coin boxA coin box and two beverage holders
are provided in the center console.
Cellular phone*Hands-free systemIn vehicles equipped with telephone
preparation* or with the communica-
tions package*, the cover for the
hands-free microphone is located
above the interior rearview mirror on
the driver side.
For further information on the cellular
phone, refer to the separate Owner's
Manual.
Ashtray, front*To emptyPress on the edge of the open cover –
see arrow: you can now pull the ashtray
upward for removal.Extinguishing cigarettesTap off the ash and gently press the tip
into the funnel.Cigarette lighter
Hold or touch the hot cigarette
lighter by the knob only. Holding
or touching it in other areas could result
in burns.
The cigarette lighter remains opera-
tional when the ignition key has been
removed. For this reason, children
should never be left in the vehicle unat-
tended.<
Storage compartments
handbook.book Page 102 Tuesday, July 30, 2002 9:28 AM
Page 103 of 166
103
Press lighter 1 in. As soon as the lighter
jumps back out, it can be removed.Cigarette lighter socketIt can be used for attaching power sup-
plies for flashlights, car vacuum clean-
ers and other similar appliances up to a
rating of approx. 200 watts at 12 volts.
Avoid damaging the socket due to
inserting plugs of different shapes or
sizes.
Ashtray, rear*To emptyPress on the edge of the raised cover in
the opening direction – see arrow. You
can now pull the ashtray upward for
removal.
Ashtray, front*
OverviewControlsMaintenanceRepairsDataIndex
handbook.book Page 103 Tuesday, July 30, 2002 9:28 AM