2003 BMW 330Ci COUPE maintenance
[x] Cancel search: maintenancePage 99 of 162

99
Rear center armrest*The rear center armrest includes a bev-
erage holder and a litter bag holder.
>Beverage holder: press.
Storage package*For your convenience, there are:
>Two flip-out sockets on the rear cen-
ter console
>An eyeglass compartment*, not
shown, in the front center console.
Cellular phone*Hands-free systemOn vehicles that are wired for a tele-
phone* or equipped with a communica-
tion package*, the cover for the hands-
free microphone is located in the head-
liner near the interior lamp.
For further information on using your
cellular phone, refer to the separate
Owner's Manual for the telephone.
Storage compartments
OverviewControlsMaintenanceRepairsDataIndex
handbook.book Page 99 Tuesday, July 30, 2002 12:16 PM
Page 101 of 162

101
Clothes hooksTo open, press on the upper edge. For
additional information: refer to
page 109.
OverviewControlsMaintenanceRepairsDataIndex
handbook.book Page 101 Tuesday, July 30, 2002 12:16 PM
Page 103 of 162

103
Ski bag*The ski bag allows the safe and clean
transport of up to 4 pairs of standard
skis or up to two snowboards.
The length of the ski bag and the addi-
tional space provided in the luggage
compartment make it possible to carry
skis up to 6 ft 10 in / 2.10 m long.
Because of the tapered shape of the
bag, only two pairs of skis longer than
6 ft 10 in / 2.10 m can be carried.
Loading1. Fold the center armrest outward.
Loosen the trim from the upper
Velcro® fastener and place it on the
armrest
2. Press the button downward – see
arrow 1 – and swing the cover for-
ward
3. Extend the ski bag between the front
seats. The zipper provides conve-
nient access to stored items. It may
be opened to allow the ski bag to dry
4. Press the button – see arrow 2: the
cover in the luggage compartment is
unlocked.
To store the ski bag, perform the above
steps in reverse sequence.
Securing cargo
Secure skis and any other objects
stored in the bag by tightening the
retaining strap at the buckle.<
Be sure that your skis are clean
before loading them into the bag.
Avoid damage from sharp edges during
loading.<
OverviewControlsMaintenanceRepairsDataIndex
handbook.book Page 103 Tuesday, July 30, 2002 12:16 PM
Page 105 of 162

105
Securing cargo>For small, light items, use the rubber-
lined, non-skid side of the floor mat
or secure using the luggage compart-
ment net* or elastic straps, refer to
page 37
>For large, heavy pieces, see your
BMW center for load-securing
devices*. Achorages located in the
luggage compartment can be used
for fastening the load-securing
devices; see arrow.
Comply with the information enclosed
with the load-securing devices.
Roof-mounted luggage rack*A special roof-rack system is available
as an optional extra for your BMW.
Please observe the precautions
included with the installation instruc-
tions.AnchoragesAccess to the anchorages:
To fold up the cover – see arrow –
please use the tool provided with the
roof-rack system.Loading and driving notesRoof-mounted luggage racks raise the
center of gravity of the vehicle when
they are loaded. For this reason, they
have a major effect on the vehicle's
handling and steering response.
You should therefore always remember
not to exceed the approved roof load
capacity, the approved gross vehicle
weight or the axle loads when loading
the rack. These weights are listed under
Technical data on page 148.
Make sure that the load is not too bulky,
and attempt to distribute it evenly.
Always load the heaviest pieces first so
that they are at the bottom. Be sure that
adequate clearance is maintained for
raising the sliding/tilt sunroof, and that
objects do not project into the opening
path of the luggage compartment lid.
Secure the roof-mounted luggage cor-
rectly and safely to prevent it from shift-
ing or being lost during driving.
Drive smoothly and avoid sudden
acceleration and braking. Do not corner
at high speeds.
The luggage rack and the roof load
increase aerodynamic resistance:
increased fuel consumption and addi-
tional stress on the vehicle's body are
the result.
Cargo loading
OverviewControlsMaintenanceRepairsDataIndex
handbook.book Page 105 Tuesday, July 30, 2002 12:16 PM
Page 107 of 162

107
Overview
Controls and features
Operation, maintenance
Owner service procedures
Technical data
Index
OverviewControlsMaintenanceRepairsDataIndex
handbook.book Page 107 Tuesday, July 30, 2002 12:16 PM
Page 109 of 162

109
Driving notes
Brakes: do not drive with your foot
resting on the brake pedal. Even
light but consistent pressure on the
brake pedal can lead to high tempera-
tures, accelerated brake wear and pos-
sibly even brake failure.
Hydroplaning: when driving on wet or
slushy roads, reduce your speed. If you
do not, a wedge of water may form
between tires and road surface. This
phenomenon can lead to partial or
complete loss of contact between the
tires and road surface, as well as loss of
vehicle control and braking ability.
Driving through water: do not drive
through water on the road if it is deeper
than 1 ft/30 cm, and then only at walk-
ing speed. Otherwise, the vehicle's
engine, the electrical systems and the
transmission may be damaged.
Rear parcel tray: never use it to store
heavy or hard objects, as otherwise
occupants could be injured during
braking maneuvers.
Clothes hooks: when hanging clothing
from the hooks, be sure that they will
not obstruct the driver's vision. Do not
hang heavy objects on the hooks. If you
do so, they could cause personal injury
during braking or evasive maneuvers.<
Antilock Brake System (ABS)The conceptABS keeps the wheels from locking
during braking, thereby enhancing
active driving safety.Braking with ABSIf you are in a situation that requires full
braking, you will exploit the full benefits
of the ABS system if you apply maxi-
mum pedal pressure – panic stop.
Since the vehicle maintains steering
responsiveness, you can avoid possible
obstacles with a minimum of steering
effort, despite the full brake application.
Pulsation at the brake pedal combined
with sounds from the hydraulic circuits
indicates to the driver that ABS is in its
active mode.Dynamic Brake Control (DBC)DBC is included in the DSC, refer to
page 79.
The system responds to sudden, high-
intensity applications of force to the
brake pedal by automatically braking
the vehicle with maximum boost to
achieve the shortest-possible braking
distances during "panic stops." This
system exploits all the benefits of ABS.Do not reduce the pressure exerted
against the brake pedal until the brak-
ing maneuver has been completed.
DBC is deactivated when you release
the brake pedal.
Cornering Brake Control (CBC)CBC is an advanced engineering devel-
opment of ABS. When braking during
cornering with high lateral accelera-
tion, or when braking during a lane
change, vehicle stability is improved
and the steering response is enhanced.
OverviewControlsMaintenanceRepairsDataIndex
handbook.book Page 109 Tuesday, July 30, 2002 12:16 PM
Page 111 of 162

111 Wheels and tires
Tire inflation pressureInformation for your safetyThe factory-approved tires are matched
to your vehicle and have been selected
to provide optimum safety and driving
comfort when used properly.
It is not merely the tire's service life, but
also driving comfort and – above all else
– driving safety that depend on the con-
dition of the tires and the maintenance
of the specified tire inflation pressure.
Incorrect tire inflation pressure is a fre-
quent cause of tire damage. It also sig-
nificantly influences the roadholding
ability of your BMW.
Be sure to check the tire inflation
pressure, including the space-
saver spare tire or the spare tire, on a
regular basis, at least twice a month
and before every extended journey,
refer to page 24. If this is not done,
incorrect tire pressures can cause driv-
ing instability and tire damage, ulti-
mately resulting in accidents.<
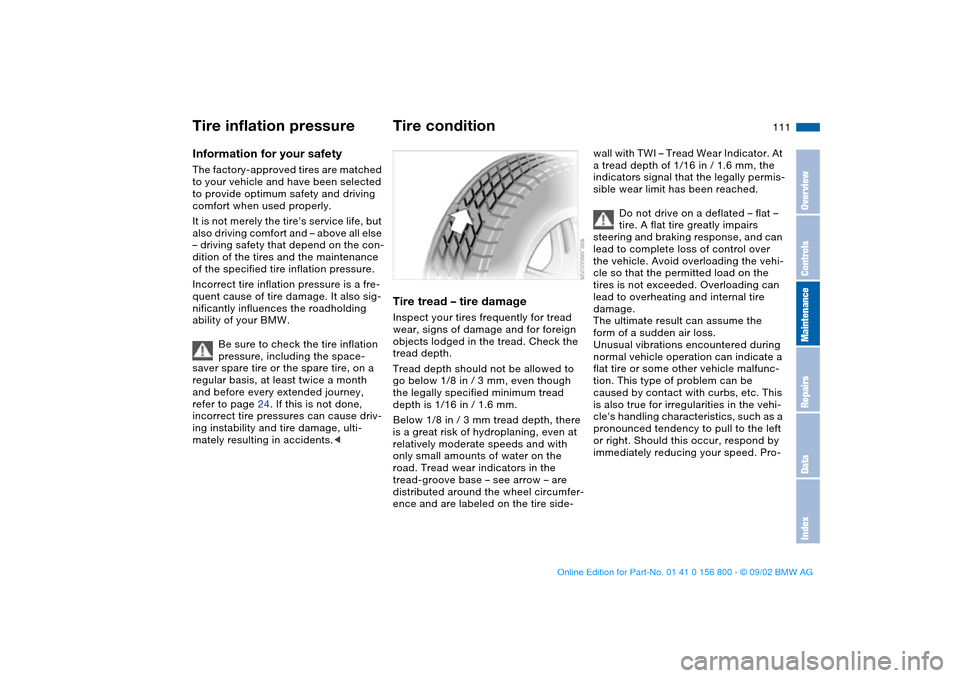
Tire conditionTire tread – tire damageInspect your tires frequently for tread
wear, signs of damage and for foreign
objects lodged in the tread. Check the
tread depth.
Tread depth should not be allowed to
go below 1/8 in / 3 mm, even though
the legally specified minimum tread
depth is 1/16 in / 1.6 mm.
Below 1/8 in / 3 mm tread depth, there
is a great risk of hydroplaning, even at
relatively moderate speeds and with
only small amounts of water on the
road. Tread wear indicators in the
tread-groove base – see arrow – are
distributed around the wheel circumfer-
ence and are labeled on the tire side-
wall with TWI – Tread Wear Indicator. At
a tread depth of 1/16 in / 1.6 mm, the
indicators signal that the legally permis-
sible wear limit has been reached.
Do not drive on a deflated – flat –
tire. A flat tire greatly impairs
steering and braking response, and can
lead to complete loss of control over
the vehicle. Avoid overloading the vehi-
cle so that the permitted load on the
tires is not exceeded. Overloading can
lead to overheating and internal tire
damage.
The ultimate result can assume the
form of a sudden air loss.
Unusual vibrations encountered during
normal vehicle operation can indicate a
flat tire or some other vehicle malfunc-
tion. This type of problem can be
caused by contact with curbs, etc. This
is also true for irregularities in the vehi-
cle's handling characteristics, such as a
pronounced tendency to pull to the left
or right. Should this occur, respond by
immediately reducing your speed. Pro-
OverviewControlsMaintenanceRepairsDataIndex
handbook.book Page 111 Tuesday, July 30, 2002 12:16 PM
Page 113 of 162

113
tires must meet under the Federal
Motor Vehicle Safety Standard No. 109.
Grades B and A represent higher levels
of performance on the laboratory test
wheel than the minimum required by
law.
The temperature grade for this tire
is established for a tire that is
properly inflated and not overloaded.
Excessive speed, underinflation, or
excessive loading, either separately or
in combination, can cause heat buildup
and possible tire failure.
tread shoulder and maximum section
width. For example:
Tread wear 200
Traction AA
Temperature A
BMW advises against using
retreaded tires, since driving
safety may be impaired. This is due to
the possible variations in casing struc-
tures and, in some cases, to their
extreme age, which can lead to a
decrease in their durability.<
Tire ageThe date on which the tire was manu-
factured is indicated by the code on the
sidewall:
DOT... 3502 indicates that the tire was
manufactured in week 35 of the year
2002.
BMW recommends the replacement of
all tires – including the spare tire* –
when the tires are no more than 6 years
old, even if a tire life of 10 years is pos-
sible.Run Flat tires*Run Flat tires consist of self-supporting
tires and special rims. The tire rein-
forcement ensures that the tire retains
some residual safety in the event of
pressure drop and driving remains pos-
sible to a restricted degree. The vehicle
is equipped with the Flat Tire Monitor or
Tire Pressure Monitor (TPM), which
indicate a flat tire.
For additional information on the Flat
Tire Monitor or Tire Pressure Monitor
refer to page 81 or 82.
Run Flat tires are only possible in
conjunction with the Flat Tire
Monitor or Tire Pressure Monitor.<
Tire replacement
OverviewControlsMaintenanceRepairsDataIndex
handbook.book Page 113 Tuesday, July 30, 2002 12:16 PM