2003 BMW 3.0i ROADSTER airbag off
[x] Cancel search: airbag offPage 31 of 106
At a glance
Controls
Driving tips
Mobility
Reference
31
4.Press memory button 1, 2 or 3, as
desired. The indicator lamp goes out.
To select a stored setting
Do not select a memory position while
the vehicle is moving. If you do so,
there is a risk of accident due to unex-
pected seat movement.<
Ignition key position 1:
>Briefly press memory button 1, 2 or 3,
as desired.
Movement stops immediately when one
of the seat adjustment or memory but-
tons is operated during the adjustment
process.
With the driver's door closed and the igni-
tion key either removed or in position 0
or 2:
>Press and hold the desired memory
button – 1, 2 or 3 – until the adjustment
process is completed.
If you press the
MEMORY button
accidentally: press the button again;
the indicator lamp goes out.<
You can have your vehicle adjusted in
such a way that your personal set-
tings are automatically set for the seat
positions when you unlock the vehicle with
your personal remote control.<
If you make use of this method of
adjustment, be sure that the space
behind the driver's seat is unobstructed
before unlocking the vehicle. If you fail to
do so, objects behind the seat could be
damaged by a rearward movement of the
seat.<
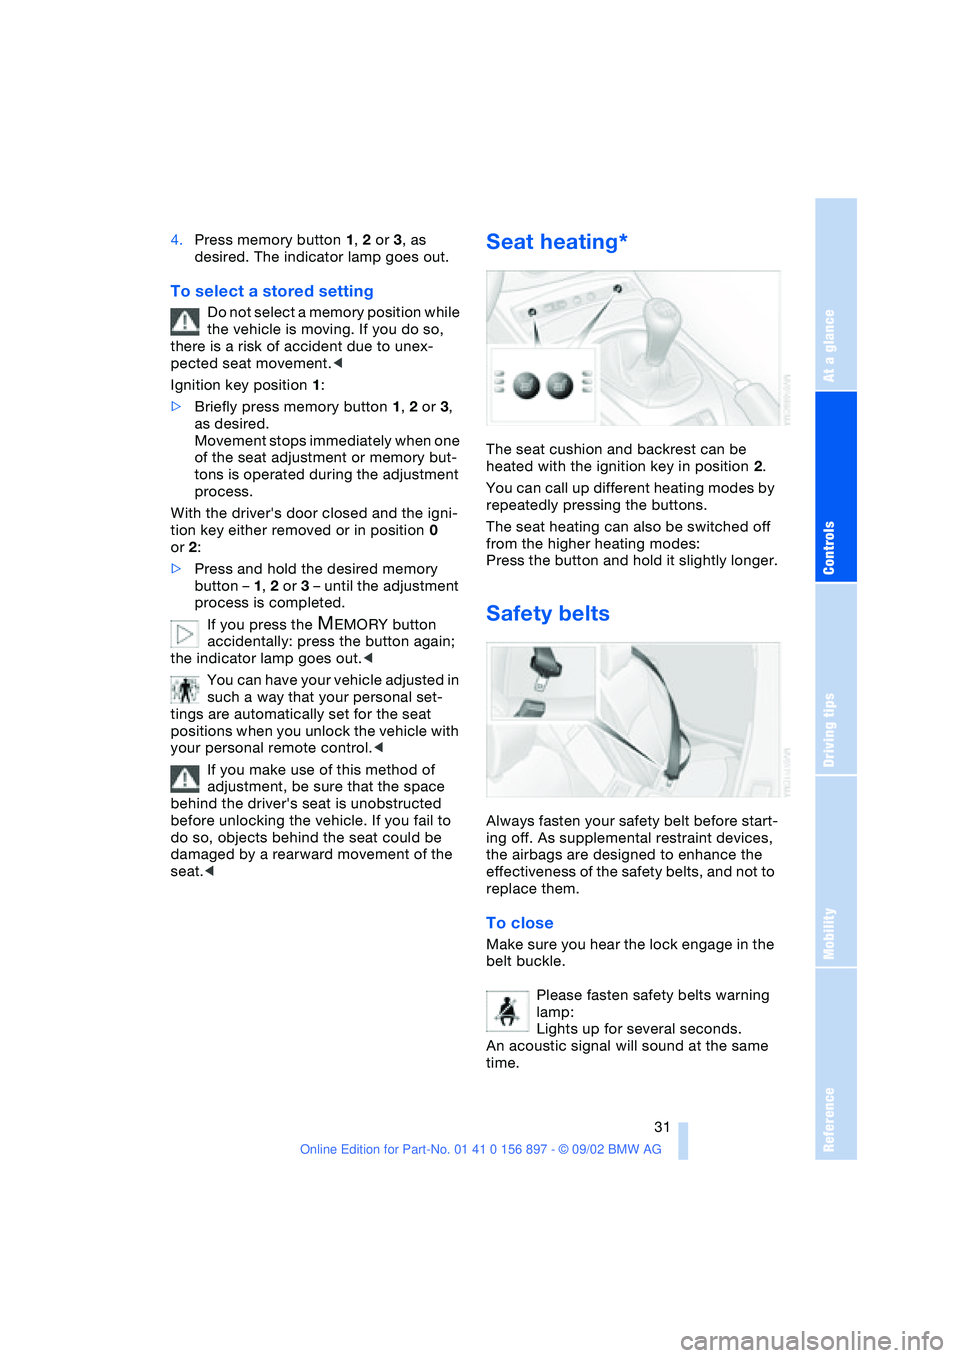
Seat heating*
The seat cushion and backrest can be
heated with the ignition key in position 2.
You can call up different heating modes by
repeatedly pressing the buttons.
The seat heating can also be switched off
from the higher heating modes:
Press the button and hold it slightly longer.
Safety belts
Always fasten your safety belt before start-
ing off. As supplemental restraint devices,
the airbags are designed to enhance the
effectiveness of the safety belts, and not to
replace them.
To close
Make sure you hear the lock engage in the
belt buckle.
Please fasten safety belts warning
lamp:
Lights up for several seconds.
An acoustic signal will sound at the same
time.
Page 33 of 106
At a glance
Controls
Driving tips
Mobility
Reference
33
For vehicles without an alarm system:
Tilt the small lever forward.
Interior and exterior mirrors with
automatic dimming feature*
This mirror automatically dims through an
infinitely variable range and switches auto-
matically to its clear, undimmed mode
whenever you engage reverse gear or
place the selector lever in position R.
To ensure that the mirror continues to
operate properly, keep the two photocells
clean and unobstructed. One photocell is
positioned in the mirror's lens, see arrow,
while the other is slightly offset on the
opposite side of the mirror. Do not obstruct
the area between the interior rearview mir-
ror and the windshield; do not apply stick-
ers to the area of the windshield in front of
the mirror.
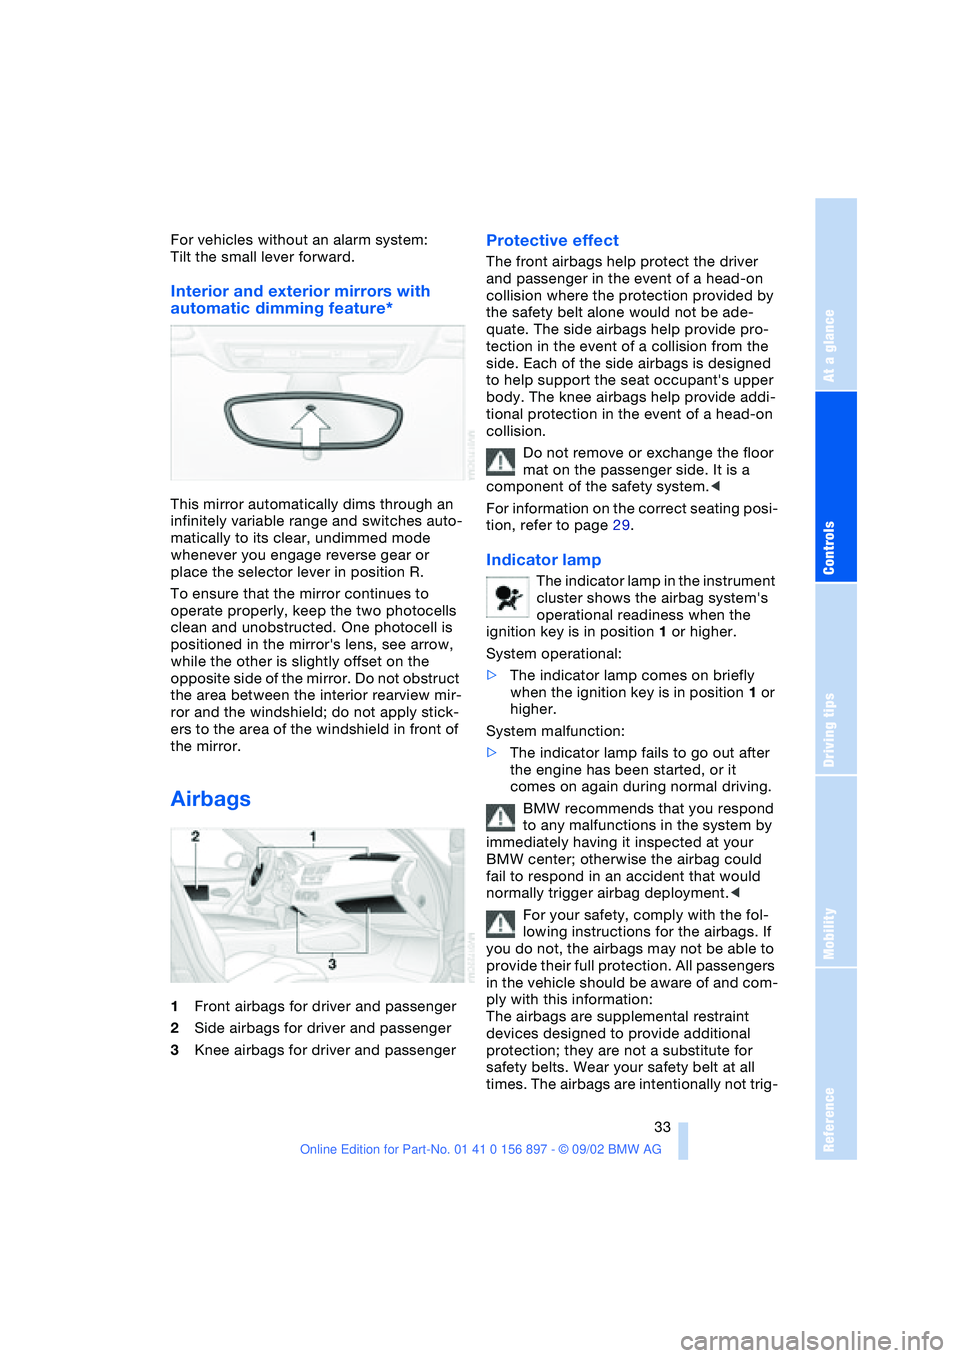
Airbags
1Front airbags for driver and passenger
2Side airbags for driver and passenger
3Knee airbags for driver and passenger
Protective effect
The front airbags help protect the driver
and passenger in the event of a head-on
collision where the protection provided by
the safety belt alone would not be ade-
quate. The side airbags help provide pro-
tection in the event of a collision from the
side. Each of the side airbags is designed
to help support the seat occupant's upper
body. The knee airbags help provide addi-
tional protection in the event of a head-on
collision.
Do not remove or exchange the floor
mat on the passenger side. It is a
component of the safety system.<
For information on the correct seating posi-
tion, refer to page 29.
Indicator lamp
The indicator lamp in the instrument
cluster shows the airbag system's
operational readiness when the
ignition key is in position 1 or higher.
System operational:
>The indicator lamp comes on briefly
when the ignition key is in position 1 or
higher.
System malfunction:
>The indicator lamp fails to go out after
the engine has been started, or it
comes on again during normal driving.
BMW recommends that you respond
to any malfunctions in the system by
immediately having it inspected at your
BMW center; otherwise the airbag could
fail to respond in an accident that would
normally trigger airbag deployment.<
For your safety, comply with the fol-
lowing instructions for the airbags. If
you do not, the airbags may not be able to
provide their full protection. All passengers
in the vehicle should be aware of and com-
ply with this information:
The airbags are supplemental restraint
devices designed to provide additional
protection; they are not a substitute for
safety belts. Wear your safety belt at all
times. The airbags are intentionally not trig-
Page 34 of 106
Adjustments
34 gered in every type of collision, e.g. in the
event of minor accidents, certain vehicle
roll-over situations or collisions from the
rear. In these instances, the safety belt pro-
vides sufficient protection.
Adjust your seat to a position that provides
maximum distance between you and the
steering wheel and the instrument panel
while still allowing comfortable and safe
access to all vehicle controls.
To minimize the risk of sustaining hand and
arm injuries, always hold the steering wheel
on the rim with the hands at or near the
9 and 3 o'clock positions. Do not place
your hands on the center pad.
Never allow any objects to obstruct the
area between the airbags and an occupant.
Do not use the cover panel above the pas-
senger side airbags as a storage area.
Never allow front passengers to lean
against or rest their feet or legs on the air-
bag cover panel.
Do not apply adhesive materials to the
cover panels of the airbags, cover them or
modify them in any other way.
Never install a rear-facing child-restraint
system in the passenger seat of this vehi-
cle, unless the passenger airbags have
been turned off and the indicator lamp in
the center console indicates that the pas-
senger airbags are deactivated.
If you transport children, carefully read and
comply with the instructions in the follow-
ing section.
Be sure that child-restraints are mounted
correctly and as far as possible towards the
rear and in the lowest position. <
Even when all these guidelines are
observed, there is still a small residual risk
of injuries resulting from contact with
deploying airbags in isolated instances.
The ignition and inflation noise from the air-
bags may induce a mild temporary hearing
loss in sensitive individuals.
Transporting children safely
Deactivating/reactivating passenger
airbags
The passenger airbags must be deac-
tivated before using a rear-facing
child-restraint system on the passenger
seat, refer also to page 36 for explanation.
BMW also recommends that the passenger
airbags be deactivated if a child is trans-
ported in a front-facing child-restraint sys-
tem, regardless of the age of the child. If
you transport a child in the passenger seat
– not an infant in a rear-facing seat – who is
properly seated and seat-belted at all
times, the potential benefits of airbags
deploying in an accident generally out-
weigh the risks of the child being injured by
the force of a deploying airbag.
Therefore, you should deactivate the pas-
senger airbags only if you find it difficult to
ensure that the child will remain properly
seated and seat-belted at all times.
Always position the passenger seat as far
back as possible and at the lowest level.
The above warning and recommendations
are compatible with regulations estab-
lished by the National Highway Traffic
Safety Administration – NHTSA – permitting
the deactivation of front passenger airbags
by means of an on-off switch for members
of certain "at risk" groups.
Specifically, the 'at risk' groups are:
>Infants in rear-facing infant seats
>Persons with certain medical conditions
>Children aged 12 and under in the front
passenger seat.
NHTSA provides this information via their
website – www.nhtsa.dot.gov – or via their
Auto Safety Hotline toll-free at 1-800-424-
9393 or 366-0123 in Washington, D.C.
area.<
Page 35 of 106
At a glance
Controls
Driving tips
Mobility
Reference
35
The concept
Passenger airbags can be deactivated/
reactivated with the vehicle ignition key.
The key switch is located on the outer pas-
senger's side of the instrument panel.
The passenger airbags can only be deacti-
vated or reactivated with the vehicle stand-
ing still, ignition off and the passenger door
open.
Deactivation
Deactivation of the passenger airbags sys-
tem deactivates the passenger front, knee
and side airbag. The airbags on the driver
side remain active.
Using the vehicle ignition key, turn the key
switch to the "OFF" position. Note, the pas-
senger airbags will remain deactivated with
the switch in this position.
As soon as the reason for the deacti-
vation of the passenger airbags no
longer exists, you must reactivate these air-
bags so that they can deploy in an accident
within their normal deployment range.<
Reactivating
Using the vehicle ignition key, turn the key
switch to the "ON" position.
All airbags in the vehicle are activated and
will be triggered under appropriate condi-
tions.
Passenger airbags lamp
The system checks that the airbag system
is functioning properly when the ignition
key is turned, and the indicator lamp in the
central console lights up for several sec-
onds.
>The indicator lamp lights up continu-
ously when the passenger airbags are
deactivated
>If the passenger airbags are activated, it
goes out after several seconds.
At all times, occupants should sit
comfortably upright and be properly
restrained – infants and small children in
appropriate child-restraint systems; larger
children and adults using the safety belts.
Please note that the word "Airbag"
imprinted on the door trim panel indicates
the airbag's location.<
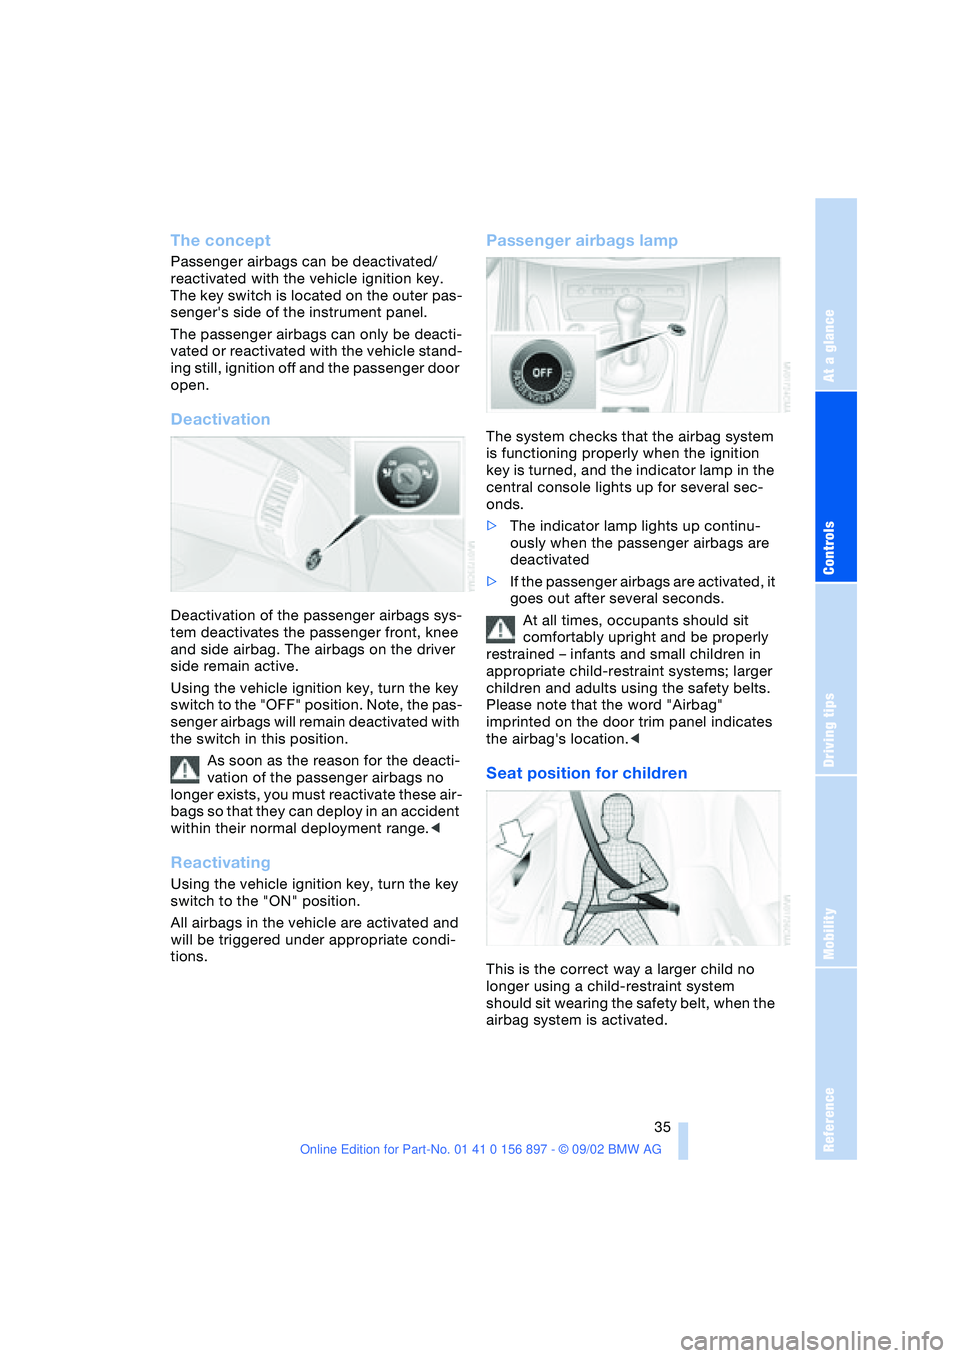
Seat position for children
This is the correct way a larger child no
longer using a child-restraint system
should sit wearing the safety belt, when the
airbag system is activated.
Page 36 of 106
Adjustments
36
LATCH child-restraint mounting
system*
LATCH: Lower Anchors and Tethers for
CHildren
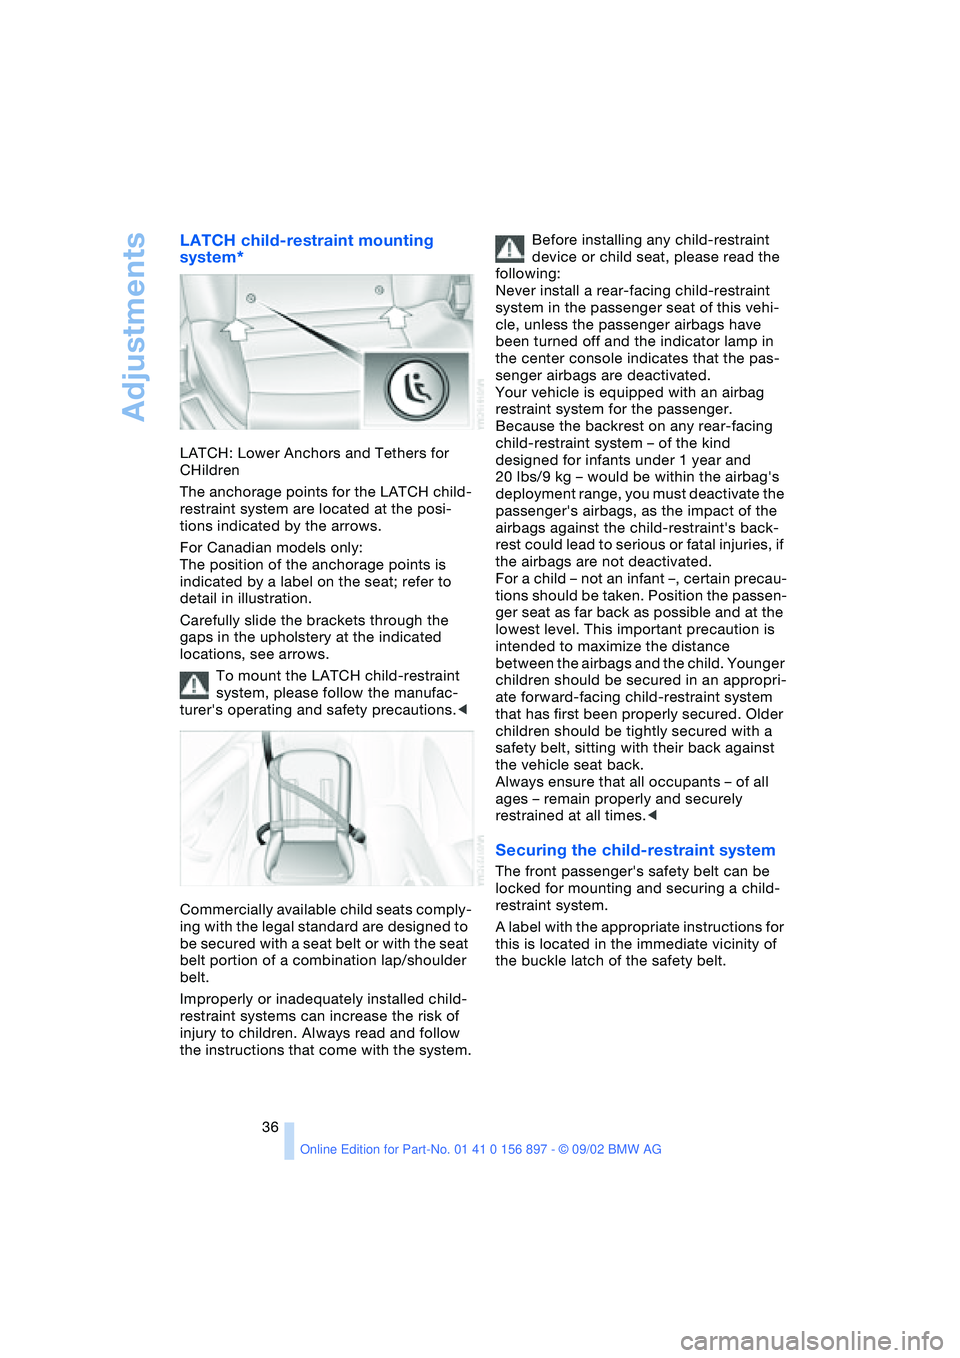
The anchorage points for the LATCH child-
restraint system are located at the posi-
tions indicated by the arrows.
For Canadian models only:
The position of the anchorage points is
indicated by a label on the seat; refer to
detail in illustration.
Carefully slide the brackets through the
gaps in the upholstery at the indicated
locations, see arrows.
To mount the LATCH child-restraint
system, please follow the manufac-
turer's operating and safety precautions.<
Commercially available child seats comply-
ing with the legal standard are designed to
be secured with a seat belt or with the seat
belt portion of a combination lap/shoulder
belt.
Improperly or inadequately installed child-
restraint systems can increase the risk of
injury to children. Always read and follow
the instructions that come with the system.Before installing any child-restraint
device or child seat, please read the
following:
Never install a rear-facing child-restraint
system in the passenger seat of this vehi-
cle, unless the passenger airbags have
been turned off and the indicator lamp in
the center console indicates that the pas-
senger airbags are deactivated.
Your vehicle is equipped with an airbag
restraint system for the passenger.
Because the backrest on any rear-facing
child-restraint system – of the kind
designed for infants under 1 year and
20 lbs/9 kg – would be within the airbag's
deployment range, you must deactivate the
passenger's airbags, as the impact of the
airbags against the child-restraint's back-
rest could lead to serious or fatal injuries, if
the airbags are not deactivated.
For a child – not an infant –, certain precau-
tions should be taken. Position the passen-
ger seat as far back as possible and at the
lowest level. This important precaution is
intended to maximize the distance
between the airbags and the child. Younger
children should be secured in an appropri-
ate forward-facing child-restraint system
that has first been properly secured. Older
children should be tightly secured with a
safety belt, sitting with their back against
the vehicle seat back.
Always ensure that all occupants – of all
ages – remain properly and securely
restrained at all times.<
Securing the child-restraint system
The front passenger's safety belt can be
locked for mounting and securing a child-
restraint system.
A label with the appropriate instructions for
this is located in the immediate vicinity of
the buckle latch of the safety belt.
Page 99 of 106
At a glance
Controls
Driving tips
Mobility
Reference
99
Driving lamps
– indicator lamp, defective
bulb 14
Driving notes 65
DSC Dynamic Stability
Control 51
– indicator lamp 14
DTC Dynamic Traction
Control 51
– indicator lamp 14
Dynamic Brake Control
DBC 52
– indicator lamp 14
Dynamic Stability Control
DSC 51
– indicator lamp 14
Dynamic Traction Control
DTC 51
– indicator lamp 14
E
Electric Power Steering
EPS 42
– indicator lamp 15
Electric power windows 22
Electrical convertible
top 25
Electrical fault
– convertible top 25
– door lock 20
– fuel filler door 70
– storage compartment 60
Emergency operation
– convertible top 25
– doors 20
– fuel filler door 70
– storage compartment 60
Emergency release
– from inside luggage
compartment 22
Engine 38
– break-in procedures 64
– starting 38
– switching off 39
Engine compartment 78
Engine coolant 96
– refilling 81Engine oil 79
– capacity 96
– quality 80
– refilling 79
Engine oil consumption 79
Engine oil level 79
– checking 79
Engine oil pressure 79
– indicator lamp 14
Engine oil sensor 79
– indicator lamp 14
Engine oil types 80
Engine output 94
Engine speed 94
EPS Electric Power
Steering 42
ESP, refer to DSC 51
Exhaust system, refer to
High temperatures 65
Exterior mirrors 32
– automatic dimming
feature 33
Eyelet for tow-starting and
towing 90
F
False alarm 28
Fault
– storage compartment 60
First-aid kit 89
Flat tire 73, 75
Flat Tire Monitor 53
– indicator lamp 14, 53
Fog lamps 46
– indicator lamp 14
Footbrake, refer to Driving
notes 65
Front airbags 33
Fuel consumption 50
– display 47
Fuel filler door 70
– unlocking in case of elec-
trical fault 70
Fuel gas cap 70
Fuel gauge 47
Fuel specifications 70, 94
Fuel tank capacity 96
Fuses 88
G
Gasoline gauge, refer to
Fuel gauge 47
Gasoline specifications,
refer to Fuel
specifications 70
Glove compartment 60
Gross vehicle weight,
approved 94
Guide Booklet, Warranty
and Service 82
H
Handbrake 39
Hands-free system 61
Hardtop preparation 67
Hardtop, refer to the sepa-
rate Owner's Manual
Hazard warning flashers 12
Hazard warning triangle 89
Head restraints 30
Headlamp flasher 42, 46
Headlamp washer
system 79, 96
Headlamps 84
– access 84
– high beam 42
Heated seats 31
Heavy loads 66
Height 95
High beams 42, 46
– bulb replacement 85
– indicator lamp 14
High temperatures 65
Hood 77
Hood release 77
Hydraulic brake assistant,
refer to DBC
Hydroplaning 65
I
Ignition lock 38
Imprint 4, 6
Indicator and warning
lamps 14