Page 60 of 94

6-24
PERIODIC MAINTENANCE AND MINOR REPAIR
6
EAU03776
Checking the brake fluid
levelInsufficient brake fluid may allow air
to enter the brake system, possibly
causing it to become ineffective.
Before riding, check that the brake
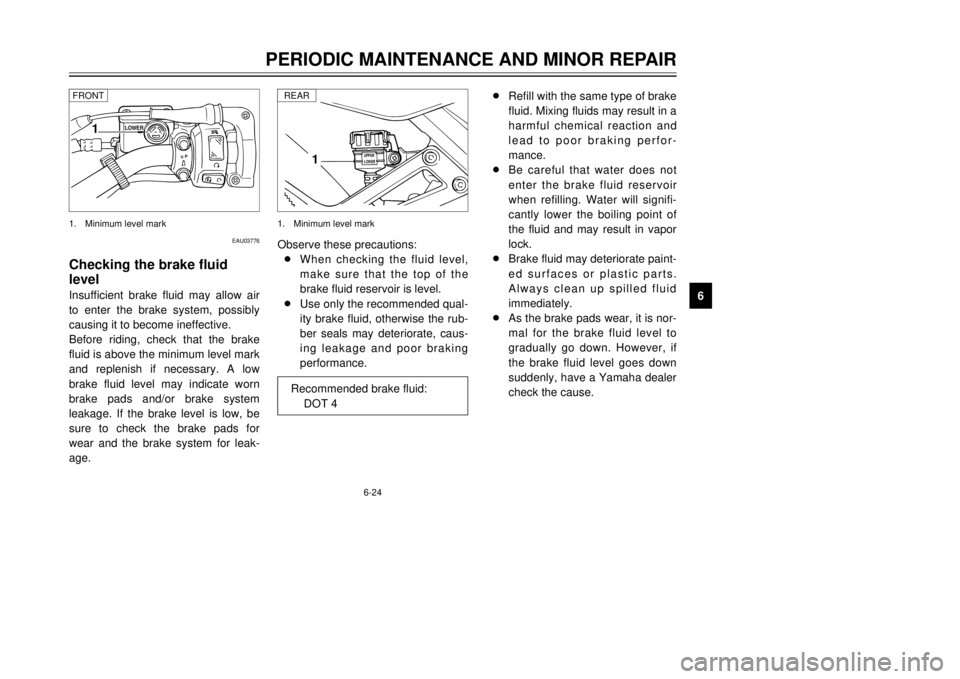
fluid is above the minimum level mark
and replenish if necessary. A low
brake fluid level may indicate worn
brake pads and/or brake system
leakage. If the brake level is low, be
sure to check the brake pads for
wear and the brake system for leak-
age.Observe these precautions:
8When checking the fluid level,
make sure that the top of the
brake fluid reservoir is level.
8Use only the recommended qual-
ity brake fluid, otherwise the rub-
ber seals may deteriorate, caus-
ing leakage and poor braking
performance.8Refill with the same type of brake
fluid. Mixing fluids may result in a
harmful chemical reaction and
lead to poor braking perfor-
mance.
8Be careful that water does not
enter the brake fluid reservoir
when refilling. Water will signifi-
cantly lower the boiling point of
the fluid and may result in vapor
lock.
8Brake fluid may deteriorate paint-
ed surfaces or plastic parts.
Always clean up spilled fluid
immediately.
8As the brake pads wear, it is nor-
mal for the brake fluid level to
gradually go down. However, if
the brake fluid level goes down
suddenly, have a Yamaha dealer
check the cause.
1
LOWER
1
LOWERUPPER
1. Minimum level mark 1. Minimum level mark
Recommended brake fluid:
DOT 4
FRONT
REAR
5AE-28199-E5 honbun 7/6/01 10:18 AM Page 59
Page 61 of 94

6-25
PERIODIC MAINTENANCE AND MINOR REPAIR
6
EAU03976
Changing the brake fluidHave a Yamaha dealer change the
brake fluid at the intervals specified in
the NOTE after the periodic mainte-
nance and lubrication chart. In addi-
tion, have the oil seals of the master
cylinders and calipers as well as the
brake hoses replaced at the intervals
listed below or whenever they are
damaged or leaking.
8Oil seals: Replace every two
years.
8Brake hoses: Replace every four
years.
EAU00744
Drive chain slackThe drive chain slack should be
checked before each ride and adjust-
ed if necessary.
To check the drive chain slack
1. Place the motorcycle on a level
surface and hold it in an upright
position.NOTE:
When checking and adjusting the
drive chain slack, the motorcycle
should be positioned straight up and
there should be no weight on it.
2. Shift the transmission into the
neutral position.
3. Move the rear wheel by pushing
the motorcycle to locate the tight-
est portion of the drive chain,
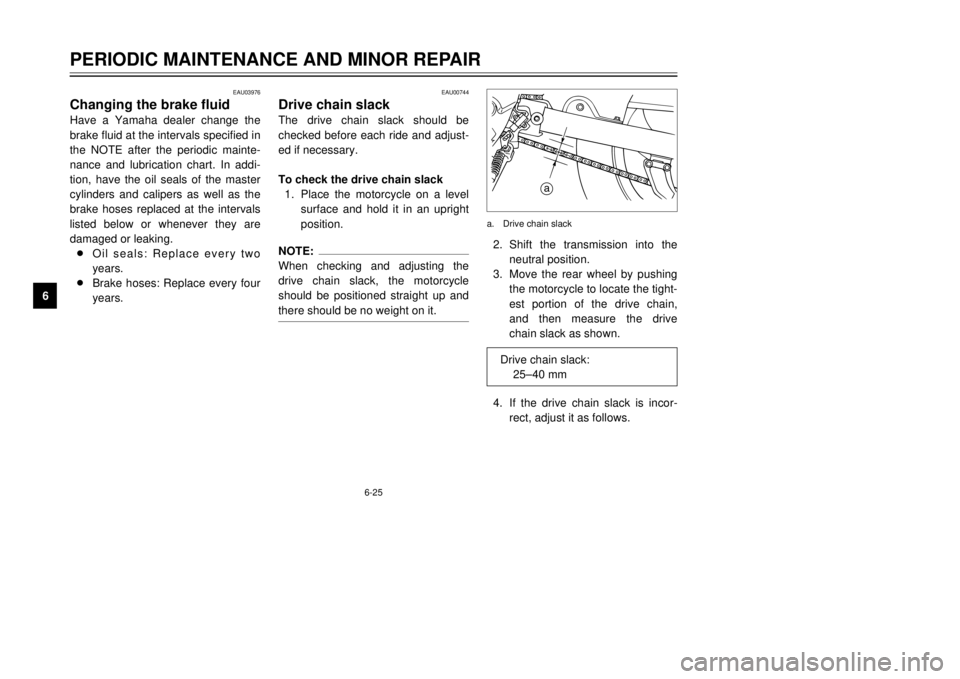
and then measure the drive
chain slack as shown.
4. If the drive chain slack is incor-
rect, adjust it as follows.
a
a. Drive chain slack
Drive chain slack:
25–40 mm
5AE-28199-E5 honbun 7/6/01 10:18 AM Page 60
Page 88 of 94
8-4
SPECIFICATIONS
8
Headlight typeQuartz bulb (halogen)
Bulb voltage, wattage ×quantity
Headlight 12 V, 60/55W ×2
12 V, 35/35W ×2 (GB, IRL)
Tail/brake light 12 V, 5/21W ×2
Front turn signal light 12 V, 21W ×2
Rear turn signal light 12 V, 21W ×2
Auxiliary light 12 V, 4W ×2
12 V, 3.4W ×2 (GB, IRL)
Meter lighting 12 V, 3.4W ×3
Neutral indicator light 12 V, 3.4W ×1
High beam indicator light 12 V, 3.4W ×1
Oil level warning light 12 V, 3.4W ×1
Turn indicator light 12 V, 3.4W ×1
Fuse20A
5AE-28199-E5 honbun 7/6/01 10:18 AM Page 87