Page 330 of 374

6-68
Electrical System
Add-On Electrical Equipment
NOTICE:
Don't add anything electrical to your vehicle
unless you check with your dealer first. Some
electrical equipment can damage your vehicle
and the damage wouldn't be covered by your
warranty. Some add
-on electrical equipment
can keep other components from working as
they should.
Your vehicle has an air bag system. Before attempting to
add anything electrical to your vehicle, see ªServicing
Your Air Bag
-Equipped Vehicleº in the Index.
Headlamp Wiring
The headlamp wiring is protected by a circuit breaker in
the instrument panel fuse block. An electrical overload
will cause the lamps to go on and off, or in some cases
to remain off. If this happens, have your headlamp
system checked right away.
Windshield Wipers
The windshield wiper motor is protected by a circuit
breaker and a fuse. If the motor overheats due to heavy
snow, etc., the wiper will stop until the motor cools.
If the overload is caused by some electrical problem,
have it fixed.
Page 331 of 374

6-69 Power Windows and Other Power Options
Circuit breakers in the fuse panel protect the power
windows and other power accessories. When the current
load is too heavy, the circuit breaker opens and closes,
protecting the circuit until the problem is fixed.
Fuses and Circuit Breakers
The wiring circuits in your vehicle are protected from
short circuits by a combination of fuses, circuit breakers
and fusible thermal links in the wiring itself. This
greatly reduces the chance of fires caused by
electrical problems.
Look at the silver
-colored band inside the fuse. If the
band is broken or melted, replace the fuse. Be sure you
replace a bad fuse with a new one of the identical size
and rating. Spare fuses are located in the instrument
panel. See ªUnderhood Fuse Blockº in the Index.Instrument Panel Fuse Block
Some fuses are in a fuse block located inside of the
glove box behind a small bin on the right side. To open,
pull the cover out. The fuse block is inside. On the back
edge of this cover is a fuse puller and a fuse usage chart.
To use the fuse puller, place the wide end of the fuse
puller over the plastic end of the fuse. Squeeze the ends
over the fuse and pull it out.
To reinstall the bin, position the lower end and turn
the top into position. Press on the sides until it snaps
into place.
Page 332 of 374
6-70
Circuit Breaker Description
HEADLAMP Headlamps
SEAT Power Seat, Power Lumbar
BLANK Blank
PWR WDO Power Windows
BLANK BlankFuse Description
BLANK Blank
BLANK Blank
MALL PGM Mall Module
-- Program
MALL Mall Module
WIPER Wipers
STR
WHL ILLUMSteering Wheel Illumination
BLANK Blank
STR WHL CTRL Steering Wheel Control
SUNROOF Sunroof
RADIO Radio
BLANK Blank
RADIO AMP Bose Amplifier
PWR LOCK Mall Module
-- Power Locks
HSEAT/LUM Heated Seats, Power Lumbar
R DEFOG Rear Defog
PASSKEY III PASS
-Key� III Security System
Page 333 of 374
6-71
Fuse Description
RAP Retained Accessory Power
HAZARD Hazard Flashers
PWR MIR Power Mirrors
HVAC HI HVAC Blower
-- Hi
CIG LTR Cigarette Lighter, ALDL, Floor
Console Accessory Outlet
INT LAMP Mall Module
-- Interior lamps
STOP LAMP Stoplamp
ONSTAR OnStar
� System
BLANK Blank
ECM Electronic Control Module
CRUISE Cruise Control
I/P
-IGN Chime/Mall Module, Cluster,
Trip Computer, Head
-Up
Display, Automatic Transaxle
Shift Lock Control
SIR Supplemental Inflatable Restraint
(Air Bag)
TURN Turn SignalFuse Description
BLANK Blank
BLANK Blank
BLANK Blank
BLANK Blank
BTSI Automatic Transaxle Shift
Lock Control
BLANK Blank
BLANK Blank
BLANK Blank
HVAC CTRL Blower Control, HVAC
DIC/HVAC Rear Defog, HVAC, Driver
Information Center, Daytime
Running Lamps, Heated Seats
BLANK Blank
BLANK Blank
PWR DROP Power Drop Ignition
CANISTER
VENTCanister Vent Solenoid
DRL Daytime Running Lamps
Page 334 of 374
6-72
Underhood Fuse Block
Some fuses are located in a
fuse block in the engine
compartment on the
passenger's side. Pull off
the cover labeled FUSES to
expose the fuses.
Fuse Description
1 Cooling Fan 2
2 Spare
3 Headlamps
4 Battery Main 2
5 Ignition Main 1
Page 354 of 374

7-16 At Least Twice a Year
Restraint System Check
Make sure the safety belt reminder light and all your
belts, buckles, latch plates, retractors and anchorages are
working properly. Look for any other loose or damaged
safety belt system parts. If you see anything that might
keep a safety belt system from doing its job, have it
repaired. Have any torn or frayed safety belts replaced.
Also look for any opened or broken air bag coverings,
and have them repaired or replaced. (The air bag system
does not need regular maintenance.)
Wiper Blade Check
Inspect wiper blades for wear or cracking. Replace blade
inserts that appear worn or damaged or that streak or
miss areas of the windshield. Also see ªWiper Blades,
Cleaningº in the Index.
Weatherstrip Lubrication
Silicone grease on weatherstrips will make them last
longer, seal better, and not stick or squeak. Apply
silicone grease with a clean cloth. During very cold,
damp weather more frequent application may be
required. See ªRecommended Fluids and Lubricantsº
in the Index.Automatic Transaxle Check
Check the transaxle fluid level; add if needed. See
ªAutomatic Transaxle Fluidº in the Index. A fluid
loss may indicate a problem. Check the system and
repair if needed.
At Least Once a Year
Key Lock Cylinders Service
Lubricate the key lock cylinders with the lubricant
specified in Part D.
Body Lubrication Service
Lubricate all hood hinges, hood latch assembly,
secondary latch, pivots, spring anchor, release pawl,
door hinges, rear compartment, glove box door, console
door and any folding seat hardware. Part D tells you
what to use. More frequent lubrication may be required
when exposed to a corrosive environment.
Page 355 of 374

7-17
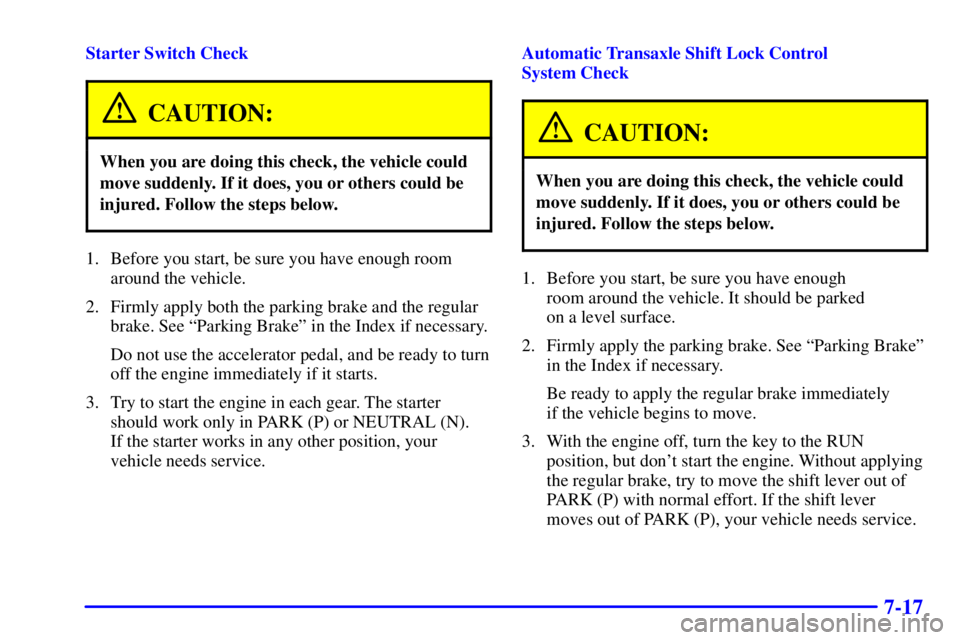
Starter Switch Check
CAUTION:
When you are doing this check, the vehicle could
move suddenly. If it does, you or others could be
injured. Follow the steps below.
1. Before you start, be sure you have enough room
around the vehicle.
2. Firmly apply both the parking brake and the regular
brake. See ªParking Brakeº in the Index if necessary.
Do not use the accelerator pedal, and be ready to turn
off the engine immediately if it starts.
3. Try to start the engine in each gear. The starter
should work only in PARK (P) or NEUTRAL (N).
If the starter works in any other position, your
vehicle needs service.Automatic Transaxle Shift Lock Control
System Check
CAUTION:
When you are doing this check, the vehicle could
move suddenly. If it does, you or others could be
injured. Follow the steps below.
1. Before you start, be sure you have enough
room around the vehicle. It should be parked
on a level surface.
2. Firmly apply the parking brake. See ªParking Brakeº
in the Index if necessary.
Be ready to apply the regular brake immediately
if the vehicle begins to move.
3. With the engine off, turn the key to the RUN
position, but don't start the engine. Without applying
the regular brake, try to move the shift lever out of
PARK (P) with normal effort. If the shift lever
moves out of PARK (P), your vehicle needs service.
Page 356 of 374

7-18
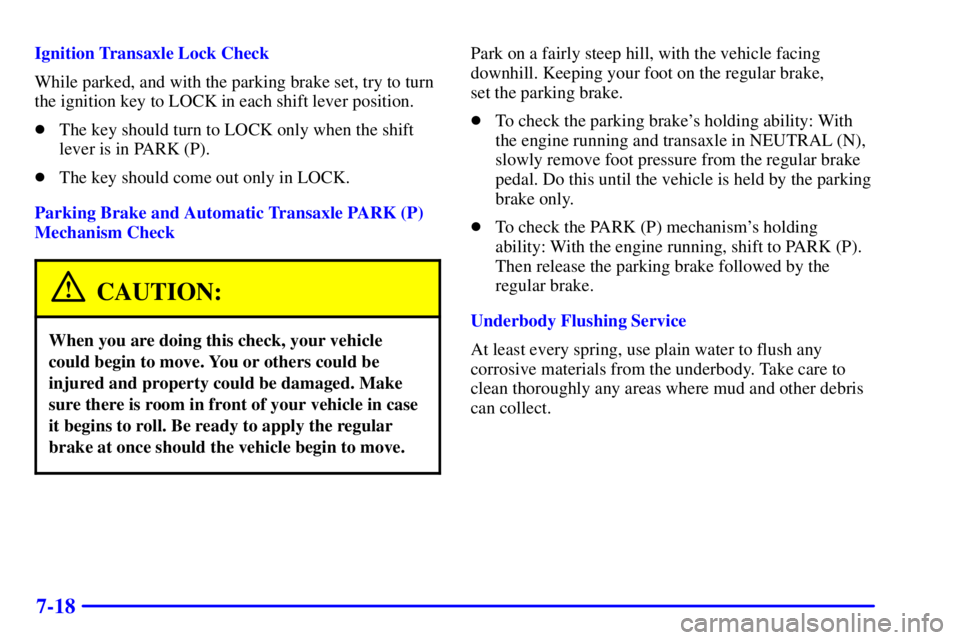
Ignition Transaxle Lock Check
While parked, and with the parking brake set, try to turn
the ignition key to LOCK in each shift lever position.
�The key should turn to LOCK only when the shift
lever is in PARK (P).
�The key should come out only in LOCK.
Parking Brake and Automatic Transaxle PARK (P)
Mechanism Check
CAUTION:
When you are doing this check, your vehicle
could begin to move. You or others could be
injured and property could be damaged. Make
sure there is room in front of your vehicle in case
it begins to roll. Be ready to apply the regular
brake at once should the vehicle begin to move.
Park on a fairly steep hill, with the vehicle facing
downhill. Keeping your foot on the regular brake,
set the parking brake.
�To check the parking brake's holding ability: With
the engine running and transaxle in NEUTRAL (N),
slowly remove foot pressure from the regular brake
pedal. Do this until the vehicle is held by the parking
brake only.
�To check the PARK (P) mechanism's holding
ability: With the engine running, shift to PARK (P).
Then release the parking brake followed by the
regular brake.
Underbody Flushing Service
At least every spring, use plain water to flush any
corrosive materials from the underbody. Take care to
clean thoroughly any areas where mud and other debris
can collect.