Page 9 of 182
OPENING THE BONNET Inside the vehicle: Push the
control on the right-hand side, under the instrument panel. Outside the vehicle: lift the control, raise thebonnet and secure thestrut to keep the bonnetopen.
FILLING WITH FUEL This operation must be carried out with the
engine switched off.
➜ Open the fuel filler flap by pressing the front of it.
➜ Insert the key then turn it to the left.
➜ Remove the cap and hook it onto the hook on the inside of the flap.
An indication on the cap shows which type of fuel to use.
When you fill your tank, do not continue after the third cut-off of the
pump. This could cause a malfunction. The capacity of the tank is approximately 70 litres. ➜ After filling the tank, lock the cap and close the flap.
Low fuel level warning light
From the time this light comes on, you have approxima-
tely 8 litres of fuel left.
YOUR BOXER AT A GLANCE14
120120
16-09-2002
Page 13 of 182

16-09-2002
INTERIOR FITTINGS
1. STORAGE COMPARTMENTS IN THE DOORSA. Armrest.
B. Bottle holder.
C. Storage compartment.
2. GRAB HANDLE This is positioned for the centre front passenger.
3. SUN VISORS The sun visors have pockets for storing docu- ments.
4. WRITING TABLE (Folding) The table is in the centre of the instrument panel. Lift the table Dat the clip Fto open it.
The clip Fsecures documents.
To fold the table D, press the centre of bar Eand
fold the table.Note: the writing table is fixed if your vehicle is fit-
ted with a passenger air bag.
5. GLOVE BOX This has a lock.
To open the glove box, lift the handle. 6. LIGHTER
7. ASHTRAY
Pull the cover to open the ashtray.
To empty it, after opening, remove it by pulling
upwards.
8. 12 VOLT ACCESSORIES SOCKET This is at the bottom of the centre console.
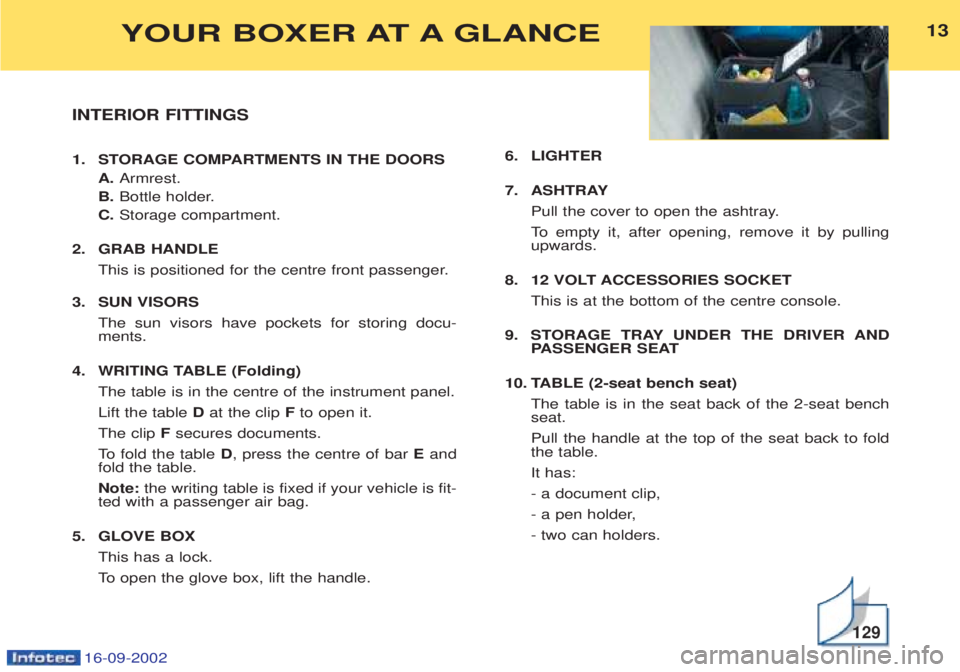
9. STORAGE TRAY UNDER THE DRIVER AND PASSENGER SEAT
10. TABLE (2-seat bench seat) The table is in the seat back of the 2-seat bench seat. Pull the handle at the top of the seat back to fold the table. It has:- a document clip,
- a pen holder,- two can holders.
13
129
YOUR BOXER AT A GLANCE
Page 73 of 182
16-09-2002
YOUR BOXER IN DETAIL77
Emergency 112
In an emergemcy, select and confirm this function by pressing button Lto contact the emergency call service .
Before making a call of this type, the audio/telephone/GPS must detect a cell network. No security mode is required and, depending on the network, you do not have to insert your SIM card or enter your PIN. PEUGEOT customer contact centre Select and confirm this function by pressing button Lto contact the PEUGEOT Customer Contact Centre and gain access
to the services offered (this type of call is suspended if an emergency call is made).
Page 112 of 182
16-09-2002
YOUR BOXER IN DETAIL117
FRONT DOORS AND SLIDING SIDE DOOR Opening the doors from outside (front and side doors) Opening the doors from inside (front doors) The front door opening controls per- mit complete unlocking of thevehicle.Locking / Unlocking from the inside Front door
To
lock, lower button A.
The closing control of one of the front doors permits complete locking ofthe vehicle. To unlock and open, lift button Aand
pull the handle towards you. The opening control of one of the front doors permits complete unloc-king of the vehicle. Sliding side door The side door opening/closing control only controls the door concer-ned. Side door child lock This prevents opening of the side door from the inside. ☞ Turn the control a quarter turn
using the ignition key.
Note: the sliding side door can be
secured in the fully open position. To release it, pull the handle towards
you and slide the door.
Page 115 of 182

16-09-2002
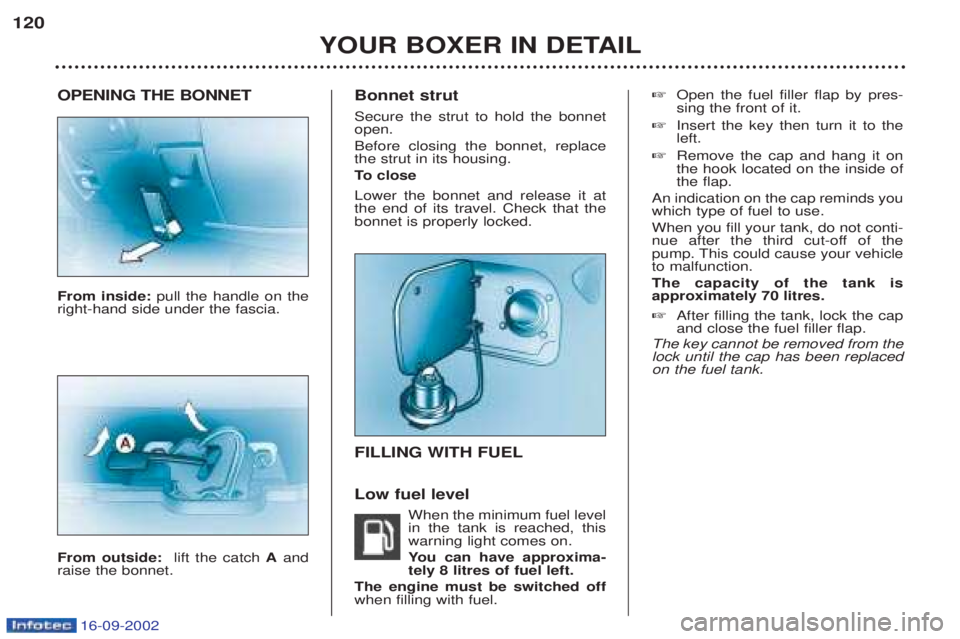
OPENING THE BONNET From inside: pull the handle on the
right-hand side under the fascia. From outside: lift the catch Aand
raise the bonnet. Bonnet strut Secure the strut to hold the bonnet open. Before closing the bonnet, replace the strut in its housing.
To
close
Lower the bonnet and release it at the end of its travel. Check that thebonnet is properly locked. FILLING WITH FUEL Low fuel level
When the minimum fuel level in the tank is reached, thiswarning light comes on. You can have approxima-
tely 8 litres of fuel left.
The engine must be switched off when filling with fuel. ☞
Open the fuel filler flap by pres-sing the front of it.
☞ Insert the key then turn it to theleft.
☞ Remove the cap and hang it onthe hook located on the inside ofthe flap.
An indication on the cap reminds youwhich type of fuel to use. When you fill your tank, do not conti-
nue after the third cut-off of the
pump. This could cause your vehicleto malfunction. The capacity of the tank is approximately 70 litres. ☞ After filling the tank, lock the cap and close the fuel filler flap.
The key cannot be removed from thelock until the cap has been replacedon the fuel tank.
YOUR BOXER IN DETAIL
120
Page 125 of 182

16-09-2002
YOUR BOXER IN DETAIL129
INTERIOR FITTINGS
1. FITTINGS IN THE DOORS A.Armrest.
B. Bottle holder.
C. Storage compartment.
2. GRAB HANDLE This is installed for the front centre passenger.
3. SUN VISORS The sun visors are fitted with pockets for storing docu- ments.
4. WRITING TABLE (Folding) The table is located in the centre of the instrumentpanel. Lift the table Dat the clip Fto open it.
The clip Fcan be used to secure documents.
To fold the table D, press the middle of the bar Eand
fold the table. Note: the writing table is fixed if your vehicle is fitted
with a passenger air bag.
5. GLOVE BOX This is fitted with a lock.
To open the glove box, lift the handle. 6. LIGHTER
7. ASHTRAY
Pull the cover to open the ashtray.
To empty, after opening, remove it pulling upwards.
8. 12 VOLT ACCESSORIES SOCKET This is located at the bottom of the centre console.
9. STORAGE TRAY UNDER THE DRIVER AND PASSENGER SEAT
10. TABLE (2 seat bench seat) The table is located in the seat back of the 2 seat benchseat. Pull the handle at the top of the seat back to fold the table. It is fitted with:- a document clip,
- a pen holder,- two can holders.
Page 148 of 182

16-09-2002
PRACTICAL INFORMATION147
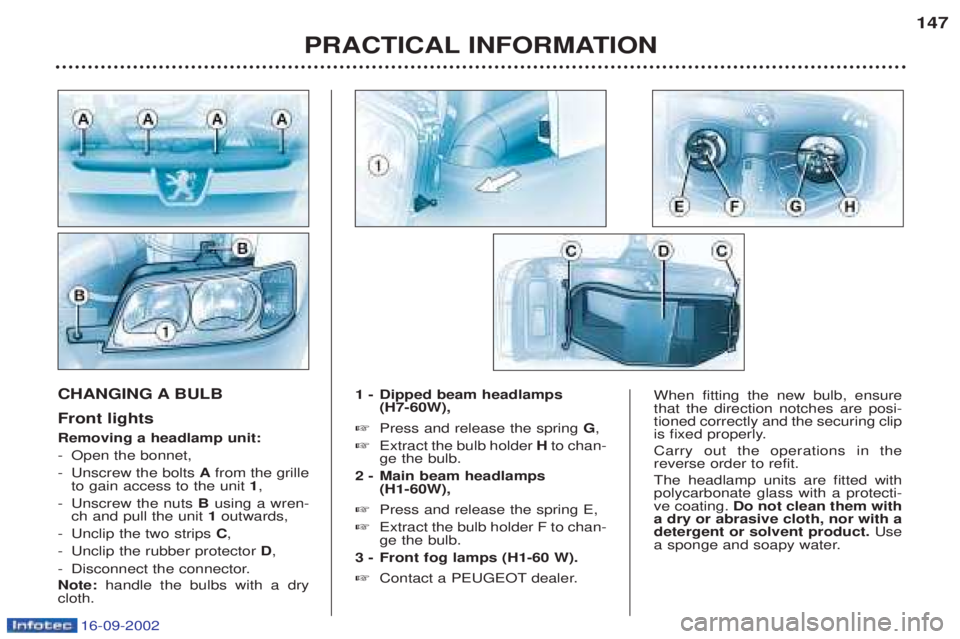
CHANGING A BULB Front lights Removing a headlamp unit: -
Open the bonnet,
- Unscrew the bolts Afrom the grille
to gain access to the unit 1,
- Unscrew the nuts Busing a wren-
ch and pull the unit 1outwards,
- Unclip the two strips C,
- Unclip the rubber protector D,
- Disconnect the connector. Note: handle the bulbs with a dry
cloth. 1 - Dipped beam headlamps
(H7-60W),
☞ Press and release the spring G,
☞ Extract the bulb holder Hto chan-
ge the bulb.
2 - Main beam headlamps (H1-60W),
☞ Press and release the spring E,
☞ Extract the bulb holder F to chan- ge the bulb.
3 - Front fog lamps (H1-60 W). ☞ Contact a PEUGEOT dealer.When fitting the new bulb, ensure that the direction notches are posi-tioned correctly and the securing clip
is fixed properly. Carry out the operations in the reverse order to refit. The headlamp units are fitted with polycarbonate glass with a protecti-ve coating. Do not clean them with
a dry or abrasive cloth, nor with adetergent or solvent product. Use
a sponge and soapy water.