Page 33 of 182
16-09-2002
Superimposed display In certain cases, when a function
(radio, telephone, trip computer, ... )changes status while another func-tion is displayed, a window opens toinform you of the change, thendisappears.MULTIFUNCTION DISPLAYS Presentation Monochrome display Colour display These two multifunction displays are an integral part of theaudio/tele-
phone/GPS. Therefore, they are
controlled by its control keypad andby its steering wheel stalk. They enable you to obtain the follo-wing information: -
displaying of the audio sources (radio, CD or CD changer),
- displaying of the telematic systems(telephone, services, ... ),
- displaying of the satellite naviga-tion system (see correspondingsection),
- displaying of the trip computer (seecorresponding section),
- the warning messages (e.g.
"Warning, maximum speed excee-ded") or information messages(e.g. "SIM card absent") displayed
temporarily.
YOUR BOXER IN DETAIL
36
Page 79 of 182
16-09-2002
General menu Switch the audio/telephone/GPS on and insert the navigation CD-ROM. Press the "NAV"button to gain
access to the "Warnings" page. Note: the "Warnings" page appears
when the engine is switched on and when you select the "Navigation"function.
YOUR BOXER IN DETAIL 85
During guidance, if the navigation CD-ROM is present, the display shows vari- ous kinds of information depending on the manoeuvres to be carried out. ☞
Current manoeuvre or compass.
☞ Next manoeuvre to be carried out.
☞ Next road to be taken.
☞ Current road.
☞ Estimated time of arrival at the destination.
☞ Distance to the final destination.
☞ Distance to the next manoeuvre.
Note: depending on the vehicle's situation and the reception of the GPS infor-
mation, this information may disappear from the display temporarily.
General notes on the display
Monochrome display Colour display
Page 94 of 182
16-09-2002
YOUR BOXER IN DETAIL
100
PROGRAMMABLE HEATING
(WEBASTO)* The programmable heating is provi-
ded to operate with the engine off. Itpermits heating of the passengercompartment, de-icing of the win-dows and pre-heating of the coolantcircuit to provide an optimum opera-ting temperature when the engine isswitched on.
* According to destination. Control panel / digital programmer The programmable heating system's control panel is located to the right of the instrument panel. 1.
Heating cycle warning light.
2. Screen lighting.
3. Display of the number of the selected programme.
4. Time display button.
5. Time setting buttons.
6. Selection of the stored prgramme.
7. Heating immediate start-up button.
8. Time setting and display warning light.
Page 95 of 182
16-09-2002
YOUR BOXER IN DETAIL101
TIME DISPLAY Press button
4.
The time display warning light 8
comes on and the time is displayed for approximately ten seconds. SETTING THE CLOCK Press button
4. The screen and the
setting warning light 8come on.
Within ten seconds, press one of the buttons 5until the correct time is dis-
played:
- press button ">"to move the clock
on,
- press button "<"to move the clock
back.
Note: continuous pressing of buttons
">" or "<" scrolls through the digits
more quickly.
Page 96 of 182
16-09-2002
YOUR BOXER IN DETAIL
102
IMMEDIATE OPERATION Before switching on the programmable heating, on the vehicle's heating/ventilation
assembly, check that: -
the temperature adjustment control is in the "Hot air" position,
- the air flow adjustment control is in position 2. IMMEDIATE OPERATION Press button
7.
The screen and the heating cycle warning light 1come on and remain
on throughout the period of opera-tion.
To switch the heating off, press but-
ton 7.
The screen and the heating cycle warning light 1switch off.
Page 105 of 182

16-09-2002
YOUR BOXER IN DETAIL
112
SEAT BELTS
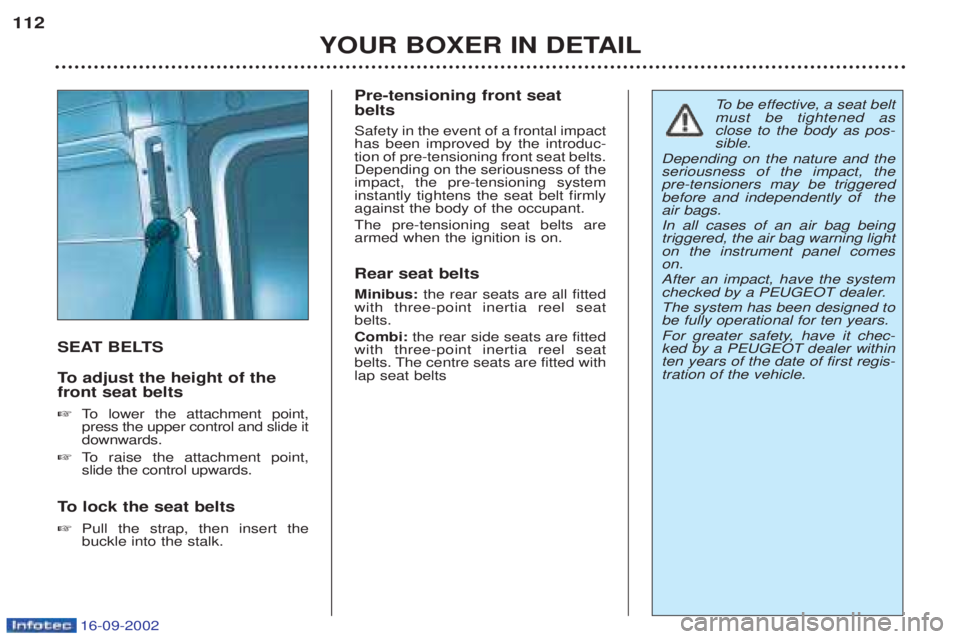
To
adjust the height of the
front seat belts ☞ To lower the attachment point,
press the upper control and slide it downwards.
☞ To raise the attachment point,
slide the control upwards.
To lock the seat belts
☞ Pull the strap, then insert thebuckle into the stalk. Pre-tensioning front seat belts Safety in the event of a frontal impact has been improved by the introduc-tion of pre-tensioning front seat belts.Depending on the seriousness of theimpact, the pre-tensioning systeminstantly tightens the seat belt firmlyagainst the body of the occupant. The pre-tensioning seat belts are armed when the ignition is on. Rear seat belts Minibus:
the rear seats are all fitted
with three-point inertia reel seat belts. Combi: the rear side seats are fitted
with three-point inertia reel seat
belts. The centre seats are fitted withlap seat belts
To be effective, a seat belt
must be tightened as close to the body as pos-sible.
Depending on the nature and theseriousness of the impact, thepre-tensioners may be triggeredbefore and independently of theair bags. In all cases of an air bag being triggered, the air bag warning lighton the instrument panel comeson. After an impact, have the system
checked by a PEUGEOT dealer. The system has been designed to be fully operational for ten years.
For greater safety, have it chec- ked by a PEUGEOT dealer withinten years of the date of first regis-tration of the vehicle.
Page 111 of 182

16-09-2002
YOUR BOXER IN DETAIL
116
THE ALARM This provides two types of protection: -
exterior protection: it sounds if a
door, the tailgate, the bonnet or asunroof is opened.
- interior protection: it sounds if thevolume inside the passenger com-partment changes (breaking of awindow or a movement inside thevehicle).
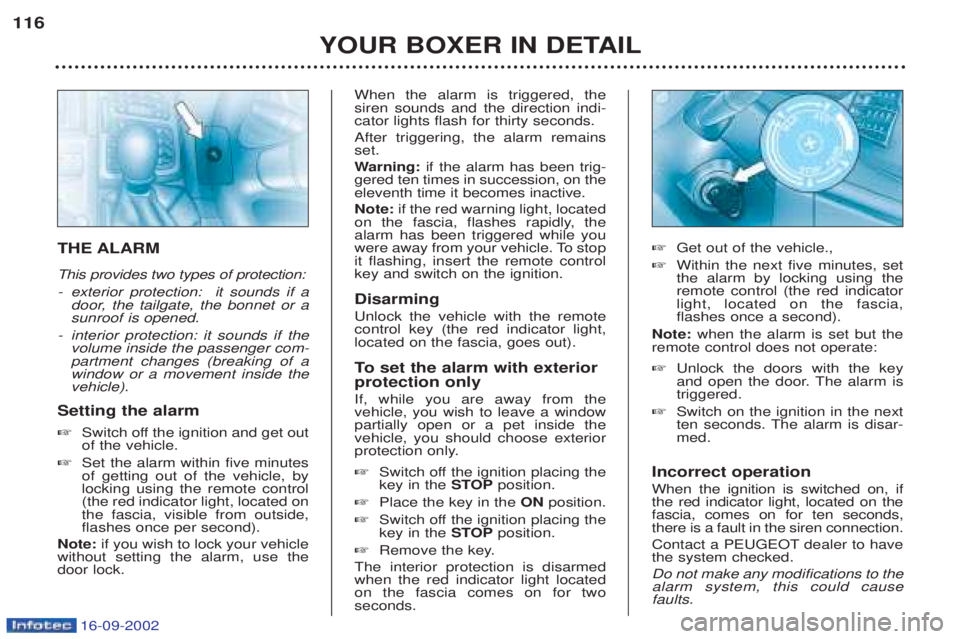
Setting the alarm ☞ Switch off the ignition and get out of the vehicle.
☞ Set the alarm within five minutesof getting out of the vehicle, bylocking using the remote control(the red indicator light, located onthe fascia, visible from outside,flashes once per second).
Note: if you wish to lock your vehicle
without setting the alarm, use thedoor lock. When the alarm is triggered, thesiren sounds and the direction indi-cator lights flash for thirty seconds. After triggering, the alarm remains set. W
arning: if the alarm has been trig-
gered ten times in succession, on the eleventh time it becomes inactive. Note: if the red warning light, located
on the fascia, flashes rapidly, the alarm has been triggered while you
were away from your vehicle. To stopit flashing, insert the remote controlkey and switch on the ignition. Disarming Unlock the vehicle with the remote control key (the red indicator light,located on the fascia, goes out).
To set the alarm with exterior
protection only
If, while you are away from the vehicle, you wish to leave a windowpartially open or a pet inside thevehicle, you should choose exterior
protection only. ☞ Switch off the ignition placing the key in the STOPposition.
☞ Place the key in the ONposition.
☞ Switch off the ignition placing thekey in the STOPposition.
☞ Remove the key.
The interior protection is disarmedwhen the red indicator light locatedon the fascia comes on for twoseconds. ☞
Get out of the vehicle.,
☞ Within the next five minutes, setthe alarm by locking using theremote control (the red indicatorlight, located on the fascia,flashes once a second).
Note: when the alarm is set but the
remote control does not operate: ☞ Unlock the doors with the key
and open the door. The alarm istriggered.
☞ Switch on the ignition in the next
ten seconds. The alarm is disar-med.
Incorrect operation When the ignition is switched on, if the red indicator light, located on thefascia, comes on for ten seconds,there is a fault in the siren connection.
Contact a PEUGEOT dealer to have the system checked. Do not make any modifications to the alarm system, this could causefaults.
Page 115 of 182

16-09-2002
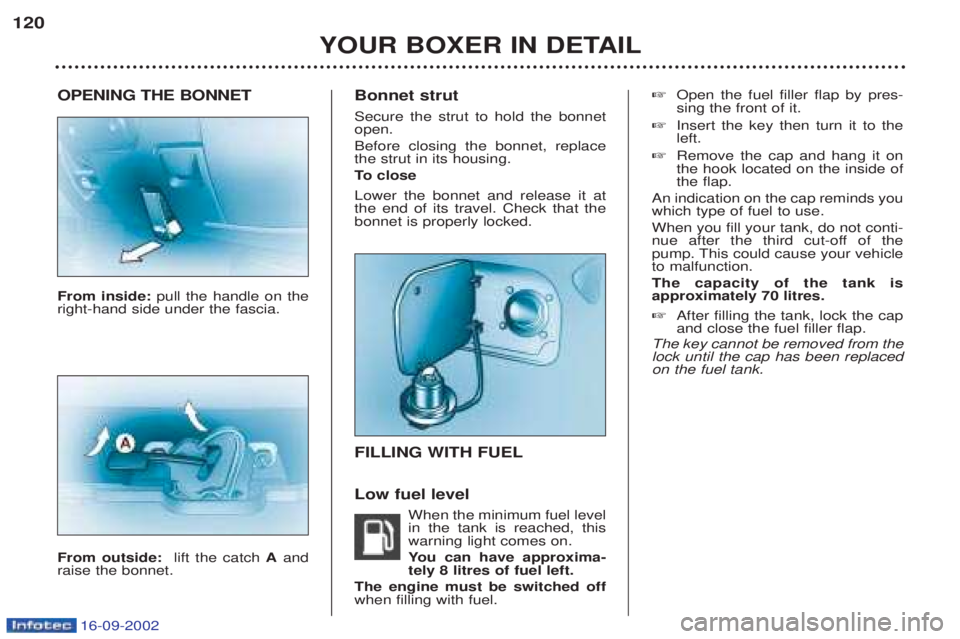
OPENING THE BONNET From inside: pull the handle on the
right-hand side under the fascia. From outside: lift the catch Aand
raise the bonnet. Bonnet strut Secure the strut to hold the bonnet open. Before closing the bonnet, replace the strut in its housing.
To
close
Lower the bonnet and release it at the end of its travel. Check that thebonnet is properly locked. FILLING WITH FUEL Low fuel level
When the minimum fuel level in the tank is reached, thiswarning light comes on. You can have approxima-
tely 8 litres of fuel left.
The engine must be switched off when filling with fuel. ☞
Open the fuel filler flap by pres-sing the front of it.
☞ Insert the key then turn it to theleft.
☞ Remove the cap and hang it onthe hook located on the inside ofthe flap.
An indication on the cap reminds youwhich type of fuel to use. When you fill your tank, do not conti-
nue after the third cut-off of the
pump. This could cause your vehicleto malfunction. The capacity of the tank is approximately 70 litres. ☞ After filling the tank, lock the cap and close the fuel filler flap.
The key cannot be removed from thelock until the cap has been replacedon the fuel tank.
YOUR BOXER IN DETAIL
120