Page 2 of 155
3YOUR 206 AT A GLANCE
1Driver's air bag Horn
2 Lights and direction indicators stalk
3 Passenger air bag disarmingswitch*
4 Rear electric windows disarming switch
5 Lighting rheostat for instrument dials
6 Audio equipment remotecontrol
7 Windscreen wiper and windscreen wash stalk
8 Steering lock
9 Hazard warning lights switch
10 Multi-function display 11
Windscreen demisting vents
12 Side window demisting vents
13 Adjustable side vent
14 Passenger air bag
15 Adjustable centre vents
16 Glove box
17 Audio equipment
18 Control for heating, ventilation, air conditioningand heated rear screen andmirrors
19 Front ashtray
20 Gear lever
21 Lighter 22
Electric mirror controls
23 Heated seats switch
24 Front electric window controls
25 Handbrake
26 Bonnet opening control
27 Fuse box
28 Storage compartment
29 Steering wheel height adjustment control
30 Headlamp height adjustment
* According to destination.
17-06-2002
Page 11 of 155
9596
ELECTRIC WINDOWS
1. Driver's electric windowManual mode : press or pull the switch gently.
The window stops as soon as the switch is released. Automatic mode : press or pull the switch firmly.
One touch completely opens or closes the
window. Automatic opening and closing only operate when the engine is running.
2. Passenger's electric window.
3. Rear left electric window
4. Rear right electric window. ELECTRIC MIRRORS
Turn knob
5to the right or to the left to select the cor-
responding mirror. Move knob 5in all four directions to adjust.
Electric folding mirrors With the ignition on, turn knob 5to position A. 7
YOUR 206 AT A GLANCE
17-06-2002
Page 66 of 155
17-06-2002
VENTILATION 1. Windscreen de-icing or demisting vents.
2 . Front window de-icing or demisting vents.
3 . Side vents.
4 . Centre vents.
5 . Air outlet to front footwells.
6 . Air outlet to rear footwells.
Advice on operation
Ð Place the air flow control at a level sufficient to ensure correct renewal of air in the passenger compartment. The ''OFF''
position cuts off all the air circulation in the passenger compartment. Note: only use the ''OFF''position occasionally (risk of condensation).
Ð Select the air distribution most suited to your requirements and the climatic conditions.
Ð Gradually adjust the temperature setting for your comfort.
Ð Position the outside air control to the left; the ''Outside Air'' position.
Ð For perfectly even air distribution, take care not to obstruct the exterior air intake grille on the bonnet, the vents and the air ducts under thefront seats. Check that the pollen filter is in good condition.
YOUR 206 IN DETAIL 65
Page 67 of 155
17-06-2002
YOUR 206 IN DETAIL
66
1. Temperature adjustment
To be adjusted to your requirements. From blue (exterior temperature)to red (hot). 2. Air distribution adjustment
Windscreen and side win- dows (de-icing/demisting).
To quickly de-ice or demist the wind-screen and side windows: - position the air intake control to
the left; the ''Outside Air'' position,
- turn the temperature and air flow controls to maximum,
- close the centre and side vents.
HEATING / VENTILATION
Page 68 of 155

17-06-2002
YOUR 206 IN DETAIL67
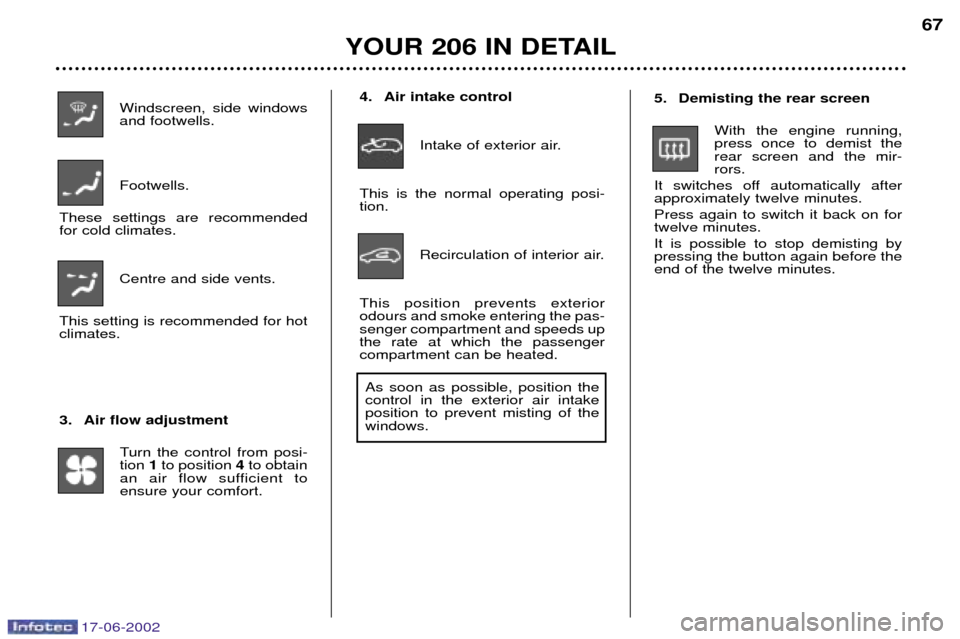
Windscreen, side windows and footwells. Footwells.
These settings are recommended for cold climates.
Centre and side vents.
This setting is recommended for hotclimates.
3. Air flow adjustment Turn the control from posi- tion 1to position 4to obtain
an air flow sufficient toensure your comfort. 4. Air intake control
Intake of exterior air.
This is the normal operating posi-tion. Recirculation of interior air.
This position prevents exteriorodours and smoke entering the pas-senger compartment and speeds upthe rate at which the passengercompartment can be heated. As soon as possible, position thecontrol in the exterior air intakeposition to prevent misting of thewindows.
5. Demisting the rear screen With the engine running, press once to demist therear screen and the mir-rors.
It switches off automatically afterapproximately twelve minutes. Press again to switch it back on for twelve minutes. It is possible to stop demisting by pressing the button again before theend of the twelve minutes.
Page 70 of 155

17-06-2002
YOUR 206 IN DETAIL69
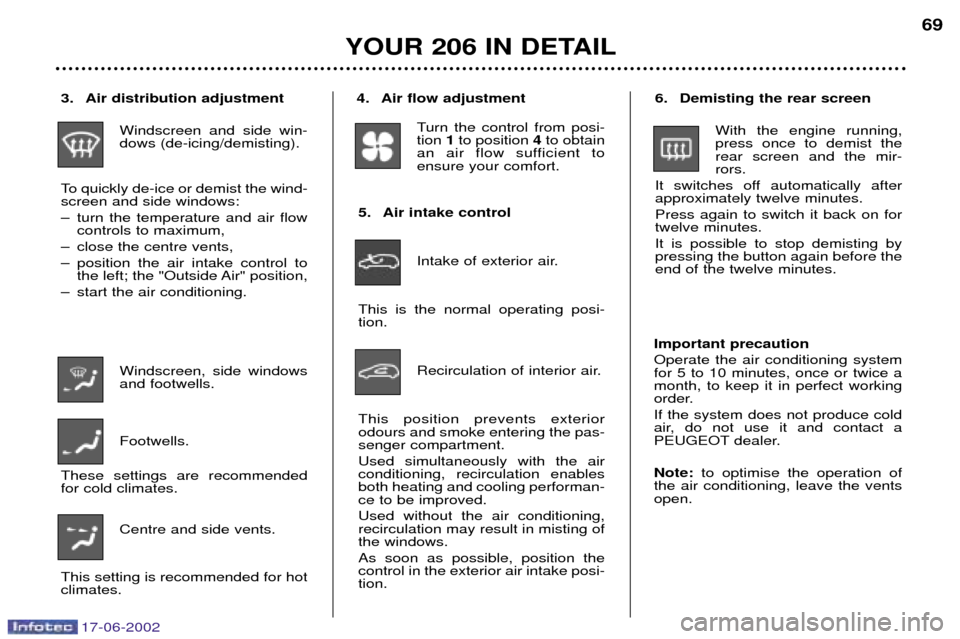
3. Air distribution adjustment
Windscreen and side win- dows (de-icing/demisting).
To quickly de-ice or demist the wind-screen and side windows:
Ð turn the temperature and air flow controls to maximum,
Ð close the centre vents,
Ð position the air intake control to the left; the "Outside Air" position,
Ð start the air conditioning.
Windscreen, side windows and footwells. Footwells.
These settings are recommended for cold climates.
Centre and side vents.
This setting is recommended for hotclimates. 5. Air intake control
Intake of exterior air.
This is the normal operating posi-tion.
Recirculation of interior air.
This position prevents exteriorodours and smoke entering the pas-senger compartment. Used simultaneously with the air conditioning, recirculation enablesboth heating and cooling performan-ce to be improved. Used without the air conditioning, recirculation may result in misting ofthe windows. As soon as possible, position the control in the exterior air intake posi-tion. Important precaution Operate the air conditioning system for 5 to 10 minutes, once or twice amonth, to keep it in perfect working
order. If the system does not produce cold
air, do not use it and contact a
PEUGEOT dealer. Note:
to optimise the operation of
the air conditioning, leave the vents open.4. Air flow adjustment
Turn the control from posi- tion 1to position 4to obtain
an air flow sufficient toensure your comfort.6. Demisting the rear screen
With the engine running, press once to demist therear screen and the mir-rors.
It switches off automatically afterapproximately twelve minutes. Press again to switch it back on for twelve minutes. It is possible to stop demisting by pressing the button again before theend of the twelve minutes.
Page 71 of 155
17-06-2002
YOUR 206 IN DETAIL
70
AUTOMATIC AIR CONDITIONING
Automatic operation
1. Temperature adjustment The chosen temperature is displayed. Press the up and
down arrows to change it. Asetting around 21 ¡C enablesa comfortable temperature tobe obtained. 2. Automatic comfort programme
Press the "AUTO" button.The system automaticallyadjusts the atmosphere insi-de the vehicle in accordancewith the chosen temperature.
To do this, it controls the temperature,
the flow, the distribution and the intakeof air as well as the air conditioning. 3. Automatic visibility programme
In some cases, the automa-tic comfort programme may
not be sufficient for de-icingor demisting of the windows
(humidity, several passen-
gers, ice etc.). In this case, select theautomatic visibility programme to
clear the windows quickly.
Page 82 of 155

17-06-2002
YOUR 206 IN DETAIL
80
From 3 to 10 years (15 to 36 kg)"Recaro start'': installed in the rear with a three-point seat belt. The height, width and length of the seat must be adjusted according to the age and build of your child. "Klippan Optima": installed in the rear with a three-point seat belt. From the age of 6 years (approximately 22 kg), the booster is used on its own.
Remember, even for short journeys, to fasten the three-point seat belts or thechild seat straps, keeping the slack in relation to the child's body to a minimum.
To prevent the doors from opening accidentally, use the child-lock.Also, do not open the rear windows more than a third.
* According to current legislation in the country of destination.
** Unless the rear seats are already occupied by other children or the rear seats cannot be used (because they are missing or folded down). In this case, move the front passenger seat as far back as possible and leave the air bag active.
Never leave a child or an animal in a vehicle whichis exposed to the sunand has the windows clo-
sed. Never leave the keys within
reach of children inside the car. Disarm the passenger air bag when installing a '"earwardsfacing" child seat on the frontpassenger seat. Observe strictly the recommen- dations for assembling the childseat as shown in the child seatinstructions.4
5