Page 204 of 343

4-39 Hitches
It's important to have the correct hitch equipment.
Crosswinds, large trucks going by and rough roads
are a few reasons why you'll need the right hitch.
Here are some rules to follow:
�The rear bumper on your vehicle is not intended
for hitches. Do not attach rental hitches or other
bumper
-type hitches to it. Use only a frame-mounted
hitch that does not attach to the bumper.
�Will you have to make any holes in the body of
your vehicle when you install a trailer hitch? If you
do, then be sure to seal the holes later when you
remove the hitch. If you don't seal them, deadly
carbon monoxide (CO) from your exhaust can get
into your vehicle. See ªCarbon Monoxideº in the
Index. Dirt and water can, too.
Safety Chains
You should always attach chains between your vehicle
and your trailer. Cross the safety chains under the tongue
of the trailer so that the tongue will not drop to the road
if it becomes separated from the hitch. Instructions
about safety chains may be provided by the hitch
manufacturer or by the trailer manufacturer. Follow the
manufacturer's recommendation for attaching safety
chains and do not attach them to the bumper. Always
leave just enough slack so you can turn with your rig.
And, never allow safety chains to drag on the ground.
Trailer Brakes
Does your trailer have its own brakes?
Be sure to read and follow the instructions for the trailer
brakes so you'll be able to install, adjust and maintain
them properly. And because you have anti
-lock brakes,
do not try to tap into your vehicle's brake system.
If you do, both systems won't work well, or at all.
Page 224 of 343
5-16
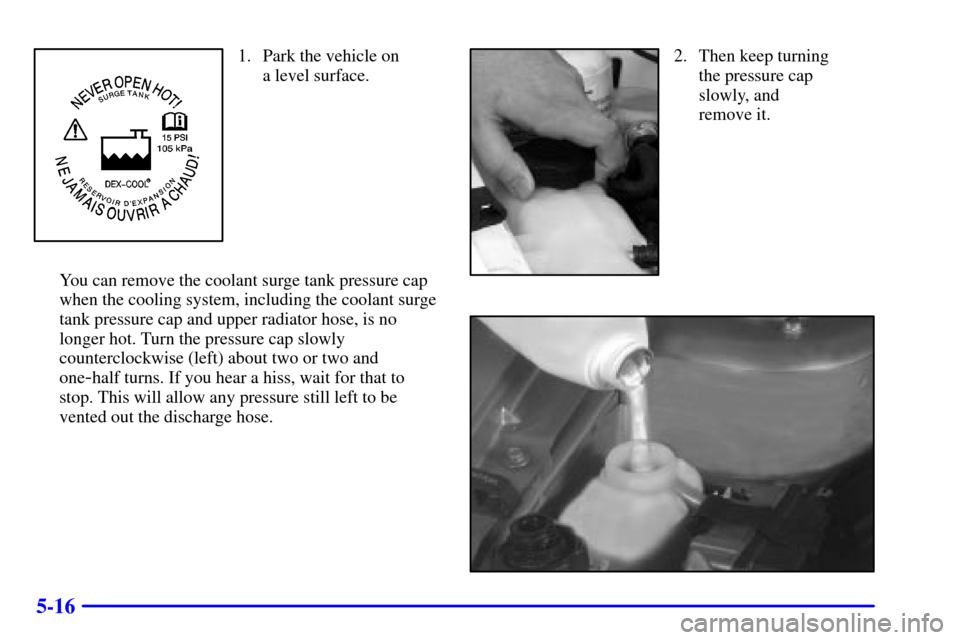
1. Park the vehicle on
a level surface.
You can remove the coolant surge tank pressure cap
when the cooling system, including the coolant surge
tank pressure cap and upper radiator hose, is no
longer hot. Turn the pressure cap slowly
counterclockwise (left) about two or two and
one
-half turns. If you hear a hiss, wait for that to
stop. This will allow any pressure still left to be
vented out the discharge hose.
2. Then keep turning
the pressure cap
slowly, and
remove it.
Page 226 of 343
5-18
If a Tire Goes Flat
It's unusual for a tire to ªblow outº while you're driving,
especially if you maintain your tires properly. If air goes
out of a tire, it's much more likely to leak out slowly.
But if you should ever have a ªblowout,º here are a few
tips about what to expect and what to do:
If a front tire fails, the flat tire will create a drag that
pulls the vehicle toward that side. Take your foot off the
accelerator pedal and grip the steering wheel firmly.
Steer to maintain lane position, and then gently brake to
a stop well out of the traffic lane.
A rear blowout, particularly on a curve, acts much like a
skid and may require the same correction you'd use in a
skid. In any rear blowout, remove your foot from the
accelerator pedal. Get the vehicle under control by
steering the way you want the vehicle to go. It may be
very bumpy and noisy, but you can still steer. Gently
brake to a stop
-- well off the road if possible.
If a tire goes flat, the next part shows how to use your
jacking equipment to change a flat tire safely.
Changing a Flat Tire
If a tire goes flat, avoid further tire and wheel damage
by driving slowly to a level place. Turn on your hazard
warning flashers.
CAUTION:
Changing a tire can cause an injury. The vehicle
can slip off the jack and roll over you or other
people. You and they could be badly injured.
Find a level place to change your tire. To help
prevent the vehicle from moving:
1. Set the parking brake firmly.
2. Put an automatic transaxle shift lever in
PARK (P), or shift a manual transaxle to
FIRST (1) or REVERSE (R).
3. Turn off the engine.
To be even more certain the vehicle won't move,
you can put blocks at the front and rear of the
tire farthest away from the one being changed.
That would be the tire on the other side of the
vehicle, at the opposite end.
Page 227 of 343
5-19
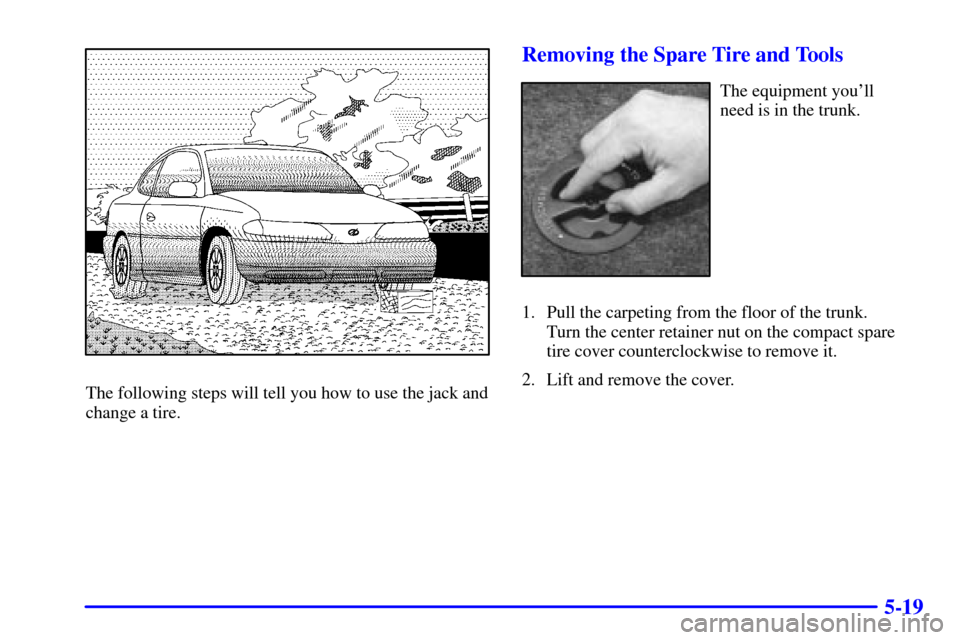
The following steps will tell you how to use the jack and
change a tire.
Removing the Spare Tire and Tools
The equipment you'll
need is in the trunk.
1. Pull the carpeting from the floor of the trunk.
Turn the center retainer nut on the compact spare
tire cover counterclockwise to remove it.
2. Lift and remove the cover.
Page 228 of 343
5-20
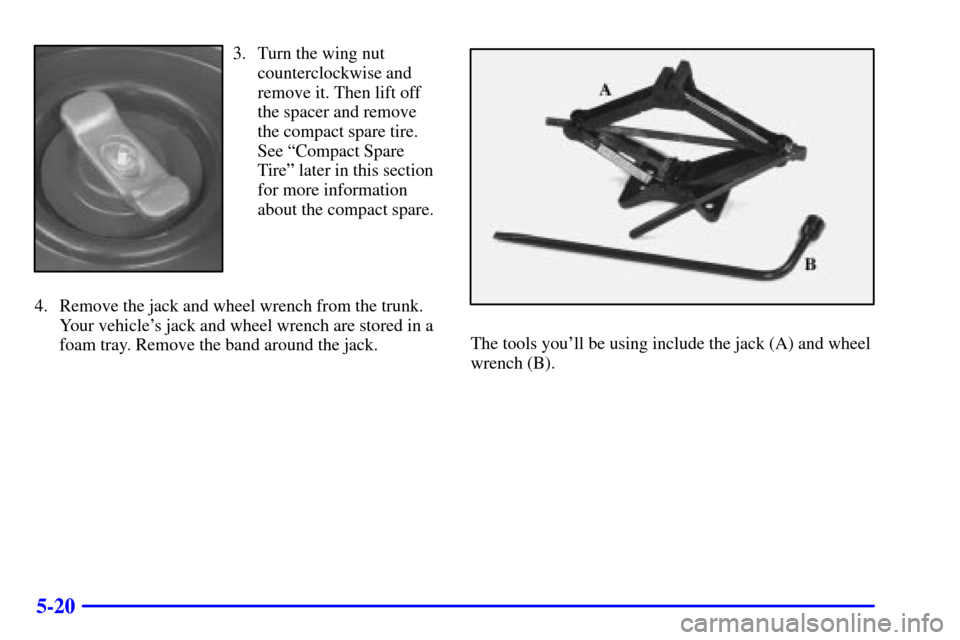
3. Turn the wing nut
counterclockwise and
remove it. Then lift off
the spacer and remove
the compact spare tire.
See ªCompact Spare
Tireº later in this section
for more information
about the compact spare.
4. Remove the jack and wheel wrench from the trunk.
Your vehicle's jack and wheel wrench are stored in a
foam tray. Remove the band around the jack.
The tools you'll be using include the jack (A) and wheel
wrench (B).
Page 231 of 343
5-23
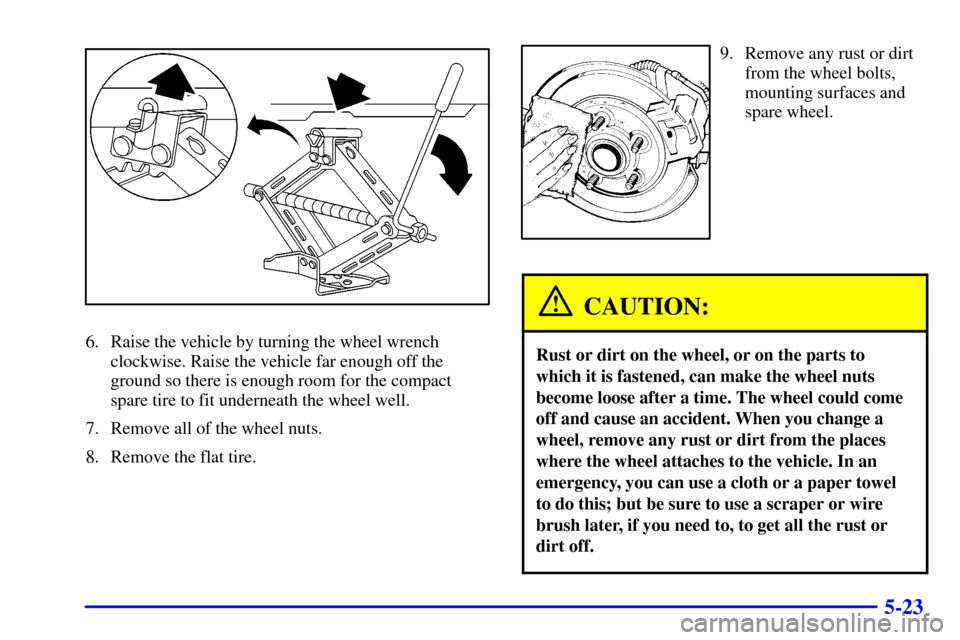
6. Raise the vehicle by turning the wheel wrench
clockwise. Raise the vehicle far enough off the
ground so there is enough room for the compact
spare tire to fit underneath the wheel well.
7. Remove all of the wheel nuts.
8. Remove the flat tire.
9. Remove any rust or dirt
from the wheel bolts,
mounting surfaces and
spare wheel.
CAUTION:
Rust or dirt on the wheel, or on the parts to
which it is fastened, can make the wheel nuts
become loose after a time. The wheel could come
off and cause an accident. When you change a
wheel, remove any rust or dirt from the places
where the wheel attaches to the vehicle. In an
emergency, you can use a cloth or a paper towel
to do this; but be sure to use a scraper or wire
brush later, if you need to, to get all the rust or
dirt off.
Page 232 of 343
5-24
CAUTION:
Never use oil or grease on studs or nuts. If you
do, the nuts might come loose. Your wheel could
fall off, causing a serious accident.
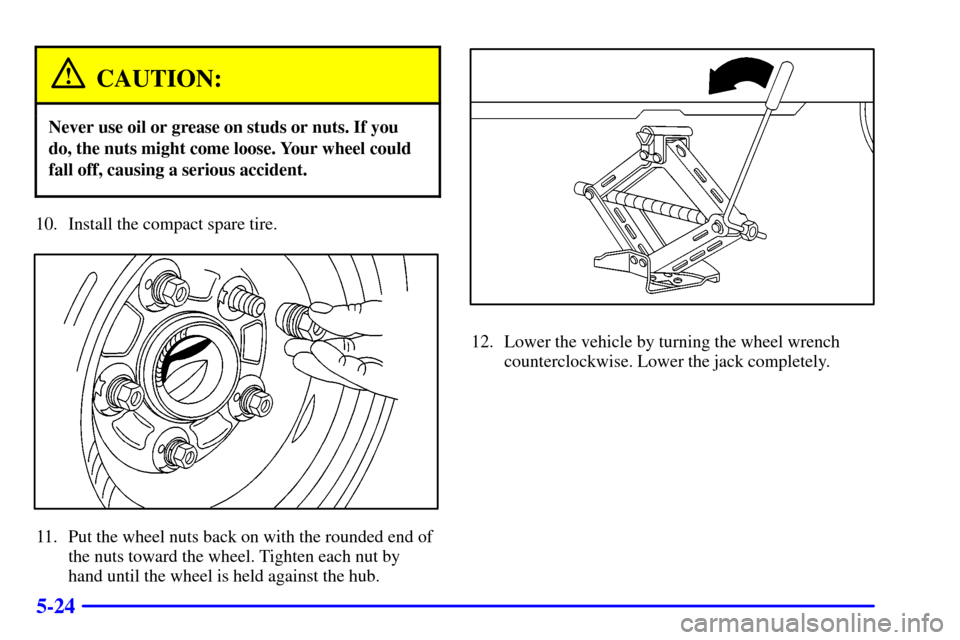
10. Install the compact spare tire.
11. Put the wheel nuts back on with the rounded end of
the nuts toward the wheel. Tighten each nut by
hand until the wheel is held against the hub.
12. Lower the vehicle by turning the wheel wrench
counterclockwise. Lower the jack completely.
Page 244 of 343
6-7
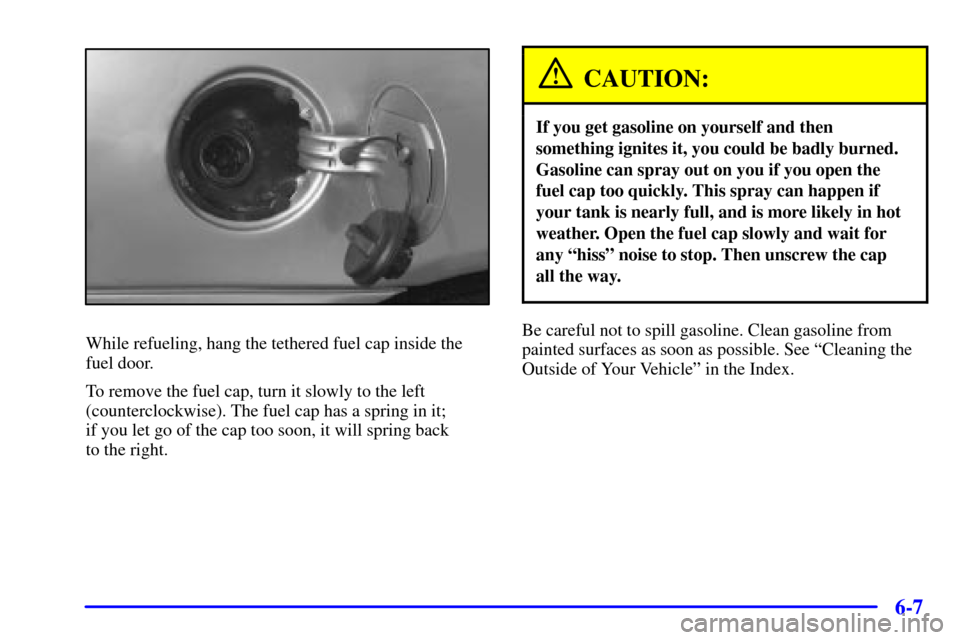
While refueling, hang the tethered fuel cap inside the
fuel door.
To remove the fuel cap, turn it slowly to the left
(counterclockwise). The fuel cap has a spring in it;
if you let go of the cap too soon, it will spring back
to the right.
CAUTION:
If you get gasoline on yourself and then
something ignites it, you could be badly burned.
Gasoline can spray out on you if you open the
fuel cap too quickly. This spray can happen if
your tank is nearly full, and is more likely in hot
weather. Open the fuel cap slowly and wait for
any ªhissº noise to stop. Then unscrew the cap
all the way.
Be careful not to spill gasoline. Clean gasoline from
painted surfaces as soon as possible. See ªCleaning the
Outside of Your Vehicleº in the Index.