2002 NISSAN SENTRA reset
[x] Cancel search: resetPage 49 of 235

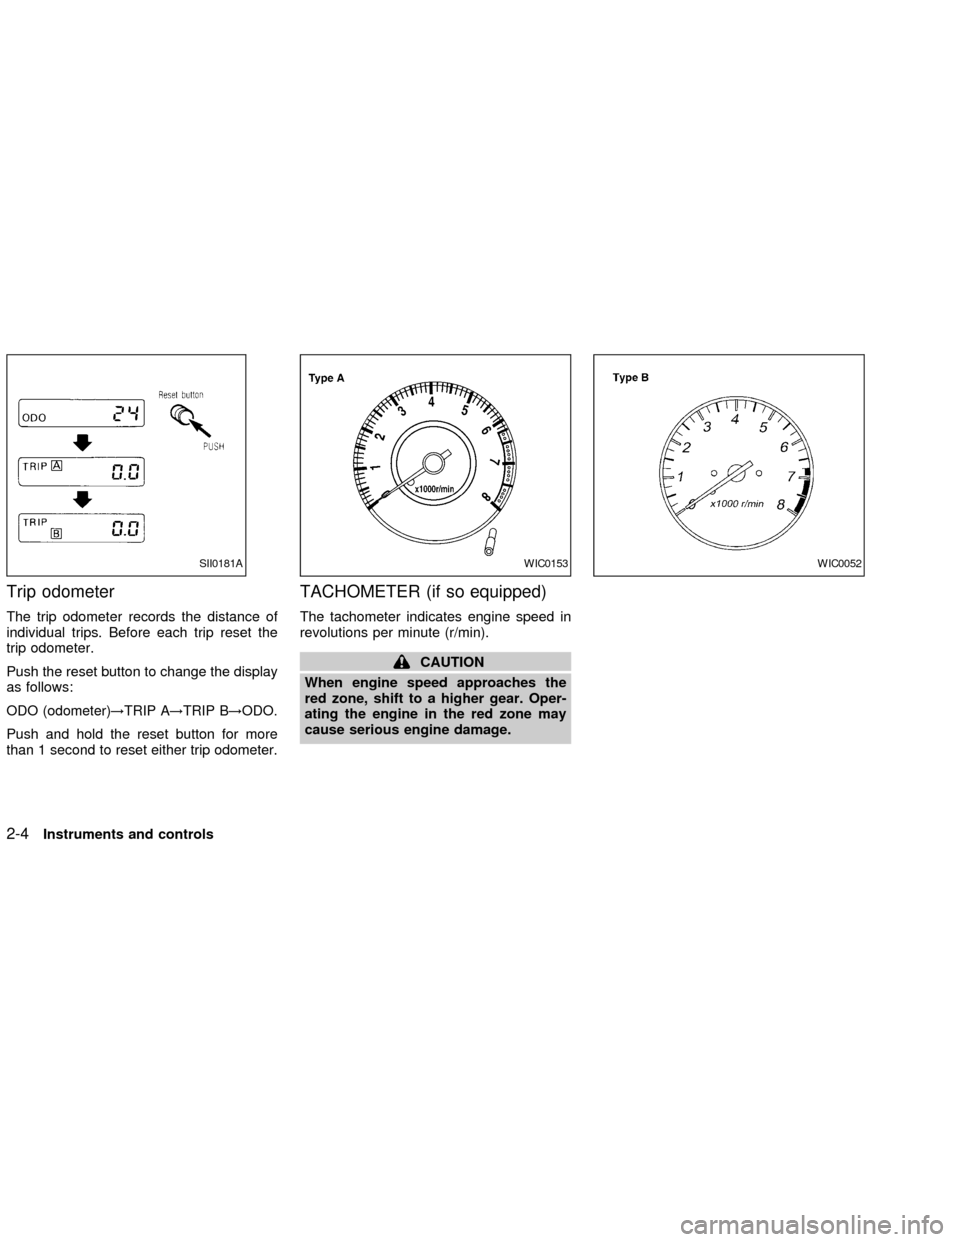
Trip odometer
The trip odometer records the distance of
individual trips. Before each trip reset the
trip odometer.
Push the reset button to change the display
as follows:
ODO (odometer)!TRIP A!TRIP B!ODO.
Push and hold the reset button for more
than 1 second to reset either trip odometer.
TACHOMETER (if so equipped)
The tachometer indicates engine speed in
revolutions per minute (r/min).
CAUTION
When engine speed approaches the
red zone, shift to a higher gear. Oper-
ating the engine in the red zone may
cause serious engine damage.
SII0181AWIC0153WIC0052
2-4Instruments and controls
ZX
Page 71 of 235

The sunroof only operates with the ignition
key in the ON position.
NOTE:
If the battery is discharged or is discon-
nected, the sunroof may not operate cor-
rectly, and must be reset.
From any sunroof position (full open, par-
tially open, closed, partially vented and
vented), push and hold the button in the
forward position until the sunroof vents in
the full-up position. This resets the sunroof
motor memory and now the sunroof will
operate correctly.
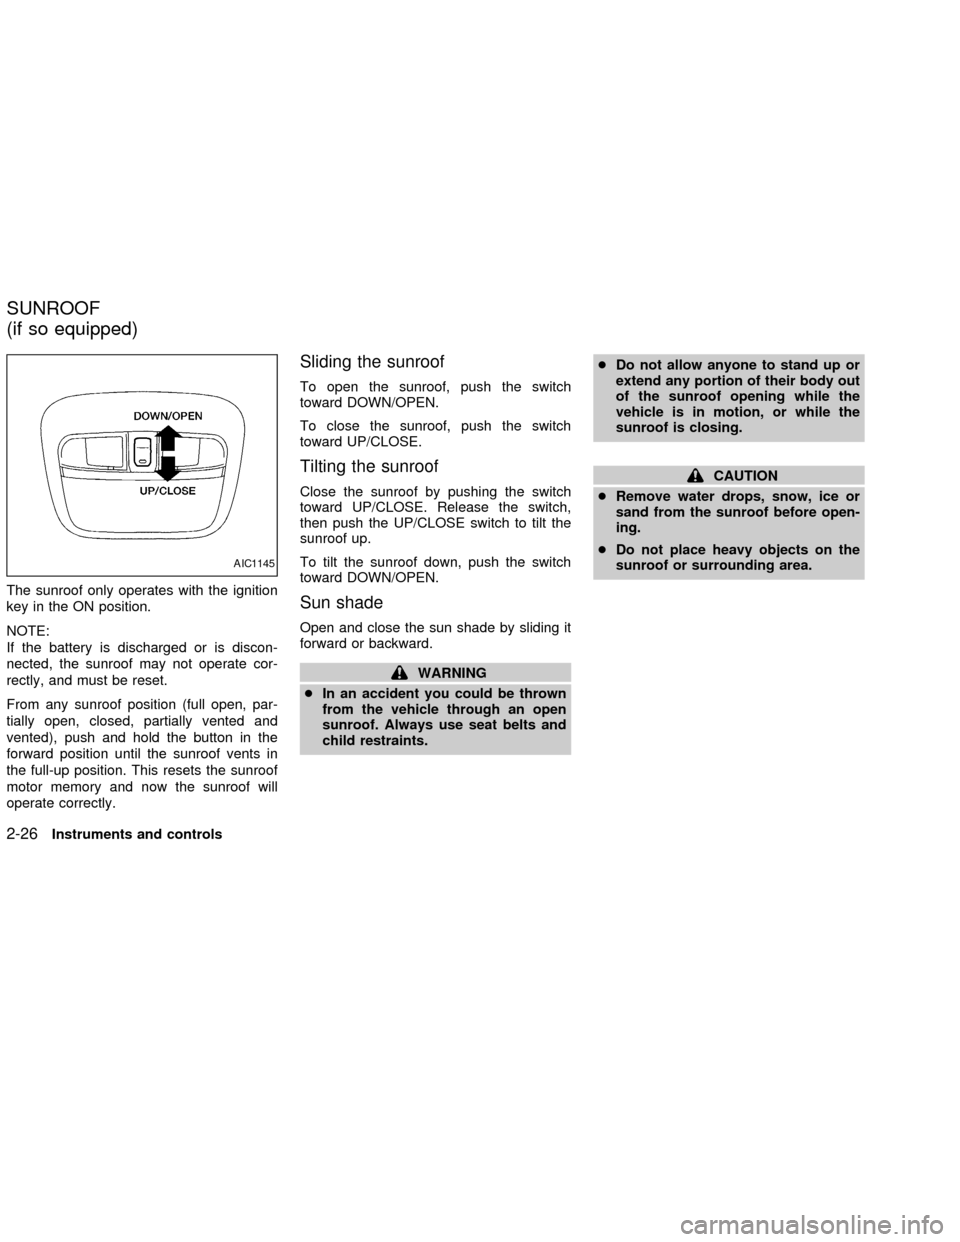
Sliding the sunroof
To open the sunroof, push the switch
toward DOWN/OPEN.
To close the sunroof, push the switch
toward UP/CLOSE.
Tilting the sunroof
Close the sunroof by pushing the switch
toward UP/CLOSE. Release the switch,
then push the UP/CLOSE switch to tilt the
sunroof up.
To tilt the sunroof down, push the switch
toward DOWN/OPEN.
Sun shade
Open and close the sun shade by sliding it
forward or backward.
WARNING
cIn an accident you could be thrown
from the vehicle through an open
sunroof. Always use seat belts and
child restraints.cDo not allow anyone to stand up or
extend any portion of their body out
of the sunroof opening while the
vehicle is in motion, or while the
sunroof is closing.
CAUTION
cRemove water drops, snow, ice or
sand from the sunroof before open-
ing.
cDo not place heavy objects on the
sunroof or surrounding area.
AIC1145
SUNROOF
(if so equipped)
2-26Instruments and controls
ZX
Page 106 of 235

Use theandbuttons for manual
tuning. To move quickly through the chan-
nels, hold either of the tune buttons down
for more than 0.5 seconds.
SEEK/SCAN button
SEEK tuning
Push the SEEK/SCAN tuning button
for less than 1.5 seconds. SEEK tuning
begins from high to low frequencies or low
to high frequencies, depending on which
button is pressed, and stops at the next
broadcasting station. Once the highest
broadcasting station is reached, the radio
continues in the SEEK mode at the lowest
broadcasting station.
SCAN tuning
Push the SEEK/SCAN tuning button
for more than 1.5 seconds. SCAN illu-
minates in the display. SCAN tuning begins
from high to low frequencies or low to high
frequencies, depending on which button is
pressed. SCAN tuning stops at each broad-
casting station for five seconds. Pushing the
button again during this five second period
stops SCAN tuning and the radio remains
tuned to that station.Station memory operations
Six stations can be set for the AM band.
Twelve stations can be set for the FM band
(six for FM1, six for FM2).1. Push to select AM, FM1, or FM2. The
selected band illuminates in the display.
2. Tune to the desired station.
3. Push the desired station select button for
more than 1.5 seconds. For example, in
the illustrations, ch2 is to be memorized.
The radio mutes when the select button
is pushed.
4. When the indicator illuminates in the
display and the sound resumes, memo-
rizing is complete.
5. Other station select buttons can be set in
the same manner.
If the battery cable is disconnected, or if the
radio fuse opens, the radio memory is can-
celled. In that case, reset the desired stations.
Compact disc (CD) player operation
Turn the ignition key to the ACC or ON
position, and carefully insert the compact
disc into the slot with the label side up. The
compact disc is automatically pulled into the
slot and starts to play.
If the radio is already operating, it automati-
cally turns off and the compact disc begins
to play.LHA0034
Heater, air conditioner and audio systems4-15
ZX
Page 126 of 235

depress the clutch pedal and turn
the main switch off immediately.
Failure to do so may cause engine
damage.
CRUISE CONTROL
OPERATIONS
The cruise control allows driving at a speed
between 25 to 90 MPH (40 to 144 km/h)
without keeping your foot on the accelerator
pedal.
To turn on the cruise control,push the
CRUISE ONzOFF switch. The CRUISE
indicator light in the instrument panel comes
on.
To set cruising speed,accelerate your
vehicle to the desired speed, push the
COAST/SET switch and release it. The SET
light in the instrument panel comes on. Take
your foot off the accelerator pedal. Your
vehicle maintains the set speed.
cTo pass another vehicle,depress the
accelerator pedal. When you release the
pedal, the vehicle returns to the previ-
ously set speed.
cThe vehicle may not maintain the setspeed when going up or down steep
hills. If this happens, drive without the
cruise control.
To cancel the preset speed,use one of
the following three methods.
a) Push the CANCEL button; the SET light
in the instrument panel goes out.
b) Tap the brake pedal; the SET light in the
instrument panel goes out.
c) Turn the main switch off. Both the
CRUISE indicator and SET lights in the
instrument panel go out. The preset
speed is deleted from memory.
The cruise control will also automatically
cancel and the SET light in the instrument
panel goes out if:
cyou depress the brake pedal while push-
ing the ACCEL/RES or SET/COAST but-
tons. The preset speed is deleted from
memory.
cthe vehicle slows down more than 8 MPH
(13 km/h) below the set speed.
cyou depress the clutch pedal (manual
transmission), or move the shift selectorlever to N (Neutral) (automatic transmis-
sion).
To reset at a faster cruising speed,use
one of the following three methods.
a) Depress the accelerator pedal. When the
vehicle attains the desired speed, push
and release the SET/COAST switch.
b) Push and hold the ACCEL/RES set
switch. When the vehicle attains the
speed you desire, release the switch.
c) Push and release the ACCEL/RES set
switch. Each time you do this, the set
speed increases by about 1 MPH (1.6
km/h).
To reset at a slower cruising speed,use
one of the following three methods.
a) Lightly tap the brake pedal. When the
vehicle attains the desired speed, push
the SET/COAST switch and release it.
b) Push and hold the SET/COAST switch.
Release the switch when the vehicle
slows down to the desired speed.
c) Push and release the SET/COAST
switch. Each time you do this, the set
Starting and driving
5-15
ZX
Page 127 of 235

speed decreases by about 1 MPH (1.6
km/h).
To resume the preset speed,push and
release the ACCEL/RES switch. The ve-
hicle returns to the last set cruising speed
when the vehicle speed is over 25 MPH (40
km/h).During the first 1,000 miles (1,600 km),
follow these recommendations for the future
reliability and economy of your new vehicle.
cAvoid driving for long periods at constant
speed, either fast or slow.
cDo not accelerate at full throttle in any
gear.
cAvoid quick starts.
cAvoid hard braking as much as possible.
cDo not tow a trailer for the first 500 miles
(800 km).
cAccelerate slowly and smoothly. Main-
tain cruising speeds with a constant ac-
celerator position.
cDrive at moderate speeds on the high-
way. Driving at high speed lowers fuel
economy.
cAvoid unnecessary stopping and brak-
ing. Maintain a safe distance behind
other vehicles.
cUse a proper gear range which suits road
conditions. On level roads, shift into high
gear as soon as possible.
cAvoid unnecessary engine idling.
SD1001M
BREAK-IN SCHEDULE INCREASING FUEL
ECONOMY
5-16Starting and driving
ZX
Page 224 of 235

Due to legal requirements in some states
and Canadian provinces, your vehicle may
be required to be in the ready condition for
an Inspection/Maintenance (I/M) test of the
emission control system.
The vehicle is set to the ready condition
when it is driven through certain driving pat-
terns. Usually, the ready condition can be
obtained by ordinary usage of the vehicle.
If a powertrain system component is repaired
or the battery is disconnected, the vehicle
may be reset to a not ready condition. Before
taking the I/M test, drive the vehicle through
the following pattern to set the vehicle to the
ready condition. If you cannot or do not want
to perform the driving pattern, an authorized
NISSAN dealer can conduct it for you.
WARNING
Always drive the vehicle in a safe and
prudent manner according to traffic
conditions and obey all traffic laws.
1. Start the engine when the engine coolant
temperature gauge needle points to C.
Allow the engine to idle until the gauge
needle points between the C and H (nor-
mal operating temperature).2. Accelerate the vehicle to 55 mph (88
km/h), then quickly release the accelera-
tor pedal completely and keep it released
for at least 6 seconds.
3. Quickly depress the accelerator pedal for
a moment, then drive the vehicle at a
speed of 53 to 60 mph (86 to 96 km/h) for
at least 5 minutes.
4. Stop the vehicle.
5. Accelerate the vehicle to 35 mph (55
km/h) and maintain the speed for 20
seconds.
6. Repeat steps four through five at least
three times.
7. Accelerate the vehicle to 55 mph (88
km/h) and maintain the speed for at least
3 minutes.
8. Stop the vehicle [shift selector lever in
the P (Park) or N (Neutral) position].
9. Rev the engine up between 2,500 and
3,500 rpm and hold it for 3 consecutive
minutes, then release the accelerator
pedal completely.
10. Wait 5 seconds at idle.
11. Rev the engine up between 2,000 and3,000 rpm and maintain it for 5 consecu-
tive minutes.
12. Stop the vehicle and turn the engine off.
13. Repeat steps one through twelve at
least one more time.
If step one through seven is interrupted,
repeat the preceding step. Any safe driving
mode is acceptable between steps. Do not
stop the engine until step seven is com-
pleted.
READINESS FOR
INSPECTION/MAINTENANCE
(I/M) TEST (US only)
Technical and consumer information9-21
ZX