2002 NISSAN SENTRA clutch
[x] Cancel search: clutchPage 118 of 235

1. Apply the parking brake.
2.Automatic transmission:
Move the shift selector lever to P (Park)
or N (Neutral). (P is recommended.)
The shift selector lever cannot be
moved out of P (Park) and into any of
the other gear positions if the ignition
key is turned to LOCK or if the key is
removed.
The starter is designed not to operate
if the shift selector lever is in one of
the driving positions.
Manual transmission:
Move the selector lever to N (Neutral),
and depress the clutch pedal to the floor.
The starter is designed to operate
only when the clutch pedal is fully
depressed.
3. Crank the enginewith your foot off the
accelerator pedalby turning the ignition
key to START. Release the key when the
engine starts. If the engine starts, but
fails to run, repeat the above procedure.
Ð If the engine is very hard to start in
extremely cold or hot weather, de-press and hold the accelerator pedal
to help start the engine.
Ð In the summer, when restarting the
engine within 30 minutes after it has
been stopped, keep the accelerator
pedal fully depressed while starting.
CAUTION
Do not operate the starter for more than
15 seconds at a time. If the engine does
not start, turn the key off and wait 10
seconds before cranking again, other-
wise the starter could be damaged.
4.Warm-up
Allow the engine to idle for at least 30
seconds after starting. Drive at moderate
speed for a short distance first, especially
in cold weather.
AUTOMATIC TRANSMISSION
(if so equipped)
WARNING
cDo not depress the accelerator pedal
while shifting from P (Park) or N
(Neutral) to R (Reverse), D (Drive), 2
or 1. Always depress the brake pedal
until shifting is completed. Failure to
do so could cause you to lose con-
trol and have an accident.
cCold engine idle speed is high, so
use caution when shifting into a for-
ward or reverse gear before the en-
gine has warmed up.
cNever shift to P (Park) or R (Reverse)
while the vehicle is moving. This
could cause an accident.
CAUTION
cWhen stopping the vehicle on an
uphill grade, do not hold the vehicle
by depressing the accelerator pedal.
The foot brake should be used for
this purpose.
STARTING THE ENGINE DRIVING THE VEHICLE
Starting and driving5-7
ZX
Page 123 of 235

CAUTION
cDo not rest your foot on the clutch
pedal while driving. This may cause
clutch damage.
cStop your vehicle completely before
shifting into R (Reverse).
cWhen the vehicle is stopped with the
engine running (for example, at a
stop light), shift to N (Neutral) and
release the clutch pedal with the foot
brake applied.
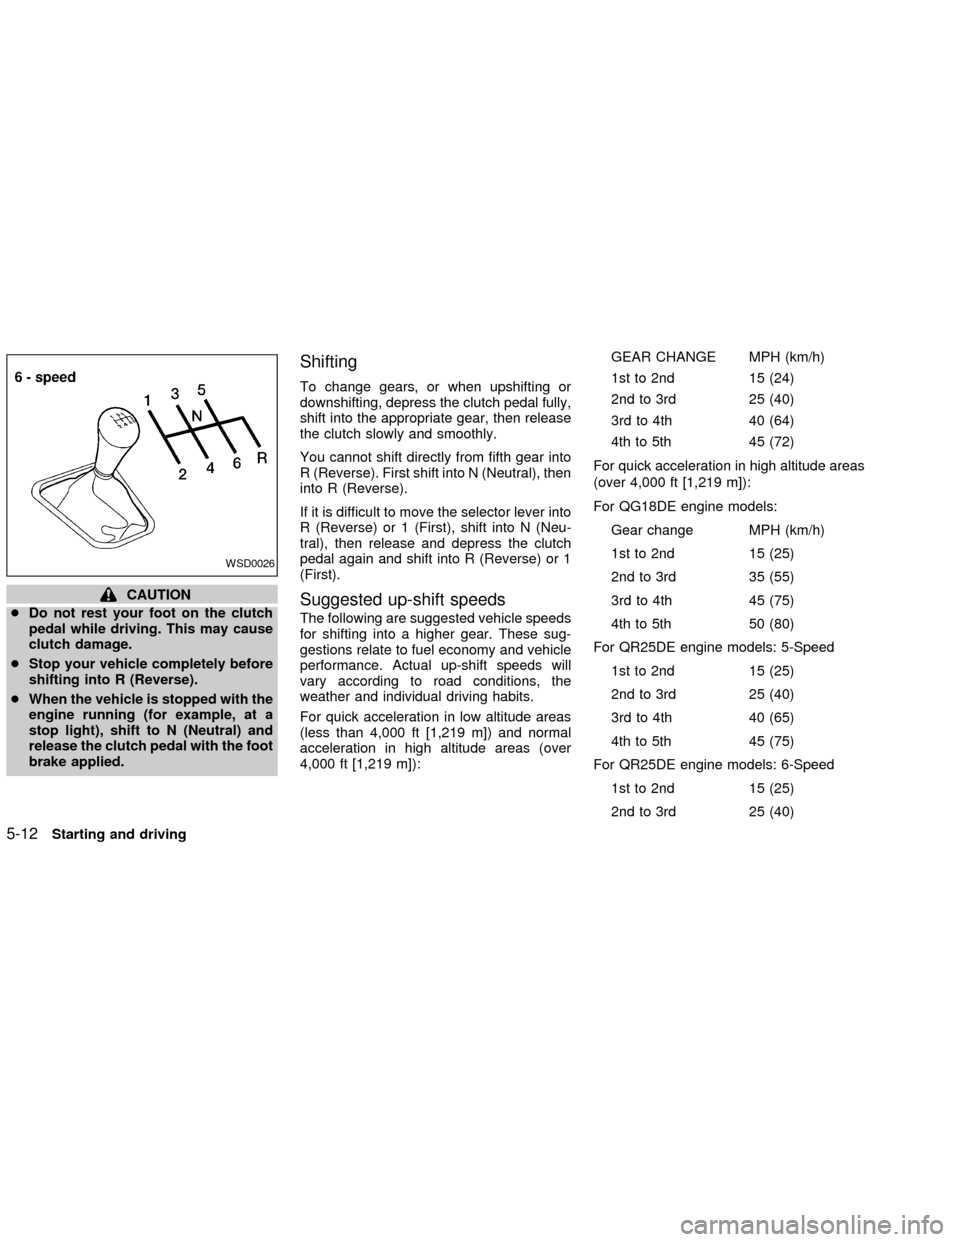
Shifting
To change gears, or when upshifting or
downshifting, depress the clutch pedal fully,
shift into the appropriate gear, then release
the clutch slowly and smoothly.
You cannot shift directly from fifth gear into
R (Reverse). First shift into N (Neutral), then
into R (Reverse).
If it is difficult to move the selector lever into
R (Reverse) or 1 (First), shift into N (Neu-
tral), then release and depress the clutch
pedal again and shift into R (Reverse) or 1
(First).
Suggested up-shift speeds
The following are suggested vehicle speeds
for shifting into a higher gear. These sug-
gestions relate to fuel economy and vehicle
performance. Actual up-shift speeds will
vary according to road conditions, the
weather and individual driving habits.
For quick acceleration in low altitude areas
(less than 4,000 ft [1,219 m]) and normal
acceleration in high altitude areas (over
4,000 ft [1,219 m]):GEAR CHANGE MPH (km/h)
1st to 2nd 15 (24)
2nd to 3rd 25 (40)
3rd to 4th 40 (64)
4th to 5th 45 (72)
For quick acceleration in high altitude areas
(over 4,000 ft [1,219 m]):
For QG18DE engine models:
Gear change MPH (km/h)
1st to 2nd 15 (25)
2nd to 3rd 35 (55)
3rd to 4th 45 (75)
4th to 5th 50 (80)
For QR25DE engine models: 5-Speed
1st to 2nd 15 (25)
2nd to 3rd 25 (40)
3rd to 4th 40 (65)
4th to 5th 45 (75)
For QR25DE engine models: 6-Speed
1st to 2nd 15 (25)
2nd to 3rd 25 (40)
WSD0026
5-12Starting and driving
ZX
Page 125 of 235

To engage:pull the lever up.
To release:
1. Firmly apply the foot brake.
2. Manual transmission models:
Place the selector lever in the N (Neutral)
position.
Automatic transmission models:
Move the shift selector lever to the P
(Park) position.
3. While pulling up on the lever slightly,
push the button and lower completely.
4. Before driving, be sure the brake warning
light goes out.PRECAUTIONS ON CRUISE
CONTROL
cIf the cruise control system malfunctions,
it cancels automatically. The SET light in
the instrument panel then blinks to warn
the driver.
cIf the SET light in the instrument panel
blinks, turn the CRUISE ONzOFF switch
off and have the system checked by your
NISSAN dealer.
cThe SET light in the instrument panel
may blink when the CRUISE ONzOFF
switch is turned ON while pushing theACCEL/RES, SET/COAST, or CANCEL
switch (located on the steering wheel).
To properly set the cruise control system,
perform the following steps in the order
indicated.
WARNING
Do not use the cruise control when
driving under the following conditions:
cWhen it is not possible to keep the
vehicle at a set speed.
cIn heavy traffic or in traffic that var-
ies in speed.
cOn winding or hilly roads.
cOn slippery roads (rain, snow, ice,
etc.).
cIn very windy areas.
Doing so could cause a loss of vehicle
control and result in an accident.
CAUTION
On manual transmission models, do
not shift into N (Neutral) without de-
pressing the clutch pedal when the
cruise control is set. Should this occur,
ASD0603WSD0009
CRUISE CONTROL
(if so equipped)
5-14Starting and driving
ZX
Page 126 of 235

depress the clutch pedal and turn
the main switch off immediately.
Failure to do so may cause engine
damage.
CRUISE CONTROL
OPERATIONS
The cruise control allows driving at a speed
between 25 to 90 MPH (40 to 144 km/h)
without keeping your foot on the accelerator
pedal.
To turn on the cruise control,push the
CRUISE ONzOFF switch. The CRUISE
indicator light in the instrument panel comes
on.
To set cruising speed,accelerate your
vehicle to the desired speed, push the
COAST/SET switch and release it. The SET
light in the instrument panel comes on. Take
your foot off the accelerator pedal. Your
vehicle maintains the set speed.
cTo pass another vehicle,depress the
accelerator pedal. When you release the
pedal, the vehicle returns to the previ-
ously set speed.
cThe vehicle may not maintain the setspeed when going up or down steep
hills. If this happens, drive without the
cruise control.
To cancel the preset speed,use one of
the following three methods.
a) Push the CANCEL button; the SET light
in the instrument panel goes out.
b) Tap the brake pedal; the SET light in the
instrument panel goes out.
c) Turn the main switch off. Both the
CRUISE indicator and SET lights in the
instrument panel go out. The preset
speed is deleted from memory.
The cruise control will also automatically
cancel and the SET light in the instrument
panel goes out if:
cyou depress the brake pedal while push-
ing the ACCEL/RES or SET/COAST but-
tons. The preset speed is deleted from
memory.
cthe vehicle slows down more than 8 MPH
(13 km/h) below the set speed.
cyou depress the clutch pedal (manual
transmission), or move the shift selectorlever to N (Neutral) (automatic transmis-
sion).
To reset at a faster cruising speed,use
one of the following three methods.
a) Depress the accelerator pedal. When the
vehicle attains the desired speed, push
and release the SET/COAST switch.
b) Push and hold the ACCEL/RES set
switch. When the vehicle attains the
speed you desire, release the switch.
c) Push and release the ACCEL/RES set
switch. Each time you do this, the set
speed increases by about 1 MPH (1.6
km/h).
To reset at a slower cruising speed,use
one of the following three methods.
a) Lightly tap the brake pedal. When the
vehicle attains the desired speed, push
the SET/COAST switch and release it.
b) Push and hold the SET/COAST switch.
Release the switch when the vehicle
slows down to the desired speed.
c) Push and release the SET/COAST
switch. Each time you do this, the set
Starting and driving
5-15
ZX
Page 155 of 235

8 Maintenance and do-it-yourself
Maintenance requirements .....................................8-2
General maintenance .............................................8-3
Explanation of general maintenance
items ..................................................................8-3
Maintenance precautions .......................................8-5
Engine compartment check locations -
QG engine .............................................................8-7
Engine compartment check locations -
QR engine .............................................................8-8
Engine cooling system ...........................................8-9
Checking engine coolant level ..........................8-9
Changing engine coolant ................................8-10
Engine oil .............................................................8-12
Checking engine oil level ................................8-12
Changing engine oil ........................................8-13
Changing engine oil filter.................................8-14
Automatic transmission fluid ................................8-15
Temperature conditions for checking ..............8-16
Power steering fluid..............................................8-17
Brake and clutch fluid...........................................8-18
Brake fluid........................................................8-18
Clutch fluid .......................................................8-18Window washer fluid ............................................8-19
Battery ..................................................................8-19
Jump starting ...................................................8-21
Drive belts ............................................................8-22
Spark plug ............................................................8-23
Replacing spark plugs .....................................8-23
Air cleaner ............................................................8-24
Cabin air filter (if so equipped) ........................8-24
Windshield wiper blades ......................................8-28
Cleaning ..........................................................8-28
Replacing .........................................................8-28
Parking brake and brake pedal ............................8-29
Checking park brake .......................................8-29
Checking brake pedal .....................................8-30
Brake booster ..................................................8-30
Clutch pedal .........................................................8-31
Checking clutch pedal .....................................8-31
Fuses ....................................................................8-31
Engine compartment .......................................8-31
Passenger compartment .................................8-34
Keyfob battery replacement .................................8-35
Lights ....................................................................8-36
ZX
Page 159 of 235

warning lights and chimes are operating
properly.
Windshield wiper and washer*Check that
the wipers and washer operate properly and
that the wipers do not streak.
Windshield defrosterCheck that the air
comes out of the defroster outlets properly
and in sufficient quantity when operating the
heater or air conditioner.
Steering wheelCheck for changes in the
steering conditions, such as excessive free-
play, hard steering or strange noises.
SeatsCheck seat position controls such as
seat adjusters, seatback recliner, etc. to
ensure they operate smoothly and all
latches lock securely in every position.
Check that the head restraints move up and
down smoothly and the locks (if so
equipped) hold securely in all latched posi-
tions.
Seat beltsCheck that all parts of the seat
belt system (e.g., buckles, anchors, adjust-
ers and retractors) operate properly and
smoothly, and are installed securely. Check
the belt webbing for cuts, fraying, wear or
damage.Accelerator pedalCheck the pedal for
smooth operation and make sure the pedal
does not catch or require uneven effort.
Keep the floor mat away from the pedal.
Clutch pedal*Make sure the pedal oper-
ates smoothly and check that it has the
proper free travel.
BrakesCheck that the brakes do not pull
the vehicle to one side when applied.
Brake pedal and booster*Check the pedal
for smooth operation and make sure it has
the proper distance under it when de-
pressed fully. Check the brake booster func-
tion. Be certain to keep the floor mat away
from the pedal.
Parking brake*Check that the lever has
the proper travel and confirm that your
vehicle is held securely on a fairly steep hill
with only the parking brake applied.
Automatic transmission P (Park) posi-
tion mechanismCheck that the lock re-
lease button on the selector lever operates
properly and smoothly. On a fairly steep hill
check that your vehicle is held securely with
the selector lever in the P position without
applying any brakes.Under the hood and vehicle
The maintenance items listed here should
be checked periodically (e.g., each time you
check the engine oil or refuel).
Additional information on the following
items with an ``*'' is found later in this
section.
Windshield washer fluid*Check that there
is adequate fluid in the reservoir.
Engine oil level*Check the level after
parking the vehicle on a level surface with
the engine off. Wait a few minutes for the oil
to drain back into the oil pan.
Brake and clutch fluid levels*Make sure
that the brake and clutch fluid level is be-
tween the MIN and MAX lines on the reser-
voir.
Power steering fluid level* and lines
Check the level when the fluid is cold, with
the engine off. Check the lines for proper
attachment, leaks, cracks, etc.
Automatic transmission fluid level*
Check the level after putting the selector
lever in P with the engine idling at operating
temperature.
8-4Maintenance and do-it-yourself
ZX
Page 162 of 235

1. Engine oil filler cap
2. Spark plug caps
3. Brake fluid reservoir
4. Clutch fluid reservoir (M/T model)
5. Air Cleaner
6. Battery
7. Fuse/Fusible link holds
8. Radiator cap
9. Engine oil dipstick
10. Windshield washer fluid reservoir
11. Coolant reservoir
12. Power steering fluid reservoir
* Engine cover removed for clarity
WDI0024
ENGINE COMPARTMENT
CHECK LOCATIONS -
QG ENGINE
Maintenance and do-it-yourself8-7
ZX
Page 163 of 235

1. Engine oil filler cap
2. Spark plug caps
3. Brake fluid reservoir
4. Clutch fluid reservoir (M/T model)
5. Air Cleaner
6. Battery
7. Fuse/Fusible link holds
8. Radiator cap
9. Engine oil dipstick
10. Windshield washer fluid reservoir
11. Coolant reservoir
12. Power steering fluid reservoir
*Engine cover removed for clarity
LDI0108
ENGINE COMPARTMENT
CHECK LOCATIONS -
QR ENGINE
8-8Maintenance and do-it-yourself
ZX