2002 NISSAN QUEST warning light
[x] Cancel search: warning lightPage 142 of 294
2. Push and hold the memory seat and
mirror position 1 or position 2 button for
at least 3 seconds.
cThe indicator light will illuminate and re-
main illuminated until the position is pro-
grammed.
cAfter the position has been programmed
the indicator light will flash to indicate the
position is set.
The driver seat and/or outside mirrors must
be adjusted before programming position 1
or position 2.
Programming a keyfob
1. Move the driver seat and outside mirrors
by pressing the desired position 1 or
position 2 button.
2. Press and hold the same (position 1 or
position 2) button.
3. Within 10 seconds press the
button on
the keyfob.
The keyfob is now programmed for that
(position 1 or position 2) button.
After the keyfob has been programmed, the
memory seat and mirror button indicator
light will flash to indicate the keyfob isprogrammed. If the memory seat button is
pressed and held the indicator light will
remain illuminated for as long as the button
is held or 10 seconds which ever is shorter.
To remove a keyfob from the memory seat
system press and hold both memory seat
and mirror position buttons 1 and 2 and then
press the
button on the keyfob.
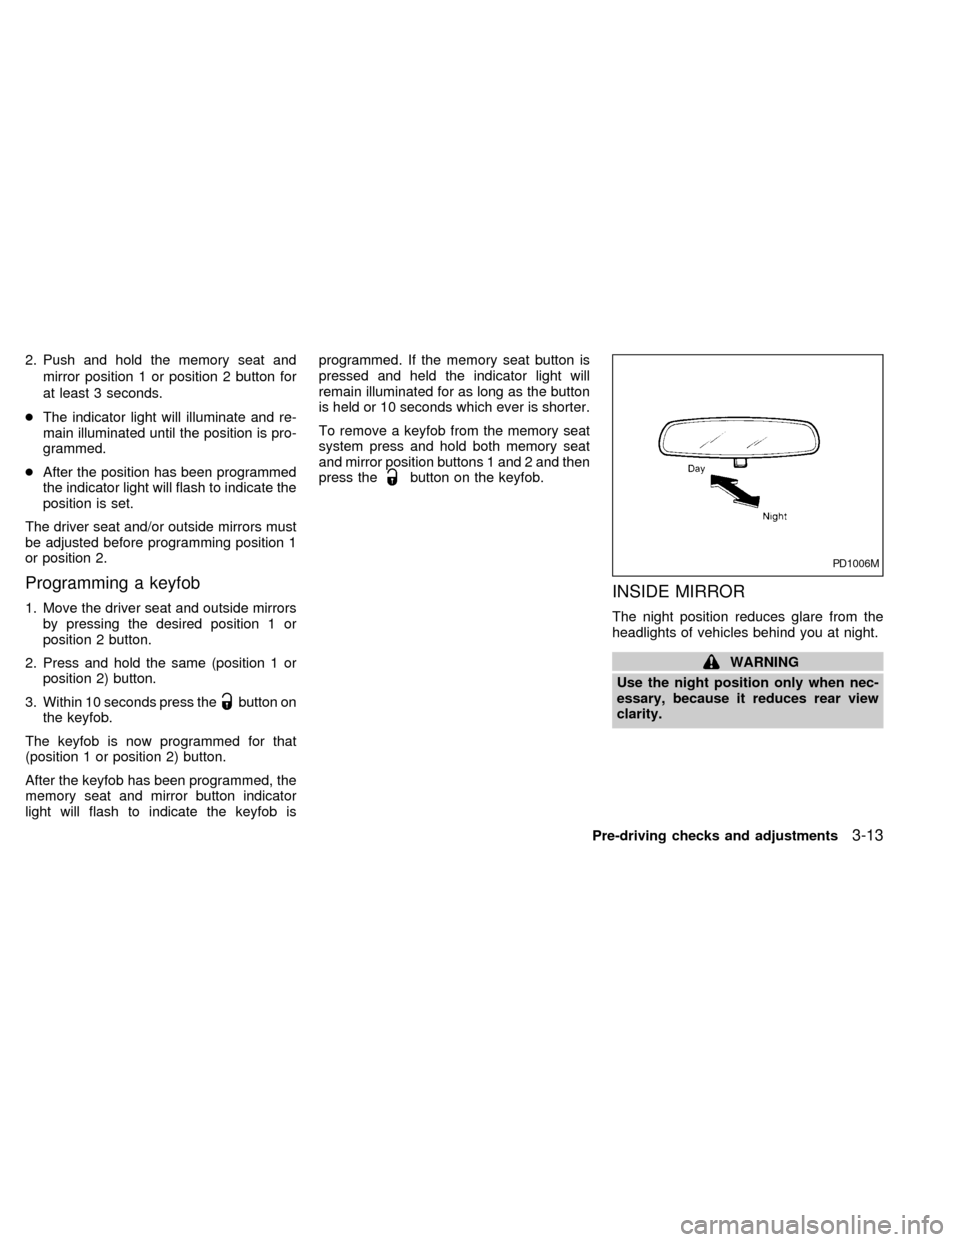
INSIDE MIRROR
The night position reduces glare from the
headlights of vehicles behind you at night.
WARNING
Use the night position only when nec-
essary, because it reduces rear view
clarity.
PD1006M
Pre-driving checks and adjustments3-13
ZX
Page 148 of 294

into the passenger compartment which
helps defog the windshield.
Bi-level heating/cooling
The bi-level mode directs air to the side and
center vents and to the front and rear floor
outlets.
Bi-level is also a cooling mode when high
sun load conditions are present with cool
temperatures.
With the A/C system in operation, this mode
can be used to cool the passenger's or
driver's feet under high temperature condi-
tions.
With the A/C system in operation under high
temperature conditions, improved cooling
can be obtained by moving the air control
dial to the MAX A/C position.
1. Move the air control dial to the
po-
sition.
2. Turn the fan control dial to the desired
position.
3. Move the temperature control dial to the
desired position.
Heating and defogging
This mode heats the interior and defogs the
windshield. This mode directs air to the
defroster and the front and rear floor outlets.
Rear passenger heat is provided by the
front system through floor outlets located
under both front seats.
1. Move the air control dial to the
po-
sition.
2. Turn the fan control dial to the desired
position.
3. Move the temperature control dial to the
desired position.
When the
position is selected, the
air conditioner automatically turns on
(however, the indicator light will not illu-
minate) if the outside temperature is
more than 45ÉF (7ÉC). This dehumidifies
the air which helps defog the windshield.
The air recirculation mode automatically
turns off, allowing outside air to be drawn
into the passenger compartment which
helps defog the windshield.
Operating tips
cClear snow and ice from the wiper
blades and air inlet in front of thewindshield. This improves heater op-
eration.
cTo defog the side windows more effec-
tively when in bi-level or ventilation
mode, close the center vent and direct
the side vents toward the side windows.
cA slight delay may be experienced when
changing air control buttons. The system
is not malfunctioning. It is only the sys-
tem motors and solenoids switching from
one outlet to another.
AIR CONDITIONER OPERATION
Start the engine, move the fan control dial to
the desired (one to four) position, and select
an air control position before pushing in the
air conditioner button to activate the air
conditioner. When the air conditioner is on,
cooling and dehumidifying functions are
added to the heater operation.
WARNING
The air conditioner cooling function op-
erates only when the engine is running.
Heater, air conditioner and audio systems4-5
ZX
Page 156 of 294
the instrument panel registers. The
indicator light comes on, and the
display window shows the set temperature.
The EATC heats the air if the selected
temperature is warmer than the outside air
coming into the vehicle. However, the air is
not cooled regardless of the temperature
setting, unless the A/C button is selected.
Push this button to get air from the front and
rear floor outlets and instrument panel ven-
tilators at the same time. The
indicator
light comes on and the display window
shows the set temperature. The EATC
heats the air if the selected temperature is
warmer than the outside air coming into the
vehicle. However, the air is not cooled re-
gardless of the temperature setting, unless
the A/C button is selected.
Push this button to direct airflow to the front
and rear floor outlets. Theindicator
light comes on, and the display window
shows the set temperature. The EATC
heats the air if the selected temperature is
warmer than the outside air coming into the
vehicle. However, the air is not cooled re-gardless of the temperature setting, unless
the A/C button is selected.
Push the MAX button to choose air recircu-
lation. In this mode the EATC system recir-
culates the air inside the vehicle rather than
drawing air from outside. Air is distributed
through the instrument panel ventilators
similar to
mode. Use this mode to rap-
idly cool the inside of the vehicle, or to
dehumidify the air inside the vehicle.
Activate the air conditioner in any of the
override modes listed above by pressing the
A/C button. The A/C indicator light comes
on to verify activation, and cooled air flows
from the vents. Fan speed continues to be
controlled by the EATC unless the fan
speed thumbwheel is used to override.English/metric mode
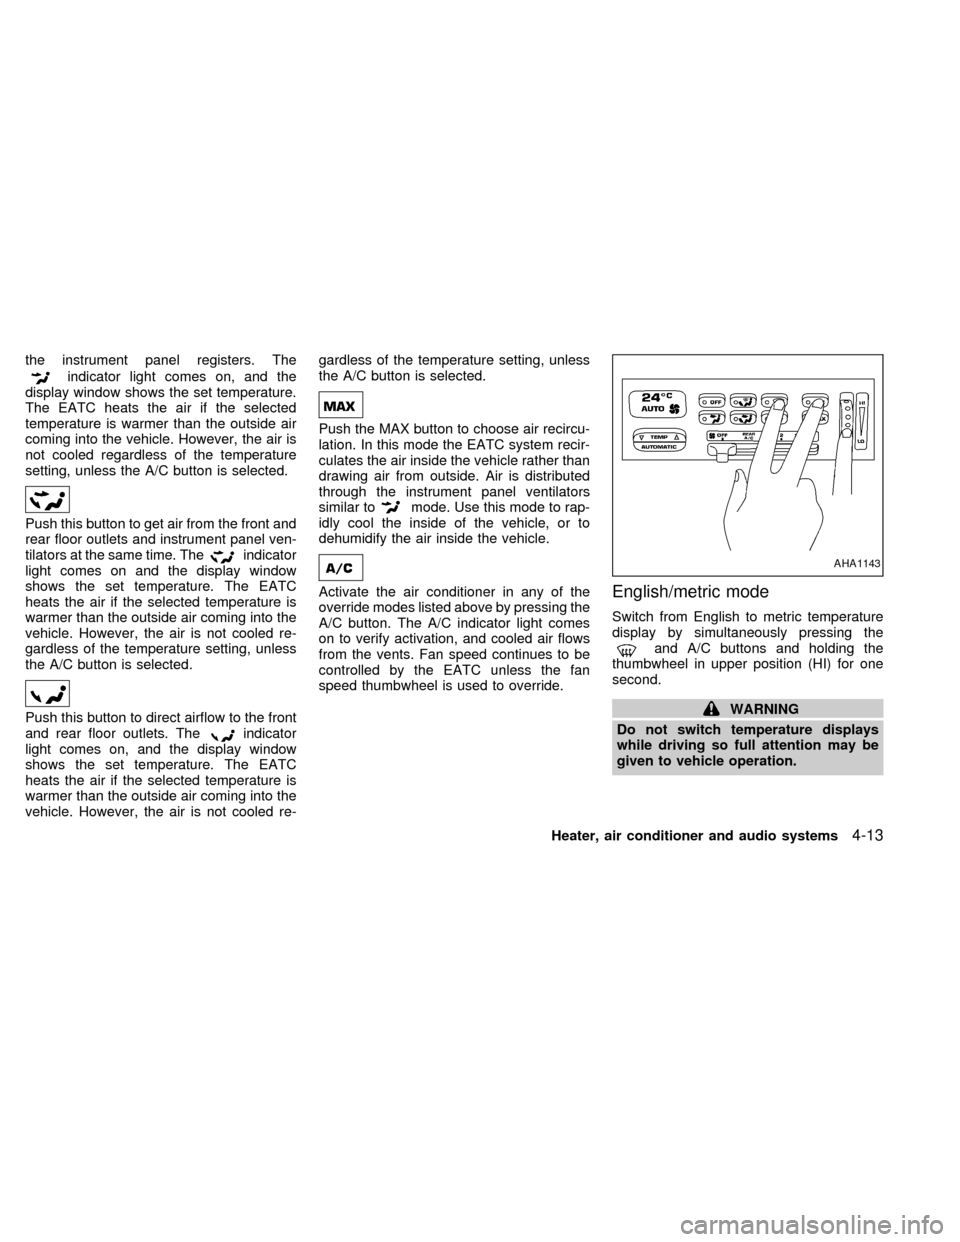
Switch from English to metric temperature
display by simultaneously pressing the
and A/C buttons and holding the
thumbwheel in upper position (HI) for one
second.
WARNING
Do not switch temperature displays
while driving so full attention may be
given to vehicle operation.
AHA1143
Heater, air conditioner and audio systems4-13
ZX
Page 193 of 294
vehicle is impaired by alcohol, drugs, or
some other physical condition.
The ignition switch includes an anti-theft
steering lock device. The key can only be
removed when the ignition switch is in the
LOCK position.
The ignition lock is designed so the key
cannot be turned to LOCK and removed
until the shift lever is moved to the P (Park)
position.
The shift lever is designed so it cannot be
moved out of P (Park) and into any of the
other gear positions if the ignition key is
turned to LOCK, or if the key is removed
from the switch.The shift lever can be moved out of P
(Park) only after the ignition switch is in
the ON position, and the foot brake pedal
is depressed.
To lock the steering wheel, turn the key
to the LOCK position. Remove the key.
To unlock the steering wheel, insert the
key and turn it gently while rotating the
steering wheel slightly right and left.
WARNING
Never remove or turn the key to the
LOCK position while driving. The steer-
ing wheel will lock. This may cause the
driver to lose control of the vehicle and
could result in serious vehicle damage
or personal injury.
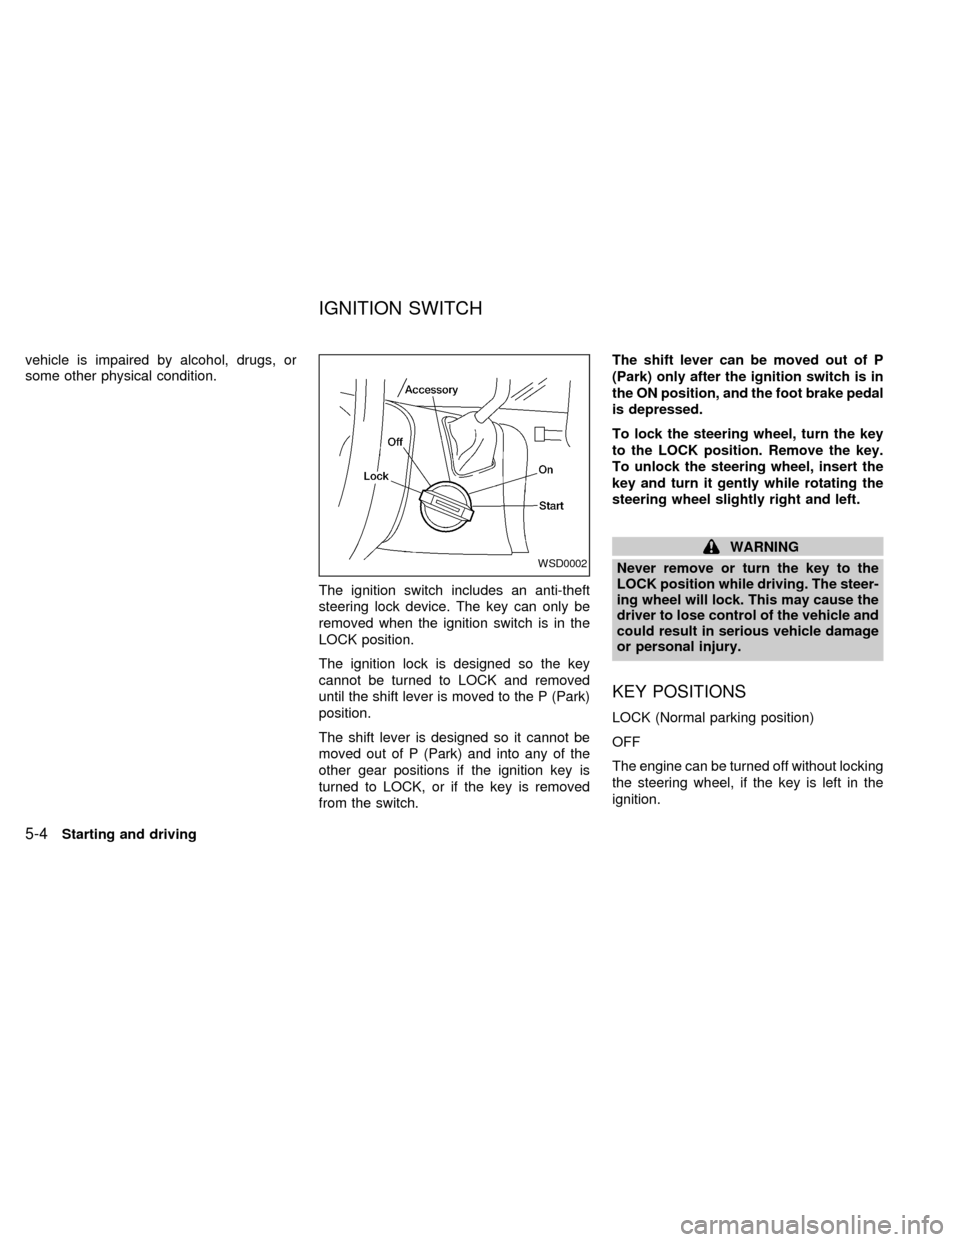
KEY POSITIONS
LOCK (Normal parking position)
OFF
The engine can be turned off without locking
the steering wheel, if the key is left in the
ignition.
WSD0002
IGNITION SWITCH
5-4Starting and driving
ZX
Page 194 of 294

ACC (Accessories)
This position activates electrical accesso-
ries such as the radio when the engine is
not running.
ON (Normal operating position)
This position turns on the ignition system
and the electrical accessories.
START
This position activates the starter motor,
which starts the engine.cMake sure the area around the vehicle is
clear.
cMaintenance items listed here should be
checked periodically (for example, each
time you check engine oil).
cCheck that all windows and lights are
clean.
cVisually inspect tires for their appearance
and condition. Also check tires for proper
inflation.
cLock all doors.
cPosition seat and adjust head restraints.
cAdjust inside and outside mirrors.
cFasten seat belts and ask all passengers
to do likewise.
cCheck the operation of warning lights
when key is turned to the ON position.
See ``Warning/Indicator lights and audible
reminders'' in the ``Instrument and con-
trols'' section.
1. Apply the parking brake.
2. Move the selector lever to P (Park) or N
(Neutral) (P is recommended).
The shift selector lever cannot be
moved out of P and into any of the
other gear positions under the follow-
ing conditions:
cThe ignition key is turned to the
LOCK position.
cThe ignition key is turned to the ON
position without depressing the
foot brake pedal.
The starter will not operate if the shift
selector lever is in one of the driving
positions.
3. Crank the enginewith your foot off the
accelerator pedalby turning the ignition
key to START. Release the key when the
engine starts. If the engine starts, but
fails to run, repeat the above procedure.
Ð If the engine is very hard to start in
extremely cold or hot weather, de-
press the accelerator pedal to the
floor and hold it to help start the
engine.
BEFORE STARTING THE
ENGINESTARTING THE ENGINE
Starting and driving5-5
ZX
Page 195 of 294
Ð In the summer, when restarting the
engine within 30 minutes after it has
been stopped, keep the accelerator
pedal slightly depressed while start-
ing.
CAUTION
Do not operate the starter for more than
15 seconds at a time. If the engine does
not start, turn the key off and wait 10
seconds before cranking again, other-
wise the starter could be damaged.
4. Warm-up
Allow the engine to idle for at least 30
seconds after starting. Drive at moderate
speeds for a short distance first, espe-
cially in cold weather.
WARNING
cDo not depress the accelerator pedal
while shifting from P (Park) or N
(Neutral) to: R (Reverse), D (Drive),
2 or 1. Always depress the brake
pedal until shifting is completed.
Failure to do so could cause you to
lose control and have an accident.
cCold engine idle speed is high, so
use caution when shifting into a for-
ward or reverse gear before the en-
gine has warmed up.
cNever shift to P (Park) or R (Reverse)
while the vehicle is moving. This
could cause an accident.
CAUTION
cWhen stopping the vehicle on an
uphill grade, do not hold the vehicle
by depressing the accelerator pedal.
The foot brakes should be used for
this purpose.cDo not downshift abruptly on slip-
pery roads. This may cause a loss of
control.
The automatic transmission in your vehicle
is electronically controlled by a transmission
control module to produce maximum power
and smooth operation.
Shown on the following pages are the rec-
ommended operating procedures for this
transmission. Follow these procedures for
maximum vehicle performance and driving
enjoyment.
Starting the vehicle
cAfter starting the engine, fully depress the
brake pedal before shifting the selector
lever to the R (Reverse), N (Neutral), D
(Drive), 2 or 1 position. Be sure the
vehicle is at a complete stop before at-
tempting to shift the selector lever.
This automatic transmission is designed
so the brake pedal MUST be depressed
before shifting from P (Park) to any other
position while the ignition switch is ON.
DRIVING THE VEHICLE
5-6Starting and driving
ZX
Page 198 of 294
where engine braking is necessary,
push the overdrive switch once. The
O/D OFF indicator light illuminates at
this time.
When cruising at a low speed or climbing a
gentle slope, you may feel uncomfortable
shift shocks as the transmission shifts be-
tween 3rd gear and overdrive repeatedly. In
this case, press the overdrive switch.
When driving conditions change, press the
overdrive switch to turn the overdrive on.
The O/D OFF indicator light goes out.
Remember not to drive at high speeds for
extended periods of time with the O/D OFF
light illuminated. This reduces the fuel
economy.WARNING
cBe sure the parking brake is fully
released before driving. Failure to do
so can cause brake failure and lead
to an accident.
cDo not release the parking brake
from outside the vehicle.
cDo not use the gear shift in place of
the parking brake. When parking, be
sure the parking brake is fully en-
gaged.
c
Do not leave children unattended in a
vehicle. They could release the park-
ing brake and cause an accident.
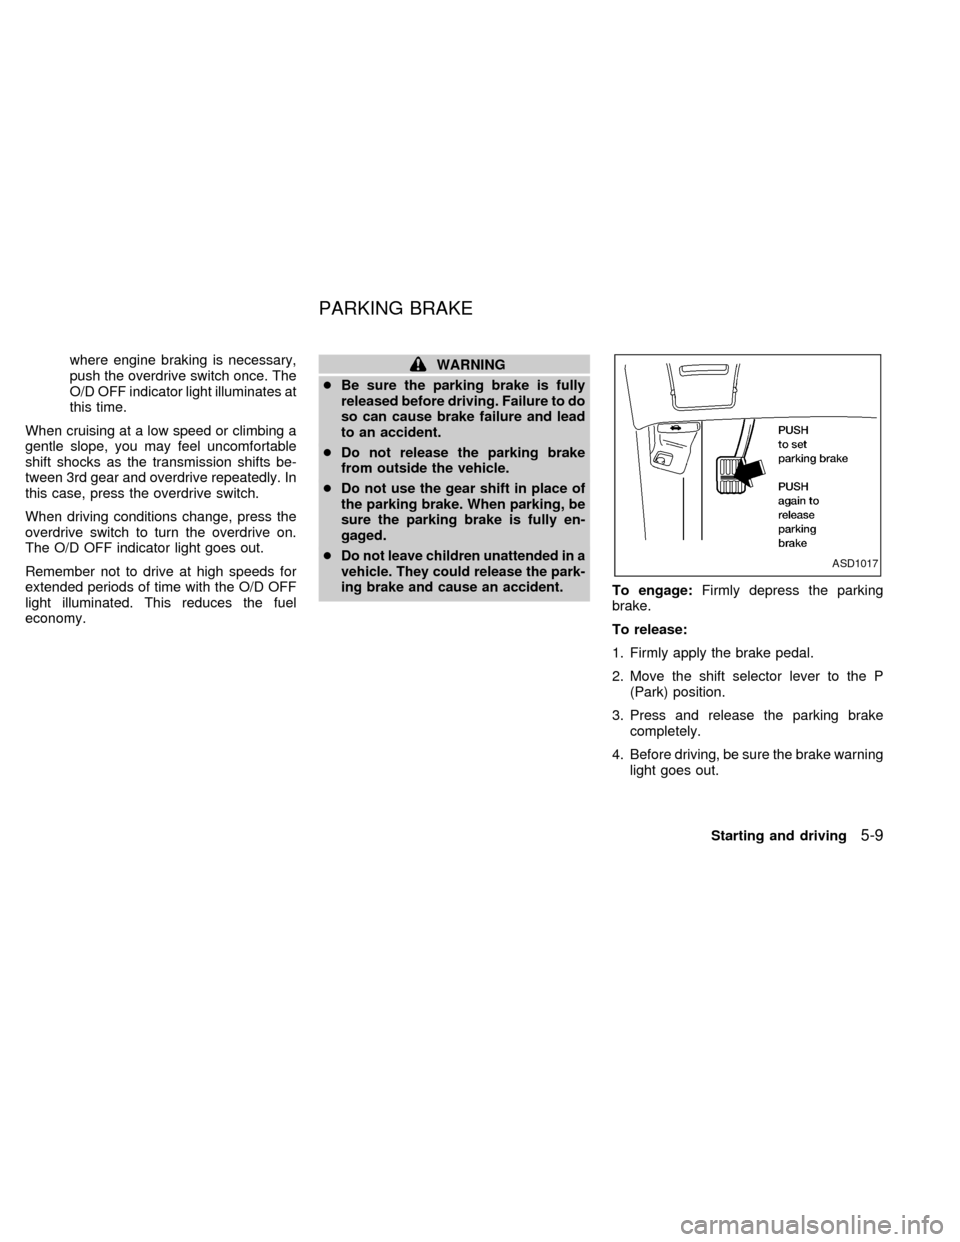
To engage:Firmly depress the parking
brake.
To release:
1. Firmly apply the brake pedal.
2. Move the shift selector lever to the P
(Park) position.
3. Press and release the parking brake
completely.
4. Before driving, be sure the brake warning
light goes out.
ASD1017
PARKING BRAKE
Starting and driving5-9
ZX
Page 199 of 294

PRECAUTIONS ON CRUISE
CONTROL
cIf the cruise control system malfunctions,
it cancels automatically. The SET indica-
tor light in the instrument panel then
blinks to warn the driver.
cIf the SET indicator light blinks, turn the
CRUISE main switch OFF and have the
system checked by an authorized
NISSAN dealer.
cThe SET indicator light in the instrument
panel may blink when the CRUISE main
switch is turned ON while pushing eitherthe RES/ACCEL, COAST/SET, or the
CANCEL switch (located on the steering
wheel). To properly set the cruise control
system, perform the steps in the order
indicated.
WARNING
Do not use the cruise control when
driving under the following conditions:
cWhen it is not possible to keep the
vehicle at a set speed.
cIn heavy traffic or in traffic that var-
ies in speed.
cOn winding or hilly roads.
cOn slippery roads (rain, snow, ice,
etc.).
cIn very windy areas.
Doing so could cause a loss of vehicle
control and result in an accident.
CRUISE CONTROL
OPERATIONS
The cruise control allows driving at speeds
between 29 and 90 MPH (47 and 144 km/h)
without keeping your foot on the accelerator
pedal.To turn the cruise control on,push the
CRUISE main switch. The indicator light on
the switch comes on.
To set at cruising speed,accelerate your
vehicle to the desired speed, push the
COAST/SET switch and release it. The SET
light in the instrument cluster comes on.
Take your foot off the accelerator pedal.
Your vehicle maintains the set speed.
cTo pass another vehicle,depress the
accelerator pedal. When you release the
pedal, the vehicle returns to the previ-
ously set speed.
cThe vehicle may not maintain the set
speed when going up or down steep hills.
If this happens, drive without the cruise
control.
To cancel the preset speed,follow any of
these three methods.
a) Push the CANCEL button; the SET light
in the instrument panel goes out.
b) Tap the brake pedal; the SET light goes
out.
c)Push the cruise control OFF switch. Both
the main switch indicator and SET lights go
out.
WSD0015
CRUISE CONTROL
5-10Starting and driving
ZX